





Your print looks solid on screen, but snap it in half and you'll find mostly air inside. That's by design. 3D printers save time and material by filling interiors with patterns instead of solid plastic.
The problem? Most people tweak the wrong settings when they want stronger parts.
Adding one extra wall can boost strength by 40%. Doubling infill? Maybe 15-20% improvement for twice the material. If your prints feel flimsy or hollow, you're probably chasing the wrong number.
This guide walks through every method to make prints thicker on Creality printers, written for people who want results without wading through engineering jargon.
Wall Thickness Controls Most of Your Print's Strength
Walls are the solid outer shell of your print. Think of them like the crust on bread. More crust means a sturdier slice, even if the inside stays soft.
Your printer builds walls by tracing the outline of your model multiple times. Each pass creates one wall.
In Creality Print, you control this with "Wall Line Count." Three walls with a standard nozzle gives you about 1.2mm of solid material around your part.
One important rule: keep wall thickness in even steps based on your nozzle size. A 0.4mm nozzle works best with 0.8mm, 1.2mm, 1.6mm, or 2.0mm walls.
Odd numbers like 1.0mm confuse the printer and create messy surfaces.
How Many Walls Do You Really Need?
Two walls work fine for decorations and test prints. Three to four walls handle everyday functional parts like brackets, mounts, and cases.
This is the sweet spot for most people. Going from two to three walls adds about 40% more strength. Jumping from four to five? Only about 15% better.
Five or six walls make sense for parts under heavy stress, like tool handles or mechanical components. Beyond six walls, you're usually better off redesigning the part itself.
Infill Density and Patterns: When They Matter (And When They Don't)
Infill is the internal lattice inside your print. It supports the top surface and adds some strength, but it's not the main source of durability.
Many beginners overestimate how much it actually helps.
Cranking infill to 100% sounds like the path to unbreakable prints. It's not. Solid interiors create problems. The plastic shrinks as it cools, and more material means more warping.
Strength improvements level off around 30-40% infill. Going from 50% to 75% adds maybe 10% more strength while using almost twice the plastic.
For most projects, 25-30% infill with good walls beats 50%+ infill with thin walls.
Picking the Right Pattern for the Job
Gyroid is the go-to pattern for general strength. Its wavy, interconnected structure handles force from any direction.
Cubic works when pressure comes from above. Triangular handles twisting forces better. Lines and Zigzag print fastest but offer the least strength. Check the infill patterns guide for details.
Layer Height, Top/Bottom Layers, and Line Width
These three settings control how your printer stacks plastic. Layer height determines how thick each slice is. Top and bottom layers seal your print. Line width affects how fat each strand comes out.
Thinner layers bond together better. A part printed at 0.12mm layers will survive more abuse than the same part at 0.28mm.
The catch? Thinner layers take longer. Cutting layer height in half roughly doubles print time.
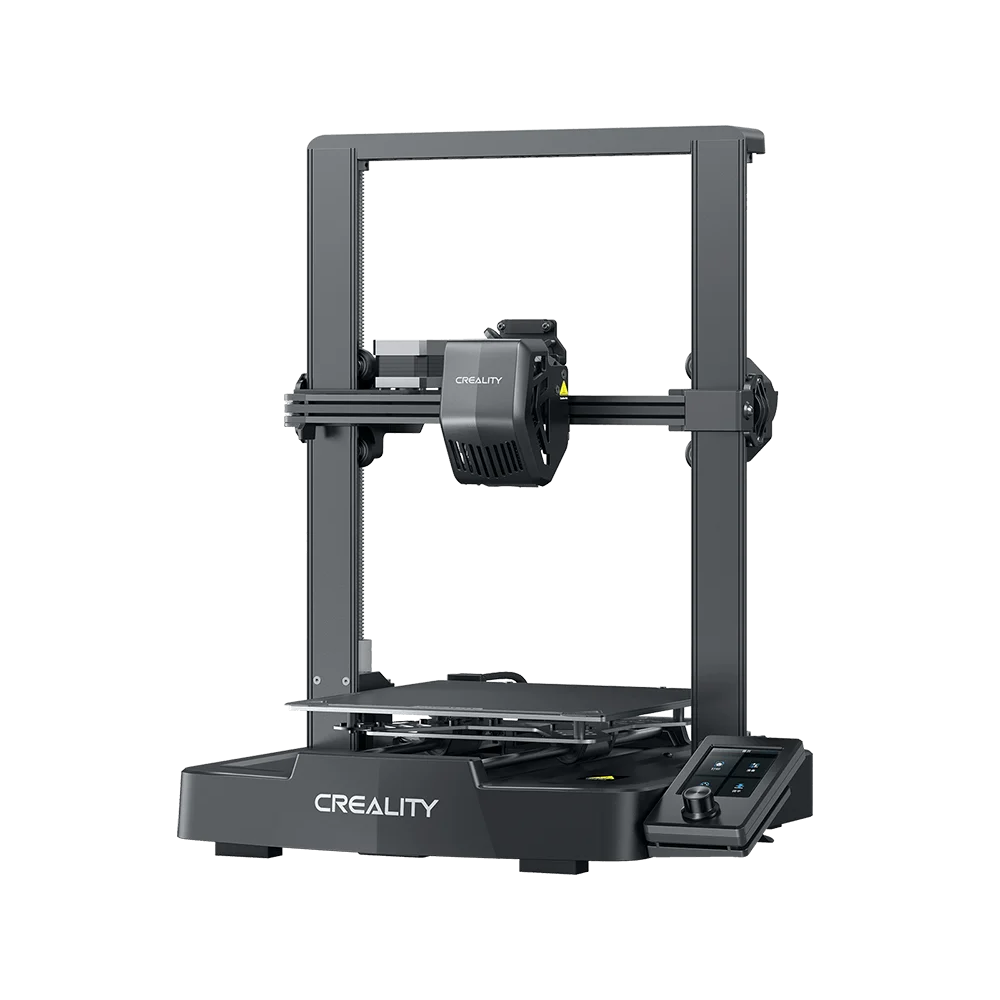
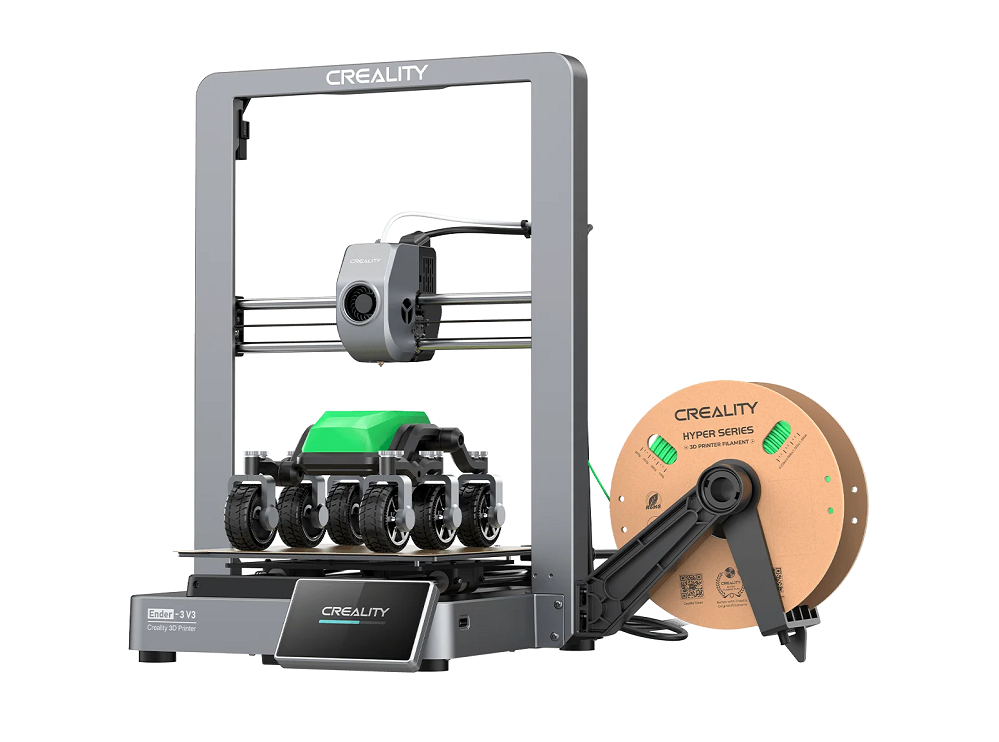
Ender 3 printers work best with specific layer heights: 0.12mm, 0.16mm, 0.20mm, 0.24mm, or 0.28mm. The Ender-3 V3 follows the same rule. For everyday printing, 0.2mm gives a good balance.
Top and Bottom Layers Prevent Weak Spots
Bumpy, uneven top surfaces happen when there aren't enough solid layers covering the infill underneath. Set your top and bottom thickness to at least 1.2mm. At 0.2mm layer height, that means 6-8 solid layers.
Line Width Adjustments
Making each line of plastic slightly wider creates better overlap, which improves strength.
Bumping line width to 110-120% is a simple way to get sturdier parts. For the first layer, try 130% width for better bed grip.
Material Choices That Affect Thickness Performance
Different plastics behave differently when you try to make them thicker. Some bond well between layers, others warp when there's too much material.
Picking the right filament matters as much as your settings.
PLA vs. PETG vs. ABS for Thick Prints
PETG is the best choice for strong functional parts. It sticks to itself really well between layers and handles impacts without cracking. If you're making something that needs to last, start with PETG.
PLA is easiest to print but softens around 55°C. A phone mount left in a hot car will droop. ABS handles heat much better but warps aggressively and needs an enclosed printer.
Temperature and Cooling Tweaks
Hotter plastic flows better and bonds stronger. Try bumping temperatures 5-10°C higher than usual for parts that need extra strength. Less cooling also helps. Try 50% fan for PETG and turn it off for ABS.
Five Mistakes That Weaken Thick Prints
Even with the right settings, a few common errors can undermine your results. These mistakes trip up beginners and experienced users alike. Avoiding them saves time and filament.
-
Using odd wall thickness numbers. Setting 1.0mm walls with a 0.4mm nozzle confuses the printer. Stick to even multiples like 0.8mm, 1.2mm, or 1.6mm.
-
Blaming thickness for messy prints. Blobs and strings usually mean your flow rate is off, not that you need more material. The extrusion troubleshooting guide walks through calibration.
-
Printing parts in the wrong direction. 3D printed parts are weakest along layer lines. A hook printed standing up snaps much easier than one printed lying flat. Orientation can mean 55% difference in strength.
-
Too many walls, too little infill. Super thick walls with barely any interior support creates stress points. The sweet spot is 4-5 walls with 25-30% infill.
-
Ignoring the first layer on heavy parts. Thick, dense prints pull hard on that first layer. Clean your bed, add a brim, and slow down to 20-30mm/s.
Fixing Common Thickness-Related Print Failures
Sometimes prints fail even when settings look right. Warping, layers peeling apart, and stringy messes all have specific causes. Knowing what to look for saves hours of frustration.
Warping on Thick Parts
Plastic shrinks as it cools. More plastic means more shrinking, which pulls corners up. Round off sharp corners in your design. Use higher bed temperatures: 60°C for PLA, 80°C for PETG, 100-110°C for ABS. Surprisingly, lowering infill can reduce warping since there's less material trying to shrink.
Layers Peeling Apart
If layers separate, the plastic isn't bonding properly. Bump the temperature up 5-10°C and turn down the cooling fan.
Listen for popping sounds while printing, which means your filament needs drying. A larger 0.6mm nozzle also helps by putting down wider lines with more bonding surface.
Stringing on Slow, Thick Prints
Slow printing gives melted plastic more time to ooze. For Ender printers, try 6mm retraction at 25mm/s. Direct drive printers only need 1-2mm.
Speed up travel moves to 150-200mm/s. The stringing troubleshooting guide has more tips.
Post-Processing Methods to Add Thickness After Printing
Sometimes you need a print stronger than plastic alone. Coatings and heat treatment can transform a standard print into something much tougher.
These methods work on parts you've already made.
Epoxy coating adds a hard shell around your print. Products like XTC-3D spread smoothly, fill layer lines, and create a waterproof finish.
Each coat adds about 0.4mm of thickness.
Heat treatment, called annealing, reorganizes the plastic. For PLA, bake at 90°C for two hours. This raises heat resistance from 60°C to over 85°C and makes it noticeably stiffer. Expect 0.5-5% shrinkage.
A dental lab in Ohio discovered this by accident. They left PLA surgical guides in a sterilization unit too long. Instead of melting, the parts came out stiffer. Now they heat treat every functional print.
FAQs
Does Thicker Mean Stronger?
Not always. Adding too much material can cause warping and internal stress. Four walls with moderate infill usually beats six walls with minimal infill.
What's the fastest way to make prints more durable?
Add one wall. It's the single most effective change you can make with minimal extra time.
Should I use a bigger nozzle for thick parts?
If you print thick functional parts regularly, yes. A 0.6mm nozzle puts out over twice as much plastic per pass, saving time and improving layer bonding.
Putting It Together
You now have everything you need to make stronger, thicker prints. The key takeaways are simple: focus on walls over infill, use wall thicknesses that match your nozzle, and pick materials that suit your needs.
Four walls, 30% Gyroid infill, and 6-8 top/bottom layers handles most projects. Creality Print has features that automatically strengthen stressed areas. For detailed settings, Creality Wiki covers everything mentioned here.