


Ask any 3D printing enthusiast the fastest way to get stronger parts without wasting filament or time, and they’ll tell you the same thing: It’s not more walls, not lower layer height, and definitely not 100% infill. The real game-changer is the right infill pattern and density.
Infill patterns in 3D printing play a crucial role in balancing part strength, print time, and material use. 3D-printed parts often use an internal lattice (“infill”) instead of being 100% solid. The infill density (percentage filled) and infill pattern (shape of the lattice) determine the part’s weight, strength, and print time.
In this guide, we’ll settle the endless debates once and for all: what is the strongest infill pattern in 2025? (spoiler: it’s not always gyroid); and which pattern is the fastest and which uses the least filament?
What Are Infill Patterns?
First things first, what is an infill pattern? Infill patterns are the internal geometries created by your 3D printer's slicer software to connect the outer walls and supports the top layers. In FFF printing, these patterns are extruded layer by layer, forming structures like grids or waves inside the model.
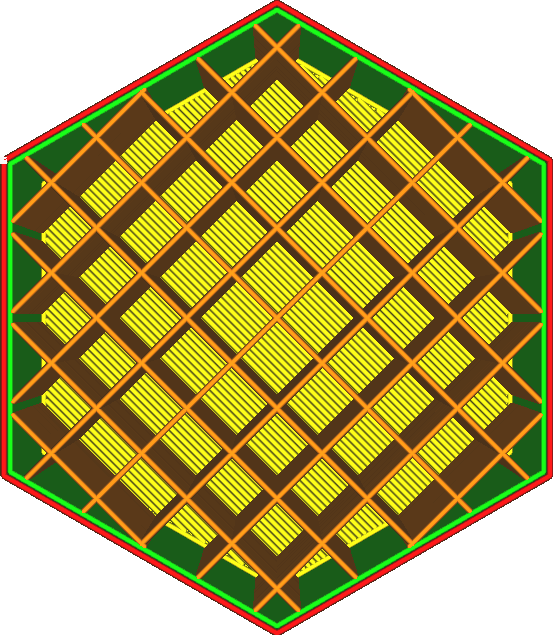
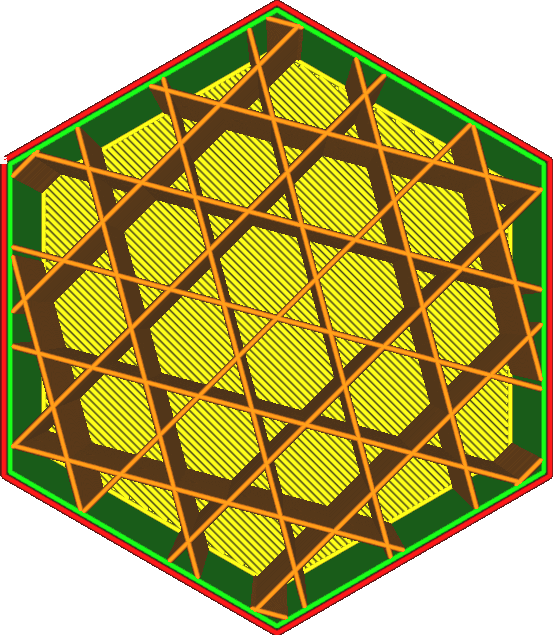
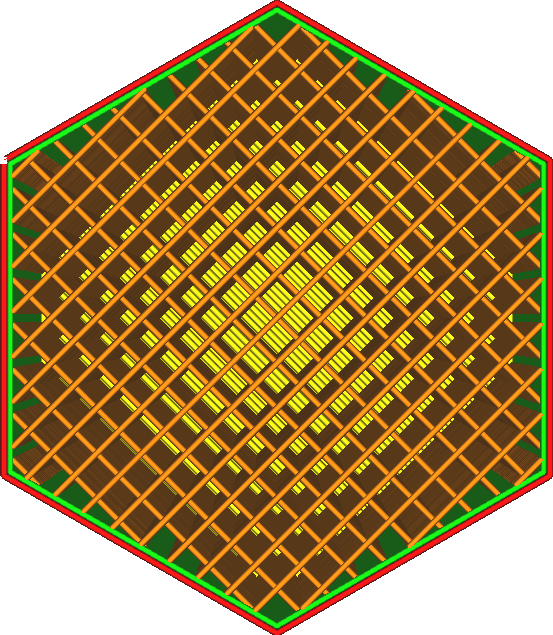
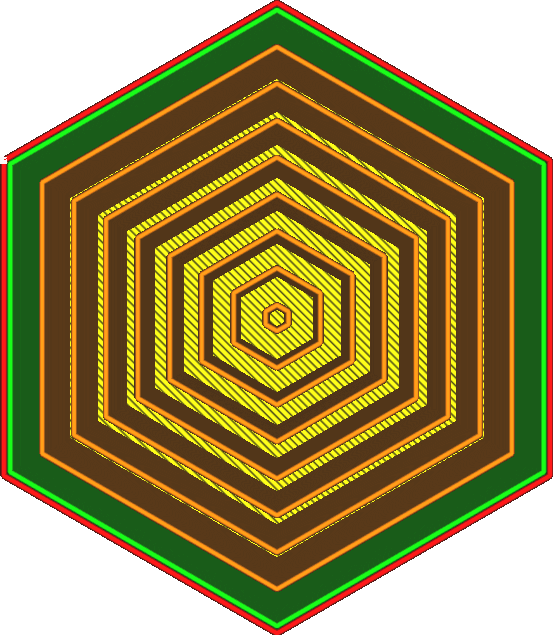
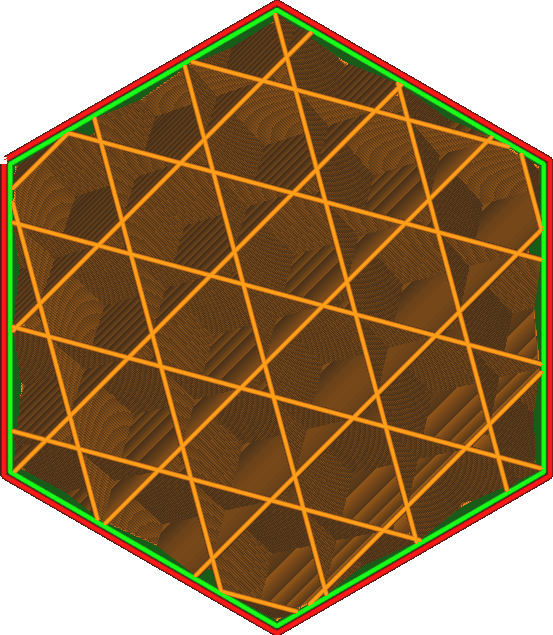
Common patterns include Grid (rectilinear), Cubic (or cubic subdivision), Gyroid, Honeycomb, Lines (rectilinear), Zigzag, Triangular (3D honeycomb), Concentric, Cross, and Lightning.
What Are the Benefits of Infill Patterns?
Infill patterns enhance print efficiency by providing targeted support. They improve strength without making parts fully solid, saving filament and time. Choosing the right infill pattern and density brings several benefits:
Strength and Support: Infill gives structural support to top and bridge layers, preventing sagging. Complex patterns (cubic, gyroid, triangular) add rigidity and distribute stress evenly, enhancing strength. For example, gyroid and cubic infills are among the strongest for load-bearing parts.
Material and Weight Savings: Sparse infill (low density) drastically reduces filament usage and part weight. A pattern like honeycomb or grid uses minimal material while still offering decent support. Patterns like lightning infill concentrate material only where needed (near the top) and save a lot of plastic.
Print Speed: Simpler infills with continuous lines (Lines, Zigzag, Lightning) print faster because the nozzle moves in long straight paths with fewer stops. Faster printing saves time and is useful for prototypes or non-critical parts.
Aesthetics and Flexibility: Some patterns like concentric or gyroid create pleasing internal structures visible in transparent parts. Concentric infill even adds flexibility, as its rings can deform slightly.
Optimized Properties: By varying patterns and density, you can engineer parts with specific characteristics. For instance, patterns can be aligned to stress directions, or varied by height, giving customized strength without solid infill.
How Infill Density Works
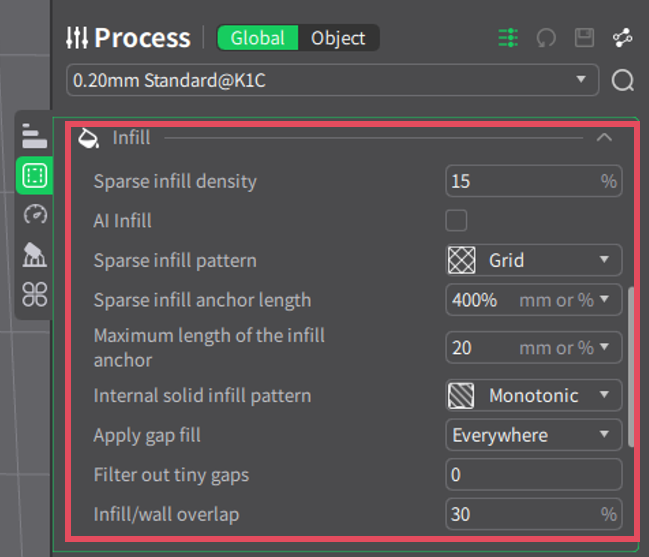
As mentioned above, infill density is another factor that can determine the 3D print quality. It is the percentage of the interior volume filled with material. It ranges from 0% (hollow) to 100% (solid). As density increases, the spacing between infill lines decreases, so the part becomes stronger but uses more filament and takes longer to print. Typical guidelines are:

-
0–15% density: Very lightweight/décor parts (figurines, models). Minimal structure, fast and cheap to print.
-
15–50%: Moderate strength for prototypes and general-purpose parts. Balances durability and material use.
-
50–100%: Very strong or load-bearing parts. At high densities, the infill is nearly solid, maximizing strength (but also risk of warping and large filament use). Beyond strength, density also affects top-layer quality. Too low an infill with wide gaps may fail to support the top layers, causing sagging or holes. Conversely, extremely high density (over ~80%) can create stress (especially in shrink-prone materials like ABS) leading to warping or surface blemishes. In practice, many functional prints use 15–40% infill for a good strength-to-weight balance
How to Choose the Best Infill Pattern
When it comes to the best infill pattern, it actually depends on your part’s purpose and constraints.
Key Considerations for Choosing Infill Patterns
-
Strength Needs: For multi-directional loads, choose 3D patterns like cubic or gyroid (isotropic strength). For single-axis stress, grids or lines work well.
-
Filament & Weight Savings: Opt for lightweight patterns like lines, zigzag, or honeycomb to minimize material use.
-
Print Speed: Lines, zigzag, or lightning are fastest due to continuous paths and fewer direction changes.
-
Surface & Flexibility: Grid or concentric provide uniform finishes; concentric adds flexibility for bendable parts.
-
Smart Density: Use variable/adaptive infill in Creality Print—higher density only in stressed areas (e.g., mounts, holes) for optimal efficiency.
Popular Infill Patterns and Their Uses

Grid (Crosshatch): A 2D crisscross pattern. It’s easy to print and gives moderate strength. According to Creality, grid infill “intersects and overlaps within the same layer,” giving higher strength for supporting top layers. It’s a good all-round choice for parts needing moderate support and smooth tops.

Cubic (Grid 3D): A 3D lattice of tilted cubes. Cubic infill provides isotropic strength – equal stiffness in all directions. It distributes stress evenly, making it great for structural components. Cubic uses more filament and prints slower than grid, but gives high rigidity for functional parts.
Gyroid: A complex wavy lattice with no straight lines. Gyroid infill also offers uniform strength in all directions. It combines strength and flexibility, adapting well even to flexible filaments. Tests show gyroid prints about as fast as cubic and much faster than honeycomb. It’s excellent for strong, lightweight parts.
Honeycomb (Hexagonal): A 2D hexagonal cell pattern (also called 2D honeycomb). It gives strength in all directions and is very material-efficient. Honeycomb balances durability and low weight, making it ideal for load-bearing parts where weight matters (e.g. drones, RC parts). It does require more print time than simple patterns, as gyroid and cubic are actually faster according to tests.
Lines (Rectilinear) & Zigzag: Straight lines back-and-forth, alternating direction each layer. These are the fastest infills. They use very little filament and print extremely quickly, but they offer low strength because they don’t interlock much. Use lines or zigzag for non-critical parts, prototypes, or where speed is more important than strength.
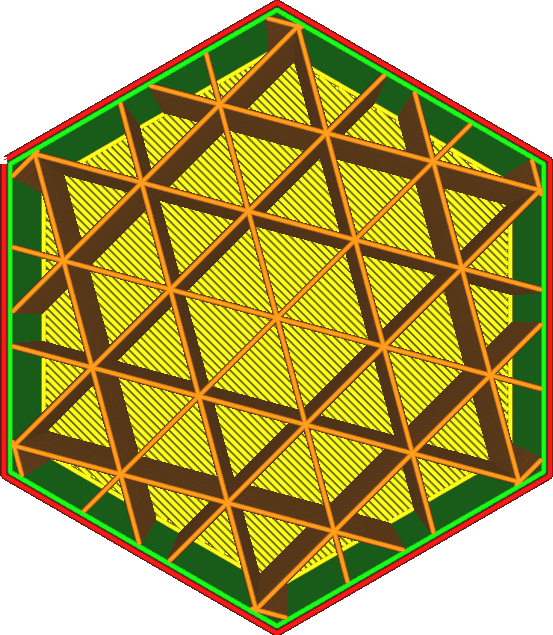
Triangular (2D Tri-Hexagon): A pattern of triangles (or 2D honeycomb-like). Triangular infill gives strong support along those triangle axes, performing well in tensile strength. It’s stronger than simple lines but prints slower and uses more material. Not as common in basic slicers, but can be used for extra strength.
Concentric: Rings of infill aligned to the part’s outline. Concentric infill is weak in horizontal stiffness but very flexible, so it’s used for bendable parts or wearables. It prints quickly with low material use and gives a smooth, wavy look.
Cross & Cross 3D: X-shaped patterns (2D or 3D variants) that allow bending. Cross infill is flexible and good for cases, handles, or parts that endure impacts. They are not as strong as cubic/gyroid but provide shock absorption.
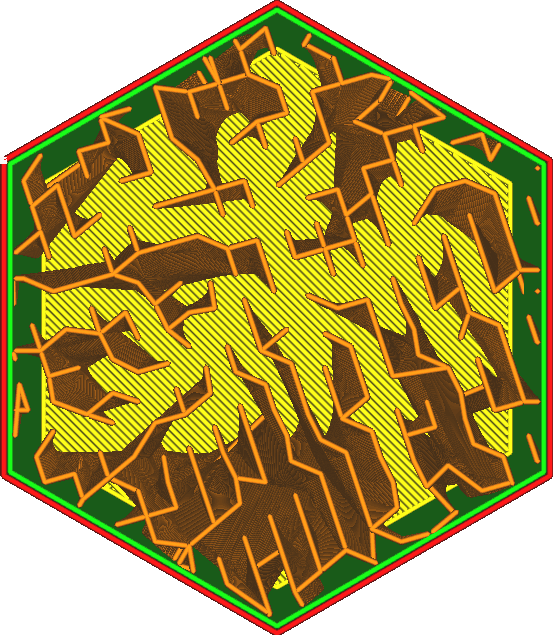
Lightning: A special pattern where infill appears like branching bolts only near the top. It exists mainly in some slicers (like Creality Print). Lightning infill only supports the top layers, minimizing all other infill. This makes it extremely fast and filament-efficient – ideal for non-functional models or overhangs – but offers very little internal strength.
How to Use Infill Patterns Effectively
Sparse Infill (Low Density): Use 10–20% density for non-structural parts like display models or prototypes. It saves filament and time but ensure enough support for top layers to prevent collapse.
Selective Infill (Variable Regions): Apply higher density only to critical areas (e.g., holes, mounts) via modifiers. Creality Print’s AI Infill (adaptive cubic) automatically densifies near walls.
Layer-Specific Infill (Gradient): Vary density by height—denser at the base for stability, sparser above. Gradient options smoothly transition for lighter tops.
Adaptive Patterns: Let slicers like Creality Print auto-adjust infill for overhangs or complex areas, optimizing strength and efficiency.
How Material Type Affects Infill Pattern Performance
A pattern that matches the filament’s behavior yields the best results.
| Filament Type | Top Patterns | Key Benefits | Typical Density | Notes |
| Flexible (TPU/TPE) | Gyroid, Concentric, Cross 3D | Uniform flex, minimal retractions | 10-30% | Prioritize elasticity over rigidity |
| Rigid (PLA/PETG) | Gyroid, Cubic, Triangular | Isotropic strength, impact resistance | 20-50% | Great for functional parts |
| Warping-Prone (ABS/ASA) | Gyroid, Grid, Triangular | Even stress distribution, low buildup | 15-40% | Combine with enclosure |
Strength, Speed, and Filament Efficiency Comparison Table
| Pattern | Strength (Relative) | Speed (Relative) | Filament Efficiency | Best For |
| Grid | Medium | High | Medium | General use, quick prints |
| Cubic | High | Medium | High | All-direction strength |
| Gyroid | High | Medium-High | High | Flexibility, isotropic |
| Honeycomb | High | Low | High | Sparse, lightweight |
| Lines | Low | Very High | Very High | Speed, minimal strength |
| Triangles | Medium-High | High | Medium | Shear resistance |
FAQs
Q: What is the strongest infill pattern?
A: Volumetric infills like Gyroid and Cubic are among the strongest, providing uniform strength in all directions.
Q: Which infill pattern uses the least filament?
A: Lightning or support cubic, efficient at low densities (5-10%). For strength per filament, gyroid or honeycomb.
Q: What is the fastest infill pattern?
A: Lines (rectilinear) or lightning, reducing times by up to 50% with minimal moves.
Conclusion
Infill patterns let you fine-tune your 3D prints. By selecting the right pattern and density, you can achieve strong, lightweight, or fast prints as needed. 3D printing modeling software like Creality Print makes it easy to adjust these settings. Need more info about infill patterns? Creality Wiki can be of great help.