


If you’ve spent any time 3D printing, you already know this: when the first layer goes wrong, everything goes wrong. It might not stick. It might look uneven. Or it might start fine and then peel off halfway through like it’s just… done trying.
The first layer is where your print either locks in or falls apart. The good news is that most first layer problems are very fixable once you know what to look for. This guide breaks down the most common first layer issues, why they happen, and how to fix them.
How to Get a Smooth First Layer 3D Printing
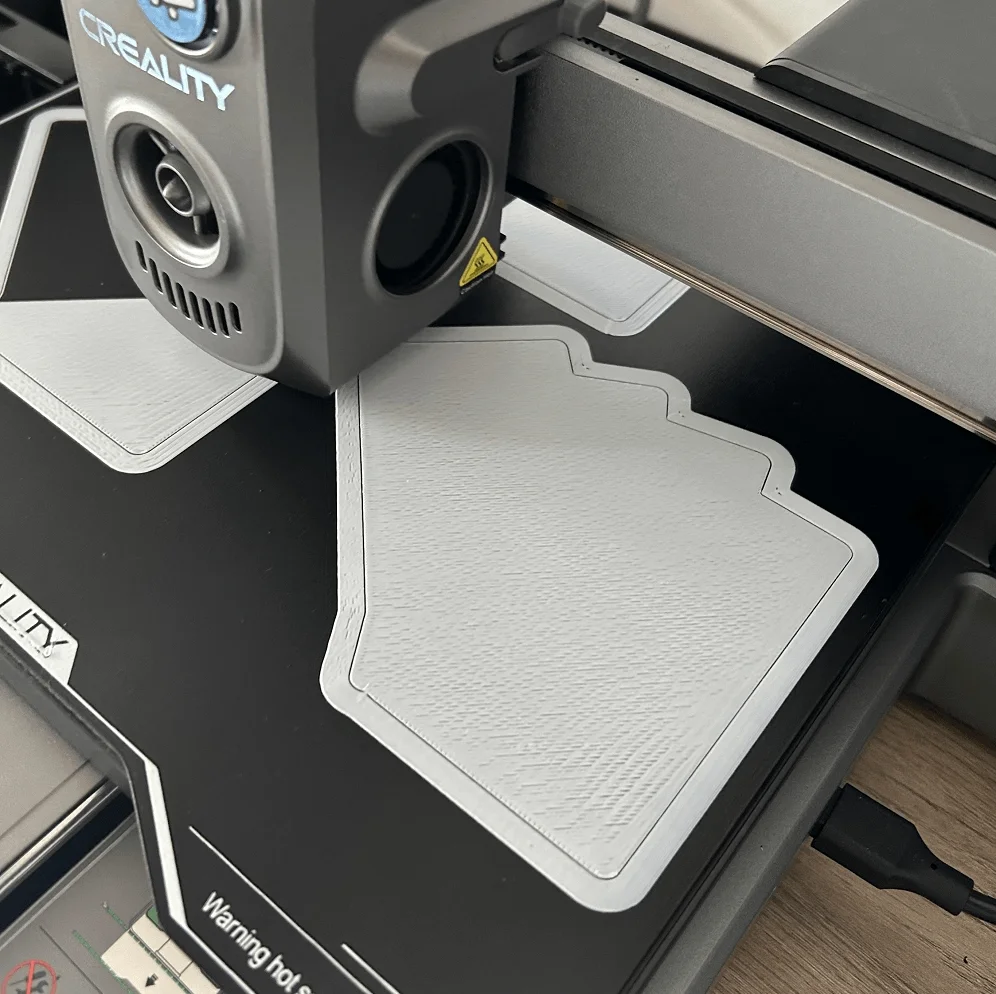
Before getting into specific problems, it helps to know what you’re aiming for. A good first layer should look slightly squished, but not smashed. The lines should touch each other cleanly, with no gaps in between. The surface should look consistent, not patchy or scratched.
If you’re not getting that result, check these basics first:
-
Make sure your bed is leveled properly
-
Set your Z-offset correctly
-
Clean your build plate (seriously, this matters more than people think)
-
Use the right bed temperature for your filament
-
Slow down your first layer speed
First Layer Adhesion Problems
If your print doesn’t stick to the bed, nothing else really matters. Adhesion issues are usually the first thing people run into, especially when starting out.
First Layer Not Sticking
This is probably the most common issue. And the filament simply doesn’t stick to the bed. It may drag around or bunch up near the nozzle.
Common causes:
-
Dirty build plate (oil from your fingers is enough to cause issues)
-
Nozzle too far from the bed
-
Bed temperature too low
-
First layer printed too fast
How to fix it: First, clean the build plate. If you’ve been touching the build plate a lot, it’s probably a lot dirtier than it looks. Then check your Z Offset. If the nozzle is too far away from the bed, the filament is not going to get the slightest ‘squish’ it needs to stick to the plate at all. Finally, slowing down the first layer is very helpful.
Warping (Edges Lifting)
You may observe that your print’s edges are lifting off. This is called 3D printing warping. Warping is common in larger prints.
Common causes:
-
Bed temperature too low
-
Drafts or cold air around the printer
-
Material shrinking as it cools
How to fix it: One way of fixing it is to raise the bed temperature slightly. Also, make sure your printer is in an area without cold currents. A brim can also be used to help prevent warping. If your print is something such as ABS, an enclosure is also helpful.
First Layer Peeling
This one is a bit sneaky. The print starts off well, but some of it is lifted off in the first layer.
Common causes:
-
Bed not clean enough
-
First layer speed too fast
-
Cooling fan kicking in too early
How to fix it: Clean the bed again (yes, again), slow down the first layer, and make sure your fan is not coming on too early. Some materials take a little time to settle before the fan starts.
First Layer Extrusion Issues
Occasionally, the filament sticks well, but the lines do not look quite right. This is likely due to the way the filament is being pushed through the nozzle, not how well it sticks to the bed.
First Layer Gaps Between Lines
If there are gaps between the lines in the first layer, something is not quite right.
Common causes:
-
Nozzle too far from the bed
-
Under-extrusion
-
Flow rate too low
How to fix it: Reduce the Z Offset slightly and check the flow settings. If the problem persists, check if the nozzle is partially clogged.
Related Post: How to Unclog a Nozzle [Step by Step Guide]
Blobs or Zits
This appears as little 3D bumps or blobs on the first layer. Not the end of the world, but certainly not optimal.
Common causes:
-
Too much filament being extruded
-
Temperature too high
-
Uneven flow
How to fix it: First, try reducing the nozzle temperature slightly, then examine your flow rate. If your print still looks irregular, your nozzle may be clogged and should be cleaned.
Inconsistent Extrusion
Some areas look fine, some don’t. It looks kind of random.
Common causes:
-
Partial clog
-
Filament not feeding smoothly
-
Moist filament
How to fix it: Make sure the filament path is smooth and the extruder is gripping properly. Drying your filament, if it has been exposed to air for some time, can solve the issue better than you think.
Missing or Skipped Lines
This is when parts of the first layer just don’t print at all.
Common causes:
-
Clogged nozzle
-
Extruder slipping
-
Filament jam
How to fix it: First off, make sure that the filament is coming out or not. If it’s not, then the problem is likely with the nozzle and/or the extruder.
First Layer Height & Calibration Problems
This is where a lot of first layer frustration comes from. While all other settings may be correctly configured, an error in height or leveling can disrupt the entire first layer. The line between “perfect” and “problematic” is often just a small adjustment.
First Layer Too Thin or Too Thick
If your first layer is almost see-through, then it is too thin. If your first layer is too flattened, then it is too thick.
Common causes:
-
Incorrect Z-offset
-
Bed not leveled evenly
How to fix it: Correct your Z Offset value. This is one of those settings where making small adjustments makes a huge difference.
Uneven First Layer
One side is good, the other is not. That’s a classic leveling problem.
Common causes:
-
Bed not leveled properly
-
Warped build plate
How to fix it: Relevel your bed carefully. If your printer supports mesh leveling, run it again. Also make sure your build plate is sitting flat.
Nozzle Dragging / Over-Squished Layer
If the nozzle is scraping across the print or pushing material around, it’s too close.
Common causes:
-
Z-offset too low
-
Too much flow
How to fix it: Move the nozzle up slightly and reduce the flow if necessary. You want to press the filament down, not bulldoze it.
Surface Defects on First Layer
Even if your print is sticking well and your extrusion is good, there may be small visual defects on your print. This is not always problematic but may affect your print’s accuracy.
Elephant Foot (Bottom Bulging)
Sometimes, you can see the bottom edge of your print sticking out more than the other edges. This is known as elephant foot in 3D printing.
Common causes:
-
Bed temperature too high
-
Too much squish
How to fix it: Try lowering your bed temperature a little or your Z offset. Some slicers have an “elephant foot compensation” feature.
Stringing or Oozing on First Layer
You might see fine strings or light wisps of filament forming between lines on the first layer. That's what we call 3D printing stringing or oozing.
Common causes:
-
Temperature too high
-
Filament oozing during movement
How to fix it: Lower the nozzle temperature slightly. This isn’t usually a major first layer issue, but it can show up if things are a bit too hot.
Conclusion
First layer problems can feel frustrating, especially when you’re not sure what’s causing them. By now, you’ve probably noticed that most first layer problems are connected. A small problem with height, temperature, or cleanliness will manifest in different ways. Once you understand what all of these problems look like, you will be able to fix them much more easily.