


What is Creality Print?
Creality Print is Creality's official slicing software for FDM 3D printers. It helps you prepare models for printing, manage print settings, monitor compatible printers, and send print jobs directly from your computer.
How to Use Creality Print Step by Step
Step 1: Download and Install
Download Creality Print
Download the latest version of Creality Print from the Download Center.
Install the Software
Run the installer and follow the on-screen instructions to complete the installation.
System Requirements
- Windows 10/11 (64-bit)
- macOS 10.14 or later
- 4 GB RAM minimum (8 GB recommended)
- OpenGL-compatible graphics card
- 600 MB available storage space
Note: 32-bit operating systems are not supported.
Step 2: Launch Creality Print
When opening Creality Print for the first time:
Select Your Language
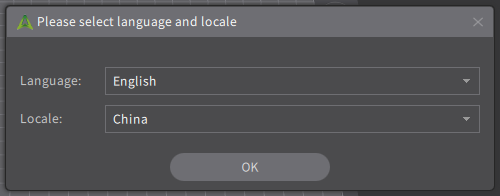
Choose your preferred language and region.
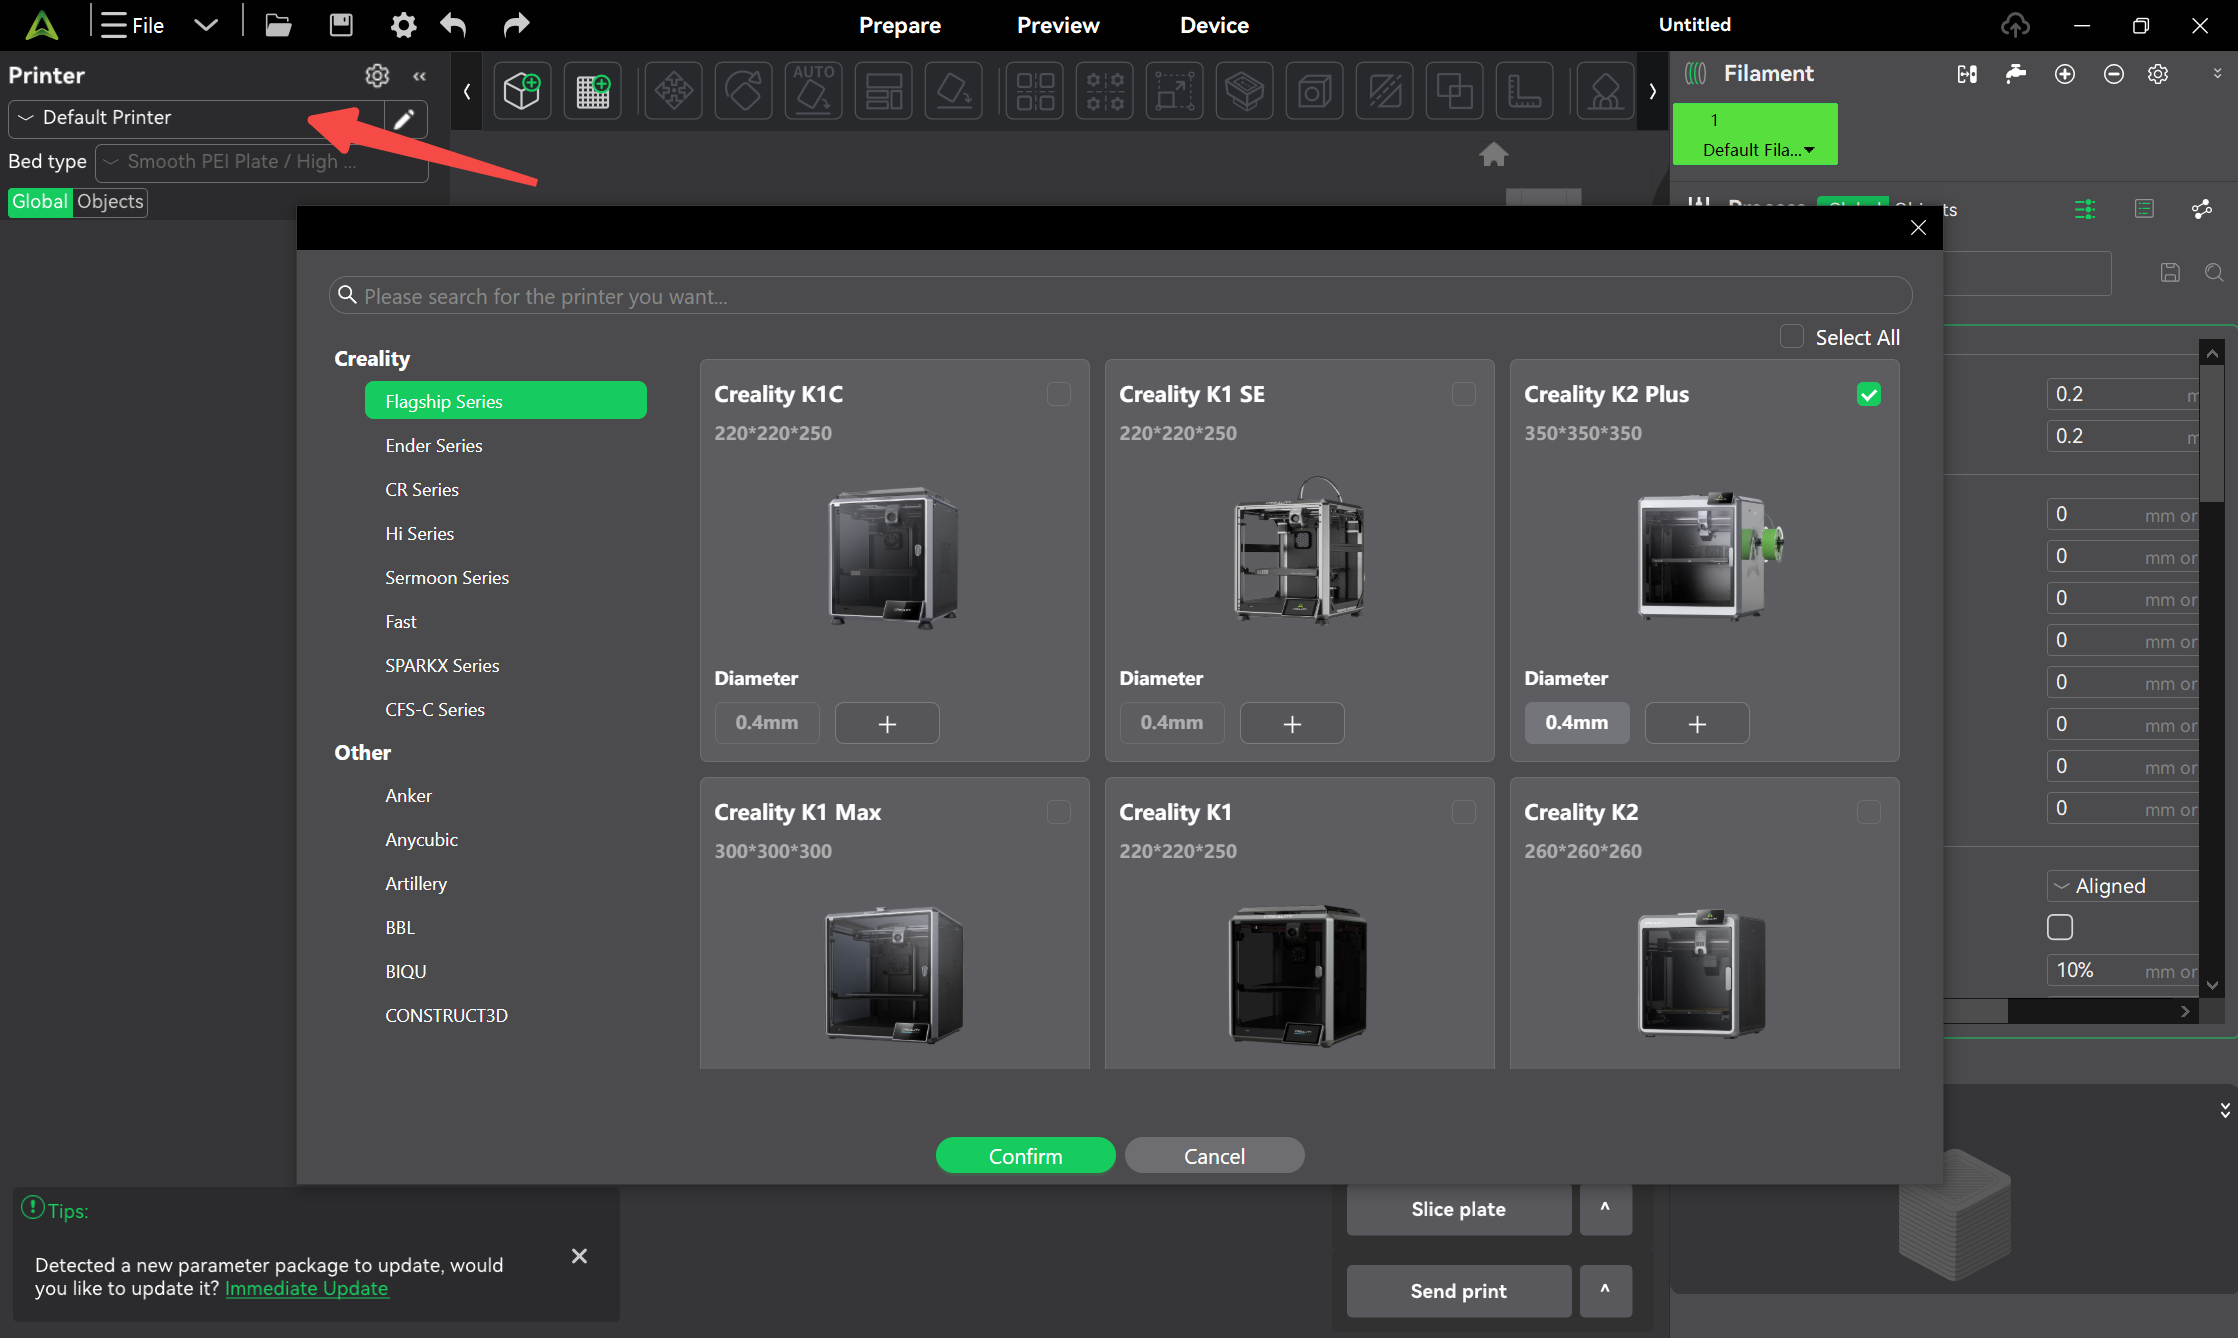
Add Your Printer
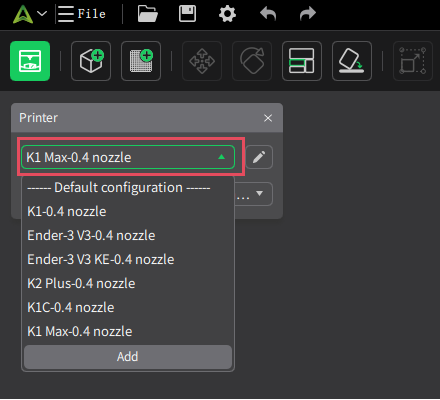
Select the printer model(s) you want to use in Creality Print. At least one printer must be selected before you can start slicing. You can add or manage printers later in the software settings.
Step 3: Import a Model
To begin a print project, import a 3D model into Creality Print.
Click "Import Model" and select a supported file format, including:
- STL
- OBJ
- STEP
- STP
Alternatively, you can open an existing project file such as:
- 3MF
- CXPRJ
Step 4: Configure Print Settings
Before slicing, select the appropriate settings for your print.
Select a Printer
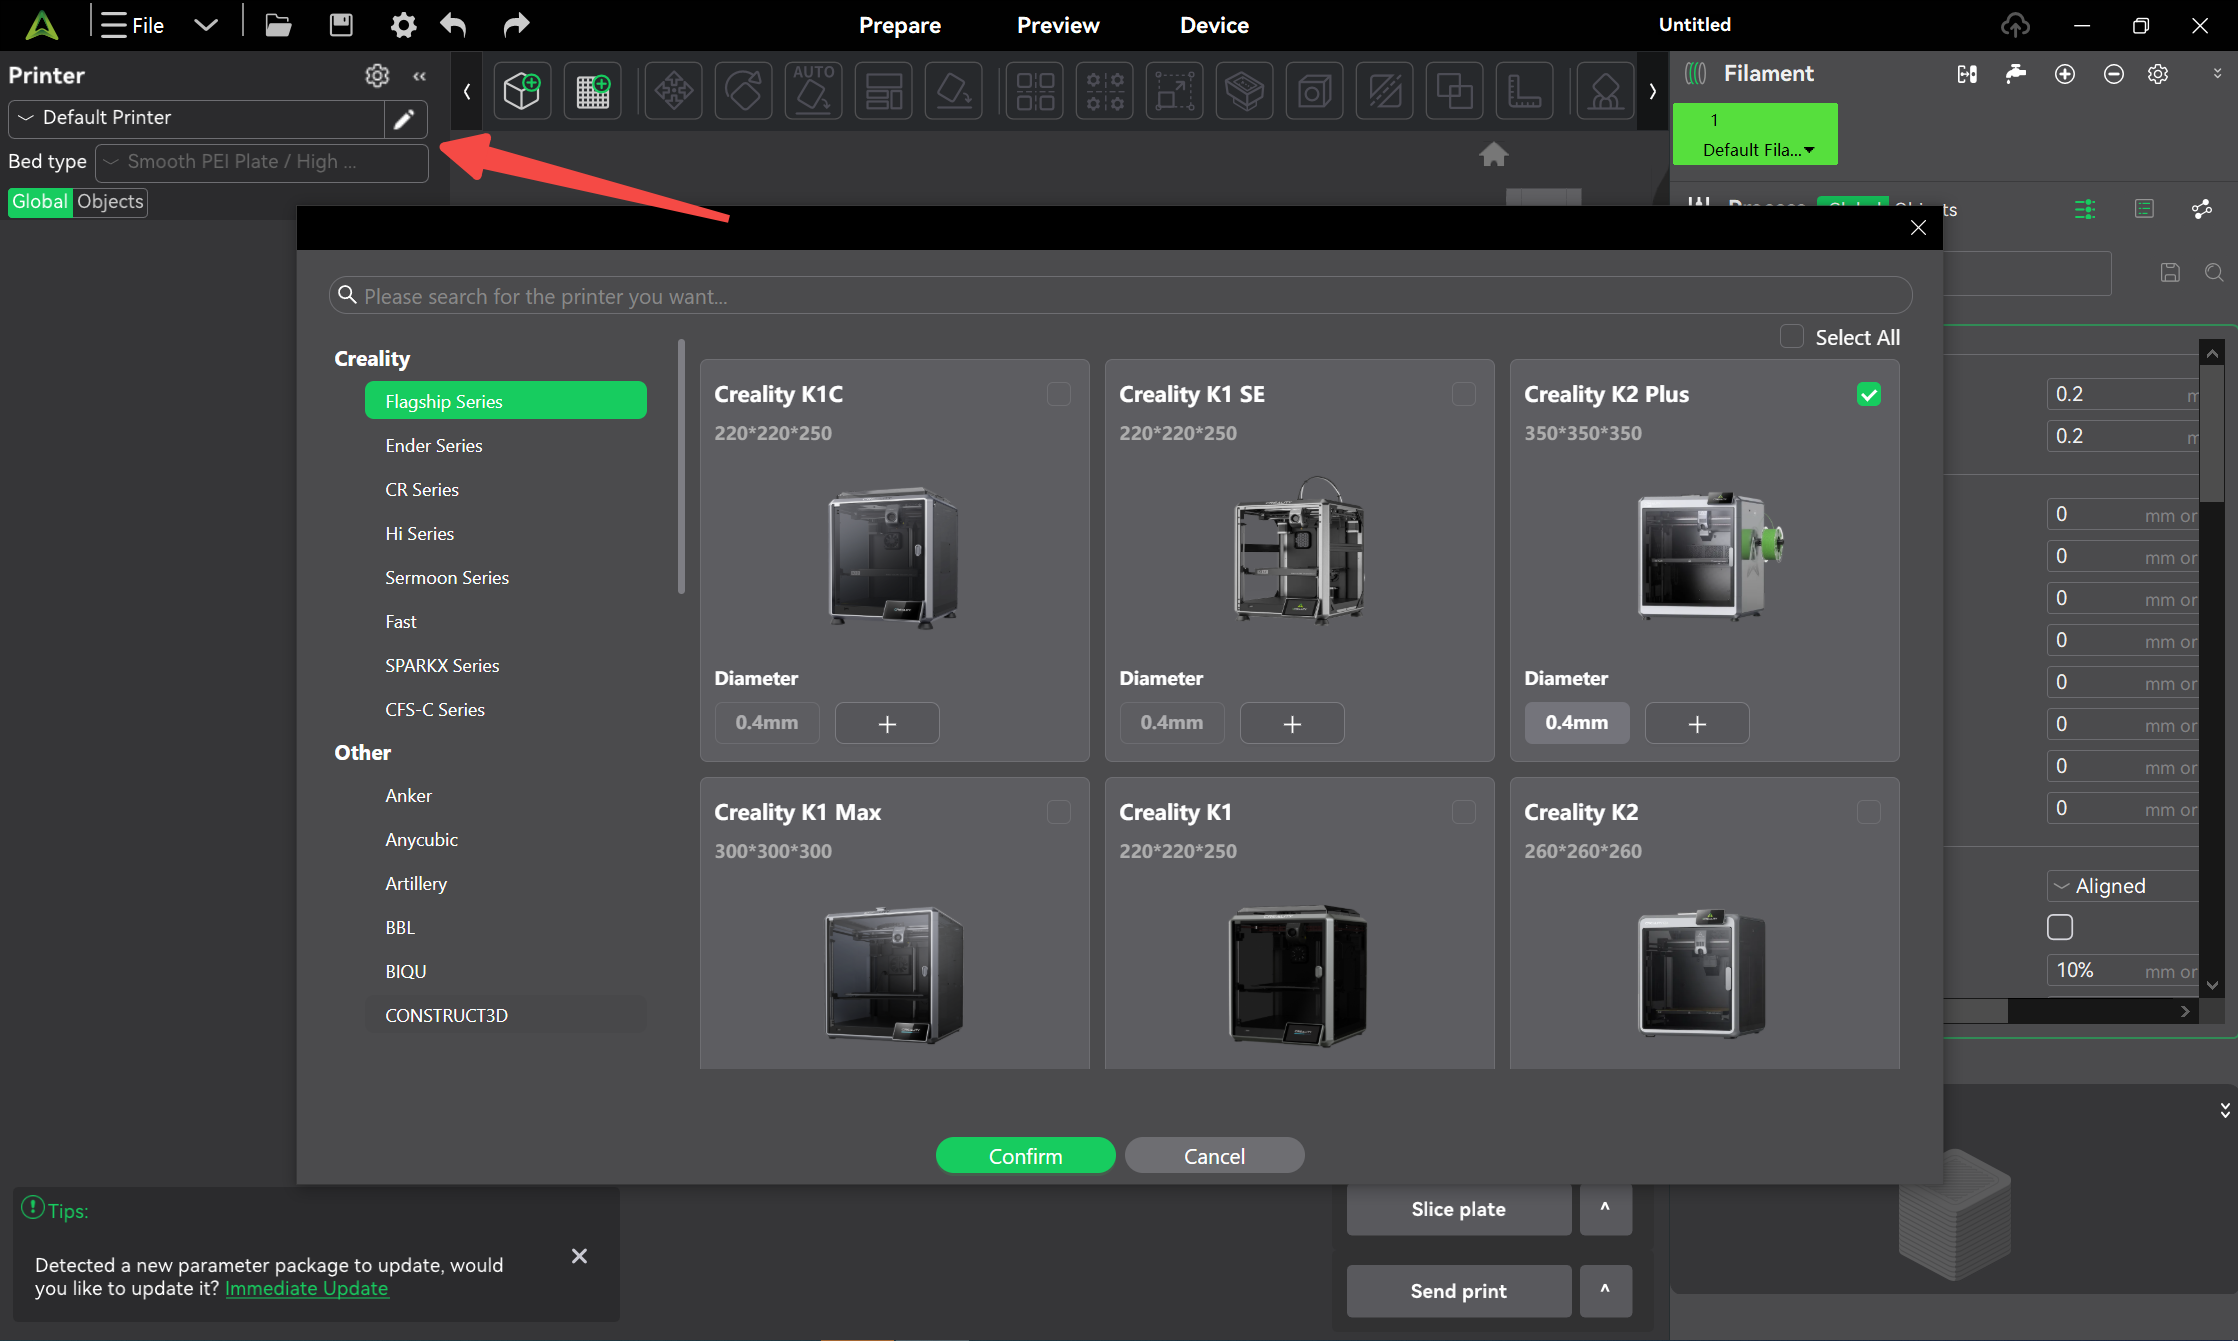
Choose the printer and nozzle size you plan to use.
Select a Filament
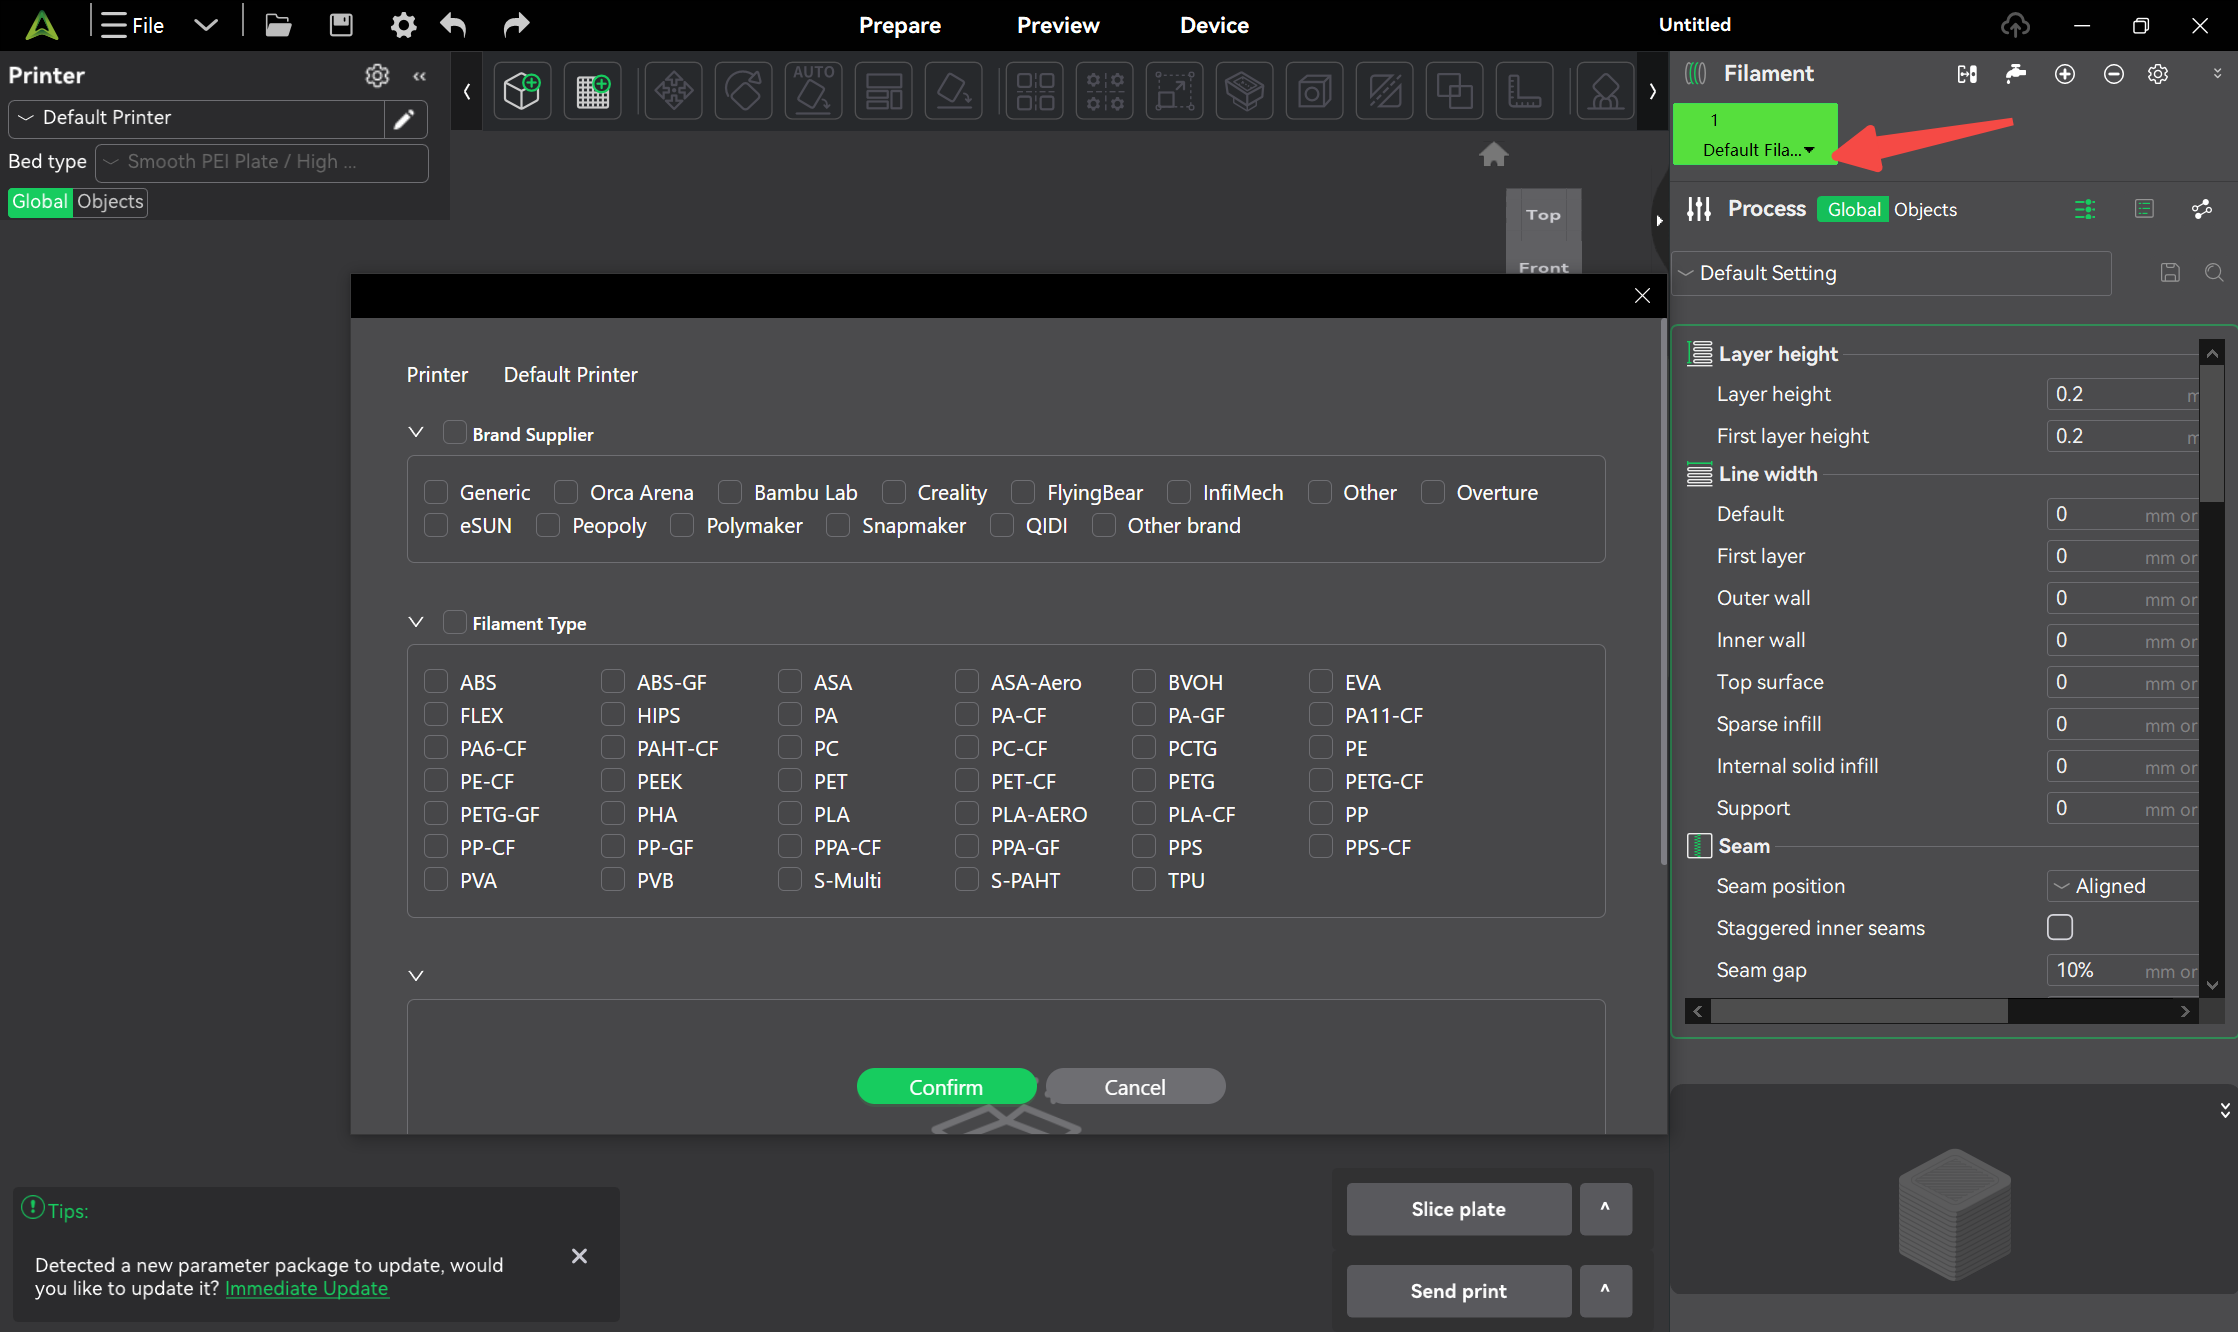
Choose the filament type loaded in your printer.
Select a Print Profile
Choose a print profile based on your desired balance of quality and speed.
For most prints using a 0.4 mm nozzle, a layer height of 0.20 mm provides a good balance between print quality and printing time.
Step 5: Slice and Print
Slice the Model
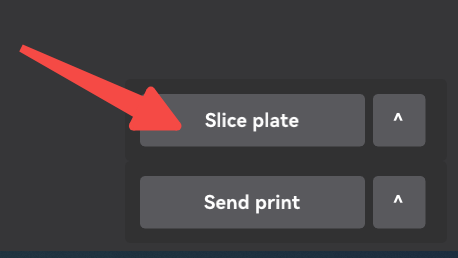
Click "Slice plate" in the bottom-right corner of the software.
Creality Print will generate a printable G-code file and automatically switch to Preview Mode, where you can:
- Review the sliced model
- Check estimated print time
- Inspect layer-by-layer toolpaths
Send the Print Job
You can send the print using either of the following methods:
LAN Print
If your printer is connected to the same network, select LAN Print and choose your printer from the device list.
Click One-click Print to start printing.
Export to Local
To save the file for manual transfer:
- Select Export to Local.
- Choose a destination folder, SD card, or USB drive.
- Save the G-code file.
- Insert the storage device into your printer and start the print from the printer's interface.
Congratulations!
You have successfully prepared and sent your first print using Creality Print.
Next Steps
Explore more features to improve your printing experience:
- Video Tutorials
- Multi-color Printing with CFS
- Remote Control and Monitoring
- Printer Calibration
- Advanced Slicing Settings
- Troubleshooting and FAQs
Happy Printing!