
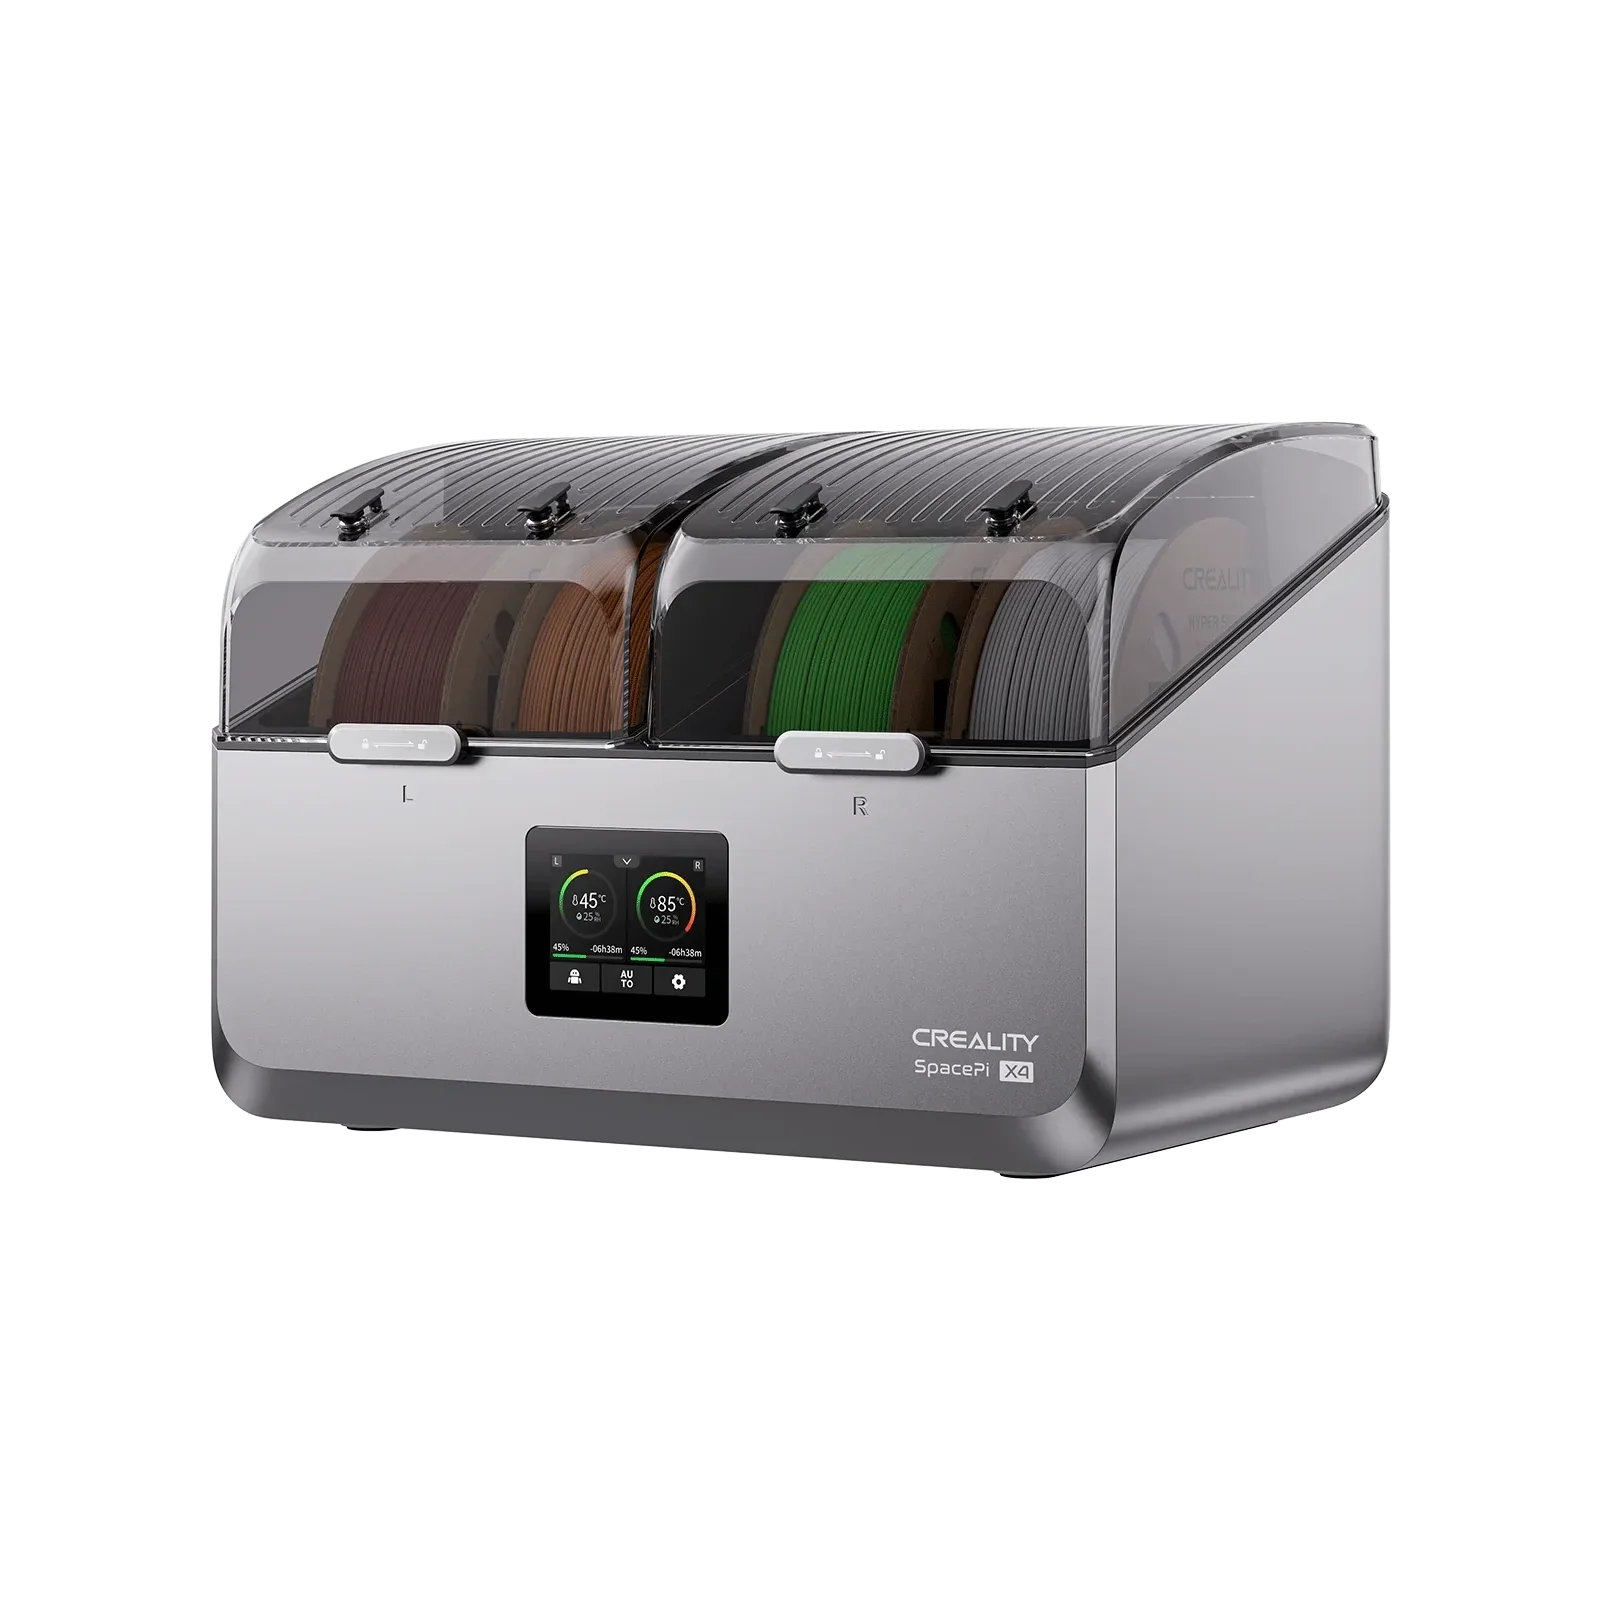
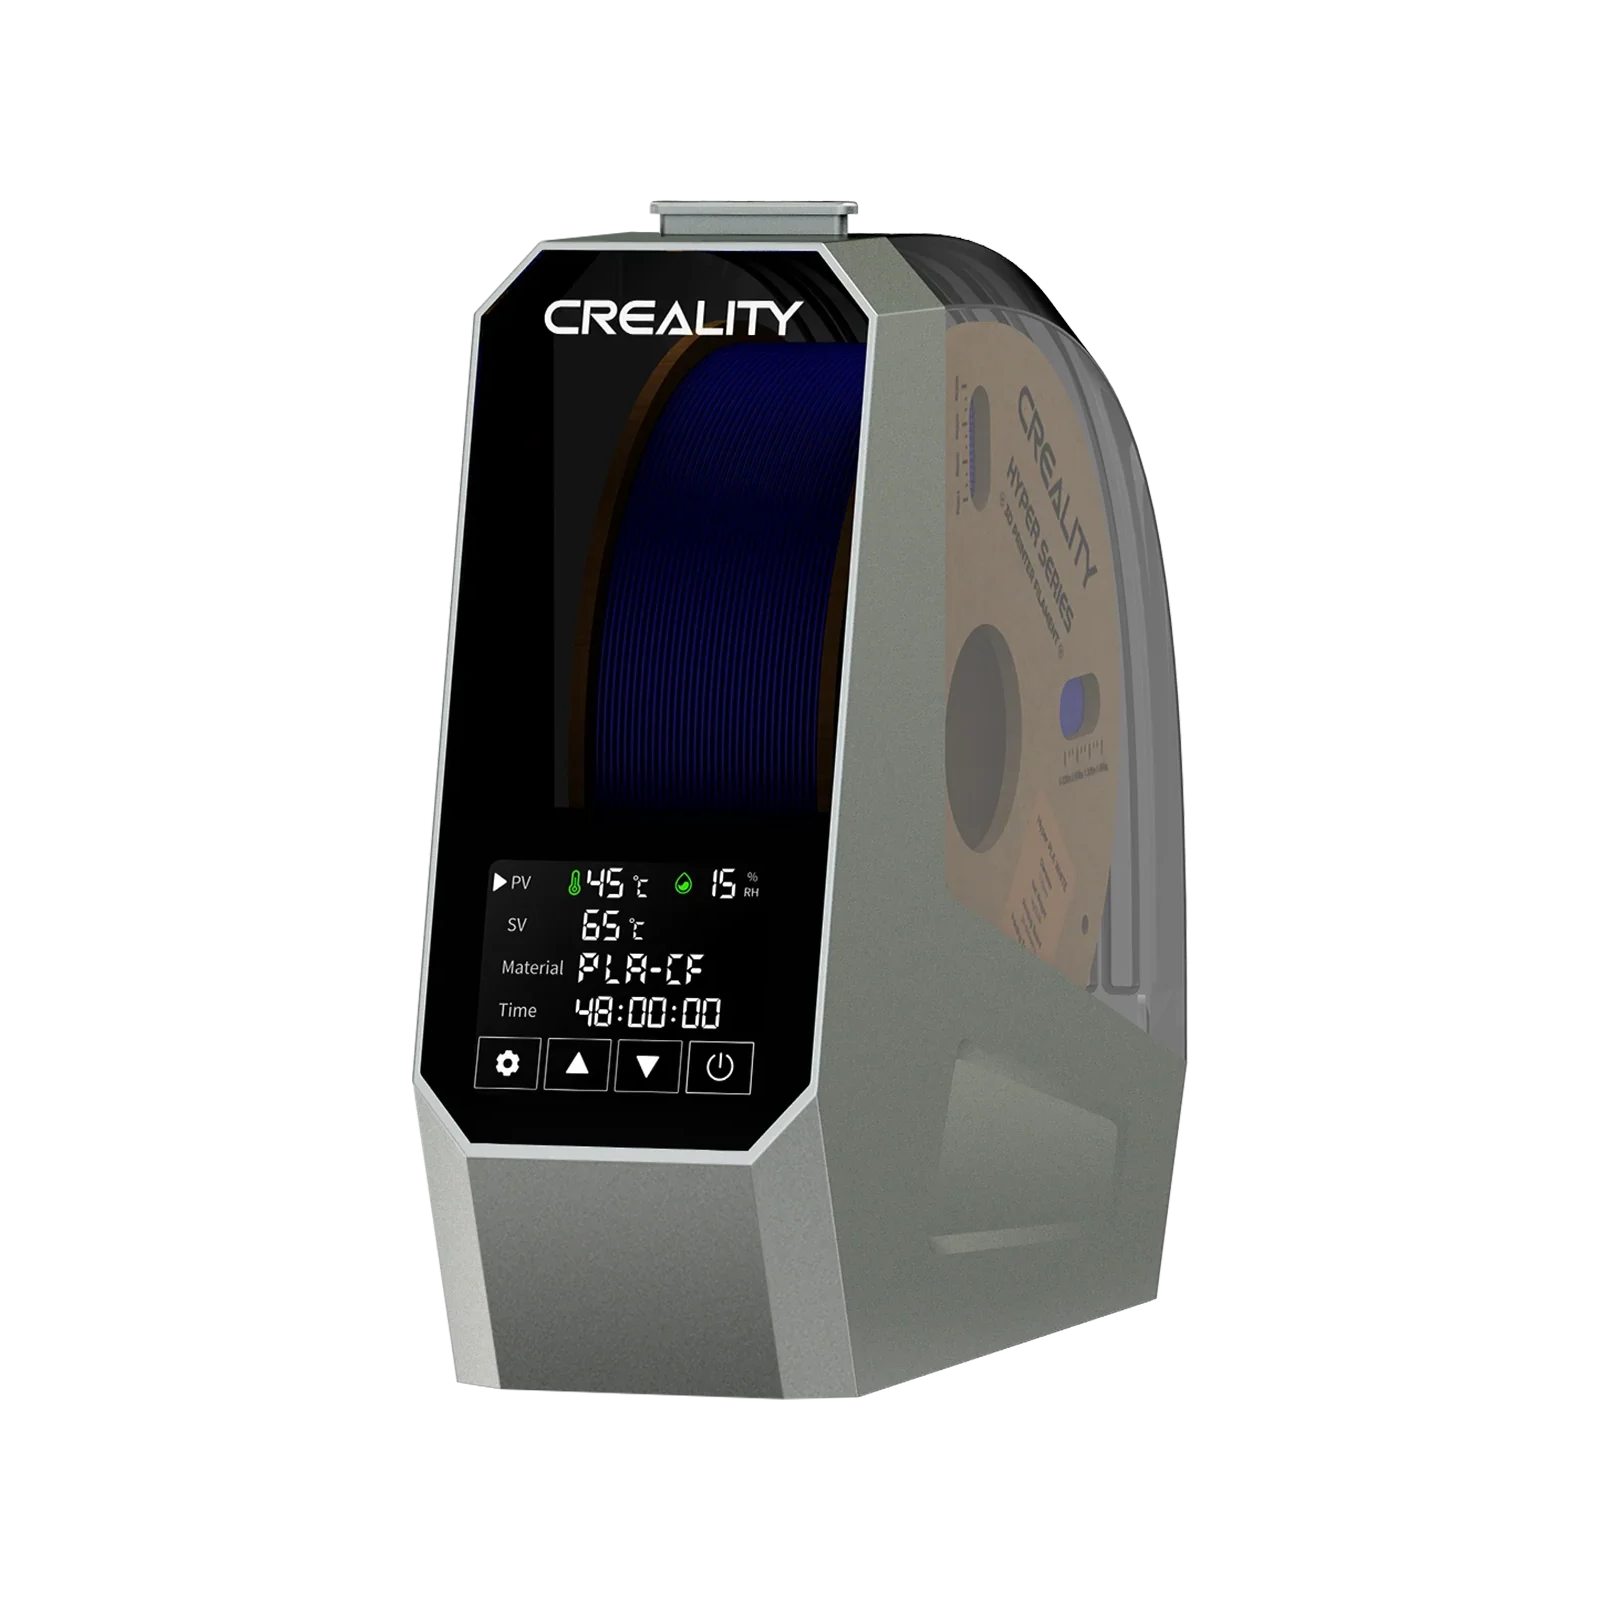
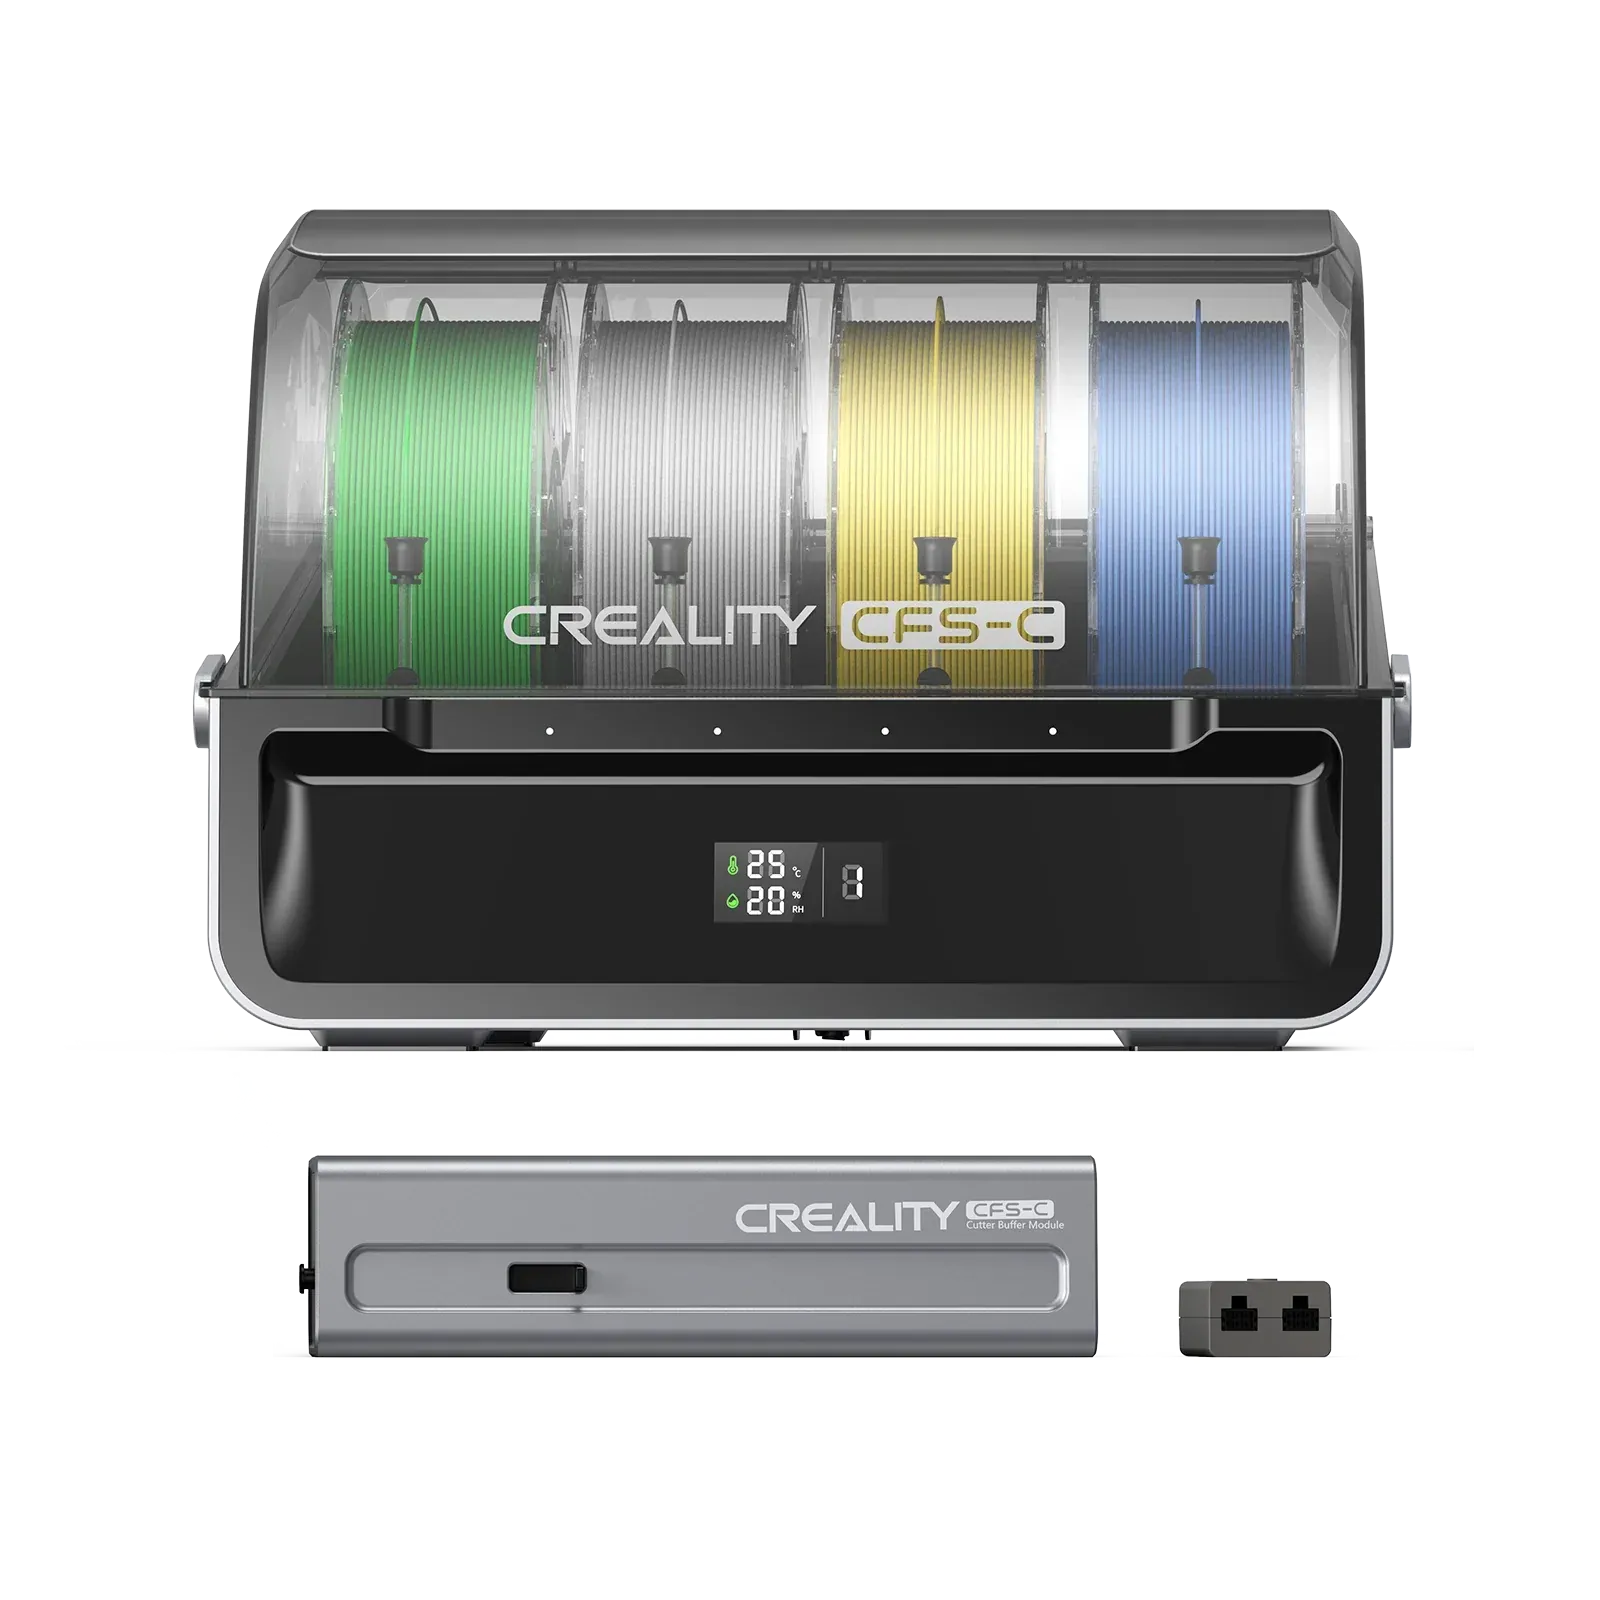
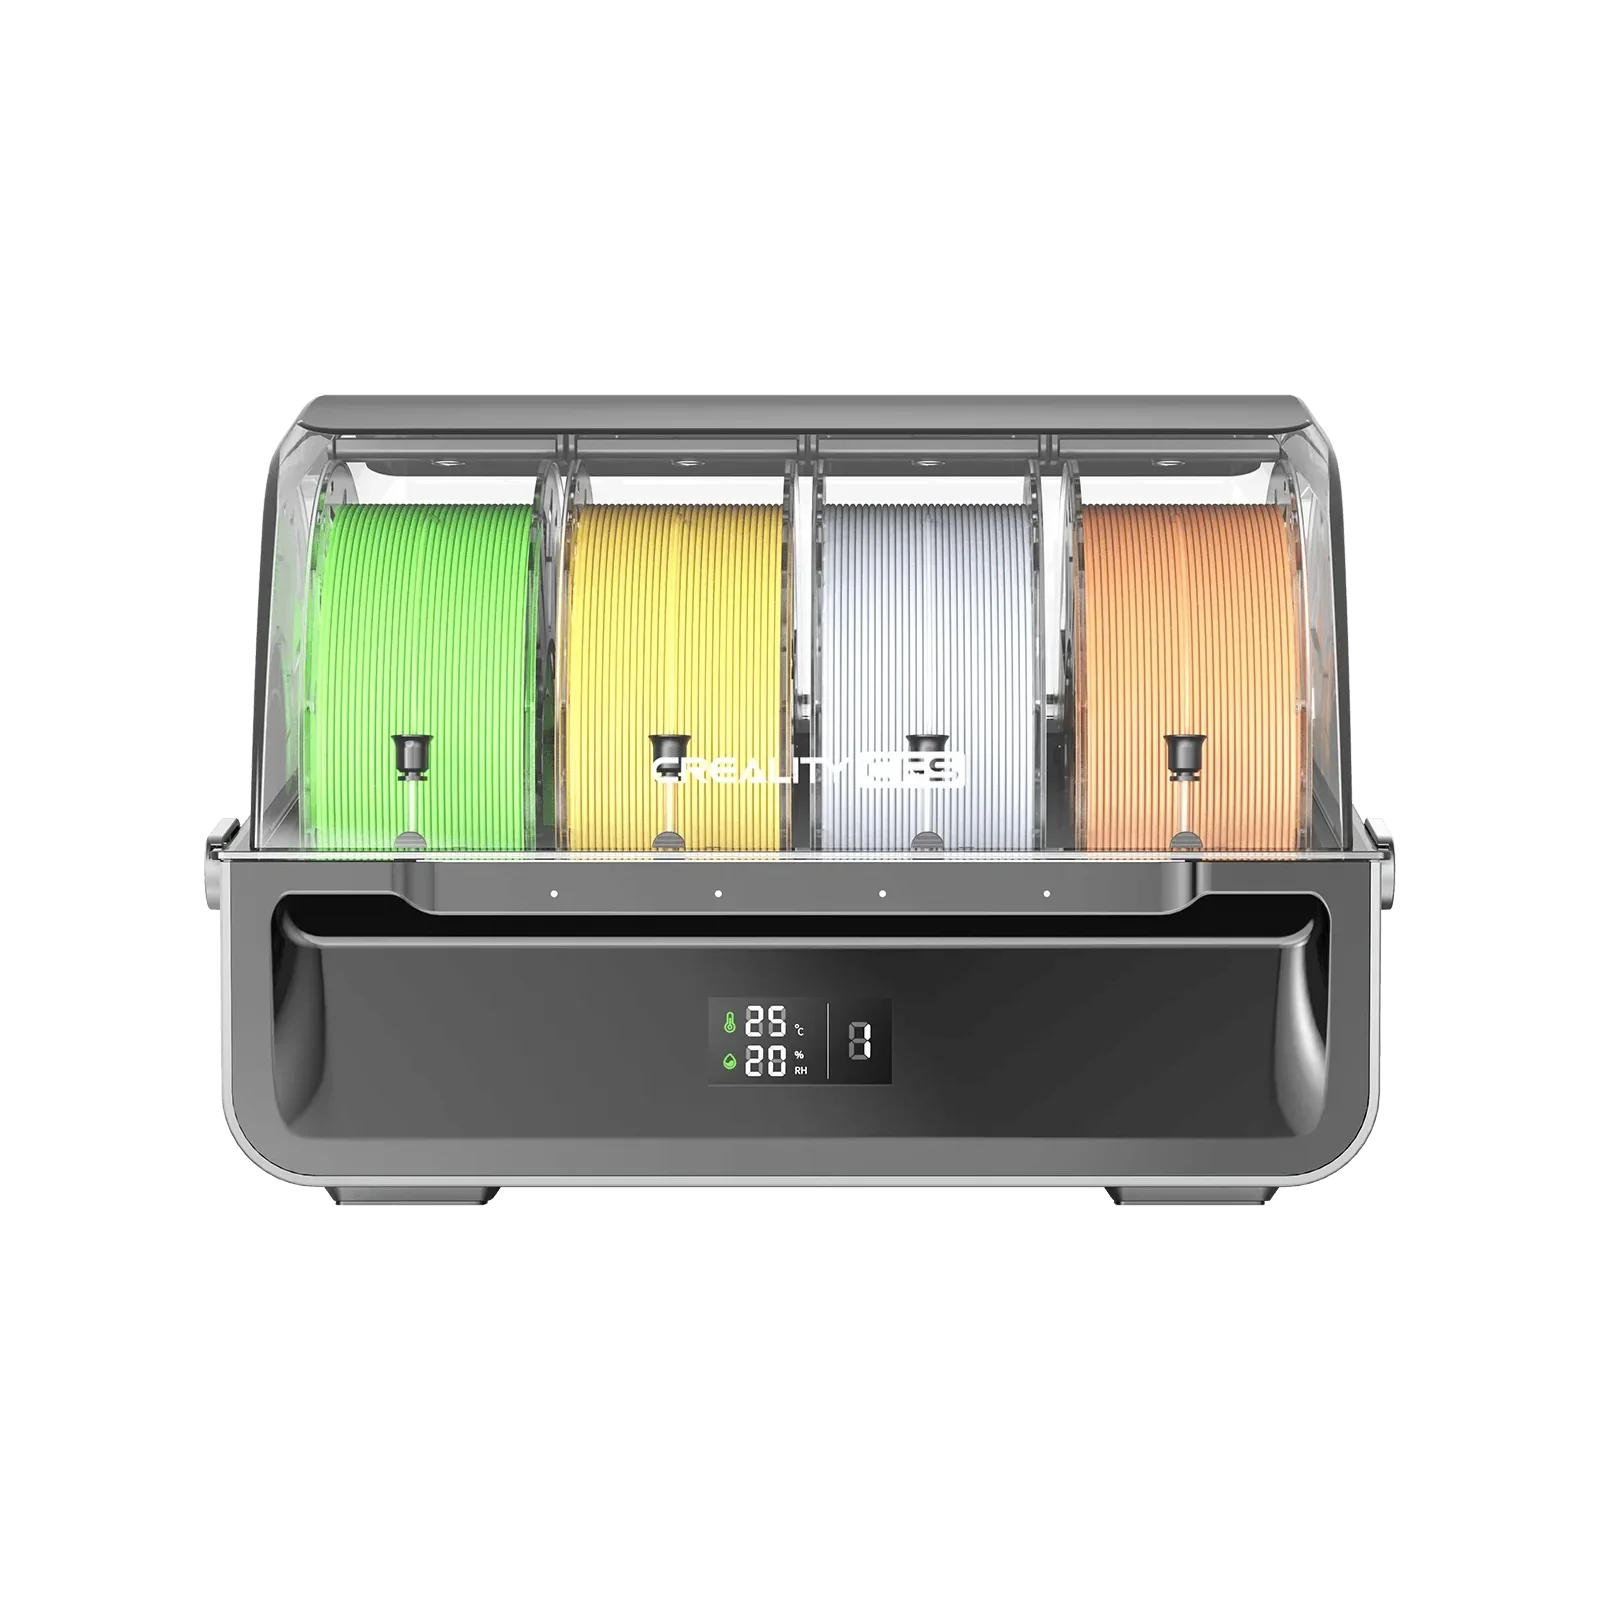
This guide explains how to manage filaments, configure settings, and use CFS features in Creality Print.
Read RFID Filament Information
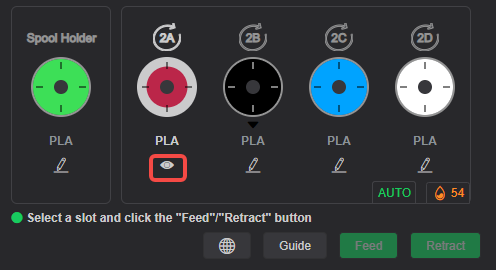
When Creality RFID filaments are loaded into the CFS, filament information is automatically detected and displayed, including:
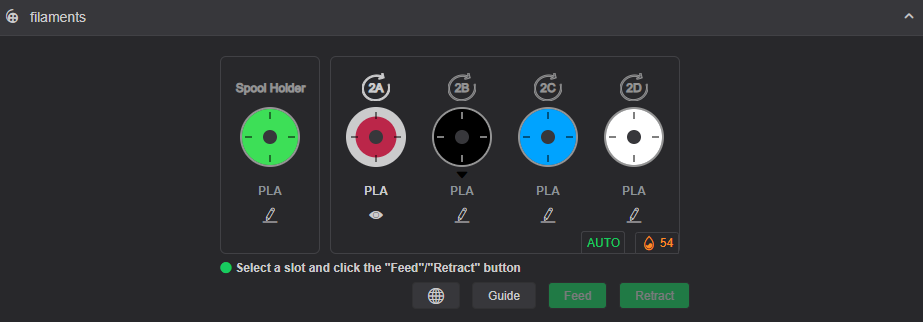
- Filament color
- Material type
- Remaining filament amount
- Other relevant filament data
Click the Details icon to view additional information, such as:
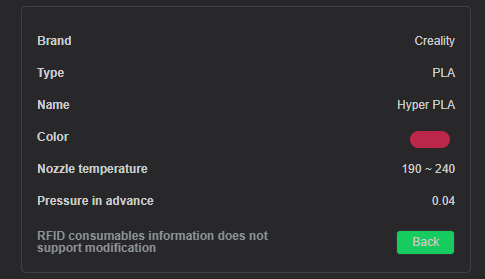
- Brand
- Material type
- Color
- Recommended nozzle temperature range
- Pressure Advance settings
Edit Filament Information
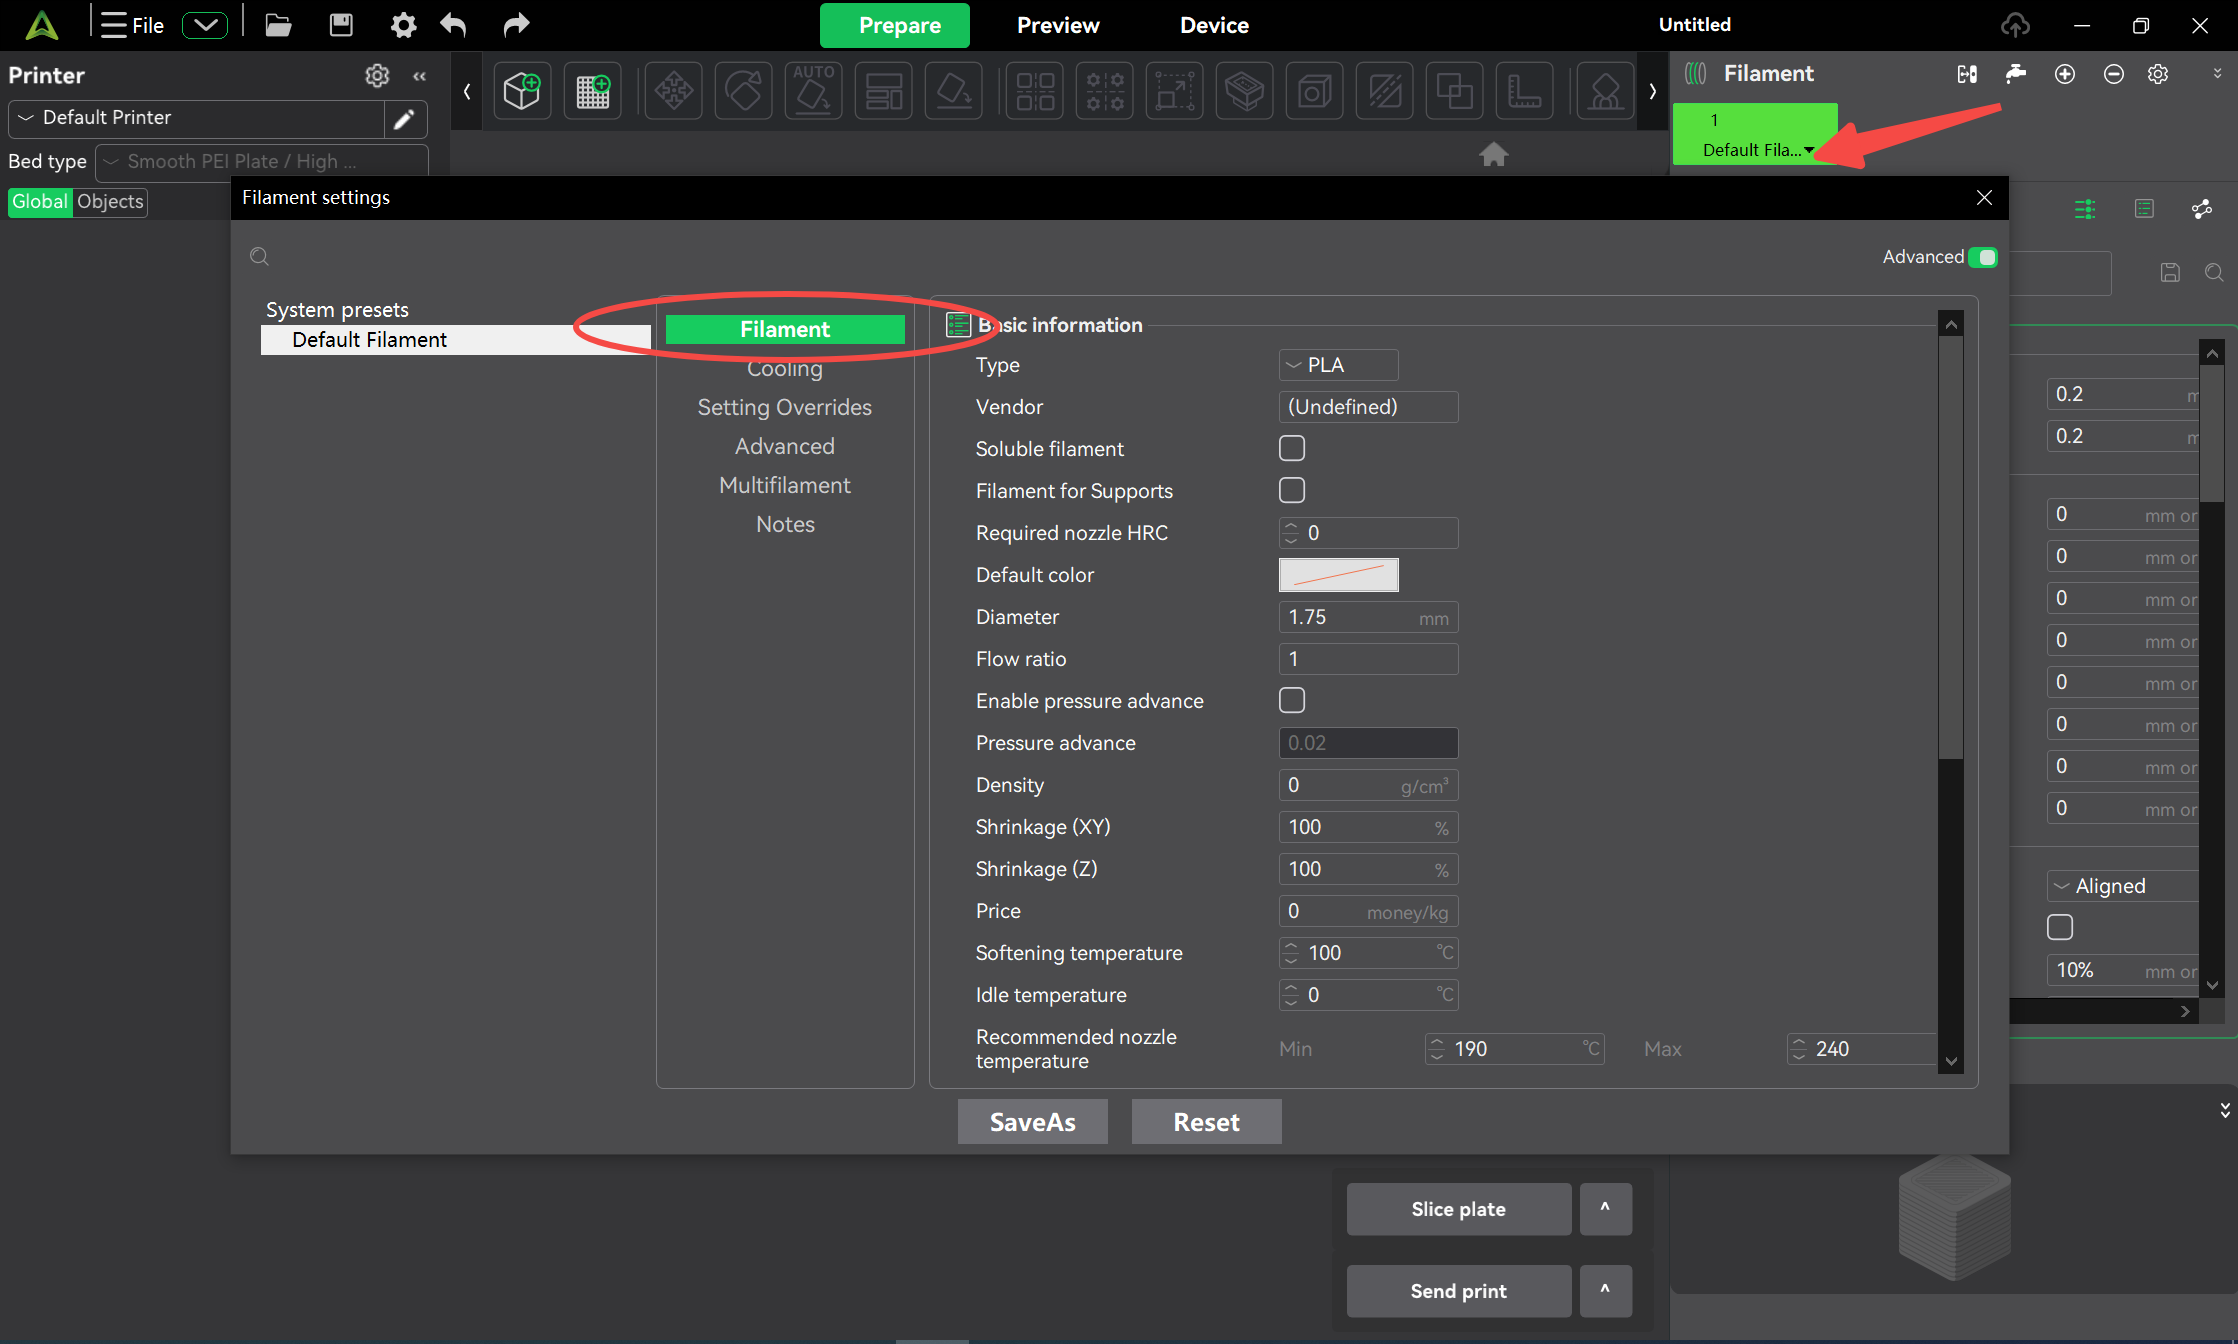
For non-Creality RFID filaments or filaments without RFID tags, manual configuration is supported.
You can manually enter and modify filament information, including material type, color, and print parameters.
Feed and Retract Filament
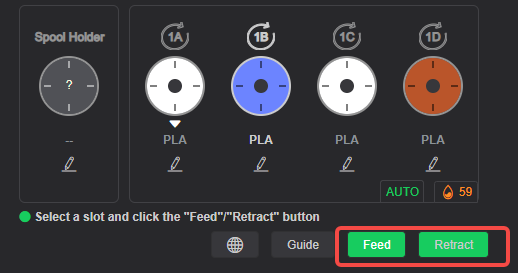
To load or unload filament:
- Select the desired filament slot.
- Click Feed or Retract.
- Wait for the operation to complete.
The corresponding button will become unavailable once the process is finished.
CFS Settings
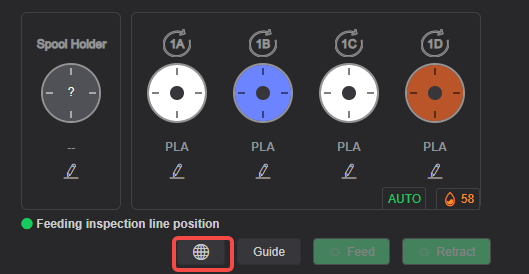
Click the Settings button to access CFS settings.
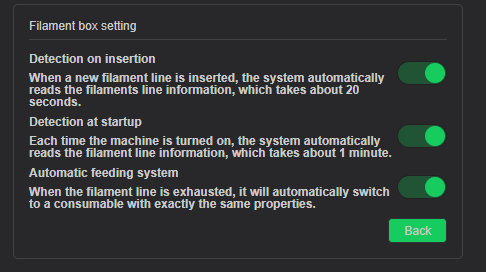
Available options include:
- Automatic filament information reading
- Automatic filament feeding
- Other CFS-related preferences
Automatic Refill
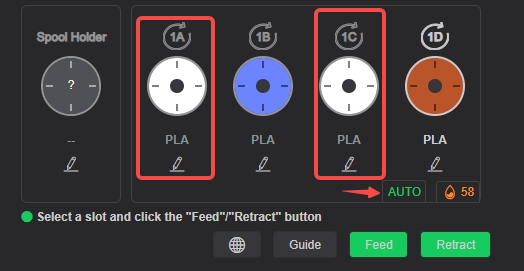
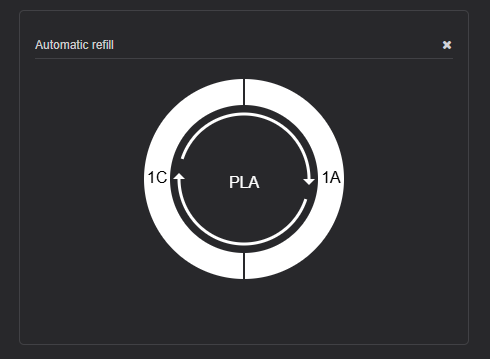
When Auto Feeding System is enabled, CFS can automatically continue printing using another spool with matching filament settings when the current spool runs out.
To view available backup spools:
- Click the AUTO button.
- Review the detected spools that are eligible for automatic switching.
For automatic refill to work correctly, the backup spool must have the same filament parameters as the active spool.
Humidity Display
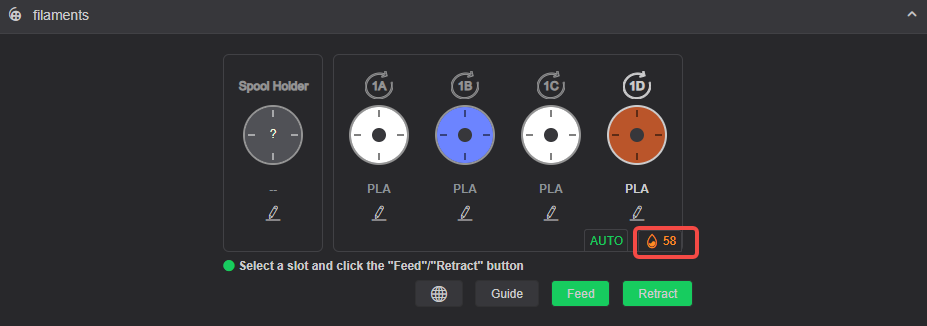
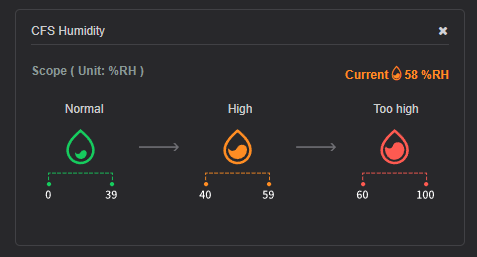
The humidity indicator displays the current humidity level inside the CFS.
Click the humidity value to view detailed humidity status information and recommended humidity ranges.
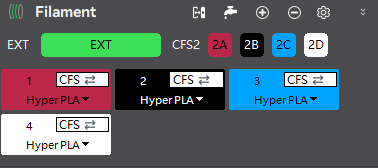
Multiple CFS units Display
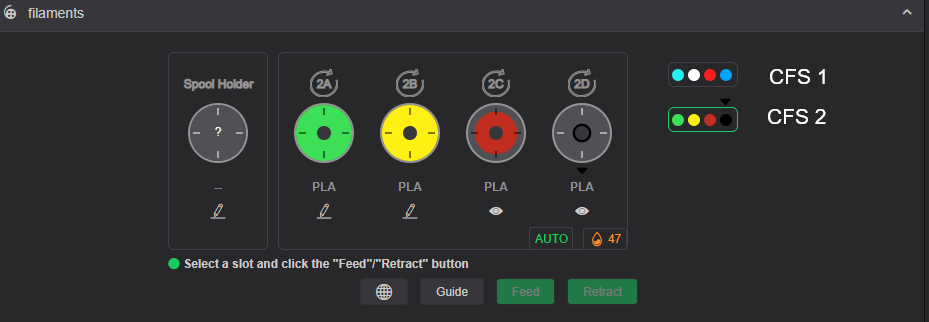
When multiple CFS units are connected, they will be displayed on the right side of the interface.
Click a specific CFS unit to switch between devices and view its corresponding filament information.
Auto Mapping
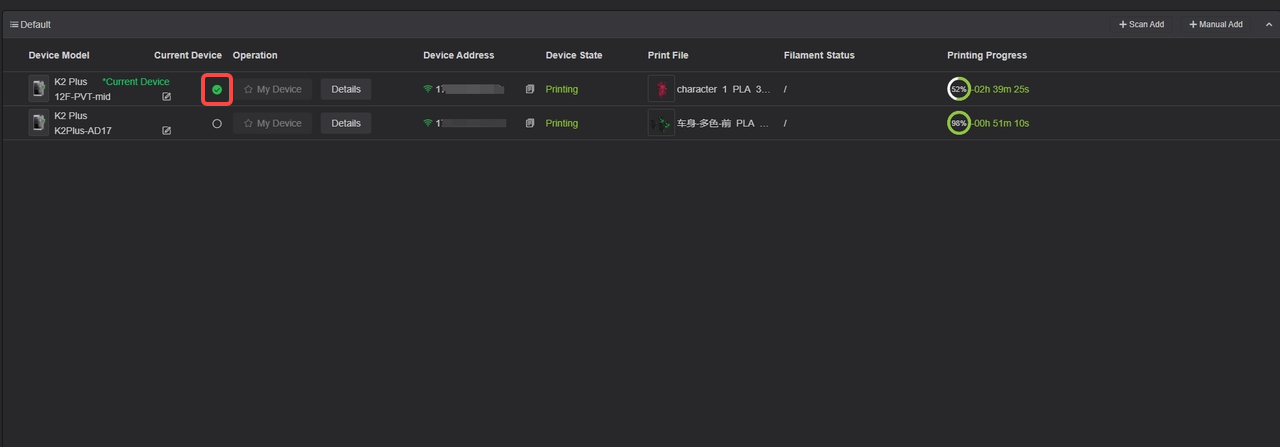
When a printer connected to CFS is selected as the active device on the Device page, you can use Auto Mapping to automatically match CFS slots with filament presets.
To use Auto Mapping:
- Select the connected printer as the current device.
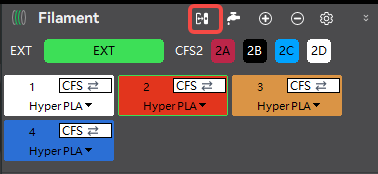
- In the Filament section, click Auto Mapping.
- Creality Print will automatically map detected filaments to the corresponding filament presets.