





Every maker, whether using an entry level 3d printer or a high-end industrial one, at some point hits a wall. The first layer lacks adhesion. Thin plastic strings extending over a model or corners curl up mid-print. All of these issues are part of the learning curve for beginners and experts equally. The good news? Most 3d printing problems have obvious causes and easy fixes. Today’s guide covers the 10 most common 3d printing issues, what causes them, and exactly how to fix them.
In case your printer just failed or is constantly failing, here’s precisely what’s causing it and how to fix it.
3D Printing Problems at a Glance
|
Problem
|
Main Cause
|
Quick Fix
|
|
Poor bed adhesion
|
Wrong Z-offset or dirty surface
|
Re-level bed, clean plate
|
|
Warping
|
Inconsistent cooling or a cold bed
|
Increase bed temp, add brim
|
|
Stringing
|
Excessive print temperature or retraction
|
Lower temp, increase retraction
|
|
Under-extrusion
|
Partial clog or wrong flow rate
|
Clean nozzle, calibrate flow
|
|
Overe-extrusion
|
Flow rate too high
|
Reduce flow rate, calibrate
|
|
Layer separation
|
Low temp or print speed too high
|
Increase temp, reduce speed
|
|
Clogged nozzle
|
Burnt filament or debris buildup
|
Cold pull or nozzle replacement
|
|
Elephant foot
|
Z-offset too low or bed too hot
|
Raise Z-offset, minimize bed temp
|
|
Spaghetti/print failure
|
Loss of bed adhesion mid-print
|
Enable AI detection, check adhesion
|
|
Inconsistent extrusion
|
Broken gears or tangled spool
|
Examine the extruder, respool filament
|
PROBLEM 1: Poor Bed Adhesion
Poor bed adhesion is the most common issue in 3D printing and is very disturbing to witness in real-time. As bed adhesion is the key to a successful print. The initial layer is the foundation of everything. If it does not stick seamlessly to the build surface, nothing above it will either. The print shifts, curls, or detaches entirely, and the job is over before it actually begins.
Why It Happens
-
Excessive Z-offset: The nozzle is far from the build surface. Filament deposits in mid-air rather than pressing onto the plate, so it does not stick. This is the first thing to check.
-
Dirty build plate: Dust, skin oils, and waste from previous prints all decrease adhesion. Even a plate that seems clean has an invisible oil layer from managing. A single fingerprint on the PEI surface is sufficient to cause a failed first layer.
-
Very low bed temperature: Different filaments require distinct bed temperatures to bond properly. PETG requires 70–80°C. PLA bonds at 50–60°C. A very cold bed causes filament to cool and contract before it sticks, pulling away from the surface almost instantly.
How to Fix It
Repeat bed leveling and adjust Z offset: Even auto bed leveling printers gain from a Z-offset analysis. Lower the offset by 0.05 increments till the initial layer presses strongly onto the surface with a slight squish. The line must be flat, not rounded on top, not so flat that it’s transparent.
Cleanse the build plate with isopropyl alcohol (IPA), 70% or higher, before each print session. Use a paper towel or a clean cloth and handle the plate by the edges only.
Match bed temperature to your filament. Here are the recommended bed temperatures for filaments:
-
PLA: 50–60°C
-
PETG: 70–80°C
-
TPU: 30–60°C
-
ABS: 90–110°C
-
PLA-CF: 55–65°C
Use a textured PEI build plate, as these surfaces grip filament automatically during printing and release cleanly once cooled. No glue sticks, no adhesives, and no hairspray required.
PROBLEM 2: Warping
The print begins well. First layer looks immaculate. Then, somewhere around 5 or 10 layers, the corners begin to curl. Before you notice, the model has already warped beyond repair. Another most frequent 3D printing problem with bigger models, and among the most avoidable when you know what causes it.
Why It Happens
-
Fast and uneven cooling: Hot filament shrinks as it cools. When the outside edges of a print cool more quickly than the center, which is a constant happening during printing, the contracting material pulls the corners upward. The bigger the model, the more prominent this impact becomes.
-
Very low or inconsistent bed temperature: A hot bed slows the cooling procedure by maintaining the bottom layers hot throughout the print. In case the bed temperature is very low or drops irregularly, the bottom layers cool at the same pace as the top ones, and the material contracts unevenly.
-
Big flat models without a brim: Models with a massive flat footprint and no brim have restricted contact with the build surface. When contraction forces increase, there is not enough adhesion area to hold the corners down.
How to Fix It
Elevating the bed temperature is the first fix to try. Warping-prone filaments such as PETG and ABS require higher bed temperatures to remain bonded during printing. Below are the recommended bed temperatures for warping prevention:
PLA: 55–65°C
PETG: 75–85°C
ABS: 100–110°C
TPU: 40–60°C
Introduce: a brim in the slicer because it adds extra perimeter lines around the base of the model. This boosts the surface contact area and holding corners down during printing. Use a brim width of 5–10mm for models that are prone to lifting. Take it off cleanly after the print cools.
Switch off cooling fans for the initial 3-5 layers. These fans increase the temperature difference between fresh layers and the build surface. Removing them gives the base time to stick fully before cooling starts.
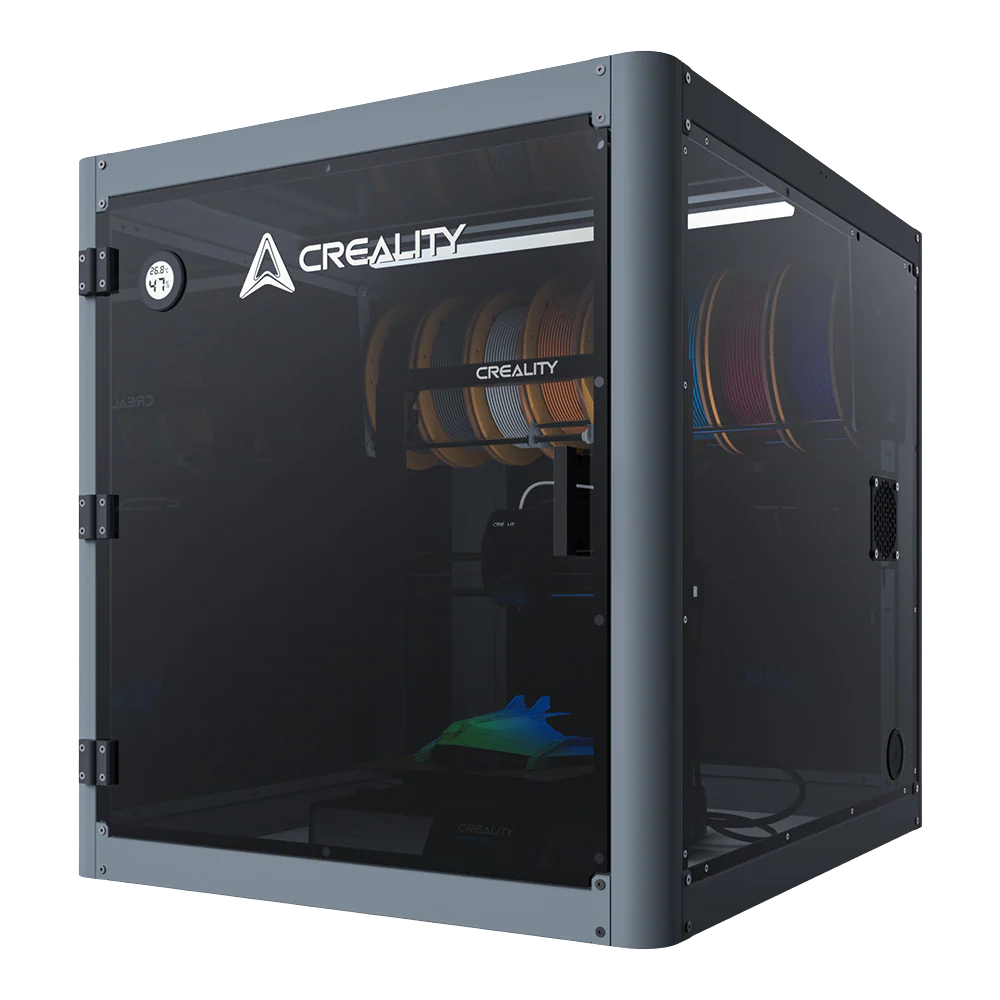
Enclose the printer. Open-structure printers reveal the print to room temperature, which varies, drafts, and quickens uneven cooling. An enclosure captures heat around the model and keeps the environment steady throughout the entire print task. For ABS especially, an enclosure isn't optional; it's essential.
PROBLEM 3: Stringing
A little stringing is not a problem. However, extreme stringing that needs comprehensive post-processing suggests issues with the filament or print settings. The good news? It’s fixable and preventable, also.
Why It Happens
-
Dirty nozzle: Scorched filament and lumps that remain on the exterior of your nozzle can disrupt extrusion, leaving string-like threads on the print's outer surface.
-
Very high print temperature: When the hotend temperature is excessive, molten filament remains liquid longer than it should. During travel moves, when the print head moves from one section to another without extruding, liquid filament oozes out of the nozzle and strings across the gap.
-
Retraction not optimized: Retraction draws filament back into the nozzle before a travel move, avoiding ooze. When the retraction distance is very short, or the retraction speed is very slow, not enough filament is drawn back, and stringing occurs.
How to Fix It
Clean the nozzle. Start by heating the nozzle to a temperature suitable for the filament you are printing with now. At that temperature, utilize a brass wire brush and mildly scrub the nozzle tip, eliminating any filament accumulation and blackened waste as you go. When the nozzle gets clean, extrude a bit of filament through the nozzle to verify the opening is clear.
Lower print temperature in 5°C increments and run a stringing test print, an easy model with several tower functions, well. Keep lowering until stringing lowers without impacting layer adhesion. Most PLA prints better between 190–210°C.
Optimize retraction settings:
|
Extruder Type
|
Retraction Distance
|
Retraction Speed
|
|
Direct Drive
|
0.5–2mm
|
25–45mm/s
|
|
Bowden
|
4–7mm
|
40–60mm/s
|
PROBLEM 4: Under-Extrusion
Defined by visible gaps between extrusion lines in walls, incomplete, thin or partially missing layers, and rough or surfaces with small holes, under extrusion is generally an outcome of clogging anywhere in the filament path.
Why It Happens
-
An entirely clogged nozzle generates no extrusion at all. A partial blockage, more frequent and harder to find, limits flow without stopping it completely.
-
Dirty build plate
-
The bed temperature is too low
-
Print speed is too fast for the hotend
How to Fix It
Re-do bed leveling and reduce Z-offset a bit. Clean the plate with isopropyl alcohol before each print. Match bed temperature to filament, PETG: 70–80°C, PLA: 50–60°C
PROBLEM 5: Over-Extrusion
Under-extrusion steals the limelight. Over-extrusion is only as harmful and easier to skip because the print technically finishes. It just does not look right; random blobs, extra material on walls, and parts that don’t fit assemblies.
Why It Happens
-
The flow rate is set very high. The printer drives more filament than every layer requires. The extra has nowhere to go, so it squeezes outward, gathering on surfaces and creating dimensional inaccuracy.
-
The wrong filament diameter is set in the slicer, which measures the incorrect extrusion volume, pushing either too much or too little, regardless of the flow rate.
How to Fix It
Print a single-wall cube, check with calipers, and lower the flow rate in 2-3% steps. Calculate real filament diameter and optimize slicer settings. Lastly, reduce print temperature by 5°C to minimize material speed.
PROBLEM 6: Layer Separation
A print that seems finalized, however, breaks apart along its layers, among the most depressing results in 3D printing. The model is there, but without any structural integrity. Layer separation indicates the layers never bonded correctly in the first place.
Why It Happens
-
Extremely low print temperature. Due to this, the filament does not get hot enough to fuse correctly. Layers sit on top of each other rather than bonding into one structure.
-
Very high speed
-
Layer height is really tall for the nozzle diameter
How to Fix It
First, increase the nozzle temperature in 5°C increments. Lower print speed by 20%. Maintain layer height under 75% of the nozzle diameter. Here’s the recommended layer height for different nozzle sizes:
|
Nozzle Size
|
Max Layer Height
|
|
0.4mm
|
0.32mm
|
|
0.6mm
|
0.45mm
|
|
0.8mm
|
0.60mm
|
PROBLEM 7: Clogged Nozzle
A clogged nozzle, one of the most common 3D printing problems, brings everything to a standstill. One minute, the printer is operating perfectly. Next, the extruder is grinding, no extrusion, partial blockage, and the print is ruined.
Why It Happens
-
Burnt filament waste. At high temperatures or after lengthy print sessions, this waste burns and carbonizes, narrowing the internal channel.
-
Printing at the wrong temperature. Printing any filament below its particular melt temperature range means it never fully melts, it partially softens. Then hardens again within the nozzle and turns into a solid blockage.
-
Dust or debris is entering the hotend.
How to Fix It
Use the cold pull method to unclog the nozzle. Heat to print temp → cool to 90°C → pull strongly. Repeat until clean. Additionally, use a 0.4mm needle to clear the tip. Replace the nozzle in case two cold pulls don’t restore flow.
PROBLEM 8: Elephant Foot
A typical 3D printing problem, in which the base of the print expands outward like a skirt, wider than everything above it. It looks insignificant, but causes actual issues: parts don’t fit into assemblies, flat foundations are not actually flat, and dimensional precision suffers from the very first layer.
Why It Happens
-
Too low Z-offset
-
The bed temperature is too high
How to Fix It
Increase Z-offset in 0.5mm steps till the initial layers stop spreading. Lower the bed temperature by 5°C; test and monitor. Enable elephant foot compensation in your slicer. Most of the new slicers have this setting.
PROBLEM 9: Spaghetti / Mid-Print Failure
Spaghetti is one of the top wasteful setbacks in 3D printing. The model disconnects or fails mid-print. The printer keeps operating, depositing filament into a twisted mess of loose strands. Hours of print duration and a complete spool episode are wasted.
Why It Happens
-
Loss of bed adhesion mid-print. The model binds for the initial few layers, then releases as thermal tension increases and adhesion weakens.
-
No filament runout sensor.
-
Vibration shifting the model
How to Fix It
Facilitate AI spaghetti detection. It detects failures early and automatically pauses the task. Cleanse the plate with IPA and confirm Z-offset before long prints. Include a brim on tall, narrow models. Additionally, lower speed on prints over 100mm tall.
PROBLEM 10: Inconsistent Extrusion
It creates prints that seem rough, feel uneven, and vary in wall thickness over the model. Unlike under-extrusion, which creates constant gaps, inconsistent extrusion produces random variation. A few lines are thin, and a few are thick.
Why It Happens
-
Damaged extruder gears
-
Tangled spool generating back-tension
-
Water-damaged filament
How to Fix It
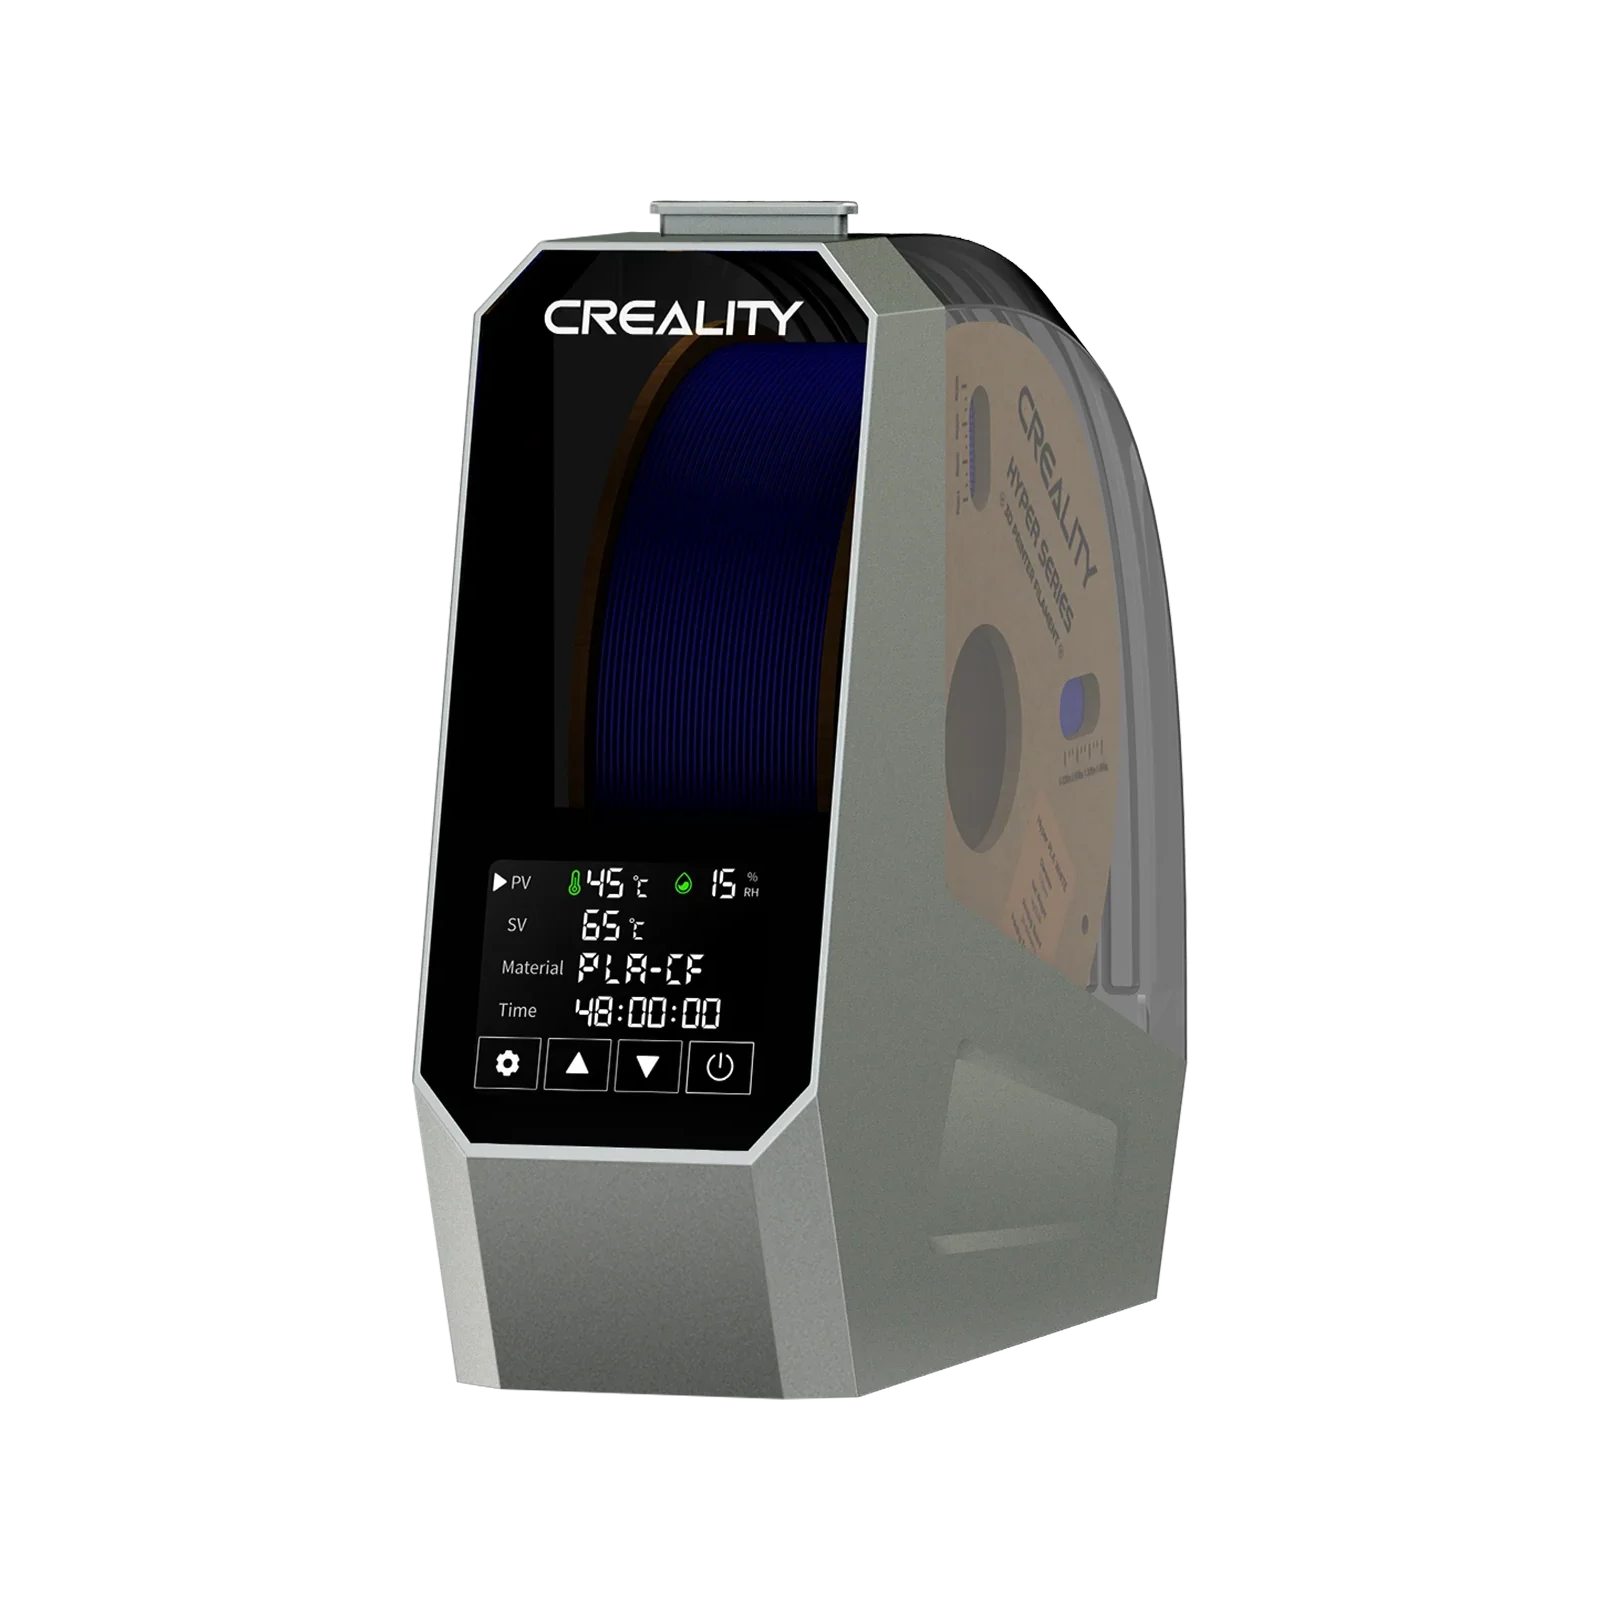
Examine extruder gear teeth; replace if rounded or damaged. Inspect the spool for twists and respool if required. Dry the wet filament before printing. Put the spool in a filament dryer or low-temperature oven at 45–65°C for 4–6 hours before printing.
Conclusion
The same 10 3D printing issues cause the large majority of failed prints, irrespective of printer brand, experience level, and filament kind. The solution is always the same: change one variable at a time, test, observe, adjust. Changing numerous settings at once produces new issues more quickly than it solves existing ones. Most prints that break down today succeed tomorrow; you must know which variable to change first.