


If you’ve just unboxed your Creality K2 and started your first project, you might be wondering why the results don’t look as flawless as the photos or demo prints online. And, you’re not alone. Even with a powerful machine, it’s common for new users to face small imperfections like stringing, rough surfaces, or uneven layers.
The good news? Your K2 already has the advanced hardware needed to deliver pro-level results. Achieving that level of finish isn’t about luck. It’s about learning the right setup, tuning, and care routines.
In this guide, we’ll walk through practical steps to improve K2 3D printer quality from quick pre-print checks to advanced calibration tips used by experienced makers. Whether you’re chasing smoother surfaces, stronger parts, or simply more consistent results, these tips will help you unlock the full potential of your K2.
Know Your K2 Hardware
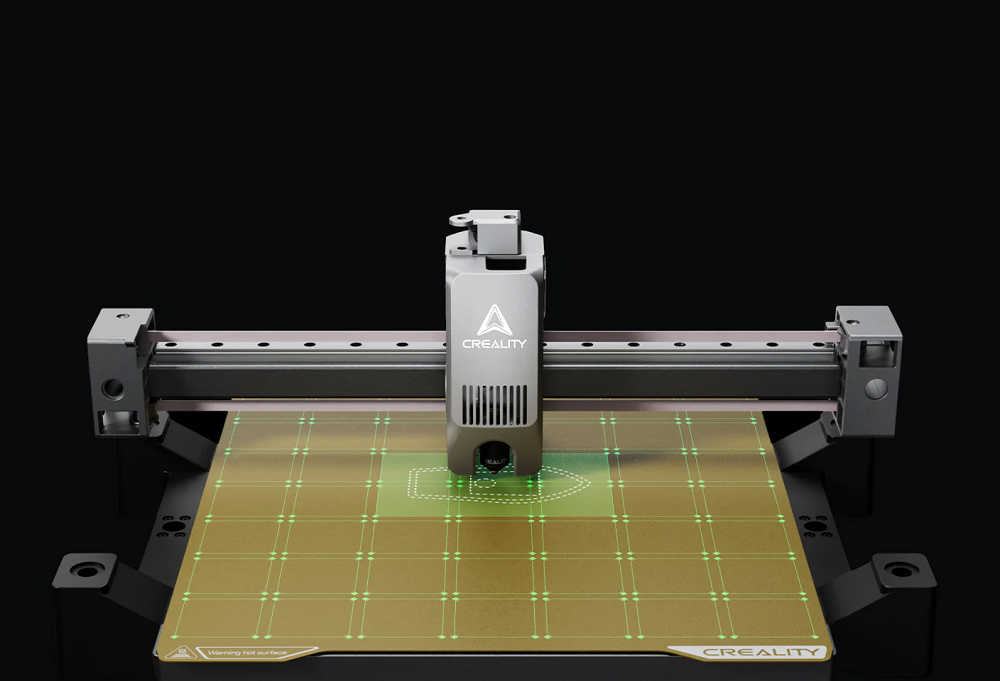
Before you start adjusting settings, it’s worth understanding what makes the Creality K2 3D printer unique. Unlike entry-level models, the K2 is built on a CoreXY motion system paired with a direct drive extruder and dual Z-axis stability. Each of these features directly affects your print quality.
-
CoreXY system: This design allows the K2 to move quickly and smoothly without sacrificing accuracy. The result: faster prints with cleaner corners and sharper details. However, CoreXY setups are more sensitive to belt tension and frame stability, so regular checks are key.
-
Direct drive extruder: Mounted close to the hotend, the extruder gives you precise filament control. This reduces stringing and improves results with flexible filaments. The tradeoff? Slightly higher weight on the printhead, which makes calibration even more important.
-
Dual Z-axis: Supporting the bed from both sides prevents wobble and keeps layers aligned, especially on taller prints.
Together, these features give the K2 a strong foundation for excellent print quality. The challenge is learning how to fine-tune them. Once you understand these strengths and their sensitivities, you’ll be better prepared to tackle any quality issues head-on.
See full Creality K2 specifications for a deeper look at the hardware.
Pre-Print Quality Checklist
Even before you touch slicer settings, the fastest way to improve print quality on the K2 is to make sure your machine is physically prepared. A quick five-point checklist before every print can prevent most common issues.
-
Bed leveling: The K2’s automatic leveling system does most of the work, but it’s still worth checking. Run a quick mesh calibration or fine-tune with manual adjustments to ensure consistent first layers. This is one of the most important steps in K2 3D printer leveling.
-
Nozzle and bed cleanliness: Old filament residue on the nozzle tip or fingerprints/dust on the build plate can ruin adhesion. A quick wipe with isopropyl alcohol on the bed and a visual check of the nozzle before heating avoids unnecessary fails.
-
Filament storage: Moisture can cause brittle filament, stringing, or uneven extrusion. Always keep spools in airtight storage or a dedicated Creality filament dryer. Dry filament makes a noticeable difference in surface finish.
-
Belt tension & pulleys: The CoreXY design depends on properly tensioned belts. Too loose, and you’ll see ringing or layer shifts; too tight, and motors strain. A light “string pluck” test or scheduled check keeps motion smooth.
-
Environment control: Set your K2 on a stable surface away from drafts. If you’re printing with ABS or other temperature-sensitive materials, consider an enclosure for better layer bonding.
Taking two minutes to run this checklist means you’ll spend far less time troubleshooting later.
Calibration and Fine-Tuning
Once your printer is physically ready, the next step is dialing in the details. Even with great hardware, your K2 won’t reach its full potential without proper calibration. Think of this section as your K2 calibration guide:
1. E-step calibration (extruder accuracy)
If your extruder isn’t pushing exactly the right amount of filament, prints will show under- or over-extrusion. Mark and measure 100mm of filament, command the printer to extrude, and confirm the result. Adjust the steps/mm in firmware if needed. Accurate extrusion = stronger, smoother prints.
2. Flow rate tuning
Even after calibrating E-steps, each filament type may require small tweaks. Print a single-wall cube and measure wall thickness to tune flow rate in your slicer. This ensures consistent extrusion without gaps or blobs.
3. Temperature testing
“What is the best K2 print temperature?” is a top community question and the answer depends on your material. Running a temperature tower helps you visually confirm the sweet spot for PLA, ABS, or PETG. You’ll notice smoother walls, better bridging, and fewer stringy artifacts once you hit the right range.
4 .Retraction optimization
Stringing is one of the most common questions from K2 users. Printing a retraction tower lets you dial in ideal K2 retraction settings, balancing distance and speed to keep your nozzle clean between moves. Direct drive systems like the K2 often perform best with shorter retraction distances (0.5–1.5mm).
5. First-layer tuning (Z-offset)
A perfect first layer sets the tone for the entire print. Adjust your Z-offset until the filament line is flat but not squished. Too high = poor adhesion; too low = elephant’s foot.
Print Settings and Profiles
With calibration handled, the next lever for improving K2 3D printer quality is your slicer profile. Even the best-tuned hardware won’t shine if your slicer settings aren’t optimized for the K2’s CoreXY system and direct drive extruder.
-
Layer height: For strength and speed, 0.2 mm is a reliable standard. For detailed models or smoother surfaces, drop to 0.12–0.16 mm. The K2’s dual Z-axis support ensures accuracy at finer resolutions.
-
Print speed: One of the most common queries is: “How fast should I print on a K2 for best results?” While the K2 can handle high speeds, you’ll see the cleanest details at 60–100 mm/s for standard PLA prints. Reserve higher speeds for prototyping.
-
Cooling and fans: PLA loves strong part cooling, but ABS/PETG benefit from reduced airflow to improve adhesion and reduce warping.
-
Retraction & coasting: Direct drive extruders like the K2’s usually need shorter retractions (0.8–1.2 mm) at 30–40 mm/s. Combine with coasting or wipe features to cut down stringing.
-
Walls & infill: For strength, use three perimeter walls and 20–30% infill. For display models, two walls and lower infill can save time without hurting surface finish.
Common Print Quality Questions
-
Why is my K2 under-extruding? Check E-steps calibration and flow rate. Moist filament is also a common culprit.
-
Why are my K2 prints stringing? Lower nozzle temp slightly or adjust retraction distance/speed.
-
Why do I see layer shifting? Inspect belt tension; CoreXY systems need balanced tension on both belts.
-
How do I stop warping? Use a heated bed (60–100 °C depending on material), proper adhesion aid, and an enclosure for ABS.
Troubleshooting Common Quality Issues
Even the best printers like the Creality K2 need a little problem-solving now and then. Here’s how to quickly diagnose and fix the most common print quality issues.
1. Stringing (filament hairs between parts)
If you notice webs of plastic on your prints, it’s usually a retraction or temperature problem. Lowering nozzle temperature in small steps and fine-tuning K2 retraction settings often fixes it.
2. Layer Shifting (misaligned print layers)
Layer shifting can ruin an otherwise perfect print. Check that the belts are snug and pulleys secured.
3. Under-Extrusion (gaps in walls or missing filament)
This is often caused by a clogged nozzle or poor extruder grip. A cold pull or using a Creality nozzle cleaning kit usually solves the issue.
4. Warping (corners lifting off the bed)
Large flat parts are most prone to warping. Solutions include using an enclosure, adding a brim/raft, or applying adhesive aids like glue sticks.
5. Ghosting/Ringing (echoed patterns on surfaces)
This occurs when vibrations transfer to the print. Lower acceleration and jerk values in firmware, and ensure the K2’s frame is firmly on a flat surface.
Advanced Mods and Community Hacks
Once your K2 is dialed in, mods can unlock even better results and push print quality further.
Input Shaping with Klipper: Guides and K2 firmware update quality discussions are available on Creality forums and Discord.
Community Slicer Profiles: Instead of starting from scratch, download community-tested slicer profiles from Creality Cloud or GitHub.
Upgraded Nozzles: If you’re printing abrasive filaments like carbon fiber or glow-in-the-dark PLA, a hardened steel nozzle is essential.
Filament Runout and Drybox Integration: Adding a filament sensor or keeping spools in a drybox ensures smooth extrusion.
These K2 mods for better prints are all optional but together, they transform the K2 from a capable machine into a powerhouse that keeps up with high-demand projects.
Preventive Maintenance
The best way to avoid frustrating downtime is consistent K2 printer maintenance. A few small habits go a long way in keeping your Creality K2 running like new.
-
Routine nozzle checks & cold pulls: Residue builds up even when prints look fine. Running a cold pull once in a while prevents clogs and ensures smooth extrusion.
-
Lubricate rails and lead screws: Friction leads to wear, noise, and layer artifacts. A few drops of approved lubricant every couple of weeks keep movements smooth.
-
Keep firmware & slicer updated: Creality frequently releases improvements that boost stability and print quality. Updating ensures your K2 stays optimized for the latest features.
-
Store filaments properly: Moisture is the silent killer of print quality. Keep spools in a drybox or sealed bags with desiccant packs to avoid brittle or bubbly extrusion.
Conclusion: Mastering K2 Print Quality
The Creality K2 3D printer is built with CoreXY stability, dual Z-axis precision, and a direct drive extruder; everything you need for pro-level output. All it takes is a little fine-tuning and care to unlock its full potential. Whether you’re printing for fun, prototyping, or producing functional parts, the path to smoother layers, sharper details, and fewer failures is clear.
Start with today’s pre-print checklist, then move into calibration and troubleshooting as needed. And if you ever get stuck, Creality has you covered with K2 product resources, official slicer profiles, and expert support.