


Car interior modification is often about small details, but these small parts can be difficult to reproduce or customize accurately. Console frames, control panel trims, switch holders, and phone mounts usually have curved surfaces, tight clearances, textured finishes, and irregular mounting areas. For repair shops, custom builders, and automotive interior businesses, relying only on manual measurement often means more trial-and-error, longer development time, and less predictable fitment.
These three cases show how 3D scanning can bring a more efficient and reliable workflow to automotive interior modification. By capturing the real geometry of the original console or dashboard area, Creality 3D scanners help users create accurate digital references for CAD design, part reconstruction, 3D printing, and final installation.
This workflow is especially valuable for businesses working on discontinued parts, hard-to-find replacements, custom switch panels, dashboard accessories, or personalized in-car upgrades. Instead of starting from scratch, shops can scan the original vehicle structure, rebuild or redesign the part digitally, and produce a custom-fit solution with fewer fitting errors.
For the automotive customization and repair industry, 3D scanning helps turn complex interior spaces into usable digital data. It improves fitment, shortens prototyping cycles, supports small-batch or one-off customization, and gives businesses a practical way to deliver cleaner, more professional results to their customers.
Case 01|Rebuilding a Central Lock Button Frame for Peugeot 206 Plus
Using Sermoon S1 for Custom Interior Console Fitment
Case from @portakal3d
Modification Goal
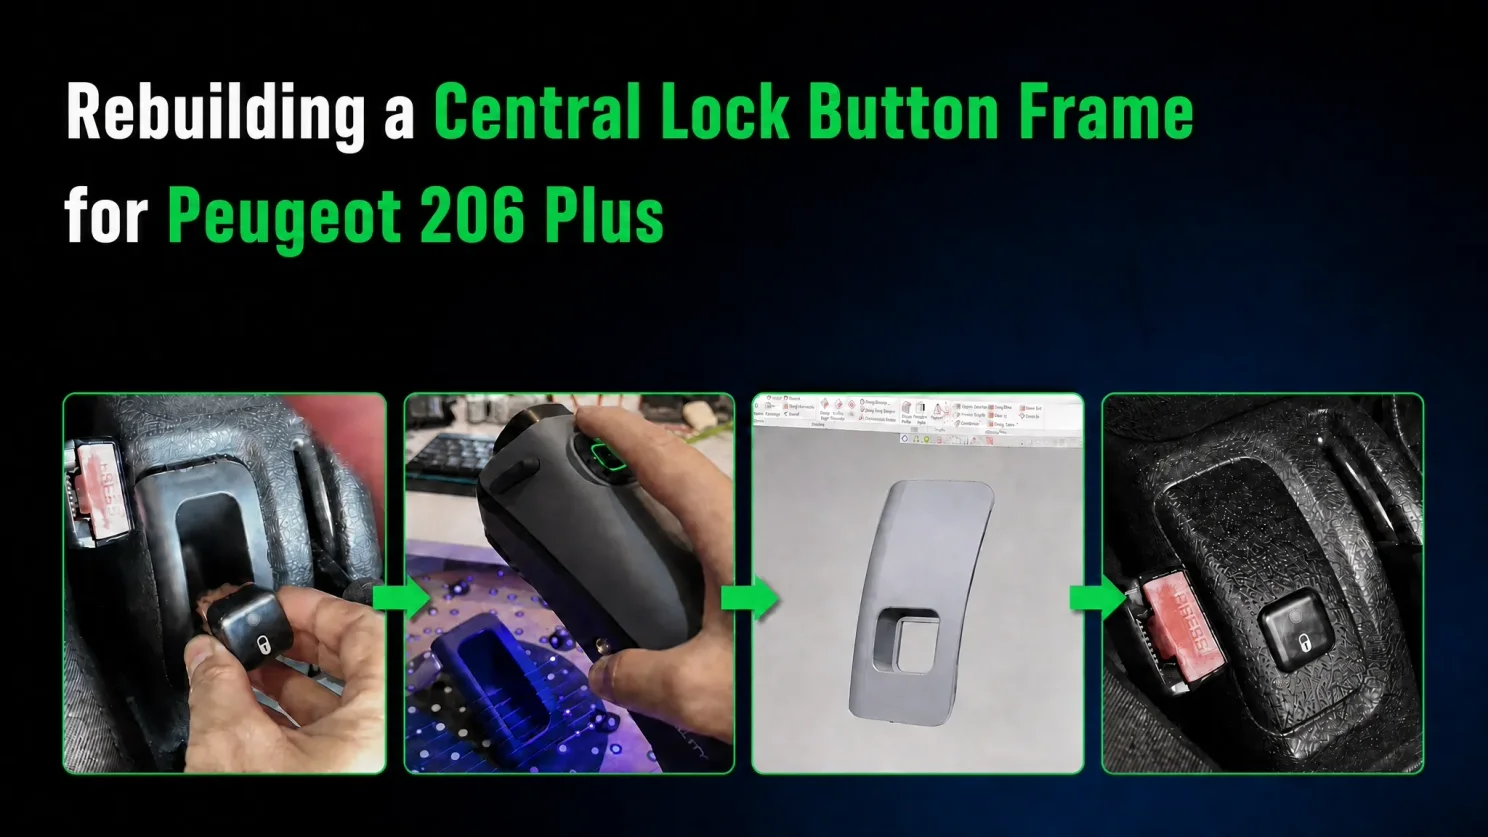
The goal of this case was to rebuild a custom frame for the central lock button on a Peugeot 206 Plus console.
The challenge was that this small interior part had to fit into a compact and irregular console area, while holding the central lock button securely.
The surrounding trim was not a simple flat surface. It included curved edges, recessed geometry, narrow clearances, and subtle transitions in the original plastic console structure.
For this type of interior repair and customization, even small dimensional errors can lead to poor fitment, visible gaps, loose installation, or an unnatural aftermarket look. The user needed a replacement frame that could match the original console geometry as closely as possible and integrate naturally with the black interior trim.
Solution Highlights
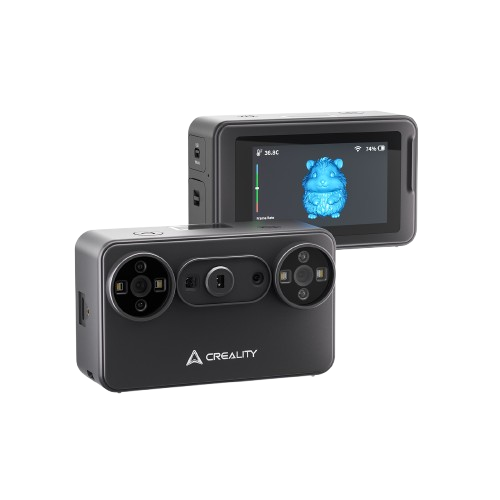
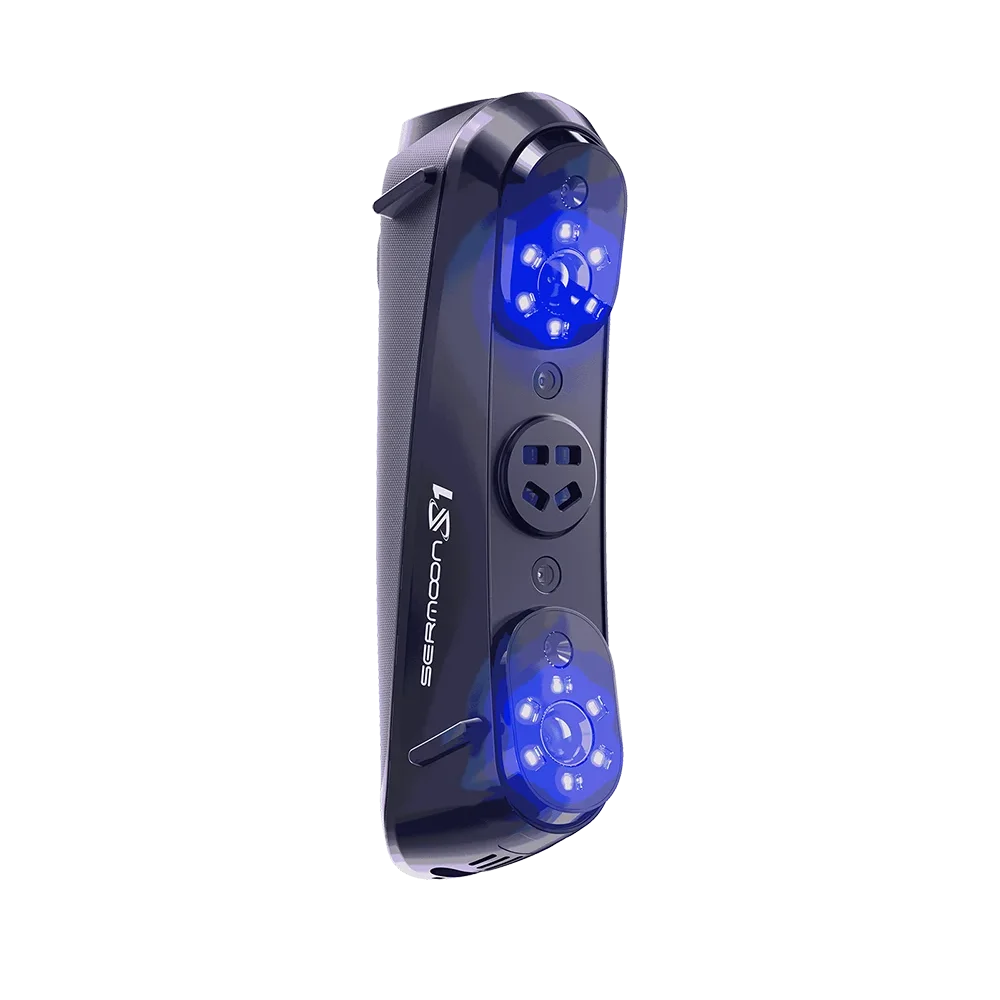
The user scanned the Peugeot 206 Plus console area with the Creality Sermoon S1 to capture the real geometry around the central lock button position.
The scan data provided accurate digital references for the surrounding trim shape, including the button opening area, edge transitions, surface curvature, installation depth, and nearby clearance. This was especially useful because the part was small, detailed, and difficult to measure accurately by hand.
Compared with manual measurement, 3D scanning helped reduce guesswork. Instead of estimating the shape of the console and repeatedly test-fitting the part, the user could import the scan data into CAD software and design the new frame around the actual vehicle geometry.
Based on the scanned reference, the user rebuilt clean curves and surfaces in CAD, then created a custom frame model for the central lock button. The design included a precise button opening, an outer shape matched to the console, adjusted edge transitions for better fitment, and a printable structure suitable for real vehicle installation.
In this workflow, Sermoon S1 helped turn a hard-to-measure interior detail into usable digital geometry, making the repair and customization process more accurate and efficient.
Final Result
The final custom frame was 3D printed and installed back into the Peugeot 206 Plus console.
The central lock button was seated securely in the new frame, while the part fitted naturally into the surrounding black plastic trim. The result restored the function of the central lock button area and improved the overall integration of the console detail.
Case 02|Rebuilding a Missing AC Control Panel Frame for Nissan Primera P12
3D Scanning for Hard-to-Find Automotive Interior Part Restoration with Raptor
Modification Goal
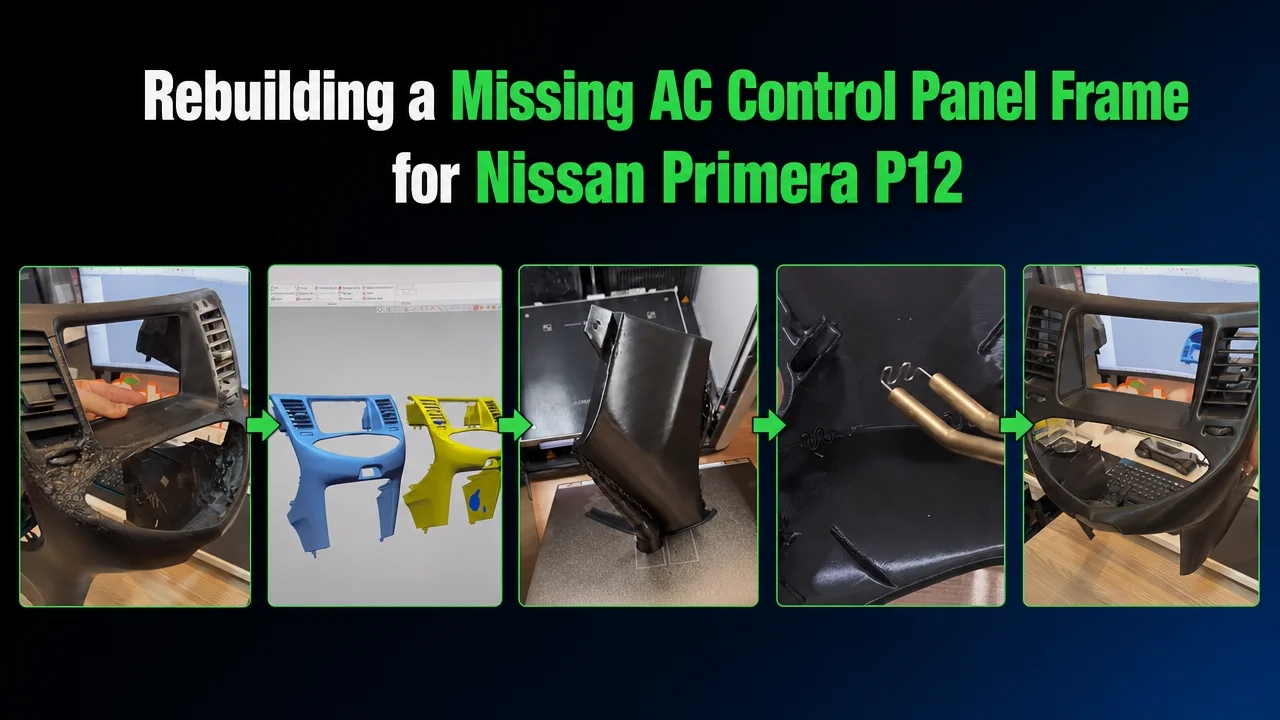
The goal of this case was to reproduce a missing or hard-to-find AC control panel frame for a Nissan Primera P12.
The original part had a complex dashboard structure, including air vent openings, control panel cutouts, curved surfaces, thin edges, and damaged areas. Since a replacement frame was difficult to source, the user needed to rebuild it through a reverse engineering workflow.
Key challenges included:
-
Restoring damaged or missing sections
-
Matching the original dashboard geometry
-
Keeping the air vent and control panel openings accurate
-
Ensuring the final part could fit back into the vehicle interior
Solution Highlights
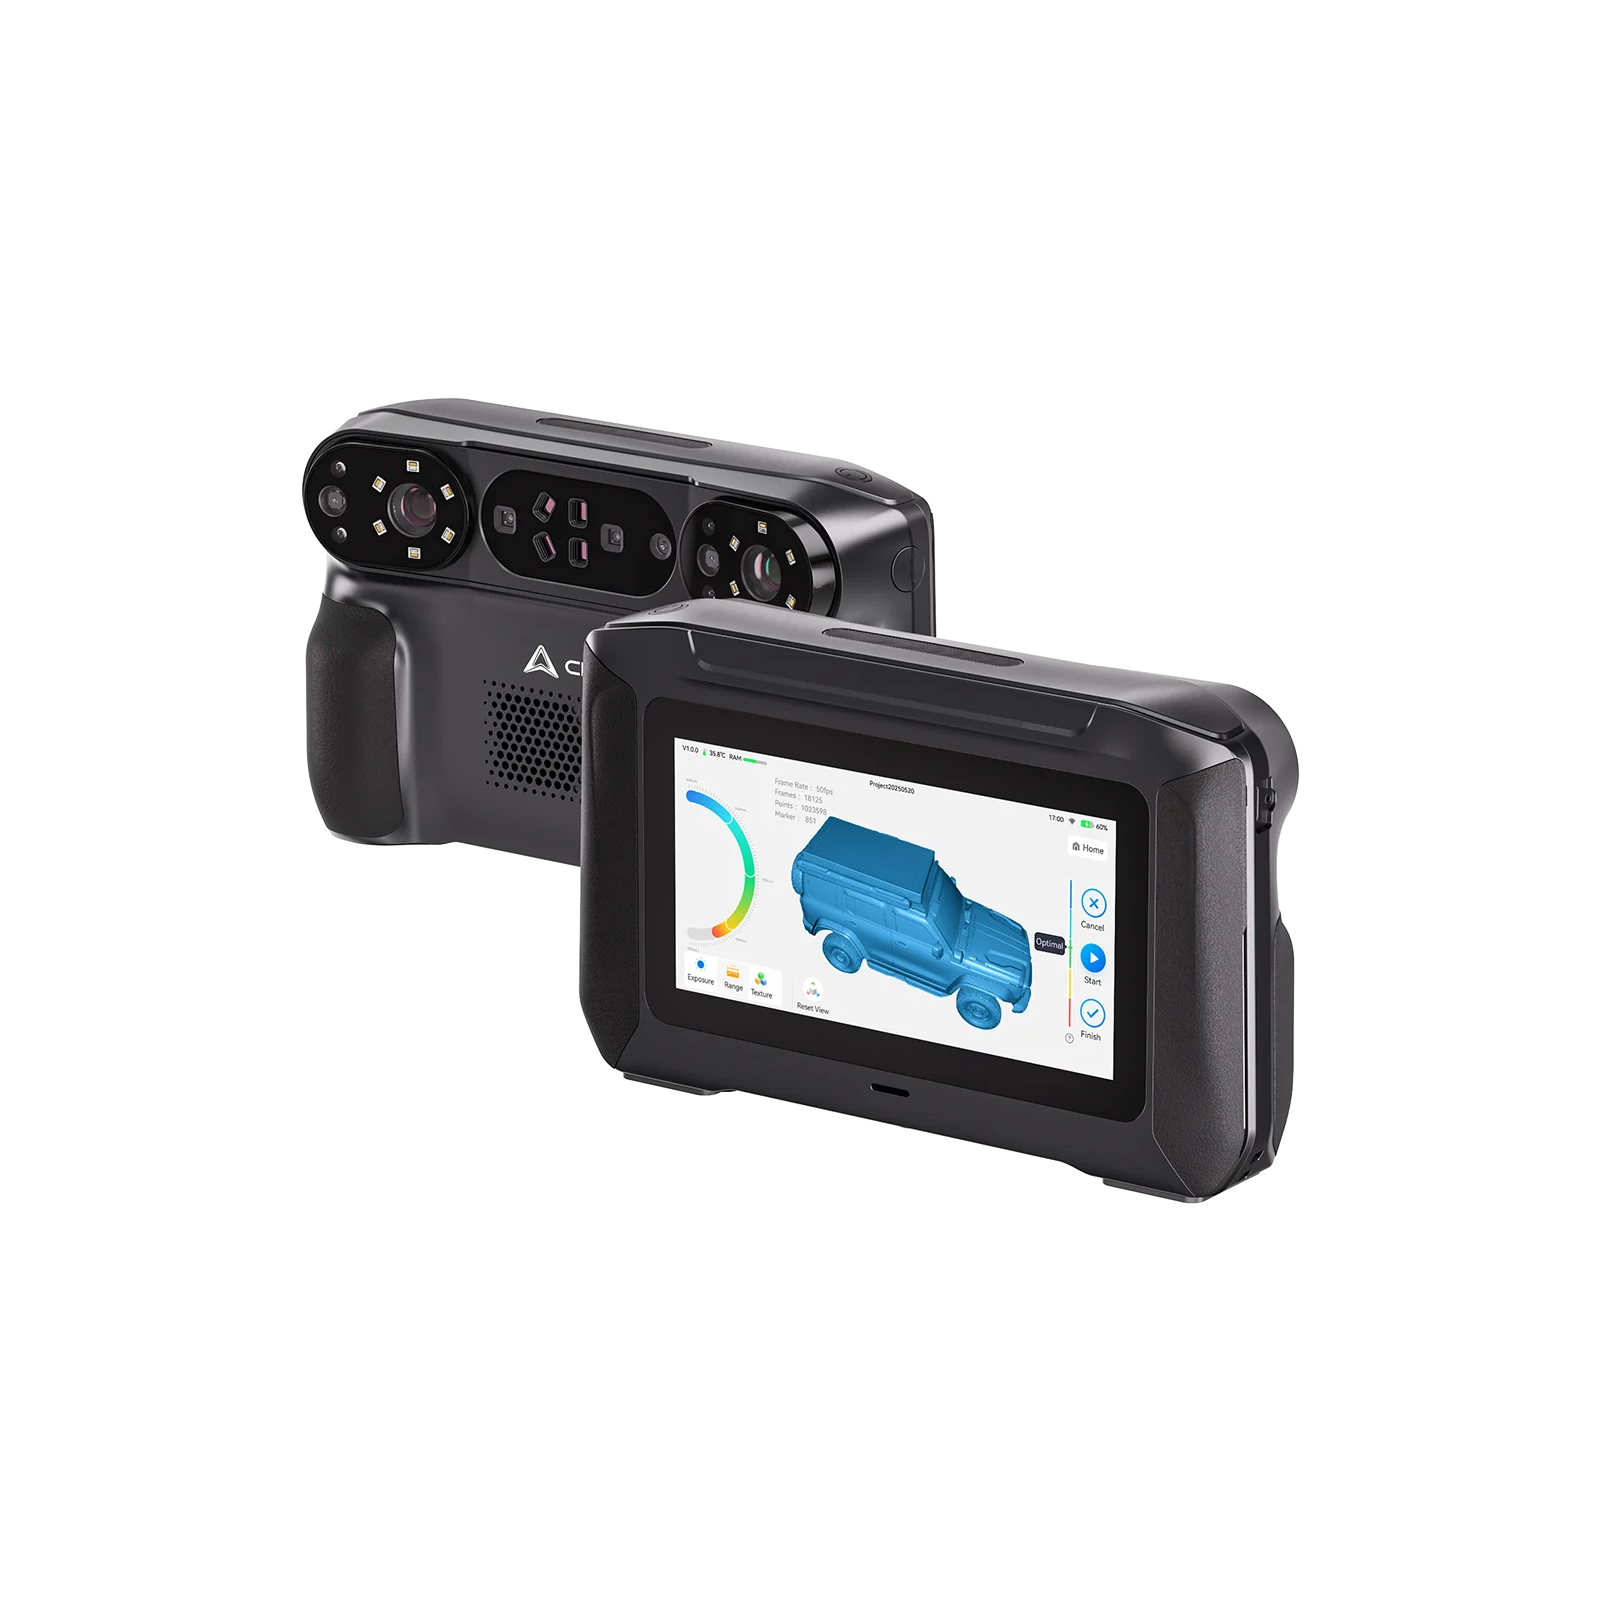
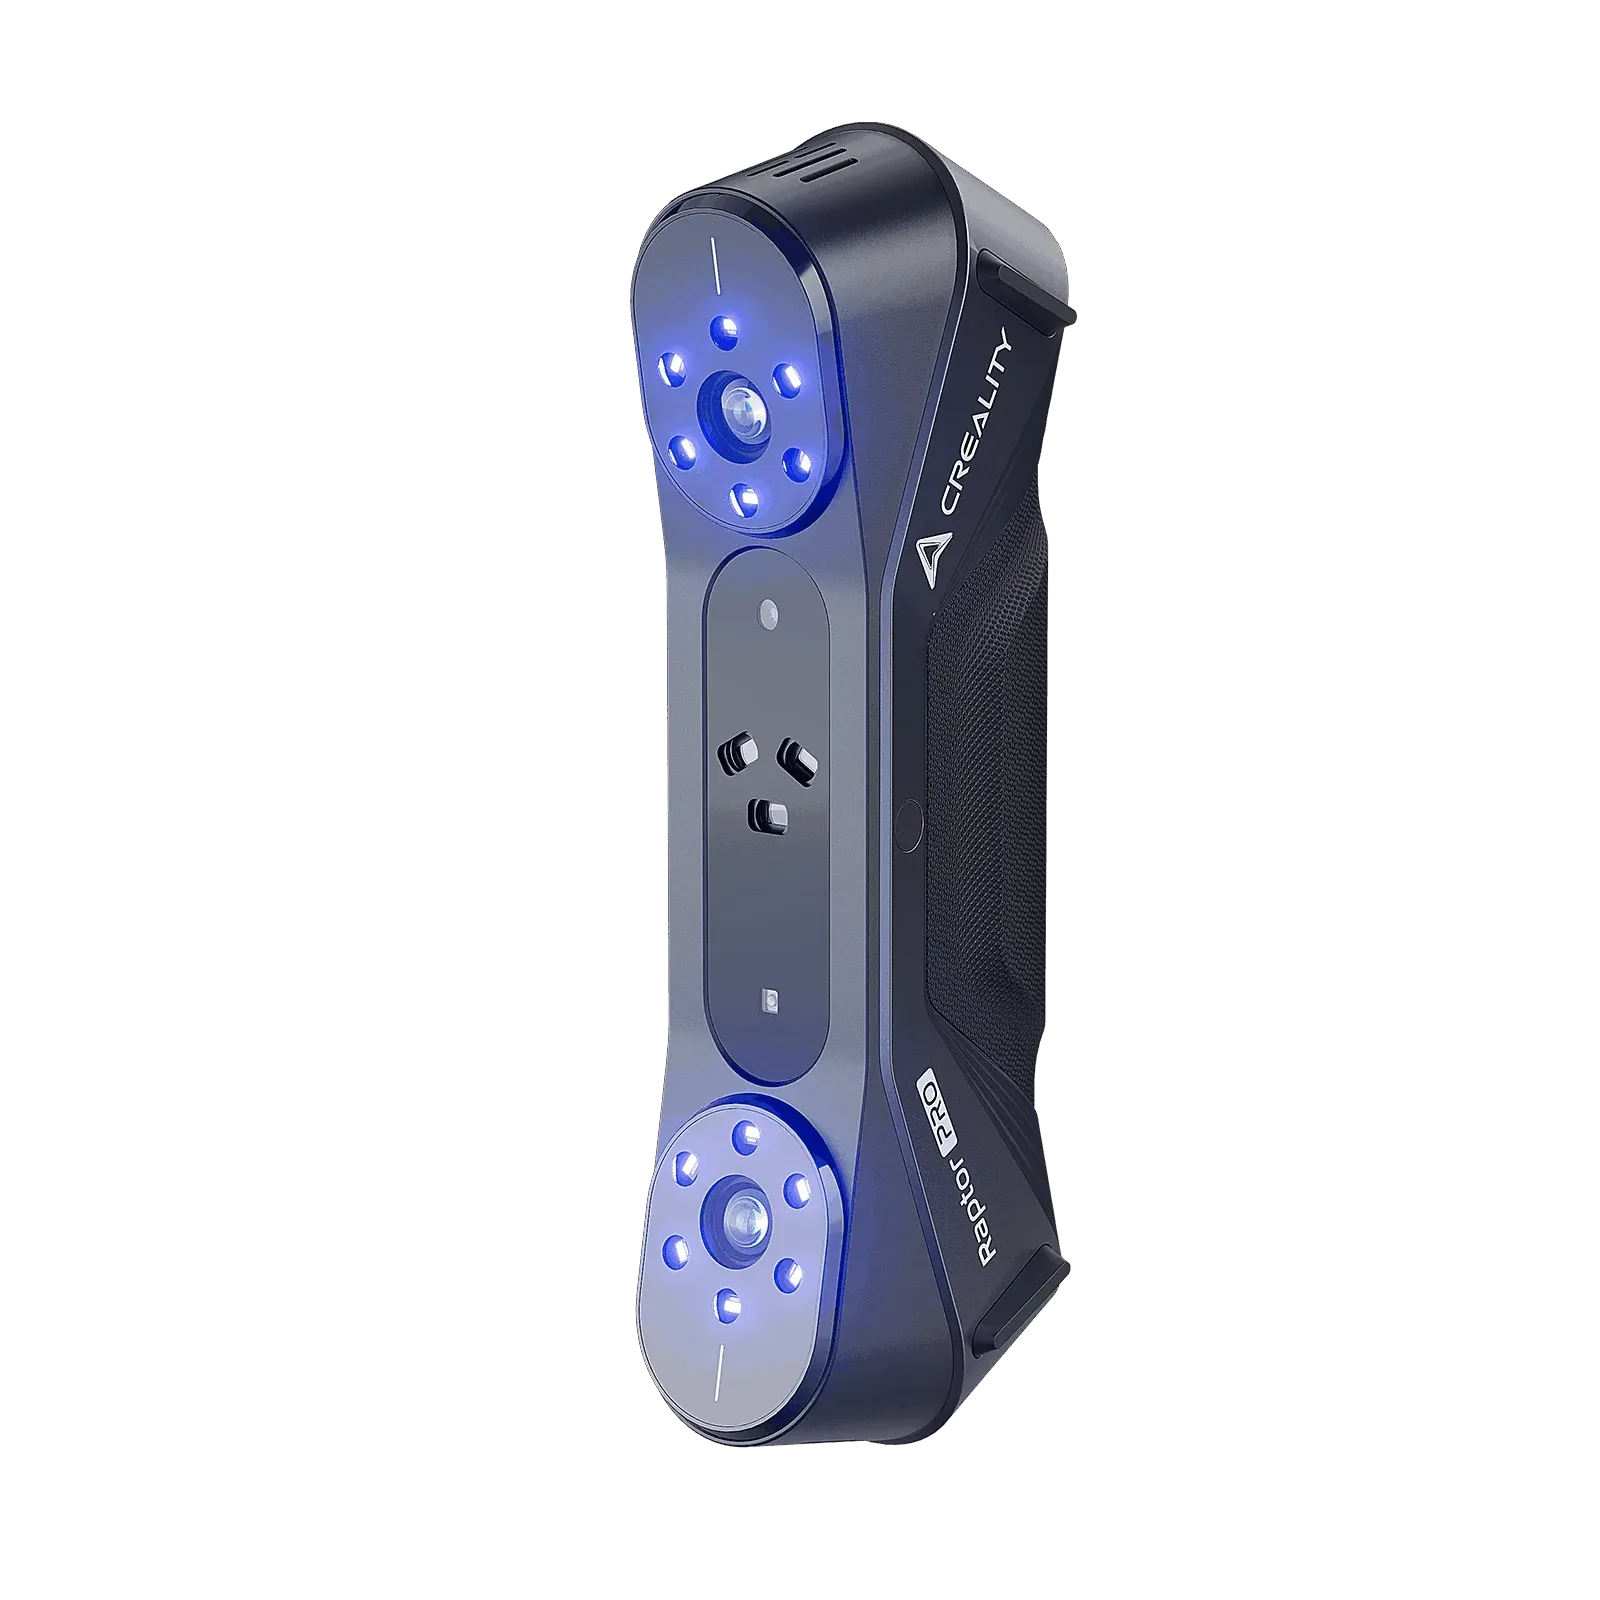
The user scanned the original AC control panel frame with the Raptor to capture its real geometry.
The scan data provided accurate digital references for:
-
Air vent structures
-
Central display / control opening
-
Lower AC panel opening
-
Curved surface transitions
-
Trim edges and damaged areas
After scanning, the model was repaired in Meshmixer and Geomagic. Some damaged sections had to be manually reconstructed to match the original shape.
The scan data helped reduce guesswork by giving the user a reliable base for rebuilding the missing areas. Instead of measuring the complex frame by hand, the user could restore the part based on real geometry.
Because the frame was large and complex, it was printed in separate sections. The user then joined the printed parts with a plastic welding gun, creating a stronger and more durable final assembly.
Final Result
The final frame was printed, welded, and completed as a replacement part for the Nissan Primera P12 console.
It restored the missing AC control panel area and preserved the key interior structures, including the air vents, central opening, lower control panel opening, and surrounding trim shape.
This case shows how 3D scanning can help restore rare or unavailable automotive interior parts. With CR Raptor, the user was able to scan the original geometry, repair damaged areas digitally, 3D print the replacement, and complete a stronger final assembly through plastic welding.
In short, 3D scanning helped turn a damaged, hard-to-source dashboard frame into a functional replacement part.
Case 03|Custom Cockpit Phone Holder for Car Interior
3D Scanning for Personalized In-Car Accessory Design with Sermoon S1
Modification Goal
The goal of this case was to create a custom phone holder for the vehicle’s cockpit area.
Instead of using a universal phone mount, the user wanted a holder that could fit naturally into the car’s interior layout. The mounting position was close to the center console, air vent, display area, and textured dashboard trim, so the design needed to match the original interior geometry while keeping the phone easy to view and access.
Key challenges included:
-
Finding a stable mounting position inside the cockpit
-
Matching the curved and textured dashboard surface
-
Avoiding interference with buttons, vents, and the display
-
Creating a holder that looked integrated rather than randomly attached
-
Ensuring the phone mount could stay firm during daily driving
Solution Highlights
The user used Creality Sermoon S1 to scan the car’s cockpit / center console area and capture the real interior geometry.
The scan data provided an accurate digital reference for:
-
Dashboard surface curvature
-
Air vent and display boundaries
-
Textured interior trim
-
Mounting position and surrounding clearance
-
The relationship between the phone holder and nearby controls
This helped the user design the phone holder based on the actual vehicle structure instead of relying only on manual measurements. For this kind of interior accessory, even small shape errors can cause unstable mounting, awkward angles, or poor fitment.
After scanning, the user brought the data into CAD software and designed a custom mounting base that matched the scanned dashboard area. The phone holder structure was then adapted around this base, creating a more vehicle-specific solution.
The screenshots also show that the user tested the holder orientation and adjusted the contact surface, then used heat forming / post-processing to refine the printed part and improve its fit.
In this workflow, Sermoon S1 helped turn the complex cockpit surface into usable digital geometry, making the design process more accurate and reducing trial-and-error.
Final Result
The final phone holder was produced and installed inside the vehicle cockpit.
The holder positioned the phone in a convenient viewing area while keeping it clear of key controls and dashboard functions. Compared with a universal phone mount, this custom solution better matched the car’s interior shape and provided a cleaner, more integrated look.
This case shows how 3D scanning can support personalized automotive interior accessories. With Sermoon S1, the user was able to capture the real dashboard geometry, design a custom-fit mounting structure, produce the part, and validate it directly inside the vehicle.
Follow us for more industry insights, case studies, and practical 3D scanning workflows.