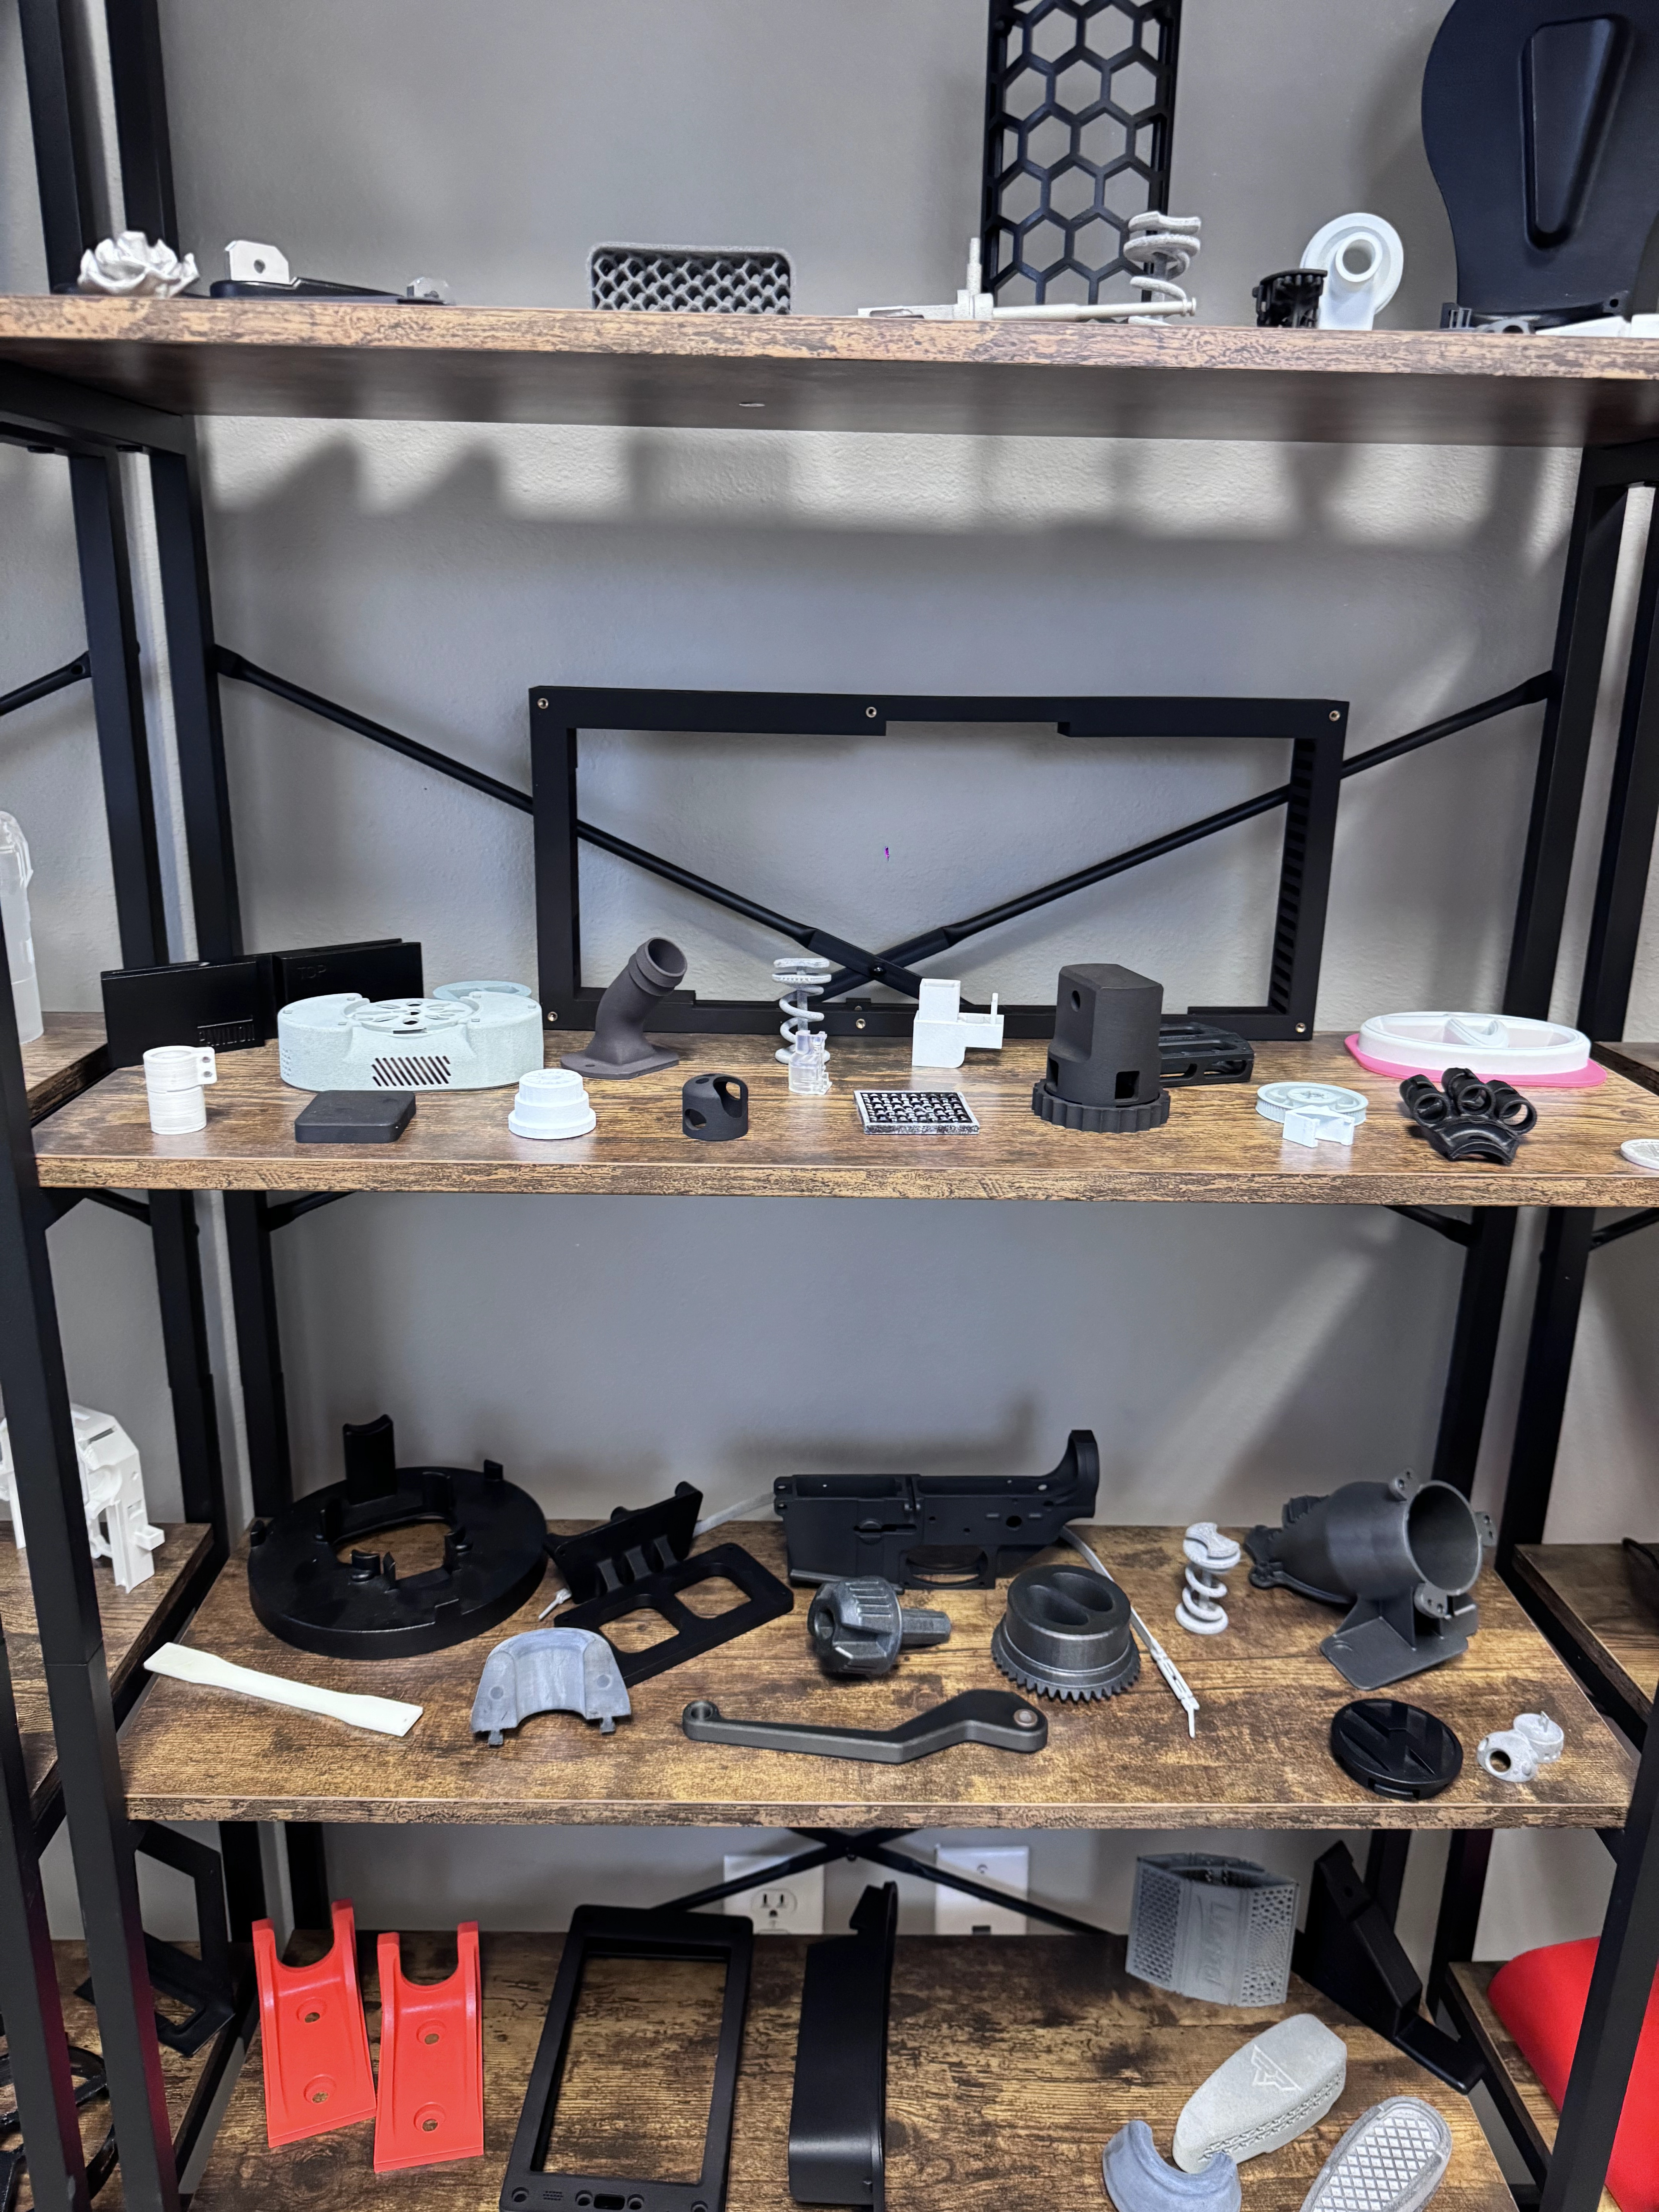


If you've ever pulled a print off your 3D printer only to find that the layers don't line up perfectly, creating a jagged or stepped appearance, you're likely dealing with a common issue known as layer shift in 3D printing.
Don’t worry, though. Layer shifting is rarely fatal to your machine, and it’s usually fixable with a bit of tuning and care. In this guide, we’ll explain what 3D print layer shift is, what causes it, and how you can fix it once and for all.
What Is 3D Print Layer Shift?
Layer shift happens when your printer’s moving parts—usually the print head or the bed—lose their proper position mid-print. Instead of stacking each new layer directly on top of the previous one, the printer shifts sideways (along the X or Y axis), creating a visible “step” or misalignment.
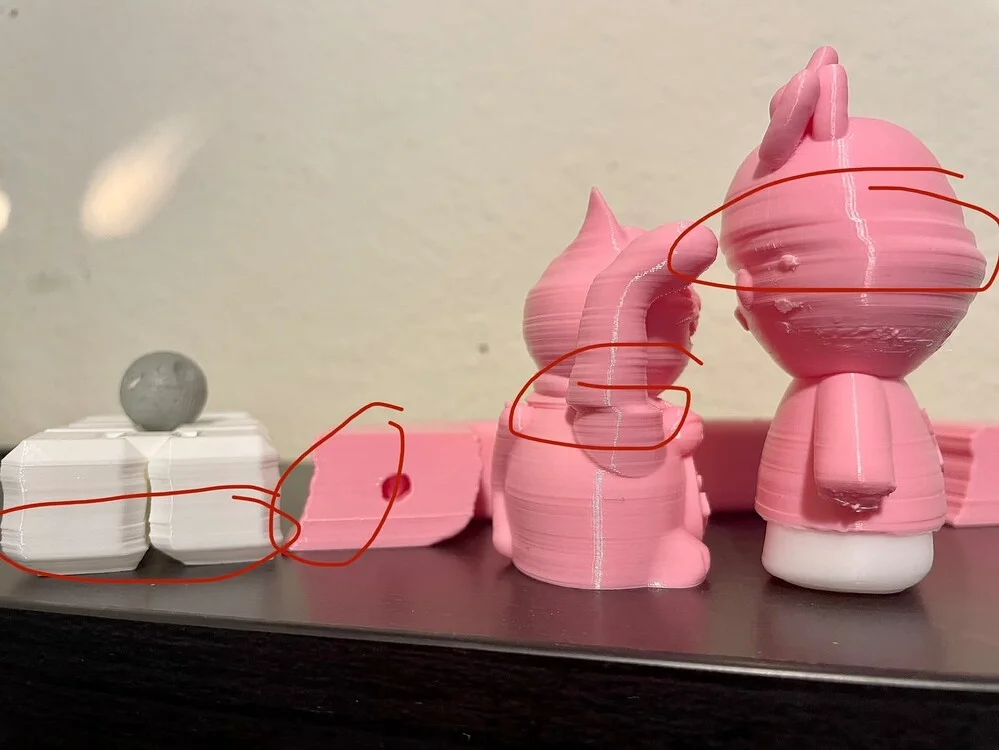
Imagine building a tower of blocks: if one block slips out of place, everything above it will be crooked. The shift might happen once or repeatedly, and sometimes only at certain heights. If you notice that every print fails at the same height, it’s a clue that the problem might not be random.
What Causes Layer Shift in 3D Printing?
Layer shifting can stem from mechanical, electronic, or slicing-related issues. Before we dive into the main causes, it’s important to understand the X, Y, and Z axes — and how each one affects your print when a shift occurs.
X-Y-Z Axis Explanation Table
Most 3D printers move the print head and bed across two primary axes: X and Y. When your print shows a visible “step” or offset, it usually means one of these axes slipped or skipped steps. Here’s what each one does — and how layer shift looks when each goes wrong:
| Axis | Movement Direction | What Moves | How the Layer Shift Looks | Common Causes | Quick Fix Tips |
| X-Axis | Left ↔ Right | Print head or gantry moves side to side | Layers are offset horizontally; print looks “pushed” left or right | Loose X belt, pulley grub screw loose, nozzle collision, high print speed | Tighten X belt and pulleys, check for obstructions, lower speed |
| Y-Axis | Front ↔ Back | Print bed moves toward or away from you | Layers are shifted forward or backward; print appears “kicked” in depth | Loose Y belt, motor skipping steps, unstable surface, bed friction | Adjust Y belt tension, lubricate rails, stabilize printer base |
| Z-Axis | Up ↕ Down | X-axis assembly moves up and down | Layers are squished or uneven vertically; inconsistent layer heights | Bent leadscrew, coupler slip, debris on Z rod, calibration error | Clean or replace leadscrew, tighten coupler, re-level bed |
Now that we know how layer shifts manifest across different axes, let’s take a closer look at the most common causes and what you can do to prevent them.
-
Loose or Worn Belts or Pulleys
In most 3D printers, belts connected to stepper motors control the movement of the print head or bed. If the belts on your printer are too loose, they can slip during fast movements.
Belts should be tight enough to “twang” like a low guitar string when plucked. Loose pulleys or grub screws on stepper shafts can also make the axis skip steps.
-
Stepper Motor Overload or Missed Steps
Your stepper motors are responsible for precise movements. When they get overloaded—due to friction, misalignment, or too-high speed—they can miss steps, causing the layer to shift.
-
Mechanical Obstructions
Sometimes, the nozzle or print head physically collides with the print itself due to warping or poor adhesion. Dust, debris, or lack of lubrication on the printer's rods, rails, or bearings can cause resistance.
This makes the motors work harder and potentially skip steps. Binding on the Z-axis might cause shifts at the same height repeatedly.
-
Print Speed Too High
Printing too fast can overwhelm the motors, especially during sharp turns or direction changes. High jerk settings (sudden speed changes) can also jolt the system, resulting in shifts.
-
Temperature and Cooling Problems
Excessive heat around stepper drivers or motors can reduce torque. If your printer enclosure runs hot, or your drivers lack cooling, layer shifts might appear during long prints.
-
Slicer Settings or G-code Errors
A faulty G-code file or incorrect slicer settings (like travel speeds, acceleration or jerk control) can trigger sudden shifts. Always re-slice the model and check that firmware limits match your slicer’s motion parameters.
-
Vibrations or Unstable Surface
Bumping the printer, placing it on an unstable surface, or even vibrations from nearby machinery can physically knock the print head out of position. Loose wiring or poor cable management might snag during movement.
-
Nozzle Collisions
If the nozzle catches on a curled edge of the print or a blob of filament, it can force a shift. This is more common in tall or complex models.
How to Fix Layer Shifting
Now that we've covered the causes, let's dive into practical solutions for how to fix 3D printing layer shifting.
Inspect and Tighten Belts: Start by checking the tension on your X and Y belts. They should be firm but not overly tight—pluck them like a guitar string for a low twang. Use the adjustment mechanisms on your printer to tighten if needed. Replace worn belts if they're frayed.
Check for Nozzle Issues: Inspect and clean the printer nozzle for curls or blobs and adjust retraction settings to minimize them. Lower the print temperature by 5-10°C if filament is too stringy.
Cool Down Electronics: Ensure good airflow around your printer's control board. Add fans if necessary, or lower the motor current slightly via firmware settings (consult your printer's manual). Avoid printing in hot rooms.
Lubricate and Clean Axes: Wipe down rods and rails with a soft cloth, then apply a light lubricant like PTFE dry lube. Move the axes manually to check for smooth operation without binding. Clean linear bearings if they're gritty.
Reduce Print Speed and Acceleration: In your slicer software (like Cura or PrusaSlicer), lower the print speed to 40-50 mm/s and acceleration to 500-1000 mm/s². Turn down jerk settings to 5-10 mm/s. Test incrementally to find a balance between speed and quality.
Stabilize the Printer: Place your printer on a solid, level surface away from traffic. Use anti-vibration feet or pads. Secure any loose cables with ties to prevent snagging.
Adjust Stepper Motor Current: If your printer allows (via potentiometers or firmware), increase the current slightly for the affected axis, but monitor for overheating. Tools like a multimeter can help measure this safely.
Optimize Slicer Settings: Double-check your G-code for errors. Add more supports for resin prints or enable "avoid crossing perimeters" in FDM slicers to reduce collisions. Update your firmware if outdated.
Re-Slice or Re-Print Your Model: If you’ve made all physical checks and still get shifts, re-slice your model using fresh settings. Corrupt G-code or a slicer crash during export can cause strange mid-print behavior.
Always power off your printer before making adjustments, and test with a simple print like a calibration cube after each change.
How to Fix Layer Shift in Creality Ender 3
The Ender 3 series is one of the most popular 3D printers—and also one where layer shifting commonly happens. Here’s what you can do:
-
Tighten the eccentric nuts on the rollers for the X and Y axes; they control how snugly the wheels grip the rails.
-
Check the belt tension knobs—they often loosen slightly over time.
-
Make sure the Y-axis motor pulley’s set screw is firmly on the motor shaft’s flat side.
-
If your printer shifts layers at the same height every time, inspect the Z-axis leadscrew for debris or bent threading.
With these small tweaks, most Ender 3 users can eliminate layer shifting entirely.
FAQs
Can layer shift damage my printer?
Not usually. It affects print quality, not hardware—but repeated collisions or missed steps can strain belts and motors over time.
Why does my print shift at the same height every time?
That usually indicates a Z-axis issue, such as a bent leadscrew, debris on the threads, or a specific G-code command glitch at that layer. Inspect and lubricate the Z-axis thoroughly.
What if my printer only shifts on the Y-axis?
Focus on the Y-axis motor, belt, and bed rollers. They’re responsible for front-to-back motion, and any resistance there can lead to layer misalignment.
Summary
Layer shift in 3D printing is a frustrating but fixable issue that beginners often encounter. A quick tune-up—tightening, cleaning, and slowing things down—can bring your prints back to perfect alignment.
Remember that every 3D printer needs occasional maintenance. If you treat it like a precision tool rather than a “set-and-forget” gadget, you’ll spend far less time troubleshooting and far more time enjoying crisp, flawless prints.