

Common causes of filament grinding or extrusion without output during a print include:
-
The filament is ground down at the extruder gear, preventing the gear from gripping the filament properly. This may cause slipping or intermittent feeding.
-
Residual filament or foreign material inside the hotend increases feeding resistance, preventing the extruder from delivering filament steadily.
-
The filament spool is installed incorrectly, has excessive rotational resistance, or becomes jammed, resulting in inconsistent filament feeding.
-
The filament type selected in the slicer does not match the actual filament in use. Mismatched flow rate, temperature, or other parameters can affect normal extrusion.
-
Due to improper printer placement or an unreasonable filament path, the PTFE tube may be bent at a sharp angle or compressed, increasing overall feeding resistance.
If extrusion failure, clogging, or related error messages occur during a print, the issue must be resolved before the printing task can be resumed.
Troubleshooting Steps
Caution: Before proceeding, check the current temperature of the Heated Bed and Hotend. Wear heat-resistant gloves if necessary to avoid burns.
First, check the printer and filament status
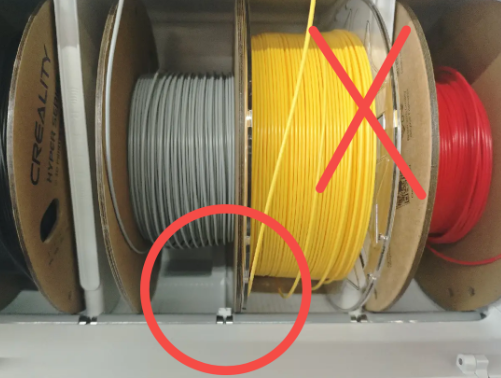
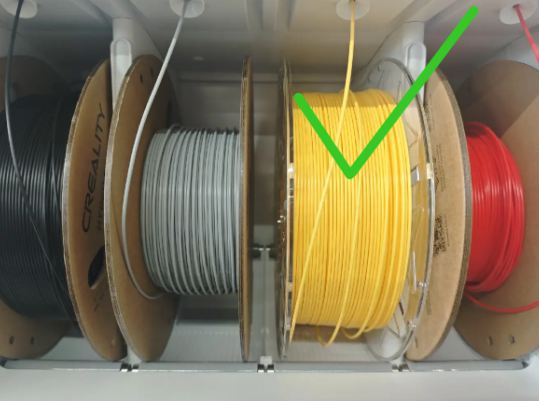
Check the filament placement and ensure the spool is properly seated on the Spool Holder or the CFS lite rollers.

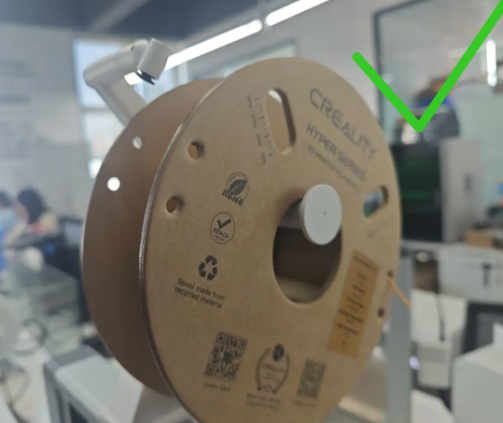
Check whether the filament parameter settings in the slicer match the filament being used.
Filament spools usually have labels indicating the brand, filament type, and recommended parameters. Please check that the filament settings on the printer and in Creality Print match the filament being used. The filament type must be consistent (for example, if PLA filament is used, both the slicer and printer settings must be set to PLA). It is generally recommended to also keep the filament brand, color, and other information consistent.
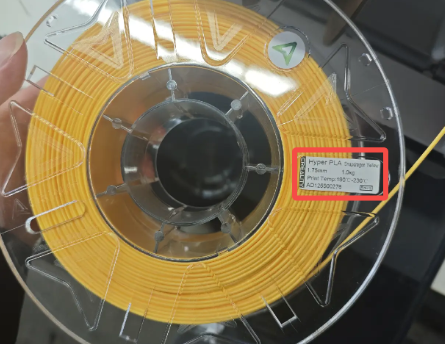
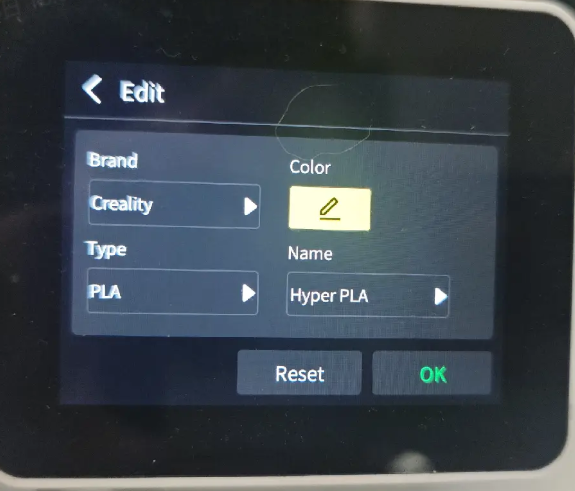
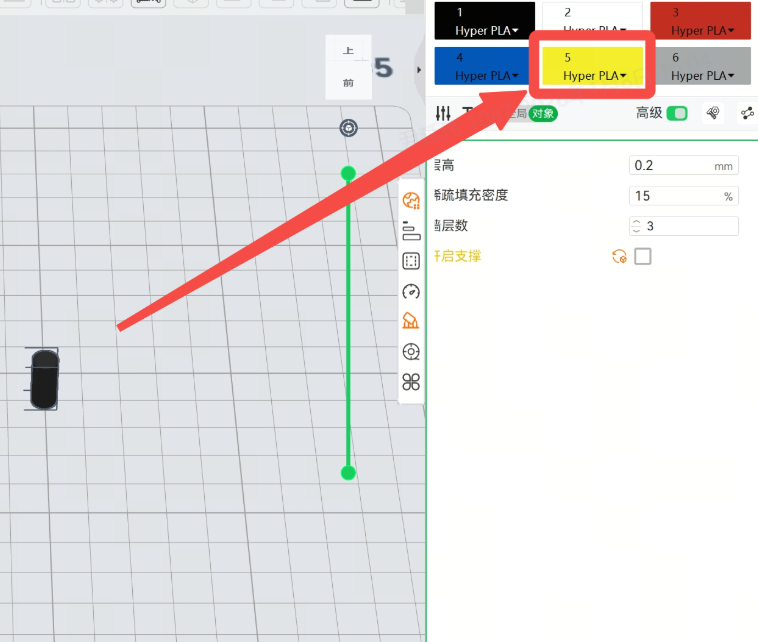
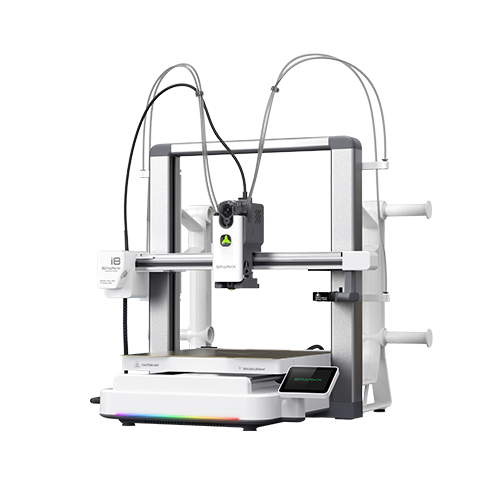
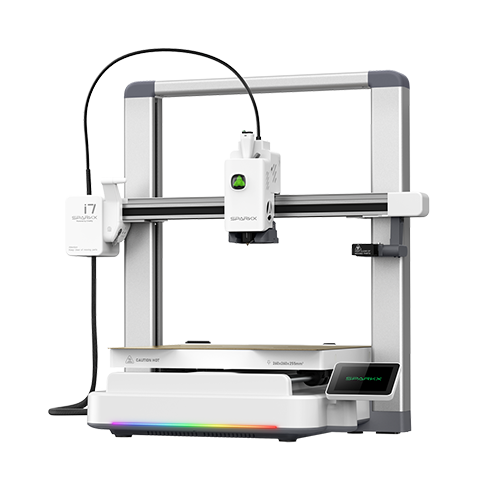
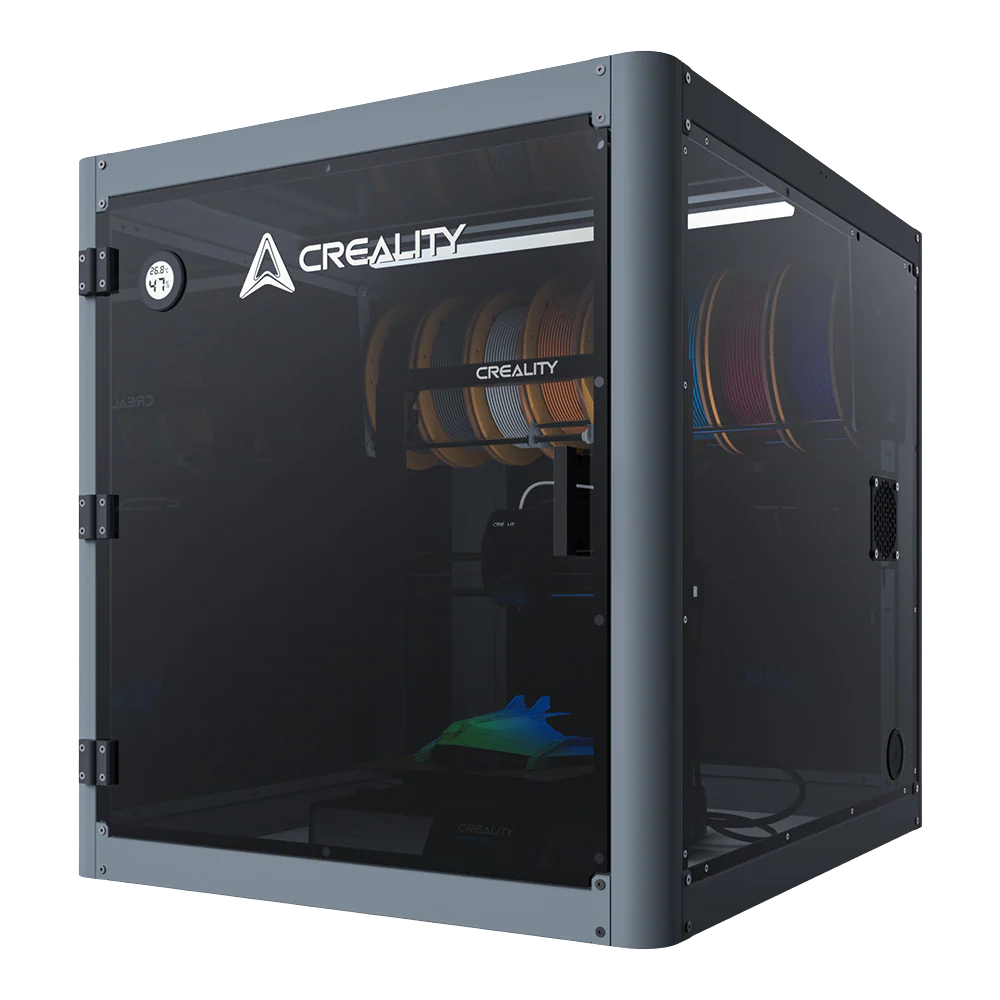
Check the placement of the CFS Lite and the i7, as well as the condition of the PTFE tube
Improper placement of the printer or incorrect PTFE tube routing may cause excessive filament feeding resistance, preventing the extruder from extruding filament properly.For detailed placement instructions and precautions, please refer to Wiki: CFS Lite Filament Tube Installation and Placement Guidelines
If the issue persists after checking the printer and filament status as described above, please follow the steps below to resolve the problem.
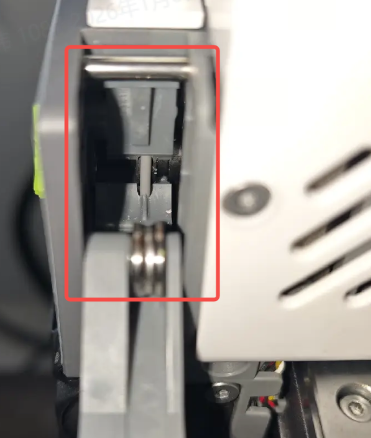
Remove the extruder front cover and manually cut the filament.
During printing, the motor is locked and the printer cannot cut the filament automatically. Do not move the X or Z axes, or the Heated Bed. Manually press the Cutter Arm to cut the filament.

Open the Extruder Lever and manually unload the filament.
Open the idler lever of the extruder and inspect the filament inside. Manually pull out the corresponding filament from the CFS Lite.


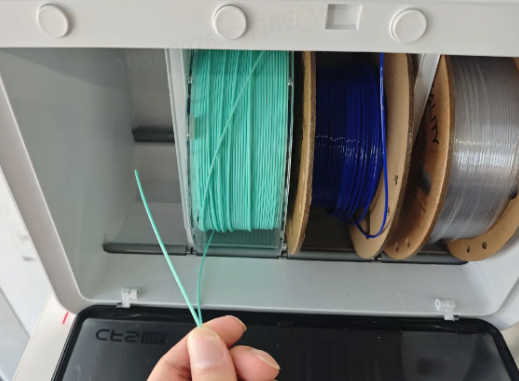
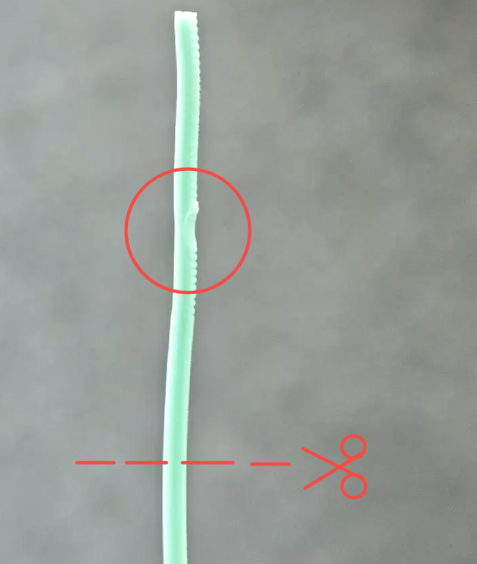
Inspect the end of the pulled-out filament and remove any damaged or abnormal sections.
Check the filament end for debris or grooves caused by grinding. Use scissors or manually break off any damaged sections to ensure the filament end is in good condition. Place the prepared filament back into the corresponding CFS Lite channel.
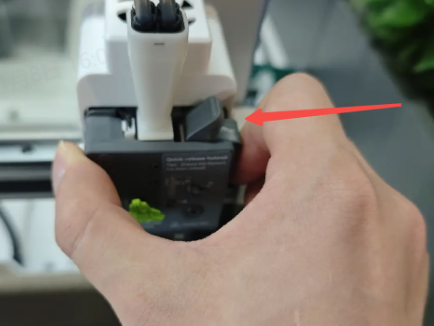
Close the idler lever and reinstall the extruder front cover.
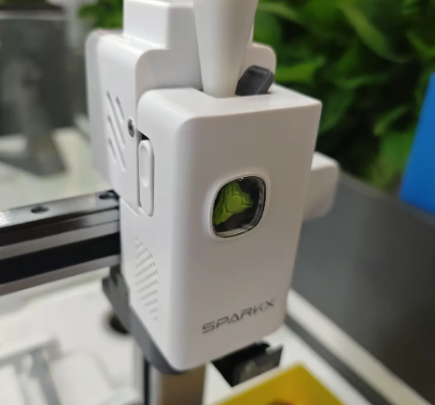
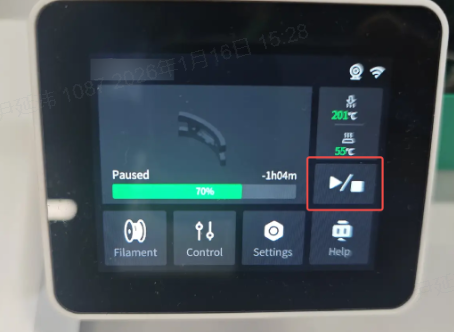
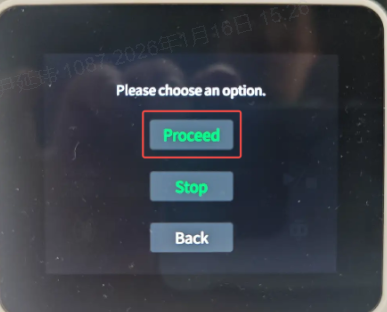
Resume the print job and check whether the filament is extruding properly.
Place the prepared filament back in position and click “Continue Print” to resume the print job. Observe whether the filament is feeding properly.;If the filament extrudes normally, you can continue the print job.;If the filament still does not extrude and the printer reports a grinding or clogging error, it is recommended to replace the Hotend before continuing.
For Hotend replacement, please refer to the i7 Series Quick-Release Hotend Replacement Guide
If you do not have an extra Hotend available and need to quickly resume printing, or if you want to try clearing and repairing a clogged Hotend, please refer to the What Is Cold Pull.