

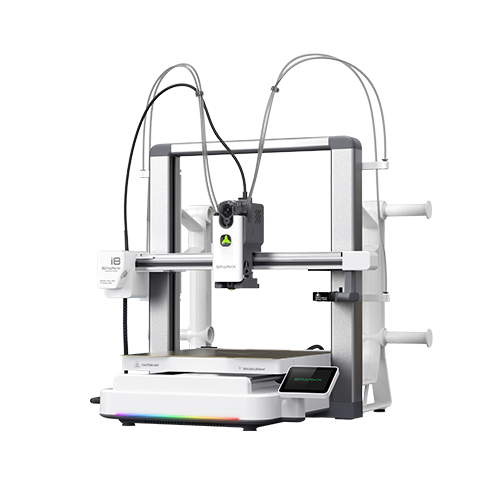
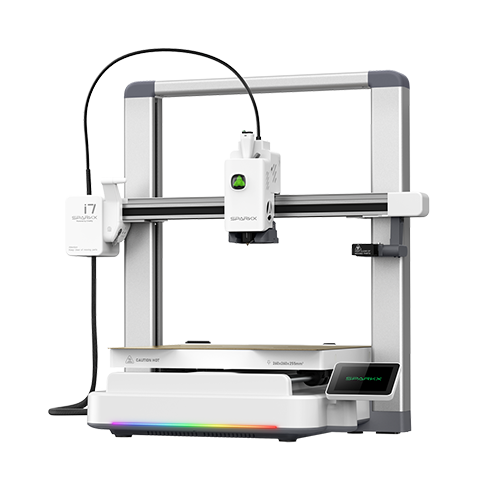
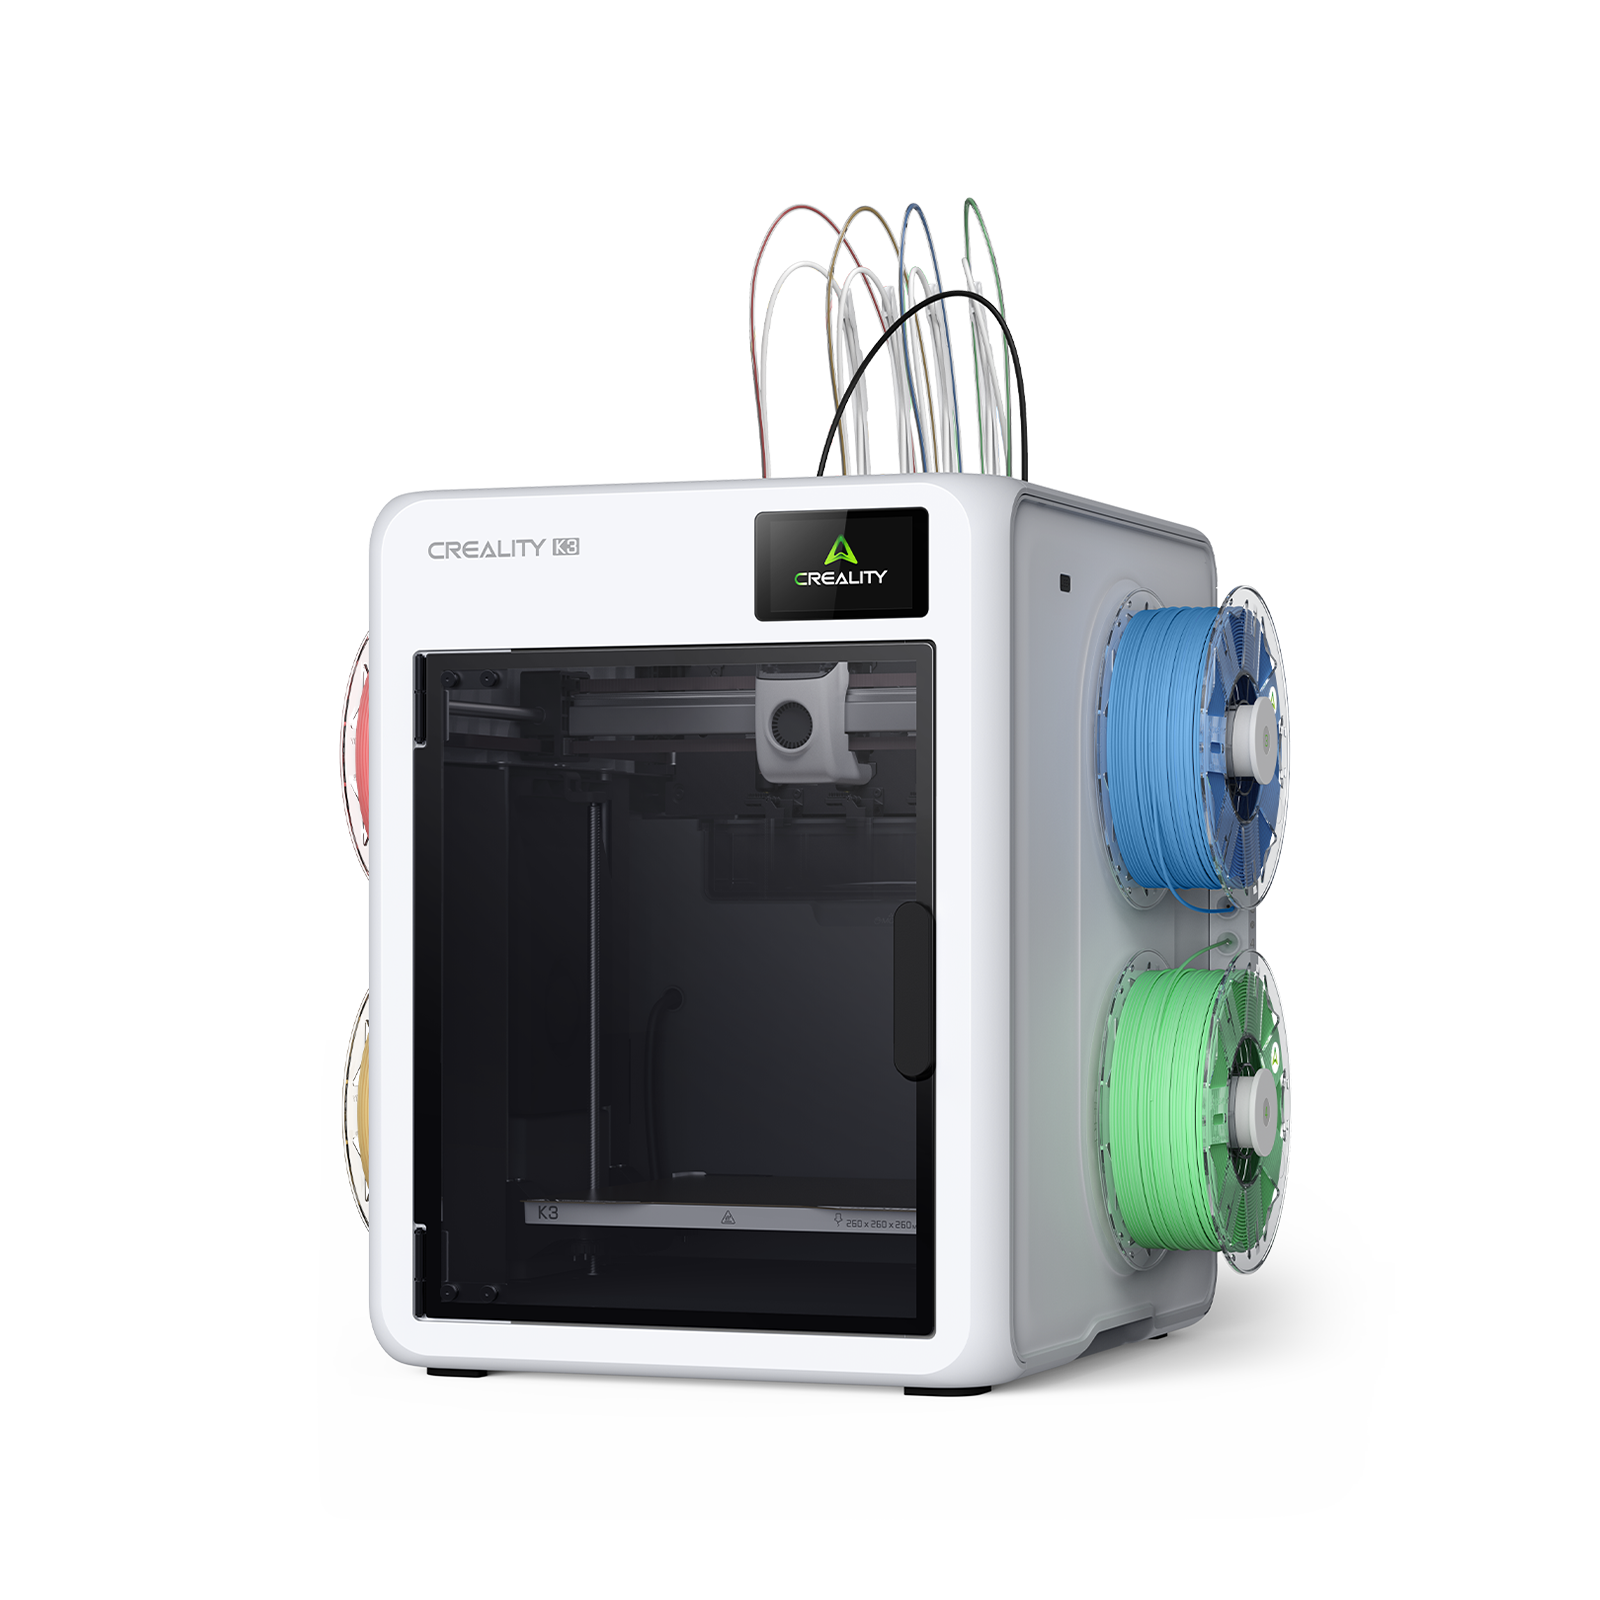
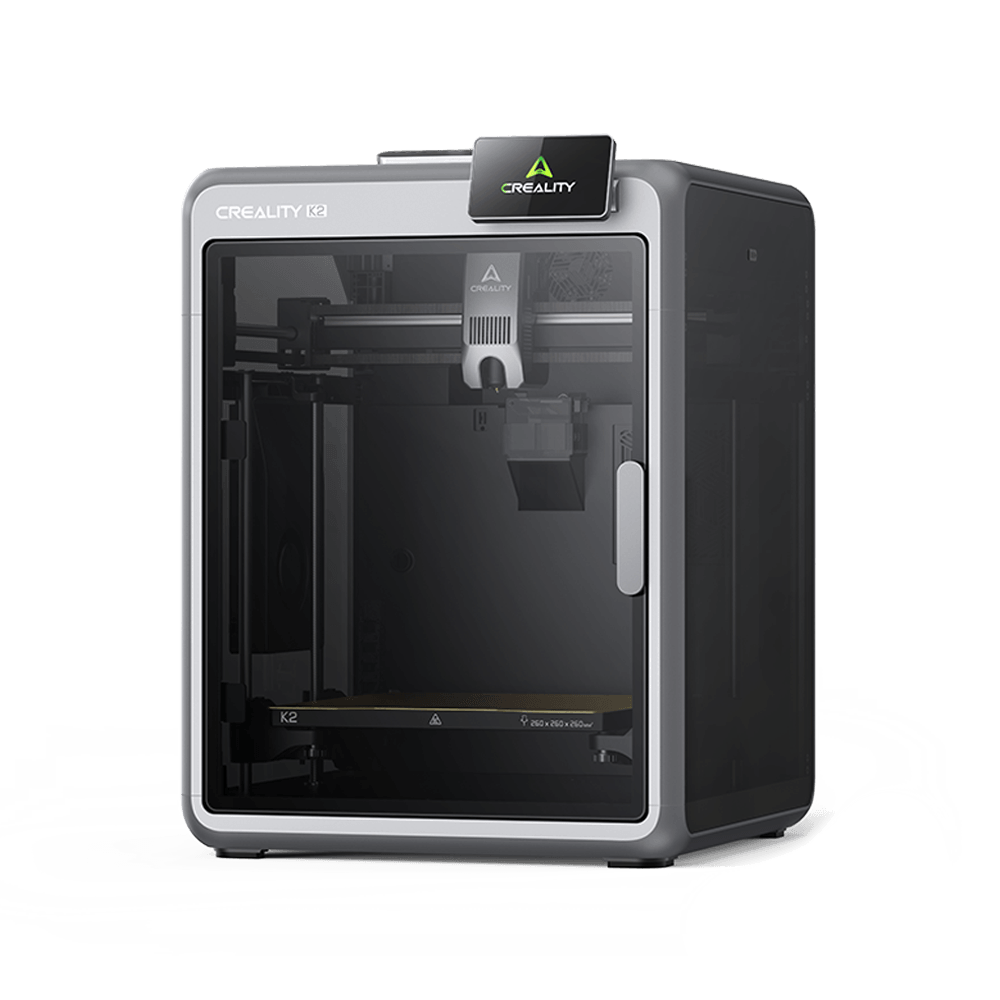

Nozzle diameter is usually chosen before a print starts. Once selected, the same diameter typically stays in use from the first layer to the last.
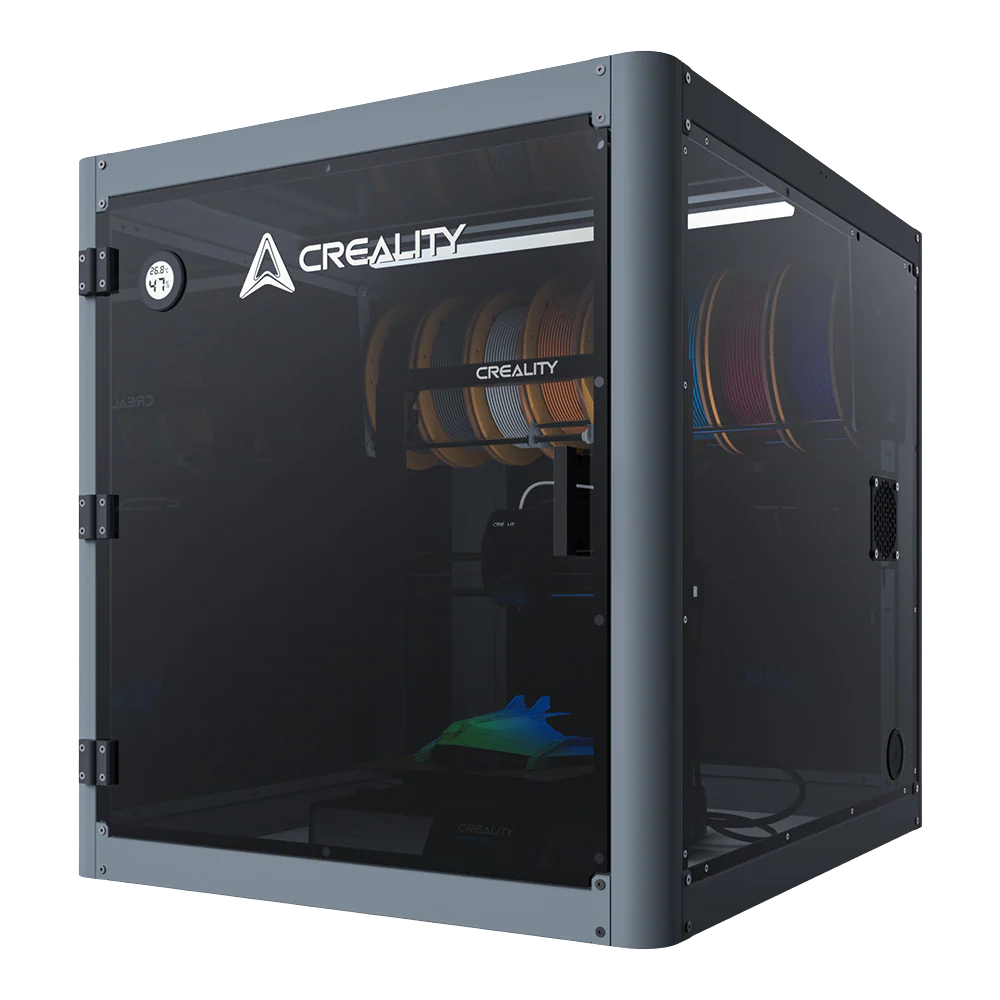
K3 multi-nozzle 3D printer changes that. With multi-diameter printing, nozzle diameter is no longer just a pre-print setting. It becomes part of the strategy for how a model is printed.
Once diameter becomes a switchable variable rather than a fixed choice, a new set of questions follows: Which nozzle is best suited to which task? When is a switch actually worth it? And how can those switches deliver real gains in efficiency and print quality?
Beyond 0.4 mm: What Else Is Possible?
In conventional single-nozzle printing, nozzle diameter is usually a one-time decision. The 0.4 mm nozzle became the default not because it is optimal for every situation, but because it is stable, versatile, and backed by mature print settings. For most everyday models, that reliability is already valuable.
But that versatility still comes with trade-offs.
A complex model has different needs: internal structures may prioritize efficiency and strength, while outer walls, text, and textures demand surface quality and detail. Reinforced materials may also require specific nozzle diameters and wear resistance. A 0.4 mm nozzle can limit infill efficiency, while a properly tuned
0.8 mm nozzle can improve both efficiency and structural strength, but may sacrifice finer details.
With a multi-nozzle architecture, nozzle diameter no longer has to be a single-choice decision.
Multi-diameter printing allows different regions or materials within a model to use more suitable nozzle diameters, together with matching line width, flow, speed, and toolpath settings, while keeping a consistent layer height within the same print.
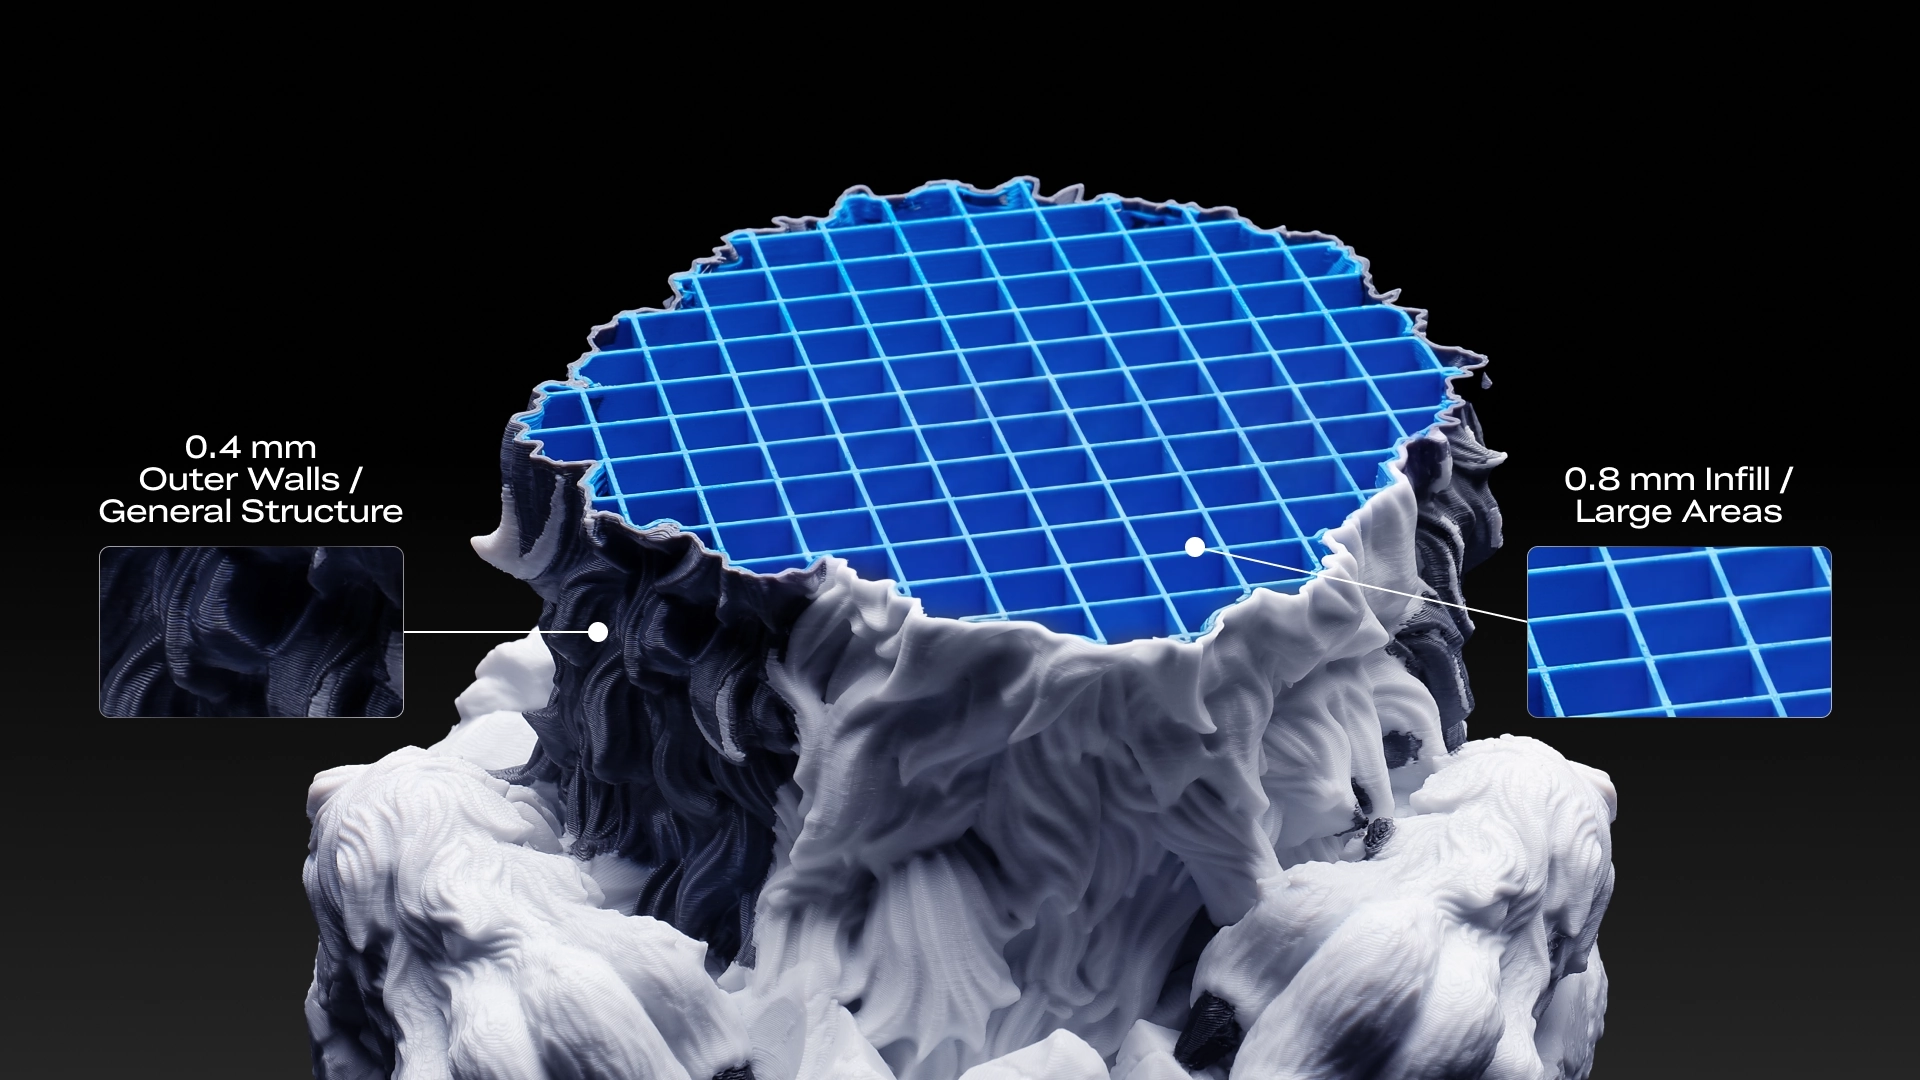
For example, a 0.8 mm nozzle can handle infill and other large-area regions, while a 0.4 mm nozzle takes care of outer walls and general structures. A 0.2 mm nozzle, meanwhile, is better suited to fine local features such as small text, narrow walls, and tiny contours.
A 0.8 mm Nozzle Is Not Just a Bigger 0.4 mm Nozzle
Infill density determines how much internal structure is printed. Line width determines the width of each extrusion path, while nozzle diameter affects the line widths, layer heights, and flow rates that can be printed reliably.
These may seem similar, but they describe different things. With larger nozzles, simply increasing line width is not enough.
A 0.8 mm nozzle is not just an enlarged 0.4 mm nozzle. A larger nozzle changes line width, extrusion volume, layer height, cooling, and toolpath requirements. If a 0.8 mm nozzle is simply used with a 0.4 mm print strategy, the result may be rougher walls, abrupt seams, over-extrusion, or unstable layer bonding. Its real advantage comes when hotend flow, speed, cooling, and model geometry are properly matched.
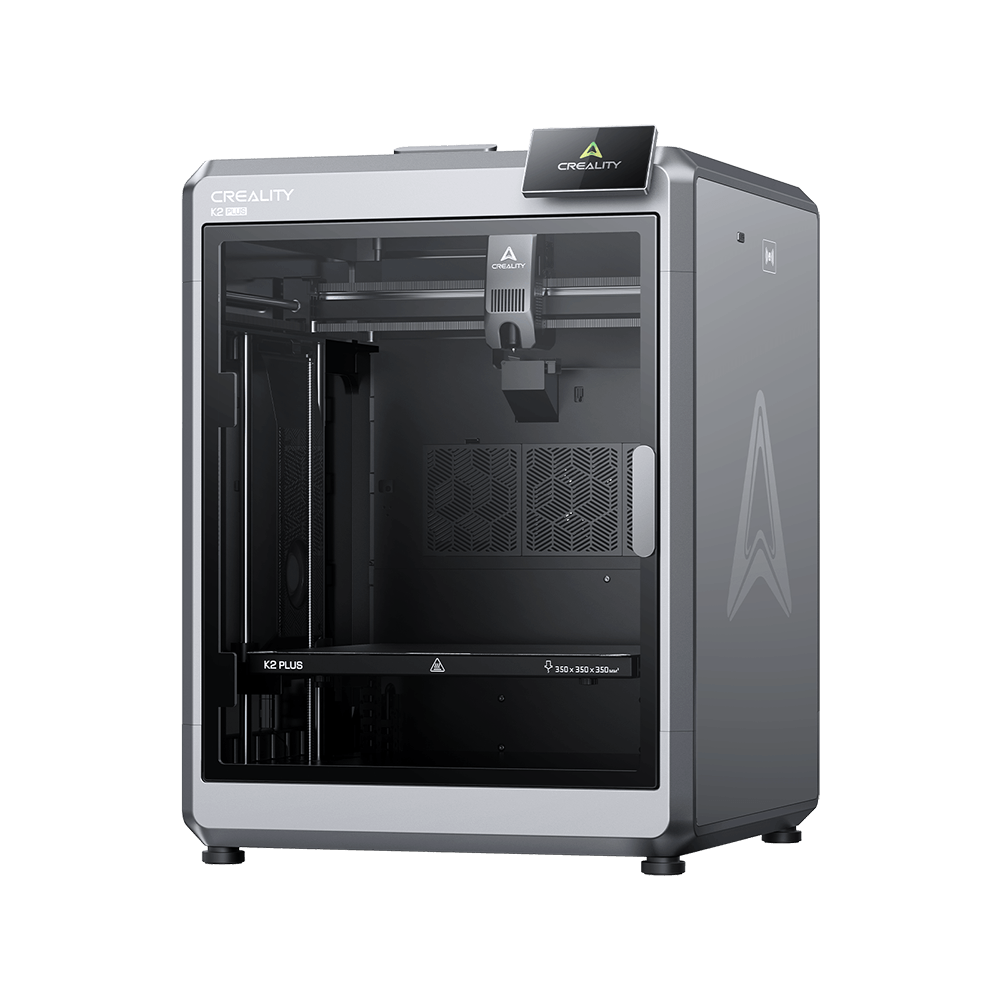
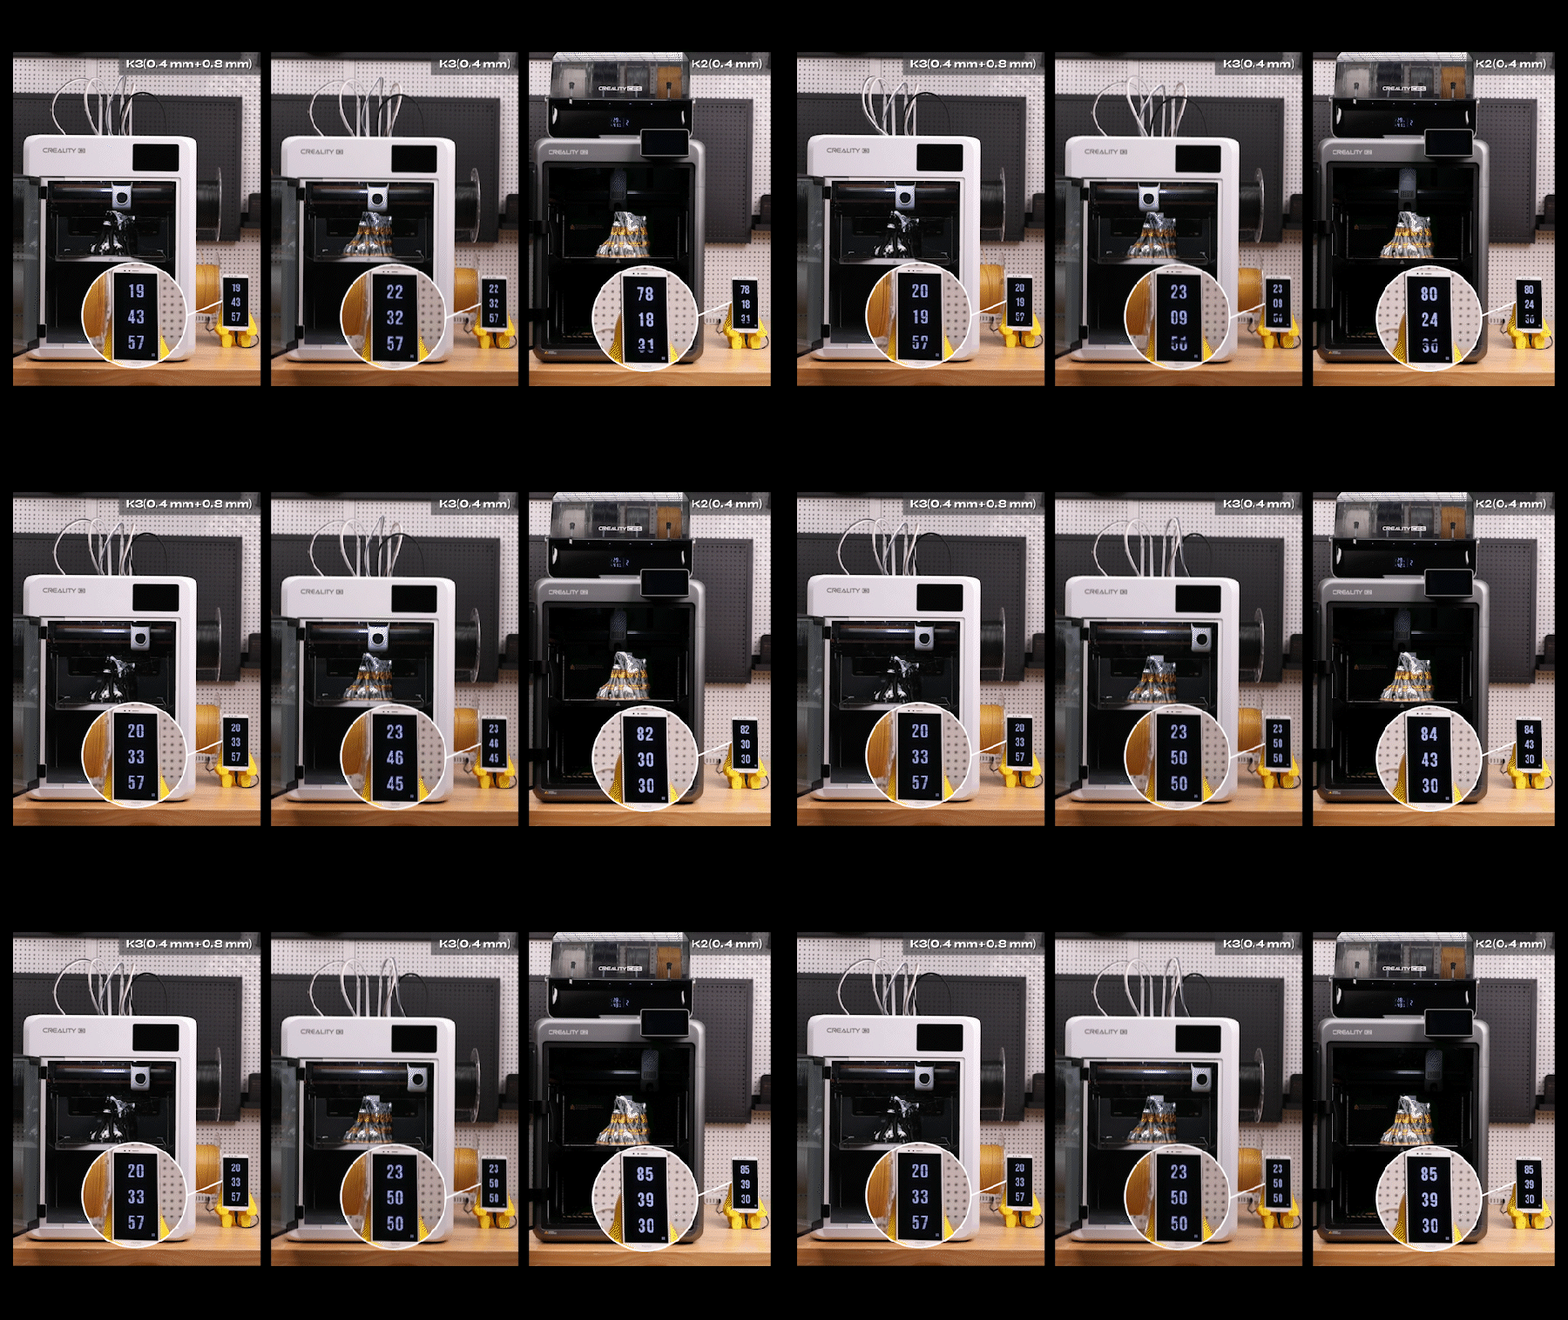
Take this wolf-head model as an example. With the same target infill density and pattern, K2 took 85 h 53 min 29 s in a single-diameter setup. On K3, the 0.4 mm single-diameter setup took 23 h 56 min 59 s, while a 0.4 mm + 0.8 mm multi-diameter setup brought the time down further to 20 h 39 min 57 s.
That saves another 3 h 17 min over the K3 single-diameter setup. The gain comes from both K3’s generational performance improvements and the 0.8 mm nozzle’s ability to cover large internal regions with wider extrusion lines and fewer toolpaths.
Why not simply set a 0.4 mm nozzle to a 0.8 mm line width? Slicing software may allow it, but that means printing at roughly 200% of the nozzle diameter. It requires recalibration of speed, flow, temperature, and pressure advance, and is more likely to hit nozzle-pressure and maximum-volumetric-flow limits at higher speeds. A slicer setting is not equivalent to using an actual 0.8 mm nozzle.
A larger nozzle therefore has its own working range for line width, layer height, flow, and speed. Smaller nozzles do too. A 0.2 mm nozzle can be advantageous for fine local features such as small text, narrow walls, and tiny contours, but whether it is the right choice depends on the model’s size, geometry, and detail distribution. Printing larger areas with it will generally take more time.
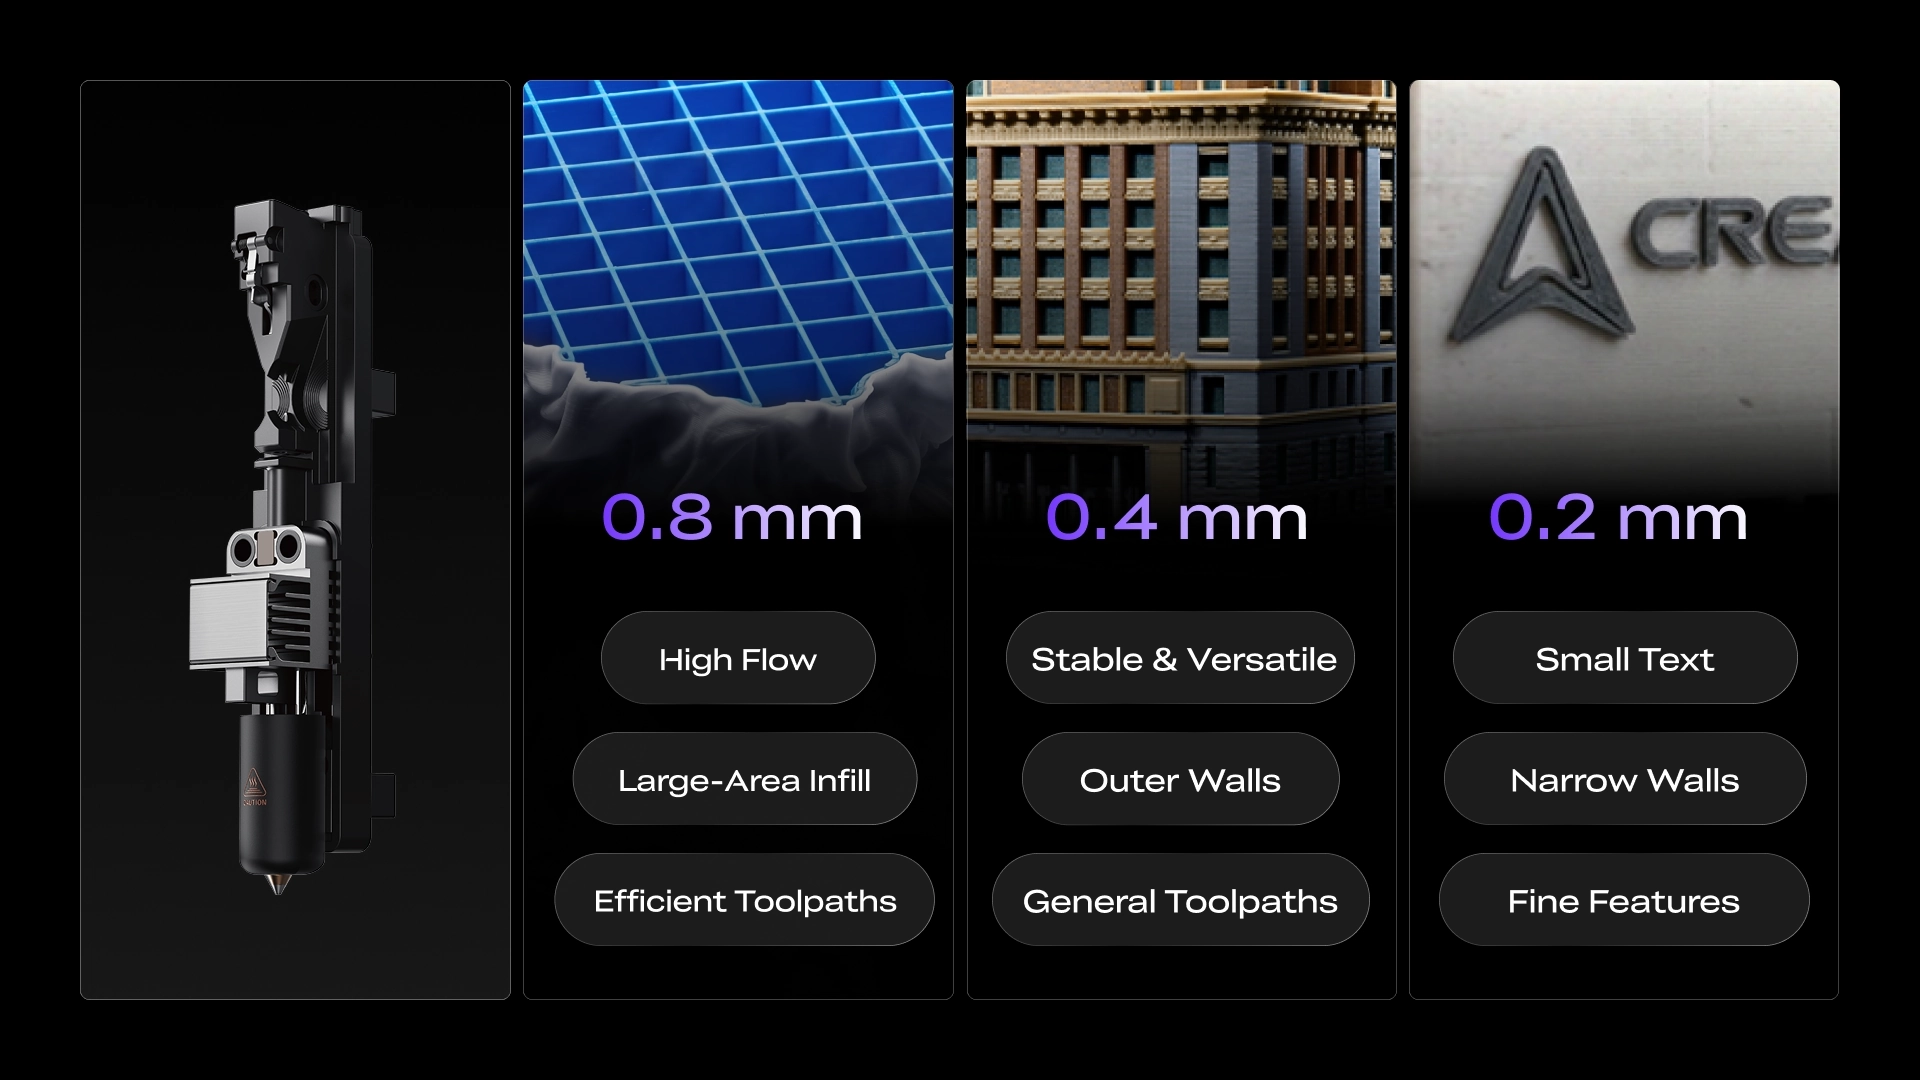
Multi-diameter printing also does not mean combining nozzle sizes arbitrarily. It requires supported combinations and properly matched line width, flow, speed, and toolpath settings.
Between Coarse and Fine, the Transition Matters
Once the work is divided, the real challenge begins. A 0.8 mm nozzle prints wider paths, a 0.4 mm nozzle narrower ones, and a 0.2 mm nozzle finer still. If these different line widths are joined too abruptly, gaps, overlaps, and sudden surface changes can appear.
The challenge is not simply coarse versus fine, but how smoothly the two connect.
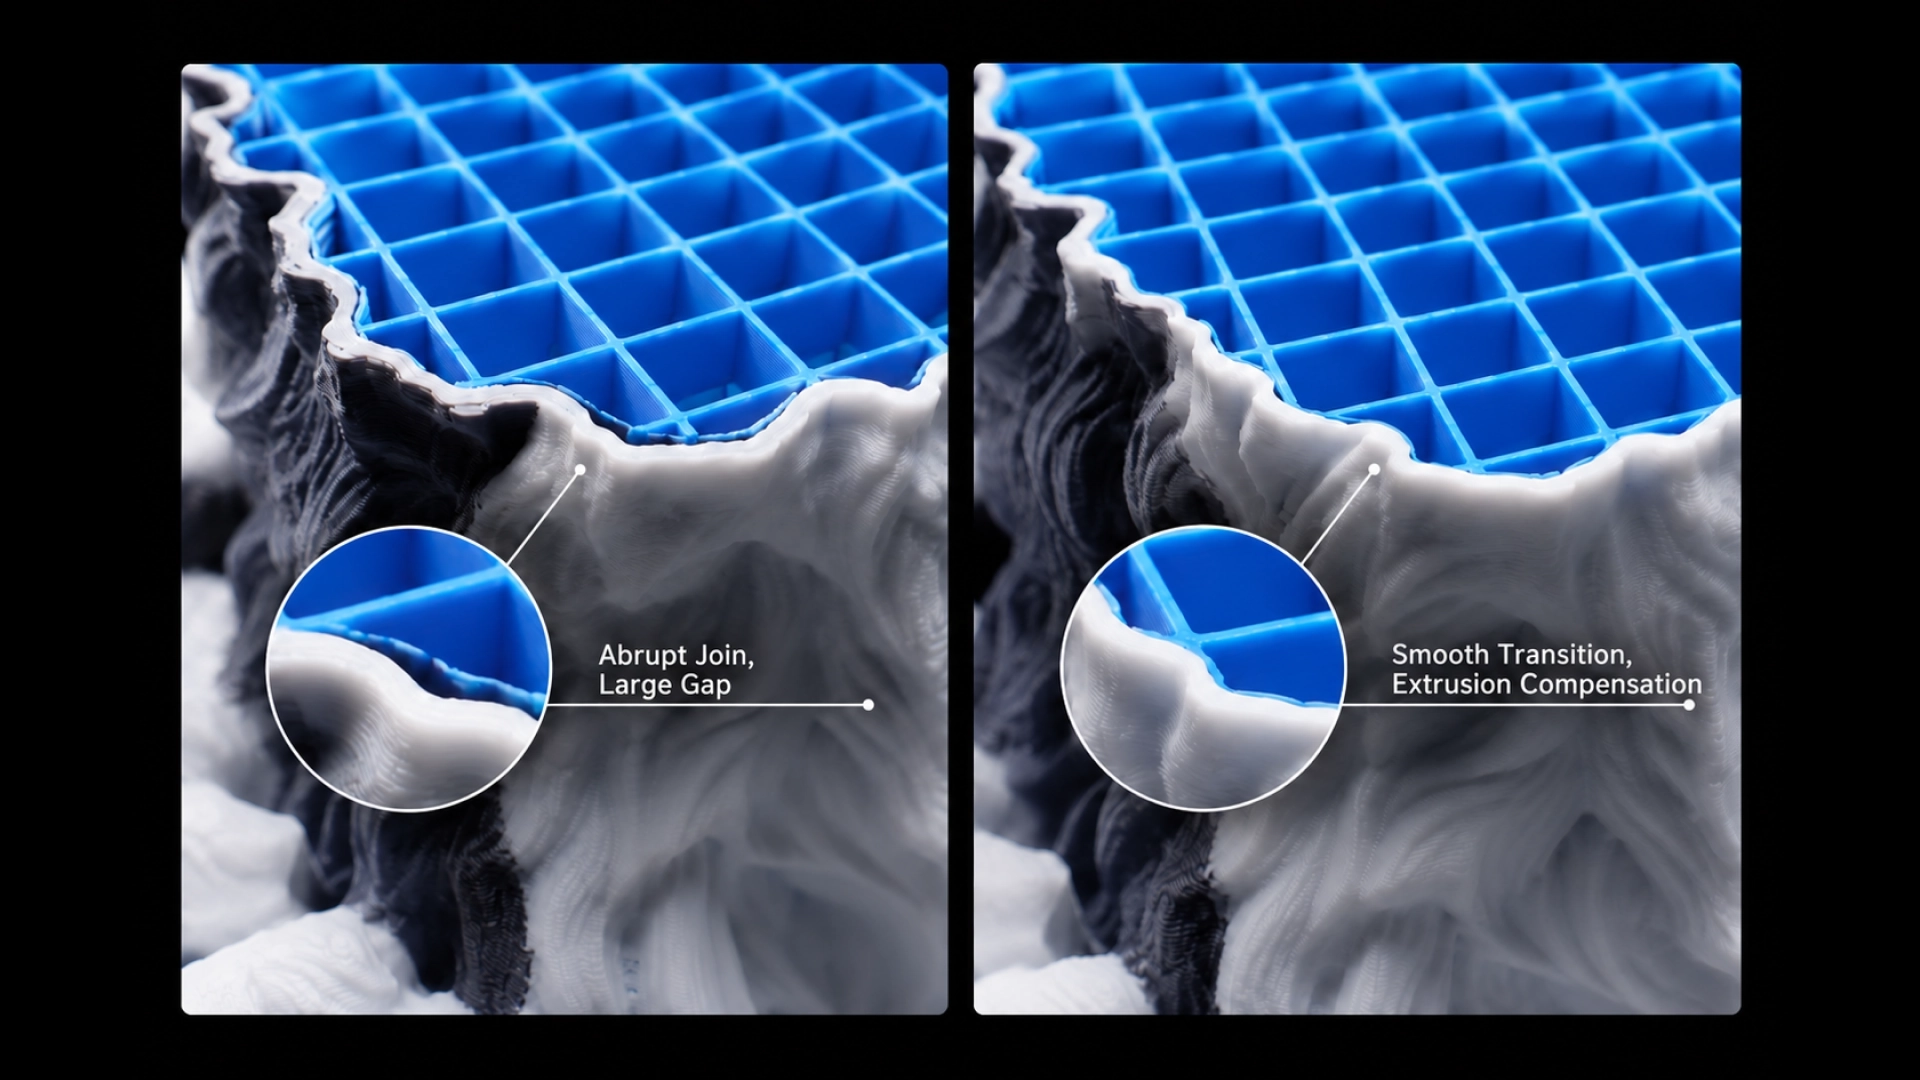
A smooth transition requires several things to work together. Wider and narrower paths need a clean boundary, while wider infill paths must leave enough space for stable outer walls. In transition areas, speed, extrusion volume, and pressure advance also need to be matched.
The real challenge is keeping line width, flow, speed, and toolpath strategy aligned while maintaining a consistent layer height. The nozzle performs the physical switch, but the final result depends on slicing, toolpath planning, parameter calibration, and stable execution.
Every Nozzle Change Has to Be Worth It
If a 0.8 mm nozzle handles the infill and a 0.4 mm nozzle handles the outer walls, which one should print first?
There is no fixed answer. Switching back and forth between 0.8 mm and 0.4 mm on every layer may be possible, but too many nozzle changes can eat into the efficiency gain. Even with K3’s fast nozzle switching, every change still has a cost.
The key is not which nozzle goes first, but whether a section of toolpath is worth switching for.
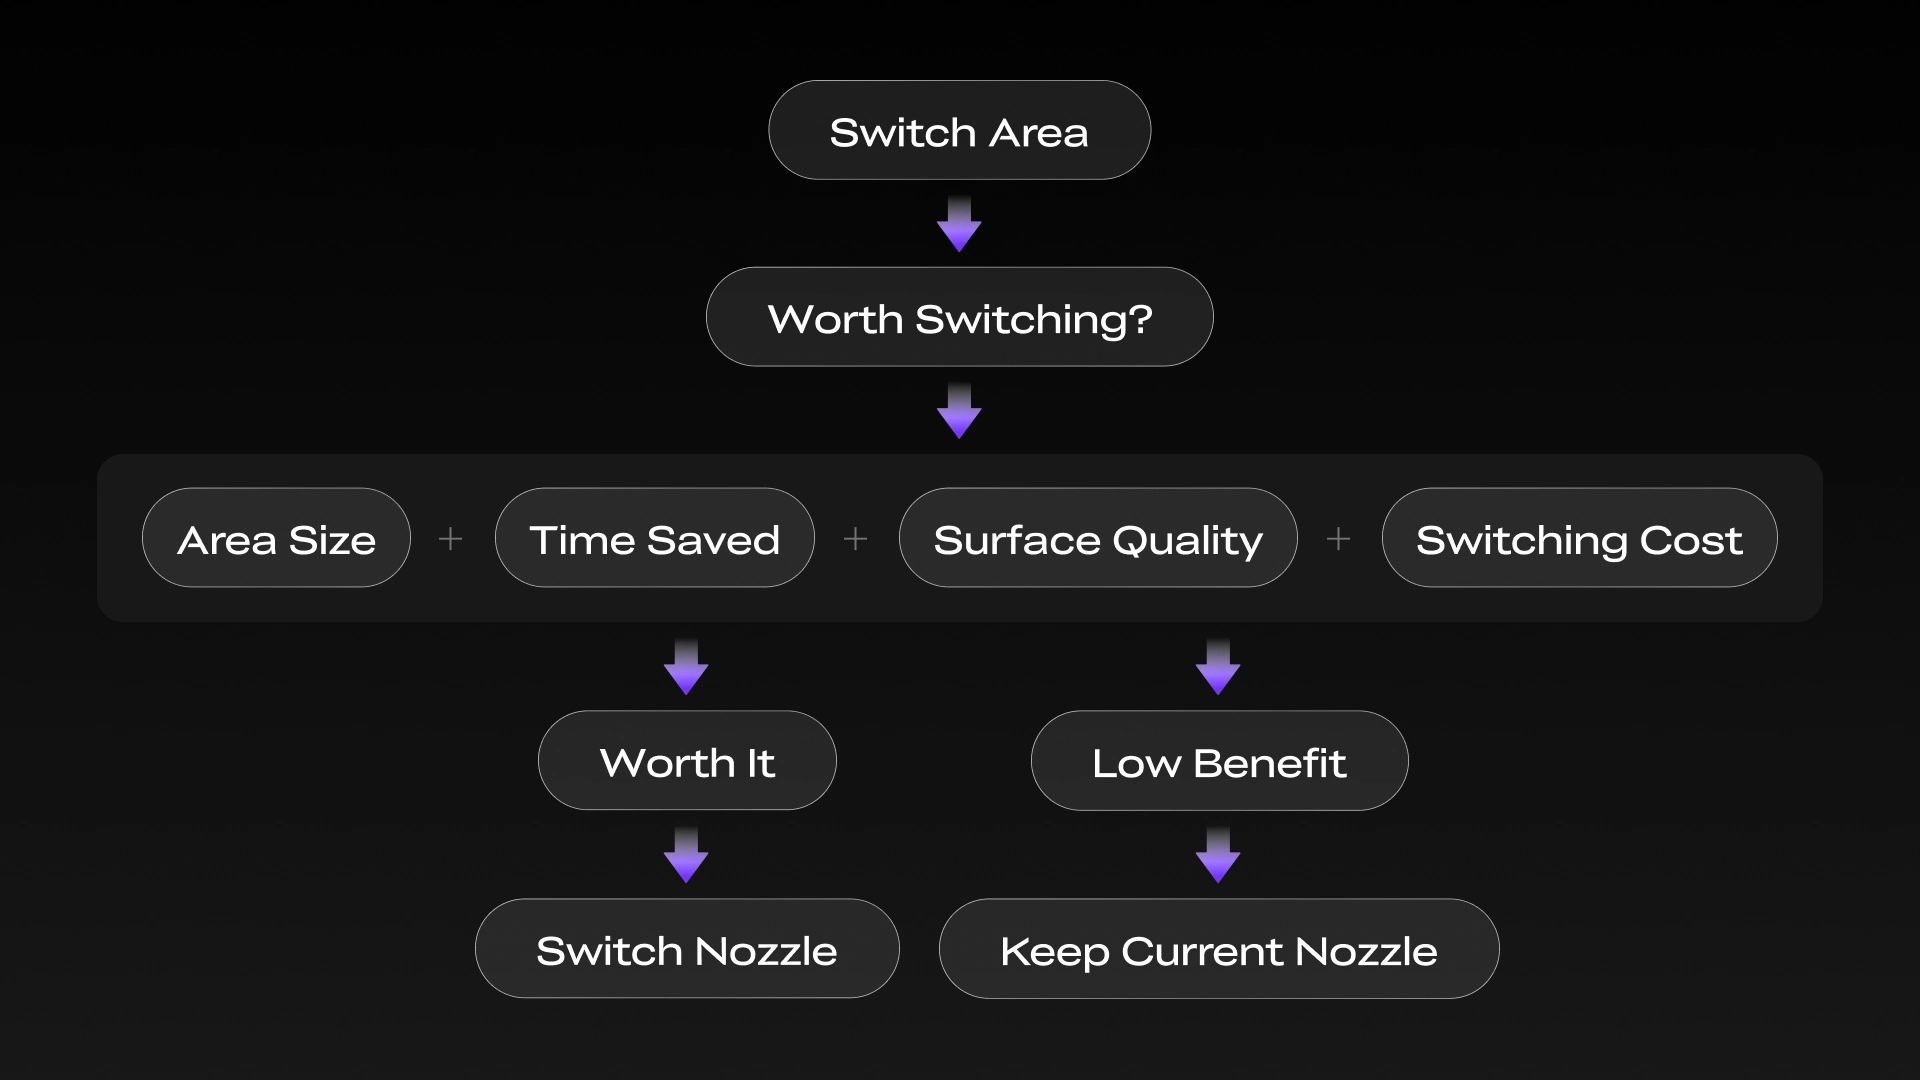
If a large block of infill can be completed by the 0.8 mm nozzle in one go, let it do so—fewer toolpaths, higher throughput, and fewer switches. If outer walls, top surfaces, or bridges need better surface quality, the 0.4 mm nozzle can take over in a 0.8 mm + 0.4 mm setup. If the toolpath is too short for the switch to bring a clear benefit, simply stay with the current nozzle.
The point of multi-diameter printing is not to switch often, but to make each switch worthwhile. Users need to weigh time savings, surface quality, and any extra cleaning, repositioning, or re-extrusion required. With multiple materials, the interface between them also needs to remain stable after the switch.
Multi-diameter printing works best on models that combine large internal regions with fine exterior details, when reinforced materials have specific nozzle requirements, or when enough toolpaths can be assigned to a larger nozzle to make the switch worthwhile.
For small or simple models, fragmented switching regions, or material combinations without verified temperature and bonding windows, a single-nozzle strategy may be the better choice. Multi-diameter printing is not the default—it is a strategy to use when the benefit is clear.
Multi-Diameter Printing Brings More Materials Into a Single Print
The value of multi-diameter printing can also extend to validated multi-material applications. For carbon-fiber-reinforced filaments, some high-fiber-content or longer-fiber formulations typically recommend a 0.6 mm or larger wear-resistant nozzle to reduce wear and clogging risks.
With PP-CF and regular PLA, for example, a larger wear-resistant nozzle can handle structural regions that require the reinforced material, while a 0.4 mm nozzle uses regular PLA for finer outer walls, text, and decorative details.
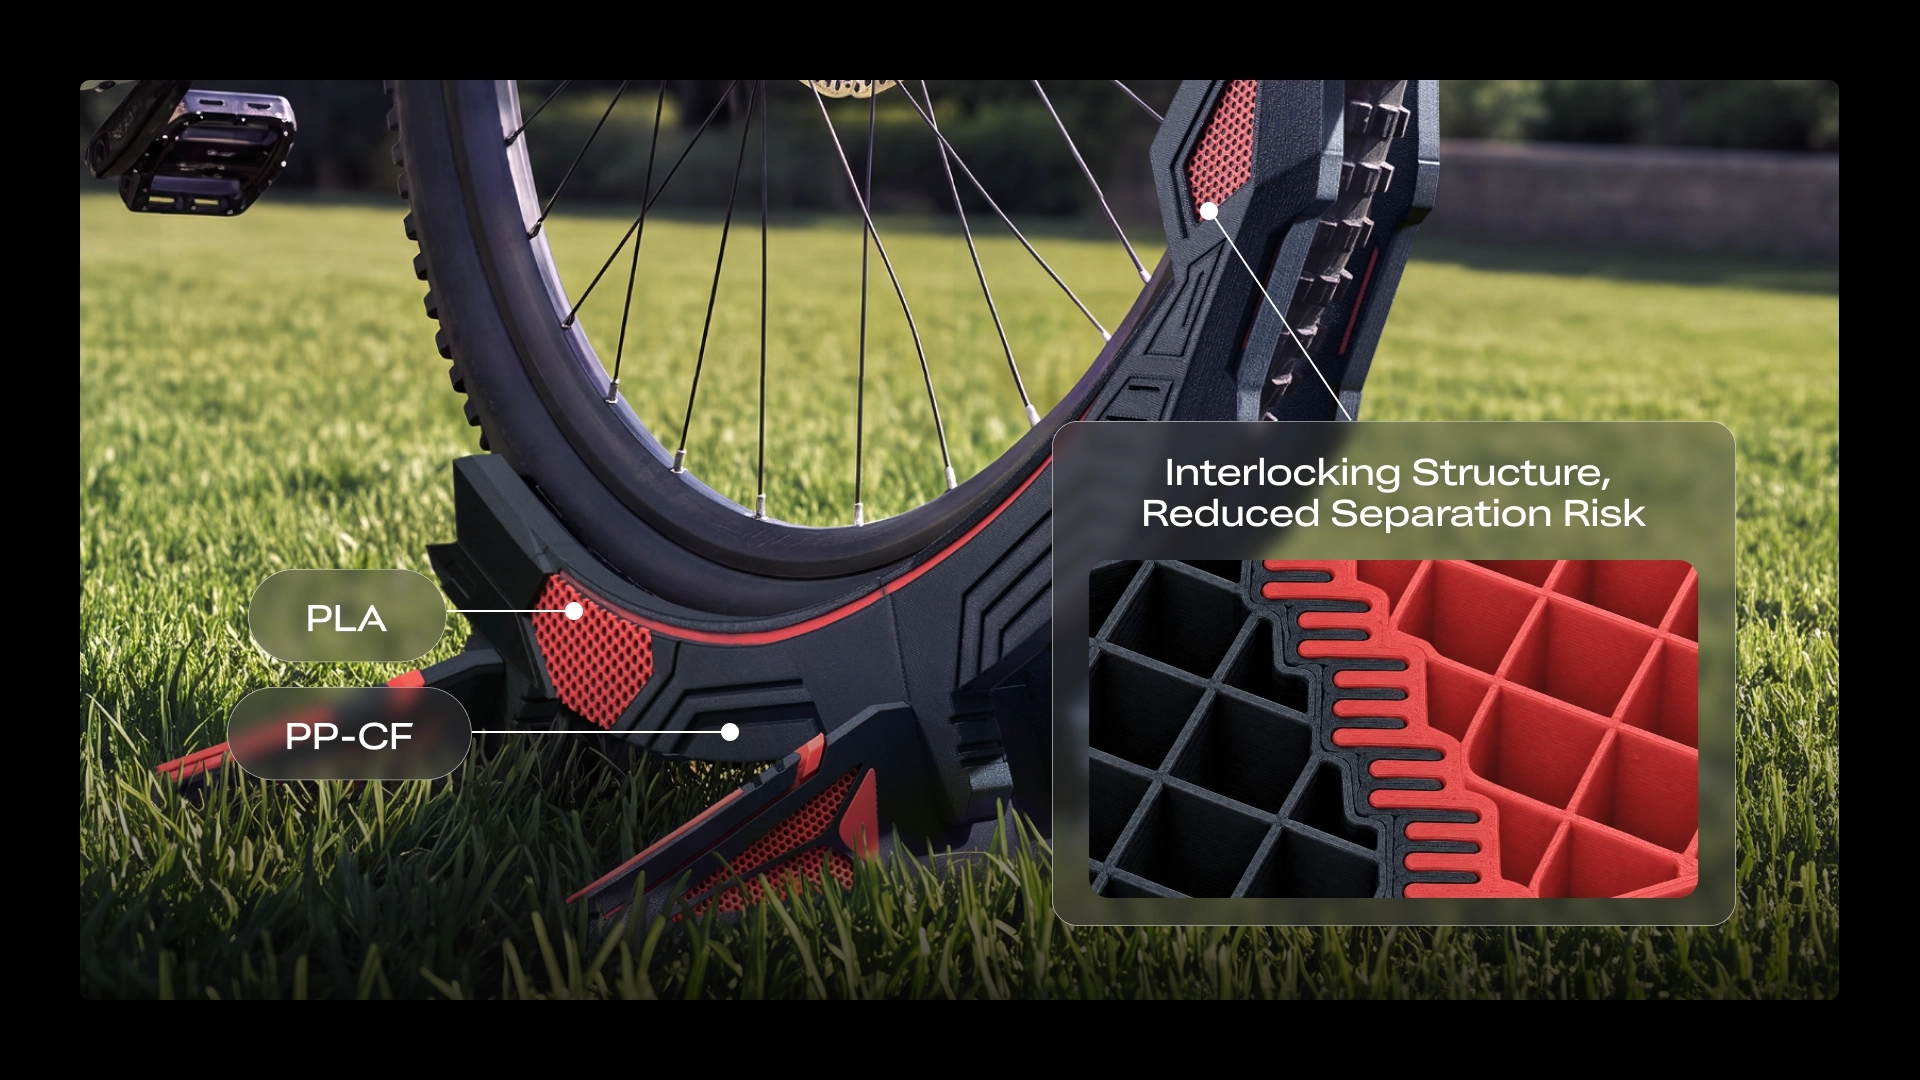
The point is not simply to print more colors, but to let materials with different nozzle-diameter and wear-resistance requirements work together within the same model.
Changing Nozzles Means More Than Changing Diameter
For many 3D printing users, multi-diameter printing is a new option—but it should not become a new barrier.
K3 keeps the division of roles clear. The user decides which regions use larger or smaller nozzles based on the model and the desired result. Creality Print provides presets for 0.2, 0.4, 0.6, and 0.8 mm nozzles, with baseline settings for line width, layer height, flow, speed, and other parameters.
This avoids forcing 0.4 mm settings onto a 0.8 mm or 0.2 mm nozzle, or rebuilding an entire parameter set every time the diameter changes.
For further tuning, speed and material settings can also be adjusted separately for different nozzle diameters. The strategy remains in the user’s hands, while the software handles as much of the parameter setup as possible.
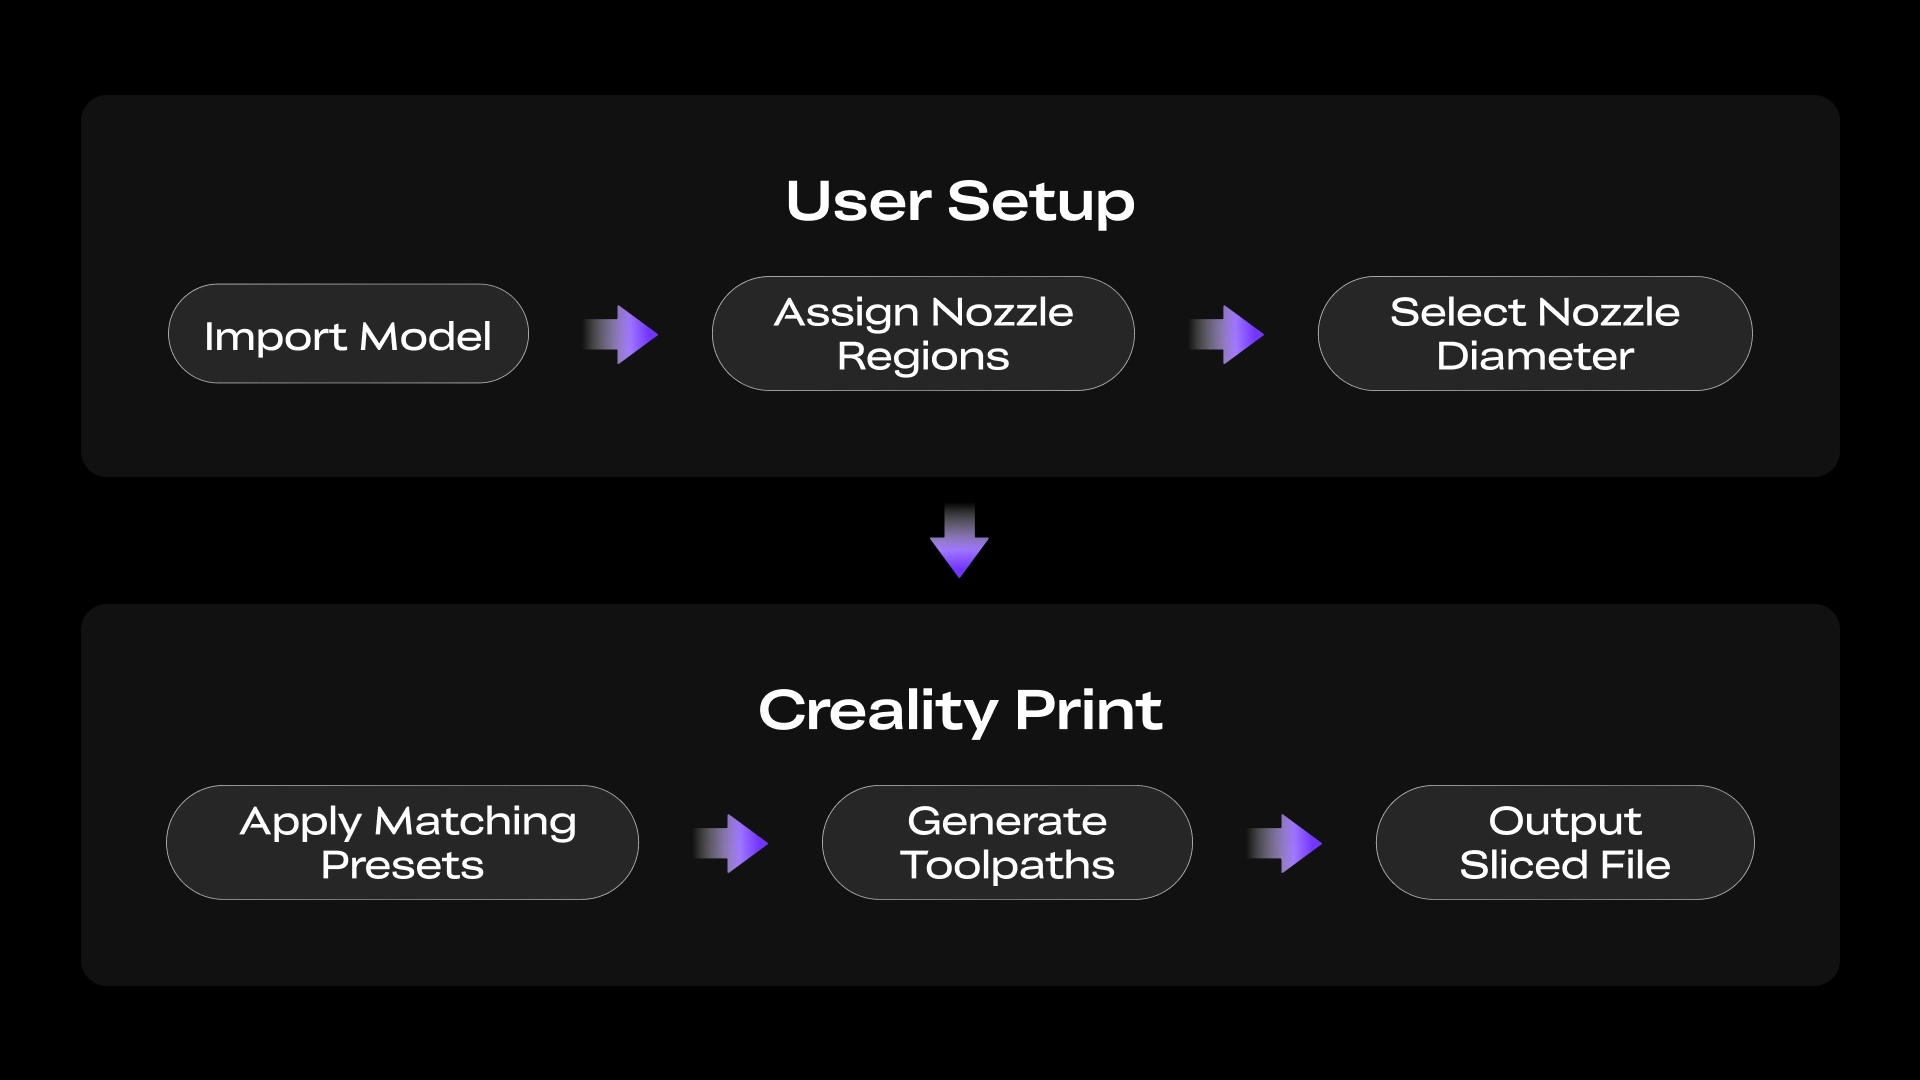
K3 is not designed to decide the entire nozzle strategy automatically. Instead, it makes the user’s chosen setup easier to execute: the user defines the strategy, while the system handles presets, nozzle switching, and calibration.
That is how multi-diameter printing can move from an advanced technique to a practical capability for everyday use.
Faster Prints, Finer Details
In the past, mixing nozzle diameters was more of an advanced-user technique: it could work, but not always easily or reliably.
K3 is not just about fitting more nozzles into one machine. The goal is to let different nozzles work like a small team, each taking on the kind of task it is best suited for.