








Welcome to Creality  SPARKX i7 Buy Now 🔥

Creality
Store
  • 3D Printers
  • Ecosystem
  • Support
  • Software
  • Blog
  • Creality Cloud
  • United States (English)
Cancel

Quick Links

    Creality
    3D PrintersEcosystem SupportSoftwareBlogCreality Cloud
    Store
    SPARKXFlagshipHi SeriesEnder SeriesHALOT Series
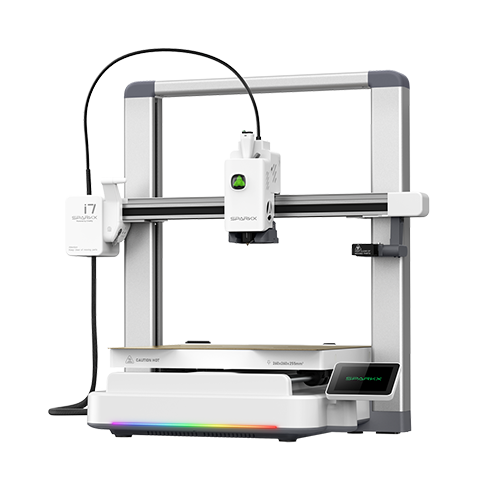
    SPARKX i7
    New
    SPARKX i7
    More Products
    Compare
    K2 SE
    New
    K2 SE
    K2
    New
    K2
    K2 Pro
    K2 Pro
    K2 Plus
    K2 Plus
    K1 Max
    K1 Max
    More Products
    Compare
    Creality Hi
    Creality Hi
    More Products
    Compare
    Ender-3 V4
    New
    Ender-3 V4
    Ender-5 Max
    Ender-5 Max
    Ender-3 V3 Plus
    Ender-3 V3 Plus
    Ender-3 V3
    Ender-3 V3
    Ender-3 V3 SE
    Ender-3 V3 SE
    More Products
    Compare
    HALOT-X1
    New
    HALOT-X1
    HALOT R6
    HALOT R6
    HALOT-MAGE S
    HALOT-MAGE S
    HALOT-MAGE
    HALOT-MAGE
    More Products
    Compare
    Filaments3D ScannersLaser EngraversAccessories
    Hyper Series
    Hyper Series
    CR Series
    CR Series
    Soleyin Series
    Soleyin Series
    Ender Series
    Ender Series
    More Products
    Compare
    Sermoon P1
    New
    Sermoon P1
    Sermoon X1
    Sermoon X1
    Sermoon S1
    Sermoon S1
    Creality Raptor Pro
    Creality Raptor Pro
    Otter Lite/Basic
    Otter Lite/Basic
    More Products
    Compare
    Creality Falcon A1 Pro 20W
    New
    Creality Falcon A1 Pro 20W
    Creality Falcon A1
    Creality Falcon A1
    Creality Falcon2 Pro 60W
    Creality Falcon2 Pro 60W
    Creality Falcon2 Pro
    Creality Falcon2 Pro
    Creality Falcon2 22W
    Creality Falcon2 22W
    More Products
    Compare
    CFS-C
    New
    CFS-C
    SpacePi X4L
    New
    SpacePi X4L
    Creality SpacePi X4
    Creality SpacePi X4
    Creality Space Pi  Dryer
    Creality Space Pi Dryer
    CFS - Creality Filament System
    CFS - Creality Filament System
    More Products
    Compare
    Download Center
    3D Models
    Creality Cloud App
    Firmware & Software
    Service Center
    Help Center
    Creality Wiki
    Product Support
    Video Guides
    Product Comparison
    Filament Guide
    Find Your Printer
    Discover
    User Stories
    3D Scanner Applications
    3D Printing in Education
    Blog Center / SPARKX i7 3D Printer Maintenance Guide: Consumables Replacement & Safety Tips
    Contents
    contents

    Join Our Newsletter

    Subscribe to our newsletter for 3D printing insights, step-by-step guides, and inspirations for your next 3D printing adventure.

    By subscribing, you agree to our Terms and Privacy Policy.

    Social Media

    • Youtube
    • Facebook
    • Instagram
    • TikTok
    • Twitter
    • Reddit
    • Discord
    • LinkedIn

    Contents

    • Safety Instructions
    • Hotend Sock
    • Nozzle Wiping Strip
    • Base Foot Pads
    • Toolhead Filament Cutter
    • Print Plate

    SPARKX i7 3D Printer Maintenance Guide: Consumables Replacement & Safety Tips

    Apr 8, 2026 17:31:07

    Safety Instructions

    Before performing any maintenance on the printer's electronic components, including cables, ensure that the printer is powered off and the power cable is disconnected. This prevents short circuits, potential damage to electronic components, and safety hazards.

    When performing maintenance or troubleshooting, always check the temperature of the Hotend and Heated Bed. Avoid operating on them while hot. If working at high temperatures is unavoidable, wear heat-resistant gloves to ensure safe and effective maintenance.

    Hotend Sock

    Function

    Protects the Hotend and provides thermal insulation.

    Replacement Timing

    Replace the Hotend Sock when it is observed to be damaged.

    Required Tools and Materials

    New Hotend Sock.

    Tweezers

    Procedure

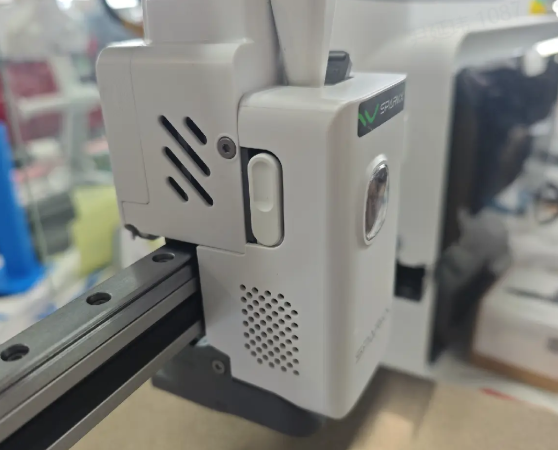
    Remove the Toolhead Back Cover.
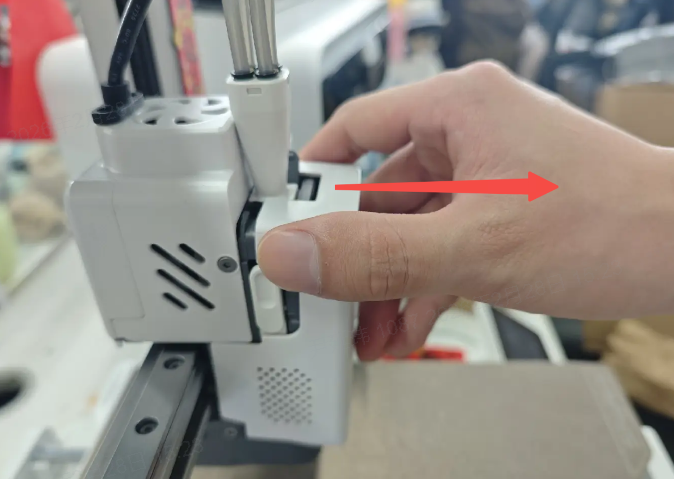
    Remove the Toolhead Front Cover

    Take off the old Hotend Sock (Warning: Ensure the Hotend is completely cooled before touching!).
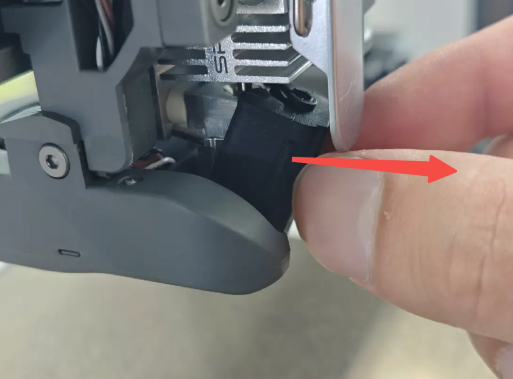
    Take off the old Hotend Sock

    Install the new Hotend Sock.

    Install the new Hotend Sock
    Install the new Hotend Sock

    Reattach the Toolhead Back Cover.

    Reattach the Toolhead Back Cover

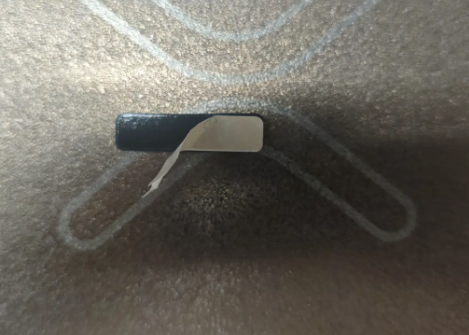
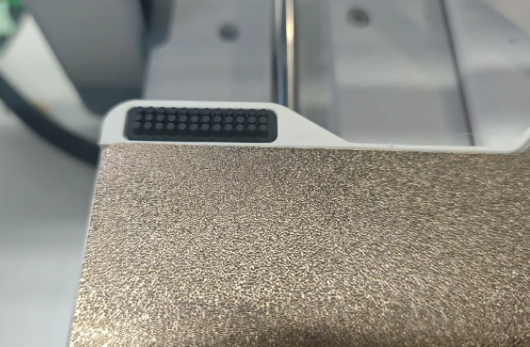
    Nozzle Wiping Strip

    Function

    Cleans residual filament around the Hotend nozzle.

    Replacement Timing

    Replace the Nozzle Wiping Strip when it shows signs of damage.

    Required Tools and Materials

    New Nozzle Wiping Strip.

    Alcohol

    Cleaning cloth

    Tweezers

    Procedure

    • Remove the old wiping strip.

    Remove the old wiping strip

    • Use tweezers to remove any residual filament. Dampen the cleaning cloth with alcohol and wipe the residue area thoroughly.
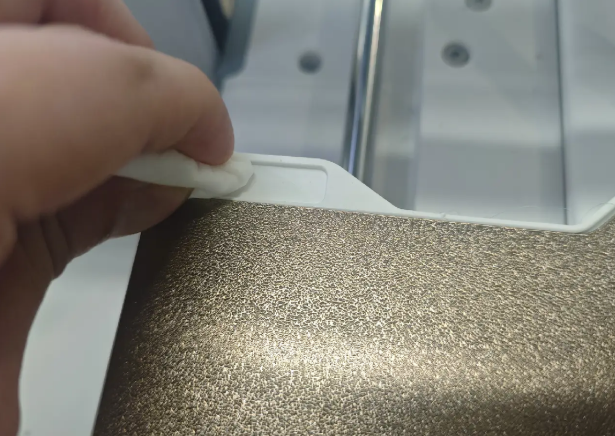
    wipe the residue area thoroughly

    • Allow alcohol to evaporate completely, peel off the backing of the new strip, and attach it in the correct position.
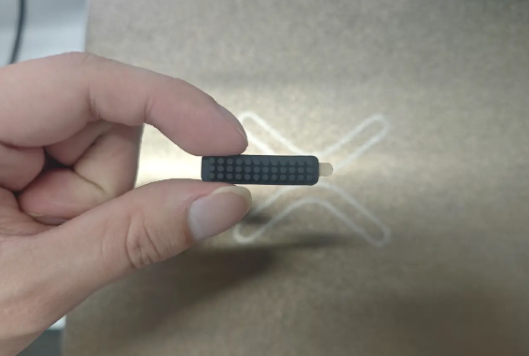
    new strip
    new strip
    new strip

    Base Foot Pads

    Function

    Assist in stabilizing the printer.

    Replacement Timing

    Replace the foot pads when they are deformed or missing.

    Required Tools and Materials

    New base foot pads.

    Alcohol

    Cleaning cloth

    Tweezers

    Procedure

    Remove the old foot pads. The i7 has 3 square hard pads and 4 round soft pads, totaling 7 foot pads. 
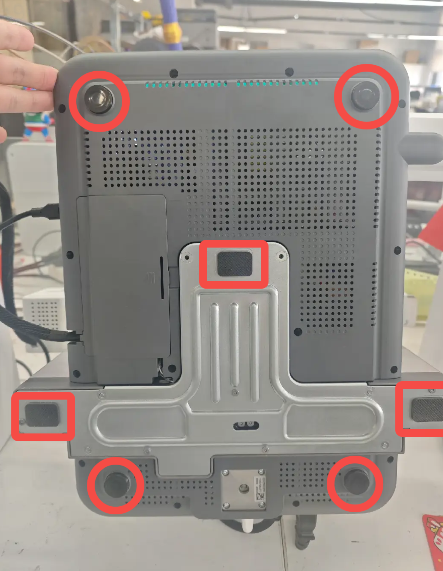
    SPARKX i7 7 foot pads

    Use tweezers to remove any residual adhesive.

    Clean the surface with alcohol-dampened cloth thoroughly.

    Allow alcohol to dry, peel off the backing of the new pads, and attach them in the correct positions.

    Place the printer on a flat surface and ensure all 4 round soft pads make contact with the table.

    Toolhead Filament Cutter

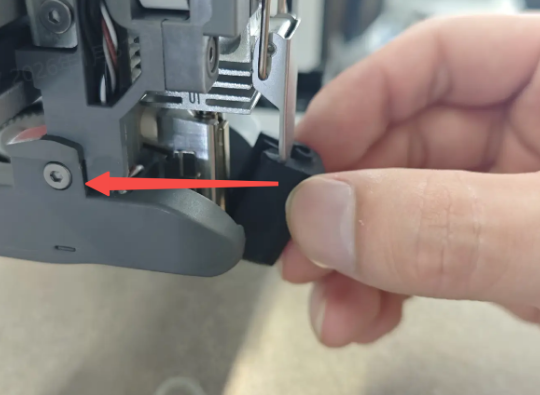
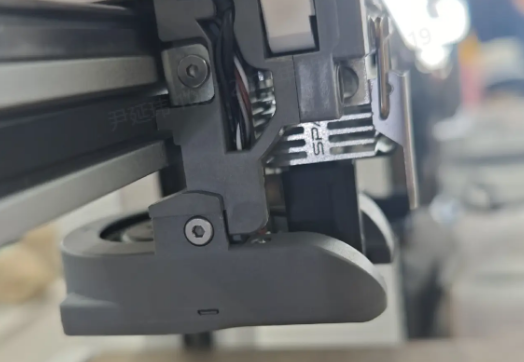
    The Filament Cutter is installed on the left side of the Extruder. When the Toolhead moves to the far left, the Cutter Arm presses the internal cutter through a lever mechanism to cut the filament. After the filament is cut, the cutter returns to its original position under the magnetic force of the built-in magnet.

    During multi-color printing and other print tasks that involve frequent filament unloading, the filament cutting action is repeatedly performed. After prolonged use, the cutter may experience wear. Therefore, regular inspection or replacement is recommended.

    For more information, please refer to i7 Series Toolhead Filament Cutter Replacement Guide

    Print Plate

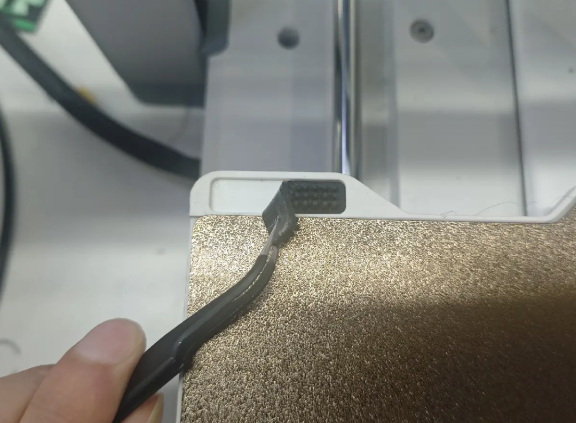
    The i7 comes with a textured PEI Plate. After long-term use, adhesion may decrease. Clean the plate first following: i7 Plate Maintenance Guide .

    If cleaning does not restore adhesion, or if the wiping area is damaged due to nozzle friction, the PEI Plate should be replaced.

    We recommend purchasing the official SPRAKX i7 Print Plate.

    SHOP

    • Store
    • Falcon Store
    • Where to Buy
    • K Series
    • Hi Series
    • Ender Series

    COMMUNITY

    • Forum
    • Creality Cloud
    • Discord
    • Reddit
    • Open Source

    SUPPORT

    • Downloads
    • Help Center
    • Video Guides
    • Warranty & Repairs
    • Creality Wiki

    ABOUT

    • About Us
    • Distributors
    • ShareFest Events

    Be the First to Know

    Get the latest news from Creality.

    • Youtube
    • Facebook
    • Instagram
    • TikTok
    • Twitter
    • Reddit
    • Discord
    • LinkedIn
    Privacy PolicyTerms of SalesShipping PolicyFeedback
    United States(English)

    Copyright © 2025 Creality Co., Ltd. All rights reserved.