
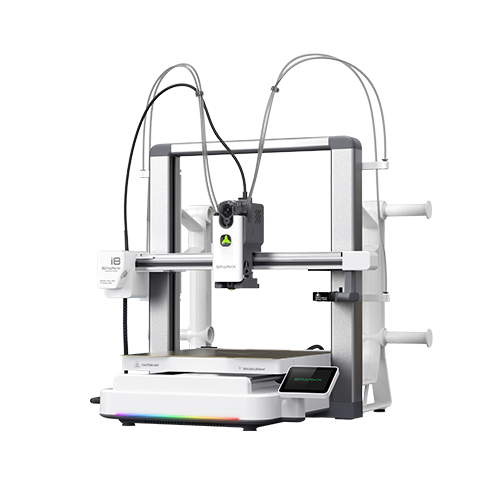
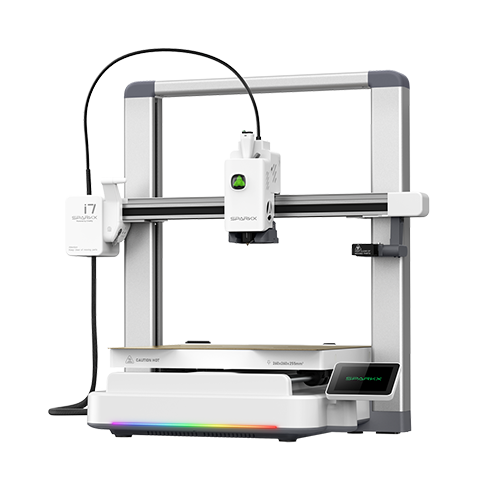
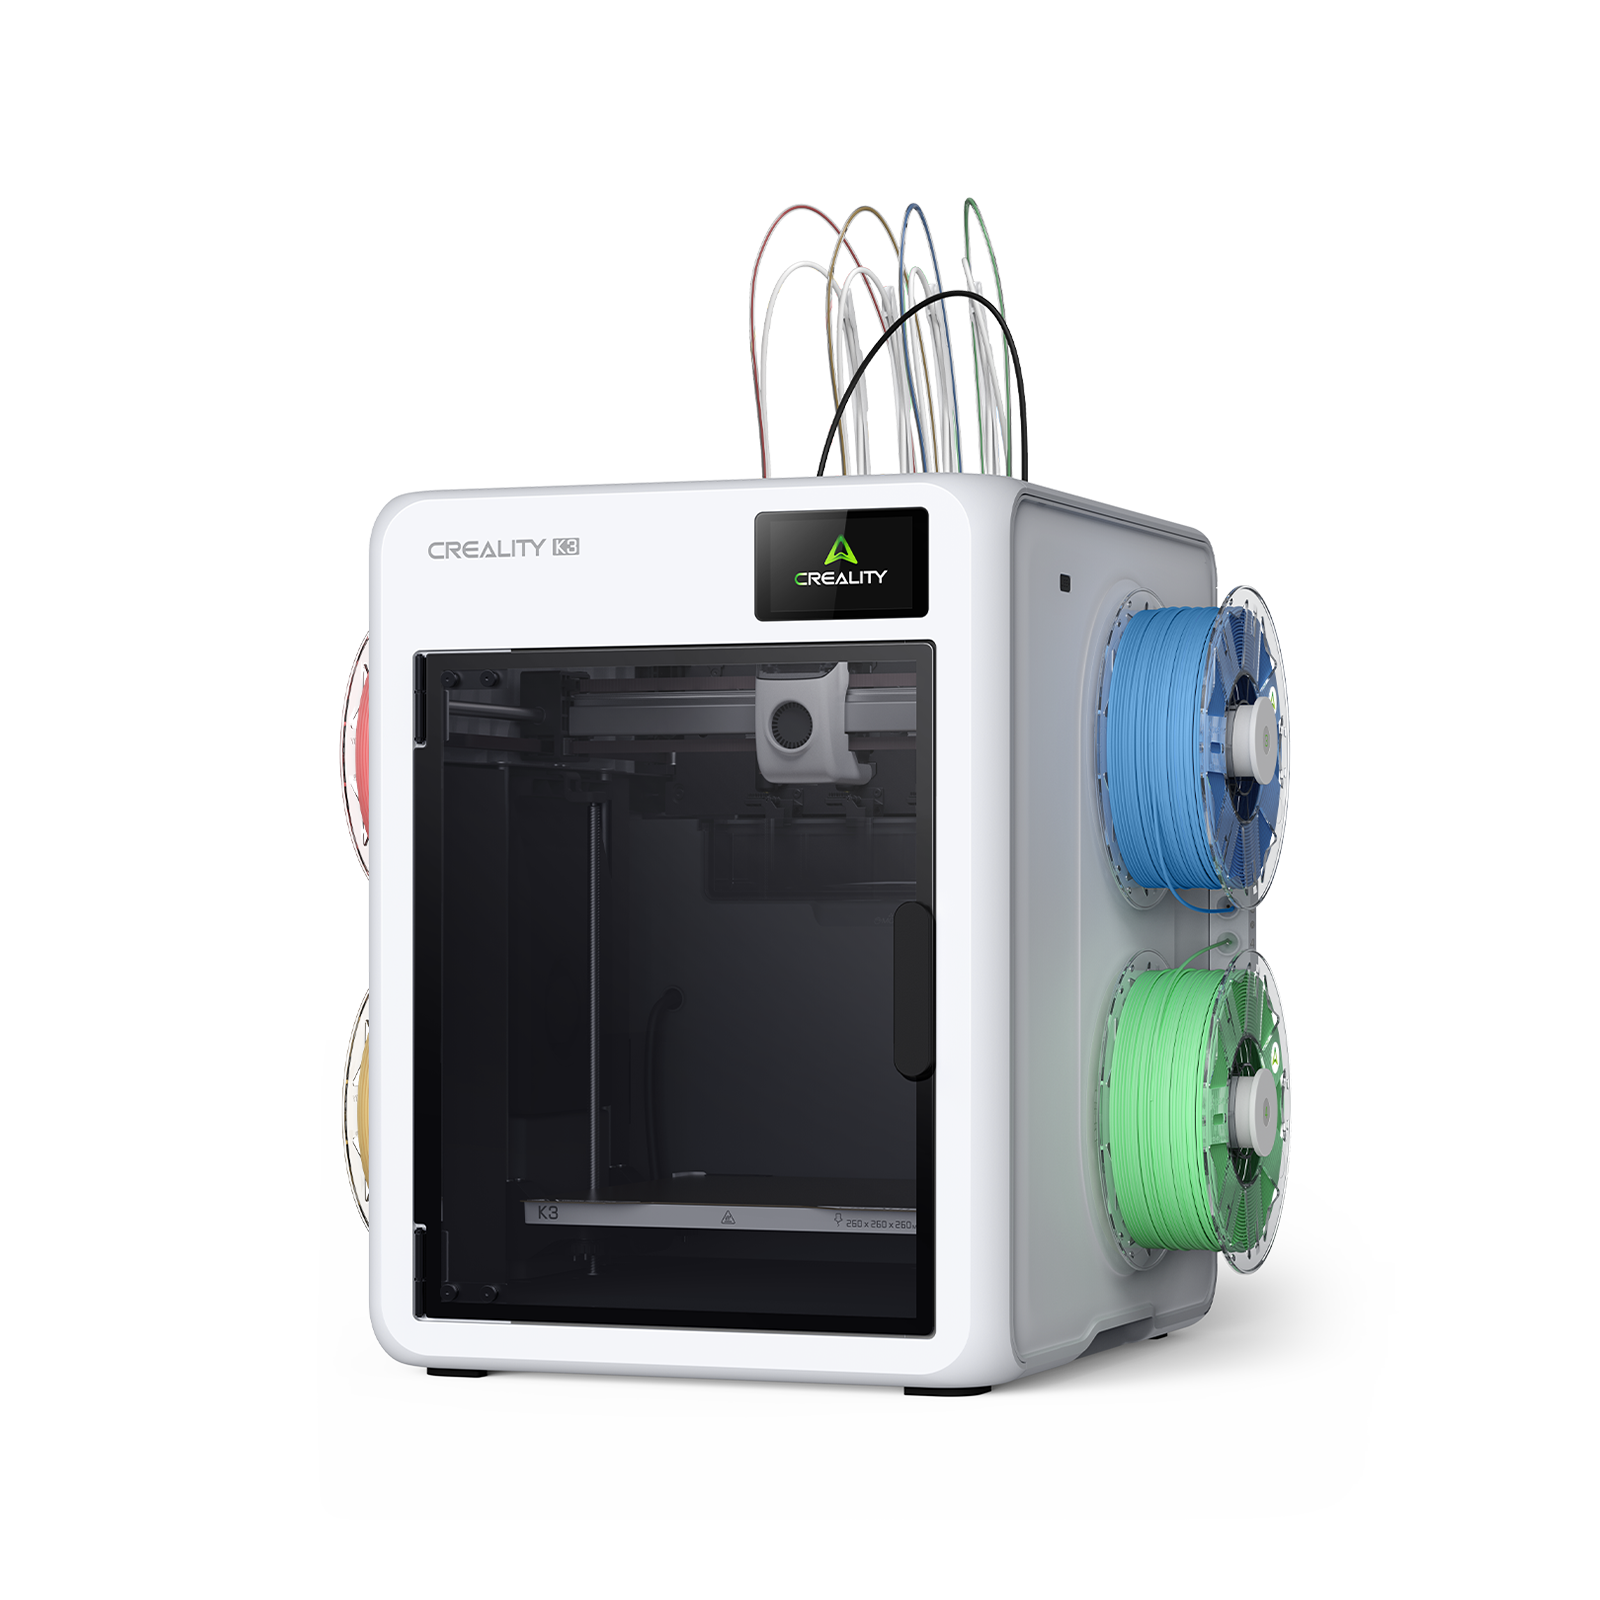
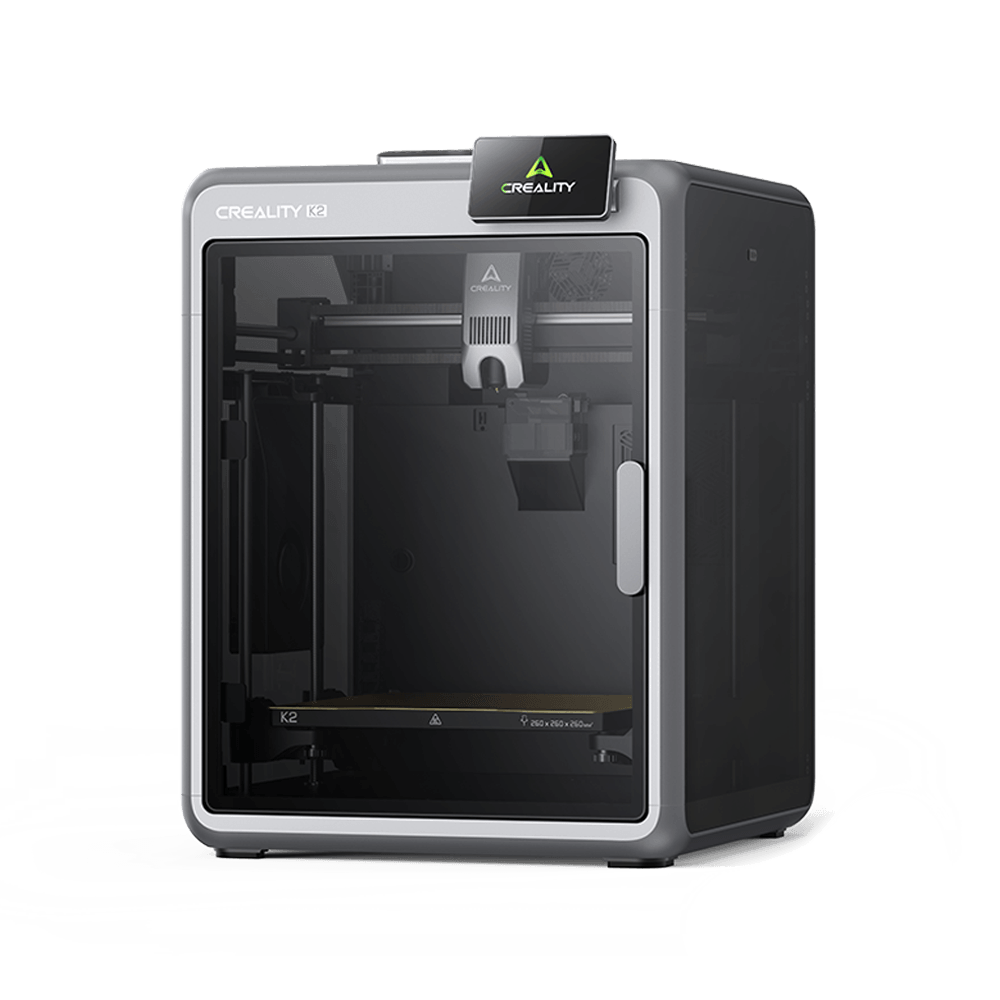
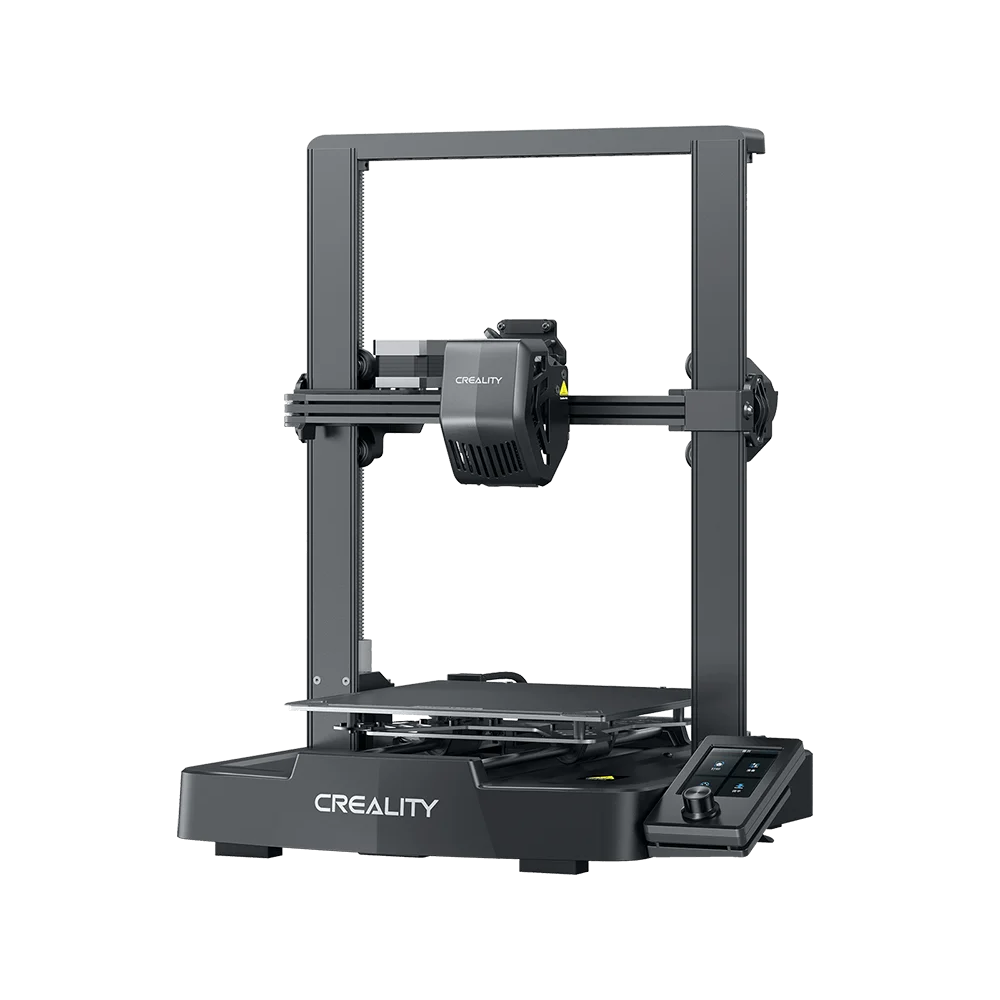
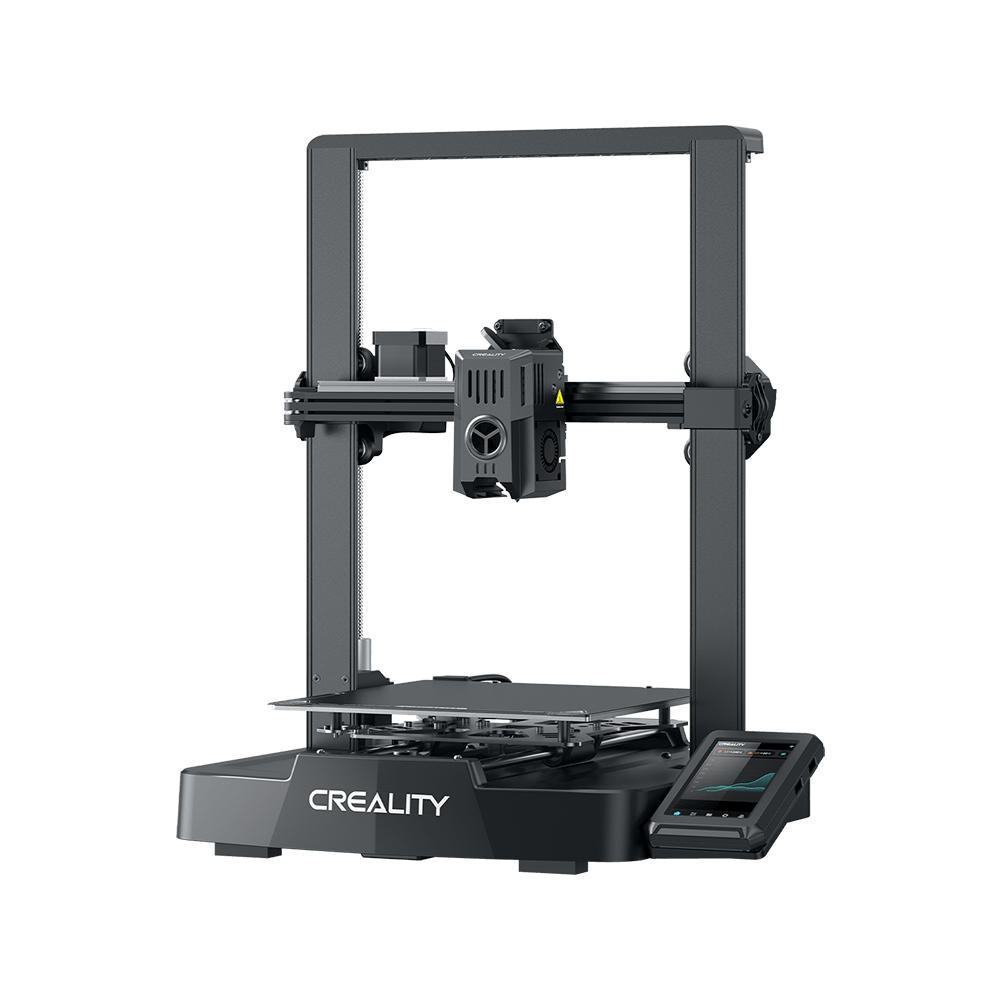
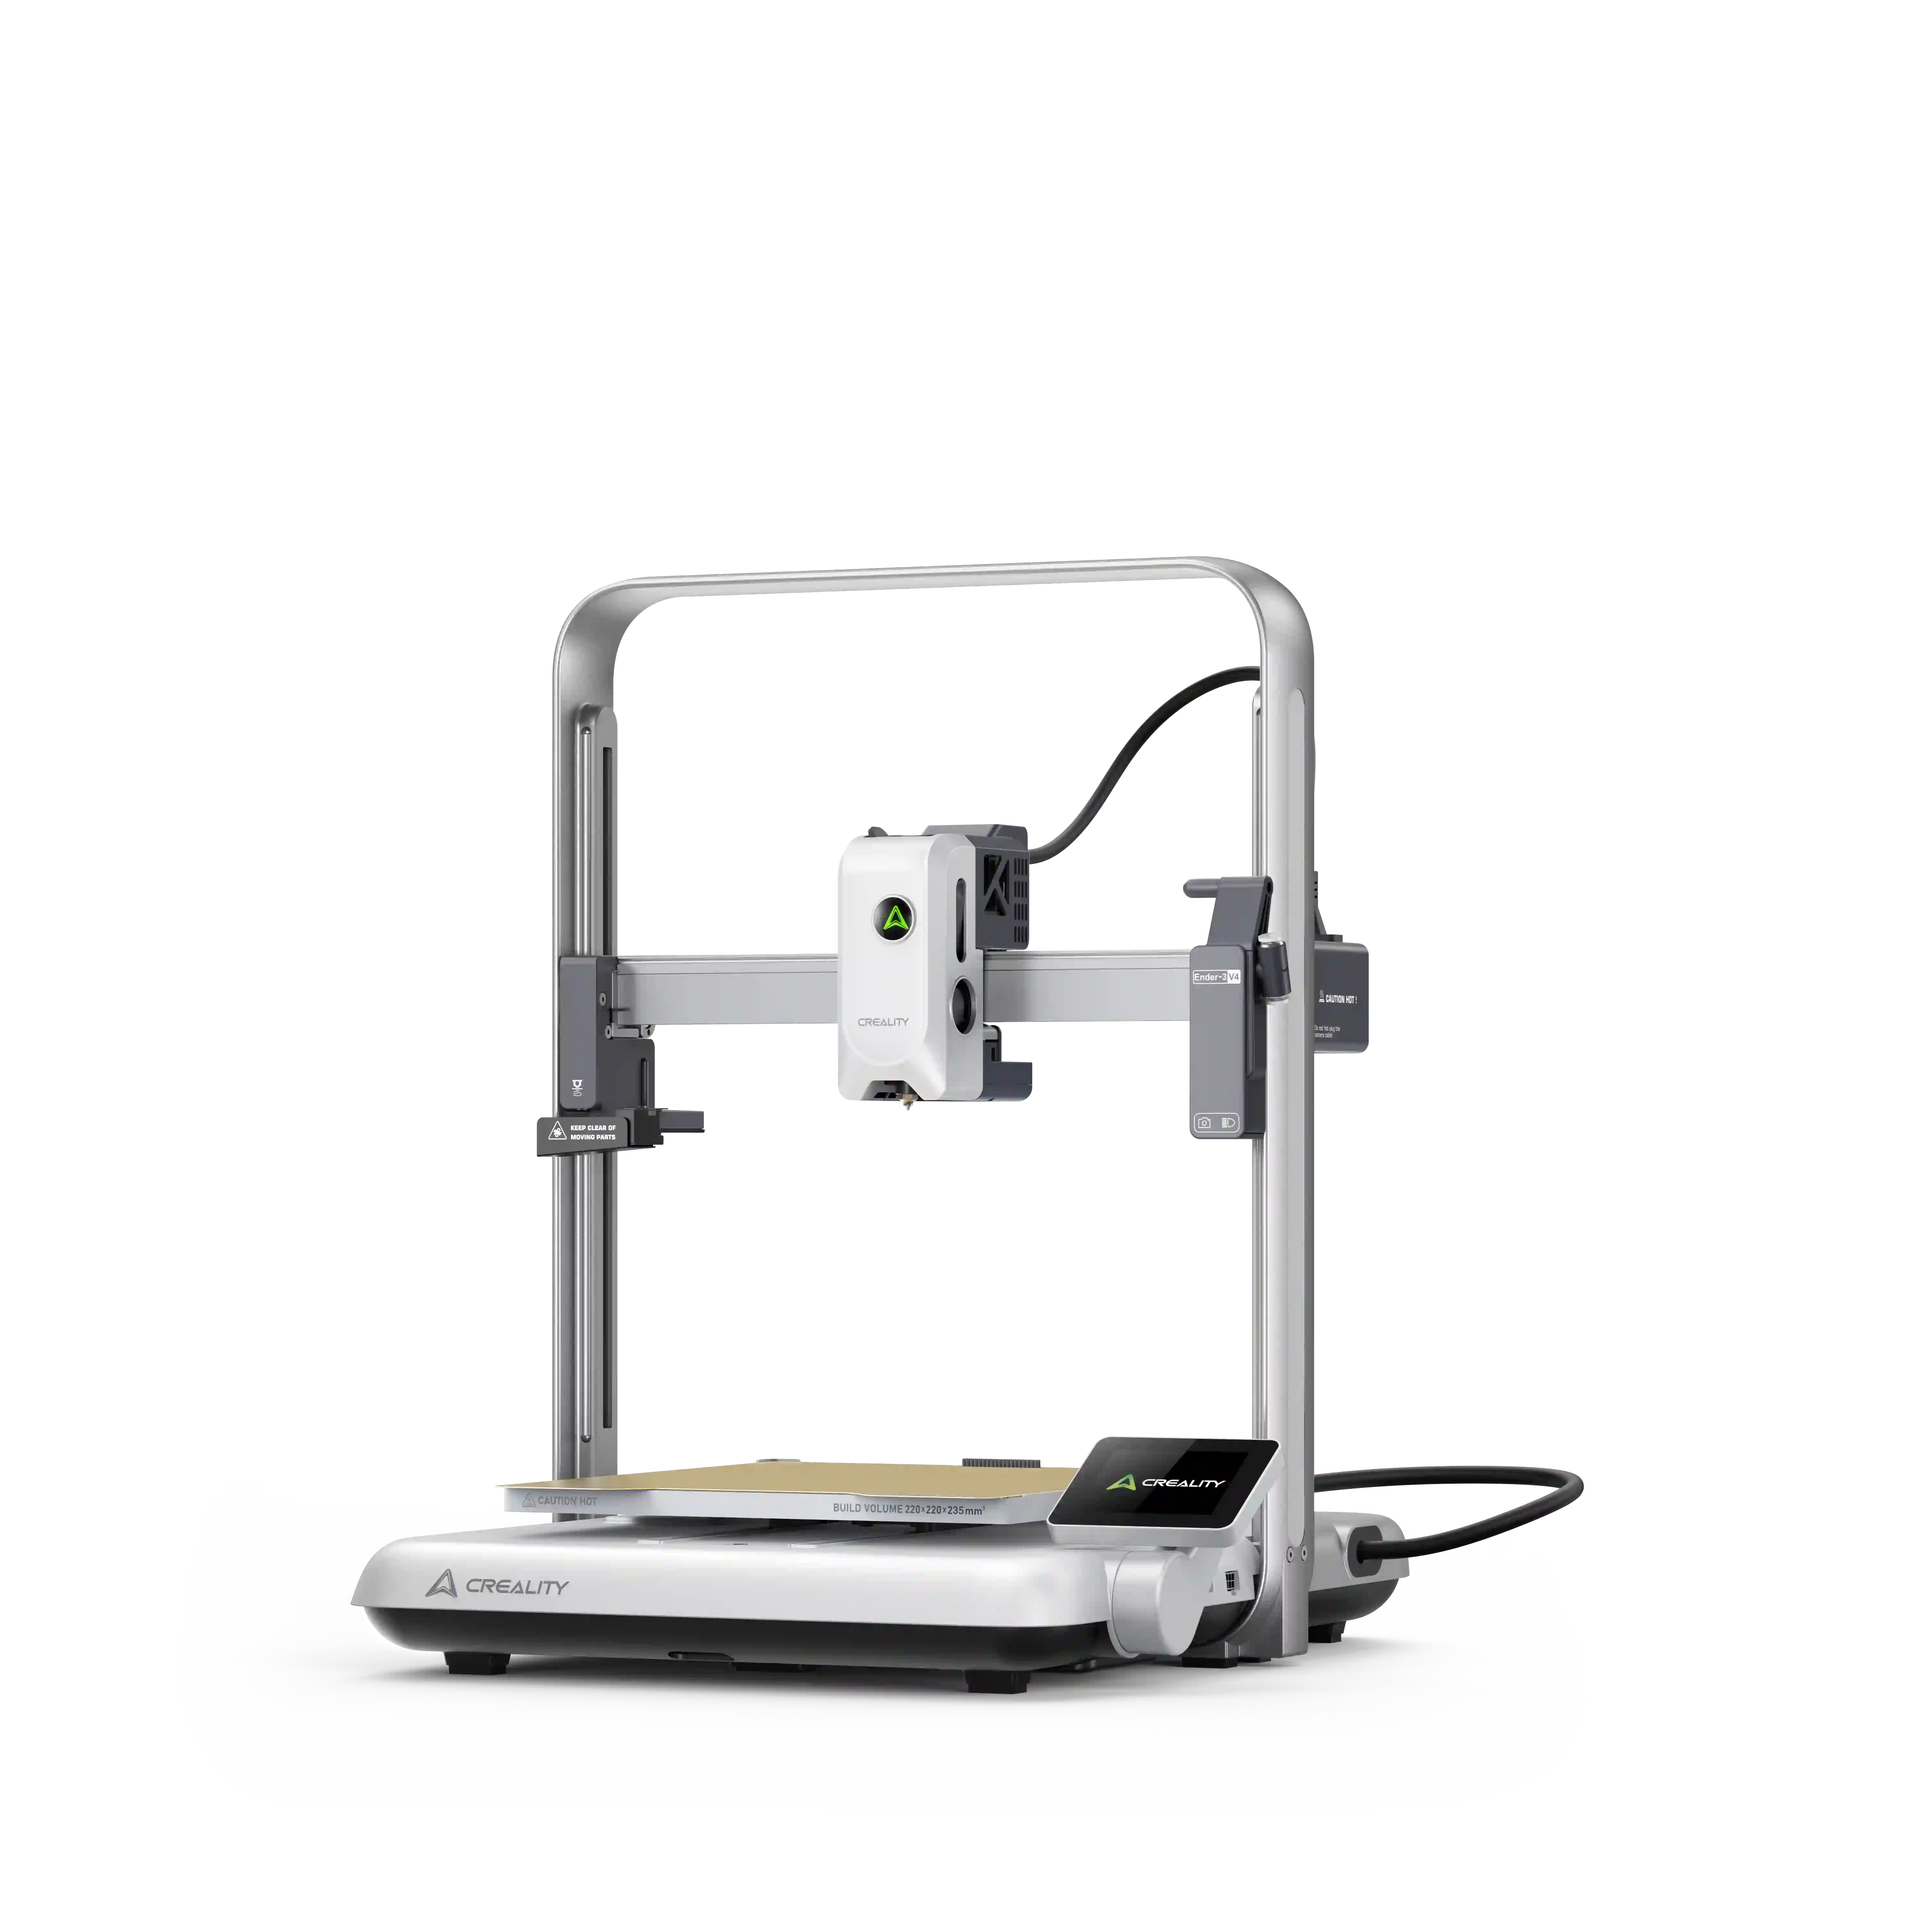
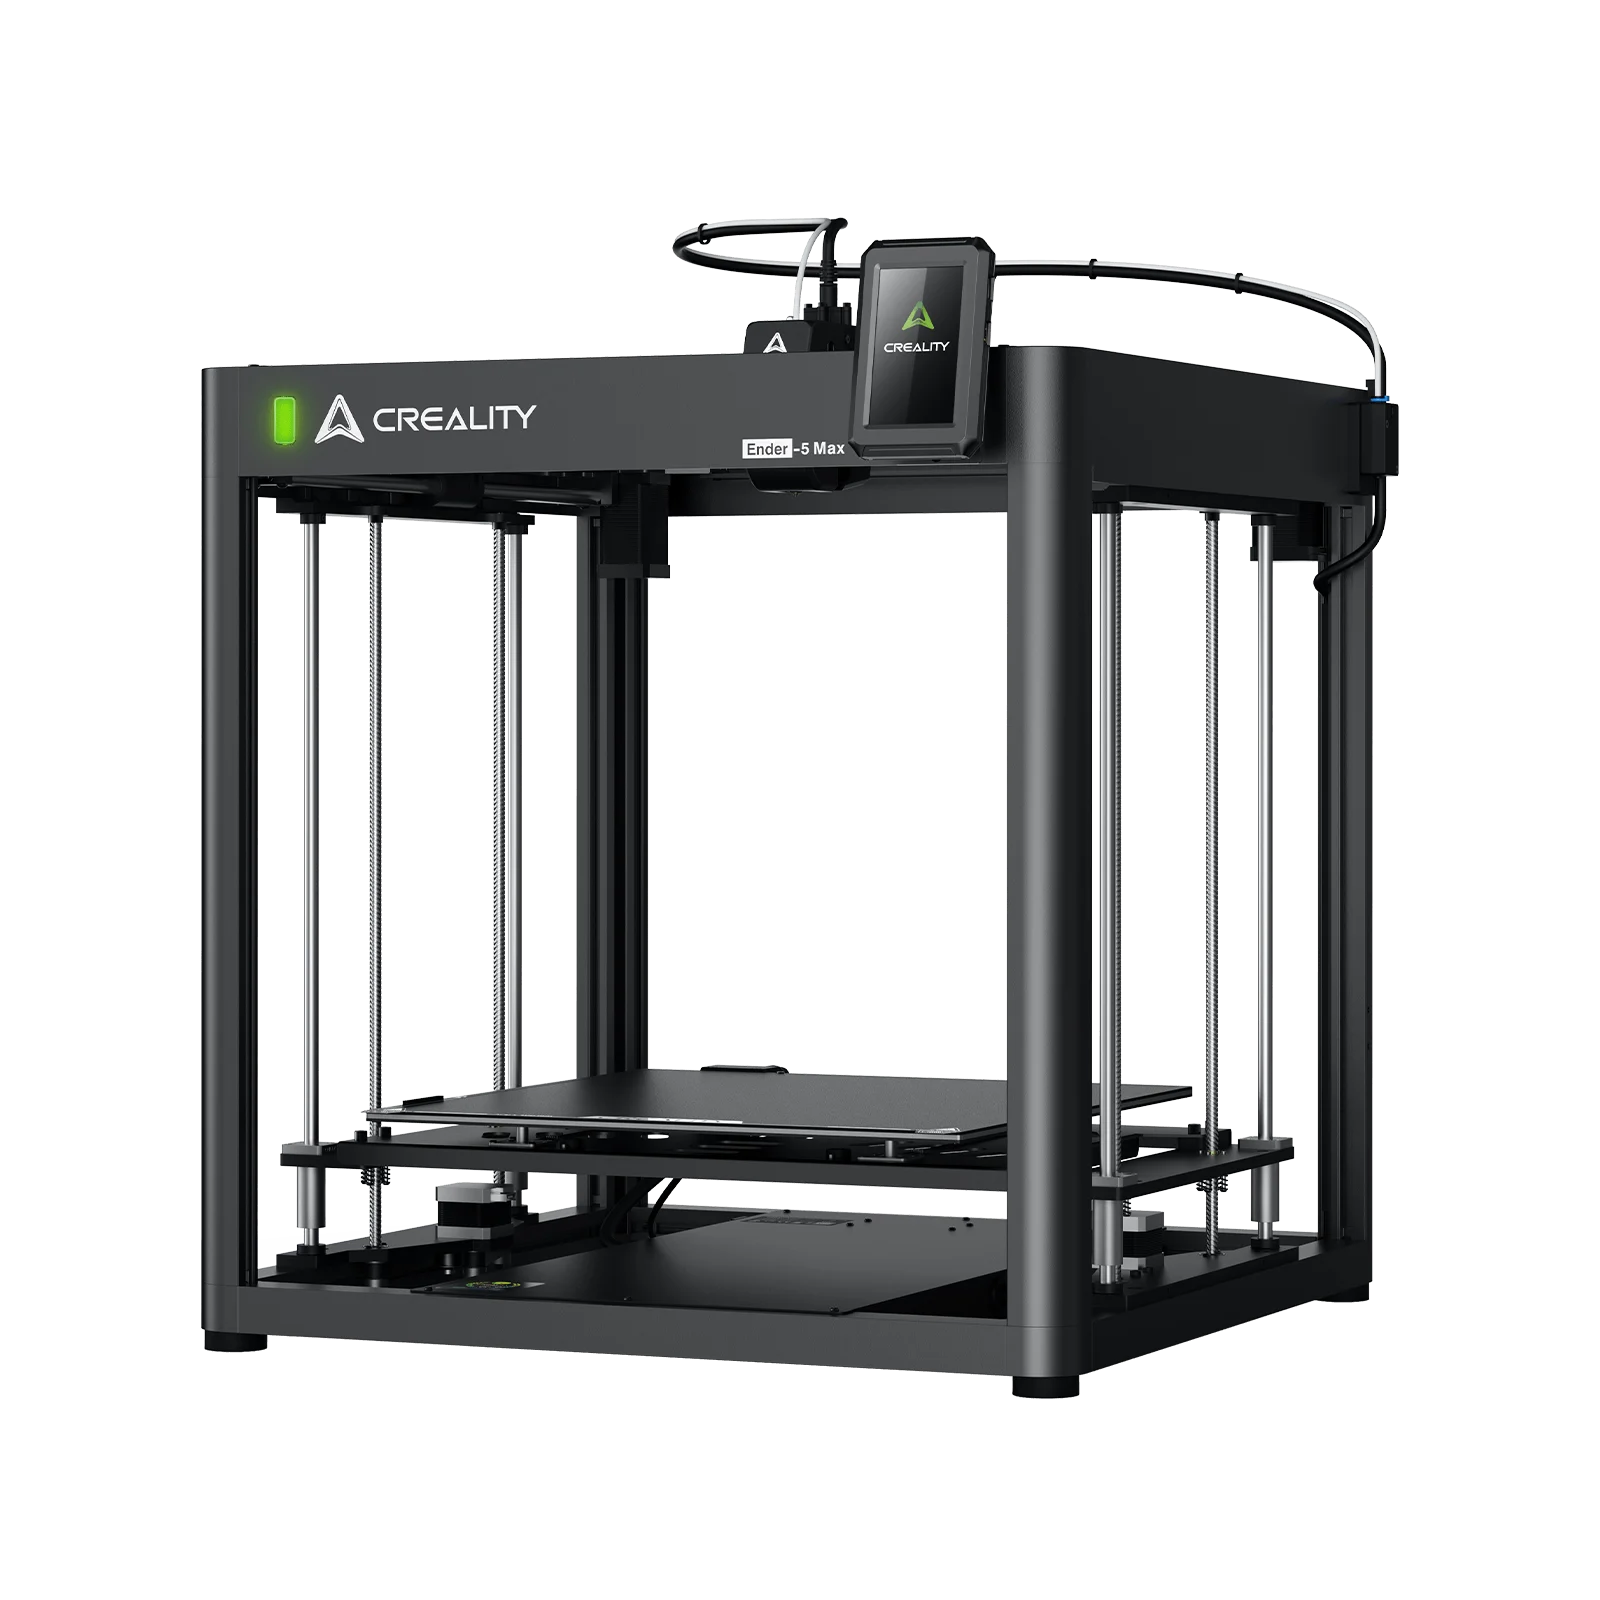

FDM (Fused Deposition Modeling) and MJF (Multi-Jet Fusion) - two types of 3D printing that build thermoplastic components without equipment. However, the two processes use different equipment, different build strategies, and different materials. They manage precision, strength, and surface finish differently. Today’s guide covers FDM vs MJF 3d printing comprehensively, including when to choose both and a hybrid workflow.
Quick Answer
Typically, FDM is the more convenient choice for in-house prototypes, big parts, fixtures, and low quantities. It offers you direct monitoring over orientation, materials, and iteration speed on your own machinery.
MJF usually produces better results for complicated, support-free nylon parts and for tightly packed production batches, since powder beds pack several components per build without extra supports.
Neither process is a one-size-fits-all solution; the right choice depends on your part’s volume, geometry, strength requirements, and timeline.
How FDM and MJF Work
MJF vs FDM: both techniques make components layer by layer. However, the mechanics behind every layer are almost opposites.
How FDM Works
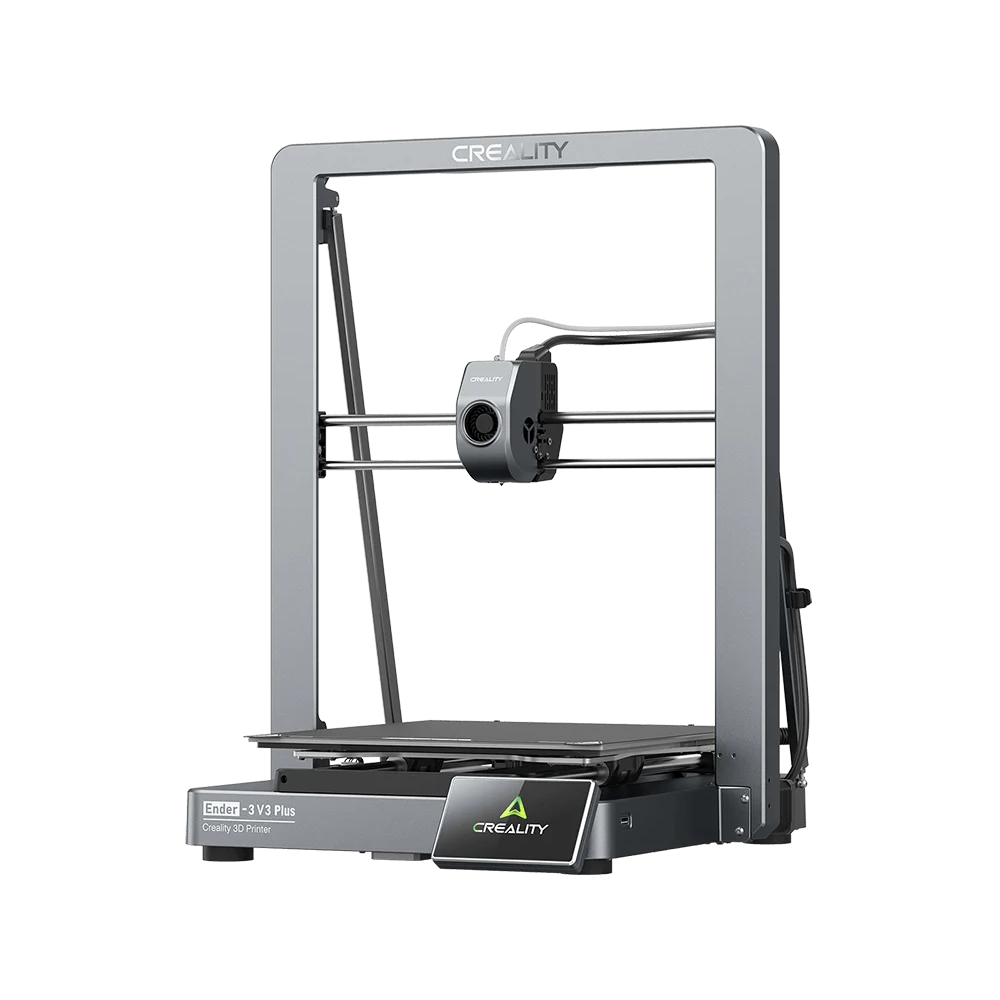
FDM (Fused Deposition Modeling) builds a part layer by layer by using either polymer pellets or polymer-based filament heated and extruded through a nozzle. The nozzle traces the part’s shape one layer at a time, and the layers stick as they cool.
A few things follow directly from this process:
-
Orientation matters: The way you place the part on the build plate impacts strength, supports required, and surface quality.
-
Supports matter: Bridges and overhangs usually require printed support structures, which you remove after the build.
-
Cooling occurs per layer: Every layer cools before the next one prints, which is part of why you manage layer adhesion and warping on FDM.
How MJF Works
MJF (Multi Jet Fusion) spreads a fine layer of polymer powder throughout a build bed. It sprays a fusing agent onto the areas that will become the part, then uses heat to fuse those areas into a solid layer. This repeats until the part is finished, buried inside a bed of unfused powder.
That powder bed changes the rules:
-
Parts settle in three dimensions. Several parts can fill the same build volume at different heights and angles, not only side by side.
-
Unfused powder serves as a built-in support. This is the reason MJF manages internal channels and intricate geometry without needing removable supports.
Why Headline Build Speed Doesn't Tell the Whole Story
You cannot compare processes just by how quickly one part prints. This number skips the steps that truly decide how long a job takes: support removal on FDM, powder depowdering and clearing on MJF, cooling time before elements can be managed, and how many parts share a single build.
A single little MJF part may sit in a machine no faster than an FDM one; the benefit appears when you’re printing a complete batch, not one part at a time.
|
Step
|
FDM
|
MJF
|
|
Build material
|
Solid filament, melted on demand
|
Loose polymer powder
|
|
Support method
|
Printed supports (removed after)
|
Unfused powder (self-supporting)
|
|
Cooling
|
Per layer, during the print
|
After the full build finishes
|
|
Post-build step
|
Support removal
|
Depowdering and cleanup
|
|
Parts per build
|
Usually limited by bed footprint
|
Can fit in 3D, filling more of the volume
|
FDM vs MJF 3D Printing at a Glance
Here's how fused deposition modeling vs Multi Jet Fusion compare on factors that really matter when picking one for your part.
|
Factor
|
FDM
|
MJF
|
|
Materials
|
Filament: PLA, PETG, ABS, ASA, nylon, TPU, composites
|
Powder: primarily nylon (PA11, PA12) and TPU
|
|
Strength directionality
|
Weaker between layers than along them
|
More uniform strength across directions
|
|
Accuracy
|
Good for functional fit, varies with machine and calibration
|
Generally tighter and more consistent across a batch
|
|
Surface character
|
Visible layer lines unless post-processed
|
Grainy, matte texture from the powder bed
|
|
Supports
|
Printed supports needed for overhangs
|
Unfused powder supports the part; no printed supports
|
|
Geometry freedom
|
Limited by what supports can reach and remove
|
Handles internal channels and complex shapes well
|
|
Post-processing
|
Support removal, optional sanding or finishing
|
Depowdering, bead blasting, optional dyeing
|
|
Equipment access
|
Desktop machines, easy to own and run in-house
|
Usually accessed through a service bureau
|
|
Part size
|
Scales well with larger desktop and industrial FDM machines
|
Limited by the powder bed size of the machine
|
|
Typical applications
|
Prototypes, jigs, fixtures, low-volume functional parts
|
Complex nylon parts, batch production runs
|
Here’s a closer look at some of the most important differences:
Strength direction
FDM parts are designed from stacked layers, and the bond between layers is normally the weakest point. That suggests the load direction relative to the print orientation carries weight. MJF parts don’t have this same layer-bond weak point, as the powder fuses more uniformly.
This is why MJF often performs better for components under load from multiple directions. Actual strength numbers come down to the particular material, tool, and part geometry. Therefore, treat any published figure as a starting point, not a guarantee for your part.
Geometry
A part with lattices, internal channels, or overhangs would be hard to support and clean on FDM. MJF’s powder-bed support removes that restriction. If your part is simple and open, this advantage doesn't apply, and FDM's lower cost per part usually wins.
Surface finish
Neither process delivers a 3D-printed part that looks like injection-molded. FDM shows layer lines unless you sand or finish it. MJF has a consistent grainy texture from the powder. If your part needs a smooth, cosmetic finish, budget for post-processing on either process.
Speed, Throughput, and Cost
Cost and speed questions generally depend on one mixed-up comparison: printing one part vs printing a batch. The two are not the same math.
One Part vs a Full Batch
One FDM part can often begin printing within minutes of hitting slice, and you watch it build live. Typically, a single MJF part goes through a service bureau, so completion time includes queue time, the full build cycle, and shipping, even if your one part is tiny.
Batch production turns this over. MJF's powder bed fits parts in three dimensions, filling more of the build volume per run. FDM parts sit on a single build plate, so batch size is limited by how many parts fit side by side.
For high part counts, MJF's packing efficiency often shortens the per-part time. For one-off parts, FDM's urgency usually wins.
Ownership vs Outsourcing
Purchasing an FDM machine comes with an upfront cost: the equipment, materials, and your team’s time. When it’s operating, you handle the schedule.
MJF is normally approached as a service, so the pricing model is different; you’re paying per part or per build, depending on the bureau’s rates, without owning the tool at once.
What Actually Drives Cost
Skip the search for a single cost-efficient number. It doesn't exist, because too many variables add to the final cost:
-
Material: filament and nylon powder differ in price, and material choice within each process adds more spread
-
Labor: support removal, depowdering, and finishing all take practical time
-
Nesting and setup: how efficiently parts pack into a build affects cost per part
-
Cooling time: parts need to cool before handling, which affects how fast a machine can turn over
-
Post-processing: sanding, blasting, or dyeing adds time and cost on top of the print itself
-
Utilization: a machine running near capacity spreads its cost over more parts than one running half-empty
-
Failed builds: a failed print or fused build wastes material and machine time on both processes
-
Quantity: batch efficiency changes the math as volume goes up
So, the answer to “which is cheaper” is: it depends on your particular part, quantity and provider. Get an estimate for your actual geometry and volume before assuming either process wins on cost.
When to Choose FDM
FDM fits best when you need control, speed, and low cost per iteration.
Reach for FDM when your project looks like this:
-
You're testing fit, form, or function and need to print, check, and reprint the same day.
-
The part doesn't need production-grade strength.
-
You’re designing Jigs, fixtures, and custom tools
-
Classrooms and training programs benefit from hands-on access to a machine, not a queue.
-
FDM machines with bigger build volumes handle oversized parts without the packing constraints of a powder bed.
-
For making low-volume functional parts
Quick Requirements Checklist for FDM
Before depending on FDM, check that your part fits these conditions:
-
You need the part in-house, fast, without waiting on outside turnaround
-
You can control print alignment to manage layer-line strength
-
The part's finish requirements are reasonable for a layer-built surface, or you're planning to post-process it
-
Your quantity is low enough that per-part packing efficiency isn't the deciding factor
-
Your material needs (PLA, PETG, ABS, ASA, nylon, TPU, or composites) are covered by desktop filament options
When to Choose MJF
Choose MJF for complex geometry or full production batches.
Reach for MJF when your project looks like this:
-
Internal channels, thin walls, and intricate lattices come out of the powder bed without the support structures FDM would need.
-
Features you can't reach to remove supports from- hollow assemblies, ducting, or enclosed lattices- are exactly what MJF's powder-bed support handles well.
-
When a part faces load from more than one direction, MJF's consistency across axes can matter more than FDM's layer-dependent strength.
-
You need consistent outsourced production.
What to Plan For With MJF
-
Powder removal. Parts come out of the build embedded in unfused powder. Depowdering is required, not optional.
-
Finishing. Bead blasting gets a clean, consistent surface. Dyeing is common if color matters. Budget this into your timeline.
-
Provider lead time. MJF usually runs through a service bureau, so lead time includes queue position and shipping, not just print time. Ask your provider directly.
-
Minimum feature constraints. Very thin walls or fine details have real limits with powder-bed fusion. Check your provider's design guidelines before finalizing geometry.
Hybrid Workflow and Where Creality FDM Fits
You don’t have to choose one technique for a whole project. Several teams get the best of both by treating FDM and MJF as separate stages of the same development path.
A Practical Hybrid Path
-
Repeat with FDM. Print initial concepts in-house, inspect fit and shape, and make design changes quickly, without waiting on outside quotes or shipping.
-
Verify fit and function. Keep refining on FDM until the part's geometry, dimensions, and basic function survive testing.
-
Switch to an MJF pilot when it’s justified. Once the design is locked and the part needs support-free complexity or batch-level consistency, run a small MJF pilot batch to confirm it lasts at that level before committing to full production
This sequence saves money. Early-stage repetition is cheap and fast on FDM. Paying for MJF batches only makes sense once the design is stable enough that you're not printing (and reprinting) the same revision at outside-service prices.
Where Creality FDM Fits This Workflow
Creality’s FDM lineup is centered on accessibility for the in-house iteration stage. It’s like you’re getting a working machine on your bench without an industrial footprint or budget.
-
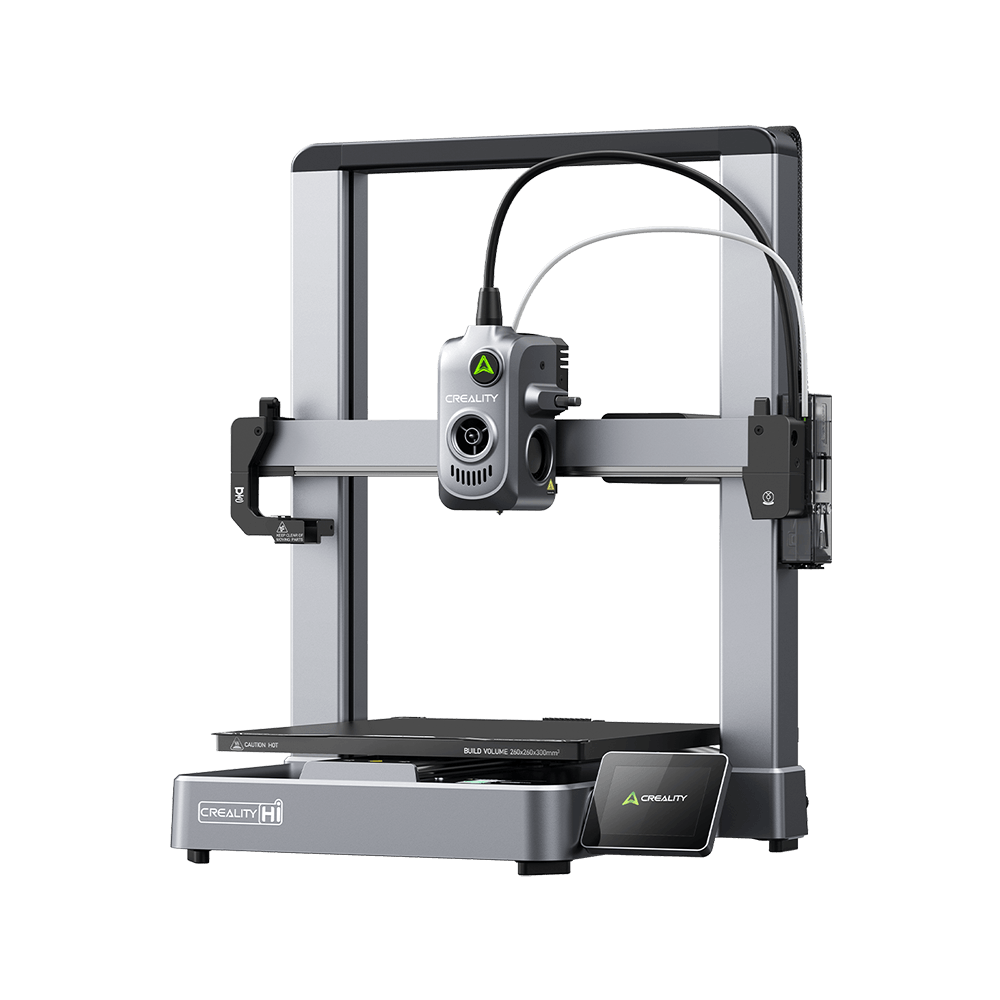
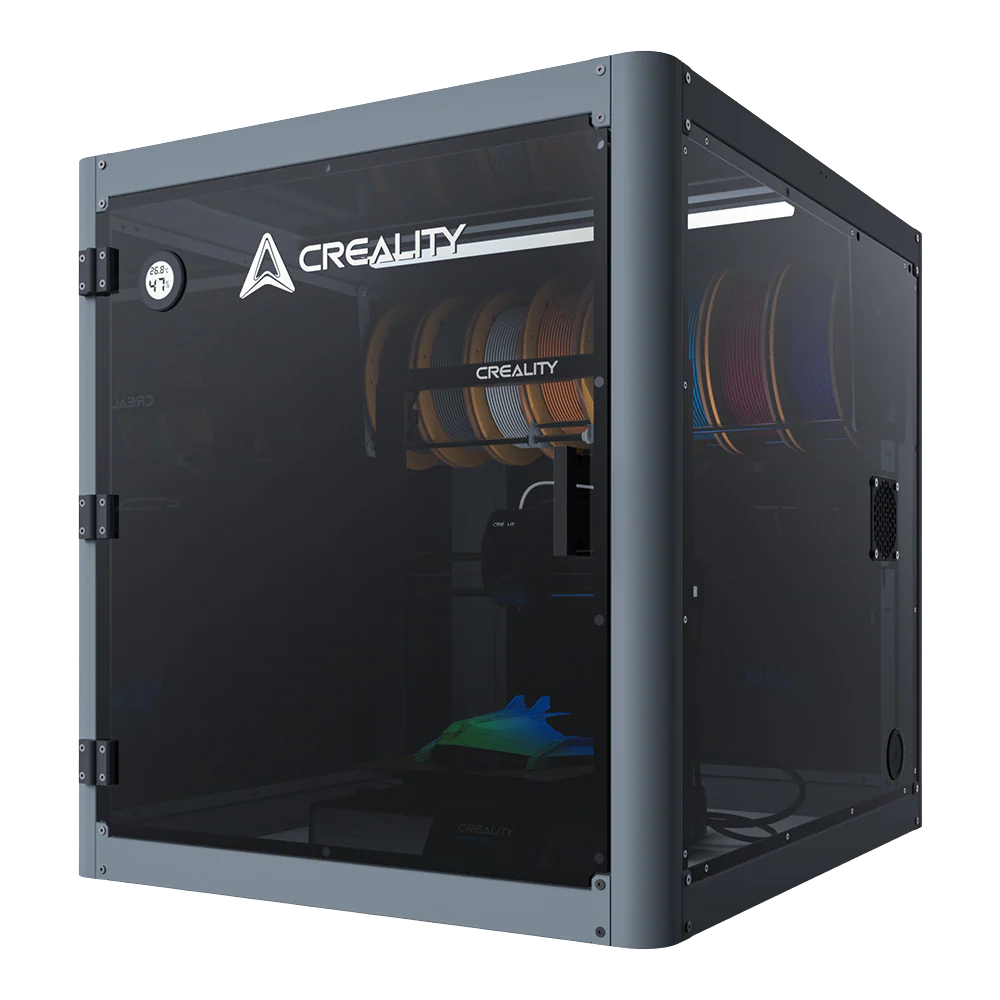
K1C 2025 gives teams a fast, enclosed desktop printer suited to daily iteration and a range of engineering-grade filaments.
-
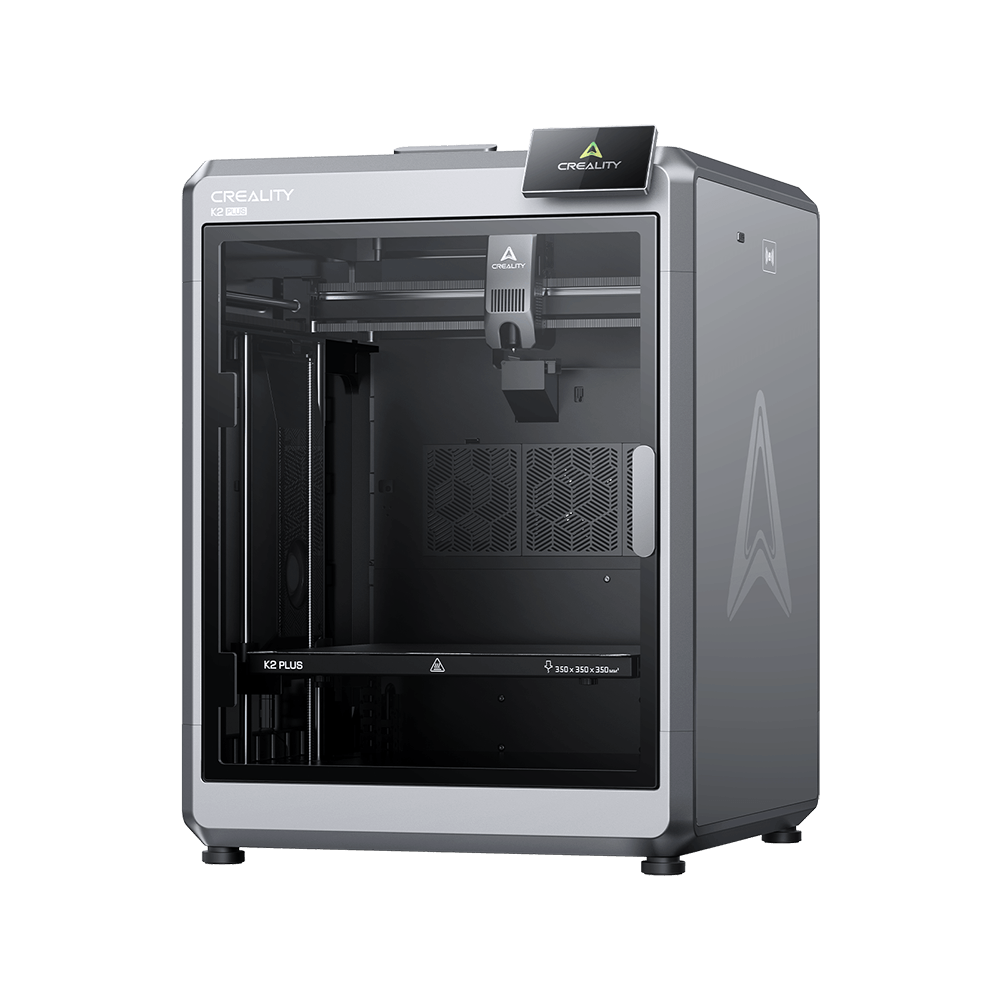
K2 Plus increases build volume and material handling for larger parts or higher-demand functional prototypes.
-
Creality Print ties the workflow together with slicing and print management, so moving from design file to physical part stays simple.
Conclusion
FDM vs MJF 3d printing: both build beneficial thermoplastic parts tool-free, but they get there differently. FDM is best for control, accessibility, material variety, and rapid iteration. It's the process for getting a part in hand today, on equipment you own. MJF excels where FDM struggles: support-free nylon complexity, uniform strength, and efficient batch production. Repeat fast, test against real requirements, and scale up only when the part needs what MJF offers. For in-house iteration and functional prototyping, see where Creality's FDM lineup, including the K1C 2025 and K2 Plus, fits your workflow.
FAQs
Is MJF stronger than FDM?
Often, yes, MJF doesn't rely on layer-by-layer bonding, so strength is more uniform across directions. But it depends on material and geometry, so test your specific part.
Is MJF more accurate?
Generally, yes, with tighter and more consistent tolerances across a batch. FDM accuracy depends more on machine calibration and settings. Check real tolerances with your specific machine or provider.
Which is cheaper?
Depends on your part, quantity, and provider. FDM usually costs less for one-off or low-volume parts. MJF gets more cost-efficient at higher volumes. Get a quote for your actual job.
Does MJF need supports?
No. Unfused powder around the part acts as built-in support, which is why MJF handles complex, internal geometry without printed supports.
Can FDM make production parts?
Yes. Low-volume functional parts, jigs, fixtures, and components with reasonable finish and orientation needs perform well on FDM. High-volume or highly complex parts are where MJF usually takes over.
Can one CAD file be used unchanged across both processes?
Not always. FDM needs support-aware design and orientation planning. MJF benefits from powder-removal features, like escape holes in enclosed cavities. Check each process's design guidelines before printing.