

BL-Touch, as an intelligent auto-leveling device, has been a more appealing choice for 3D printing enthusiasts, thus making a BL-Touch tutorial guide necessary especially for those at entry-level. It achieves auto-leveling via the collaboration between the BL-touch device itself and its firmware, which involves some in-depth mechanical knowledge.
Here presents the step-by-step installation guide for everyone in need.
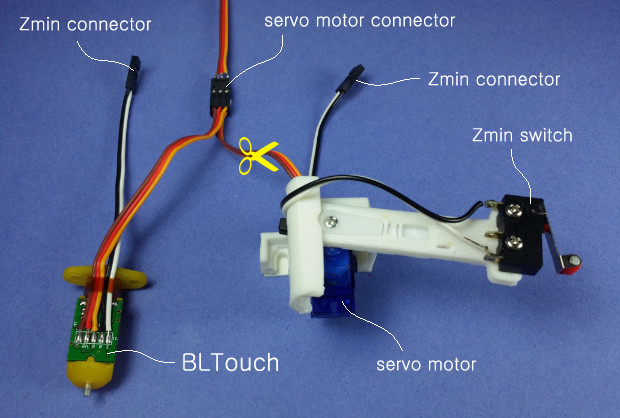
The Overall Structure of BL-Touch
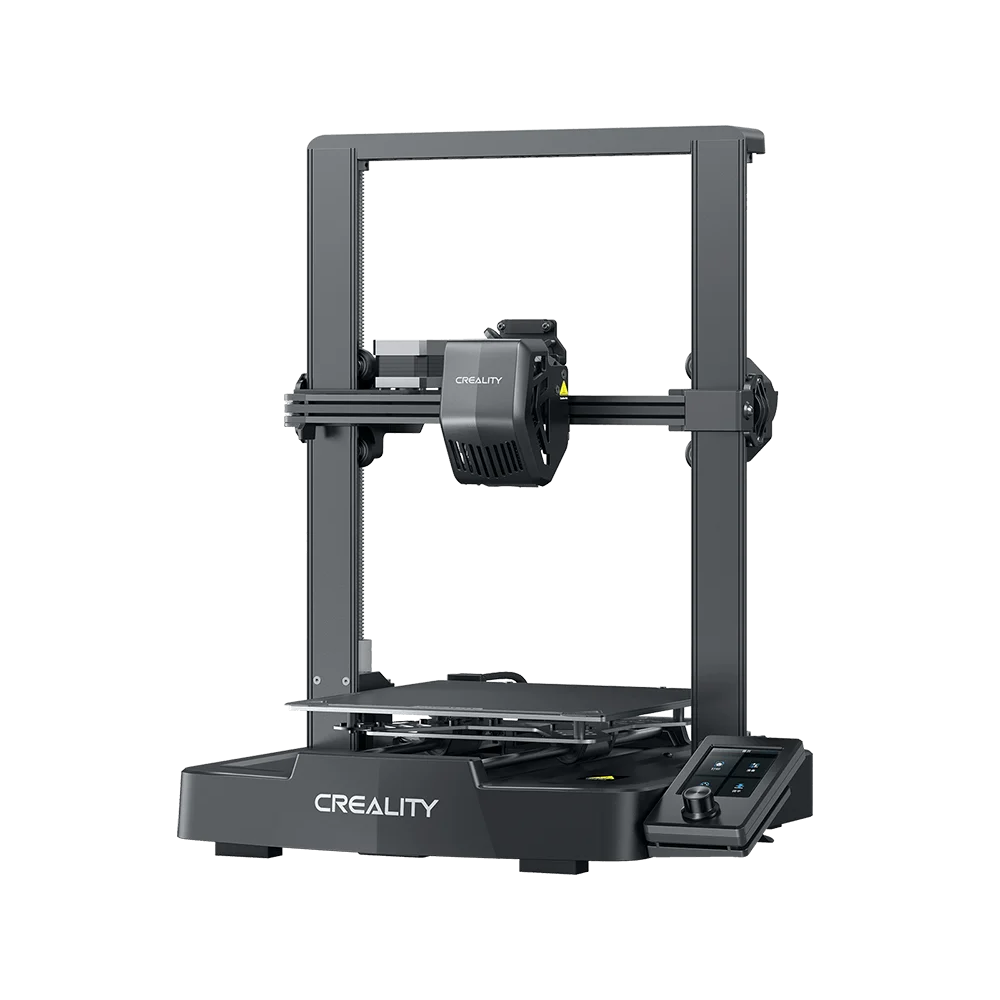
BL-Touch Installation Guide on CR-10 V2
1. First, you need to prepare a USB for yourself which is not included in the BL-Touch package. Connect the printer control box and your computer via the USB cable.
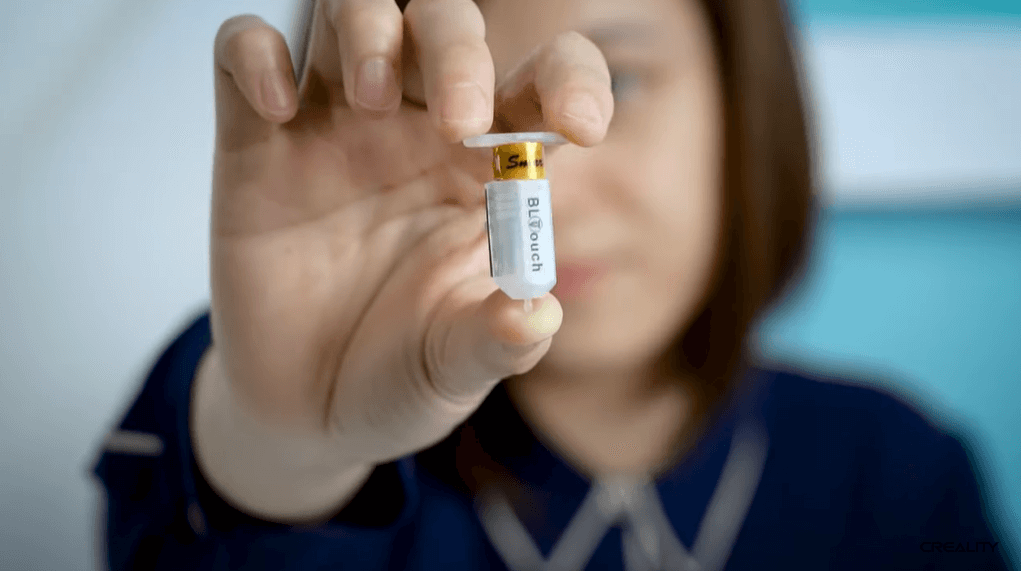
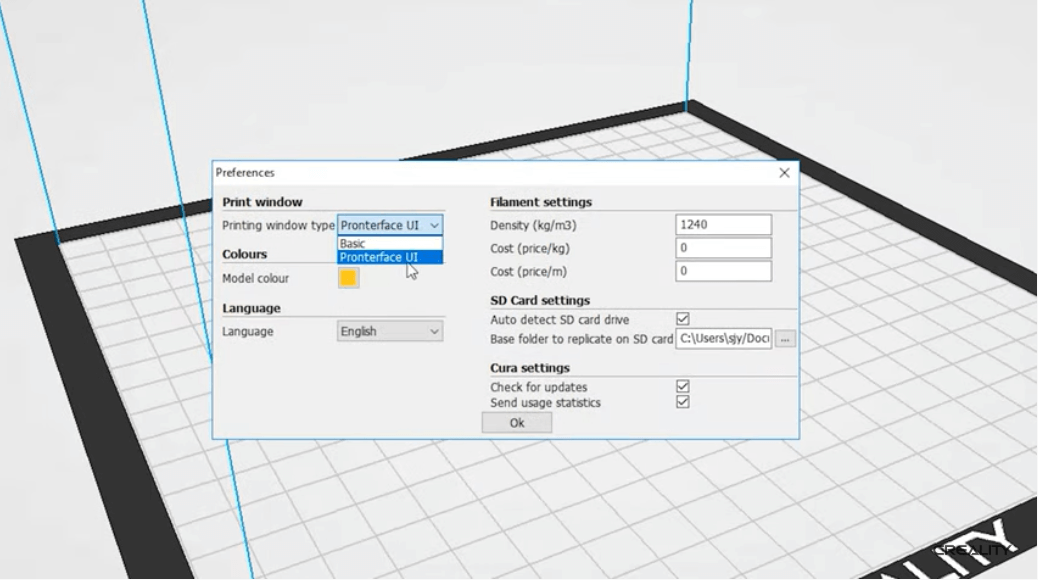
2. Now, it is the time to get into your slicer software (Here in this article, we use Creality slicer.) Go settings of “preferences”, and then select “Pronterface UI”, and then go to the “machine setting” where you have to confirm the settings be confidential to the picture 2. Install the firmware for your BL-Touch which you can download it from our official website.
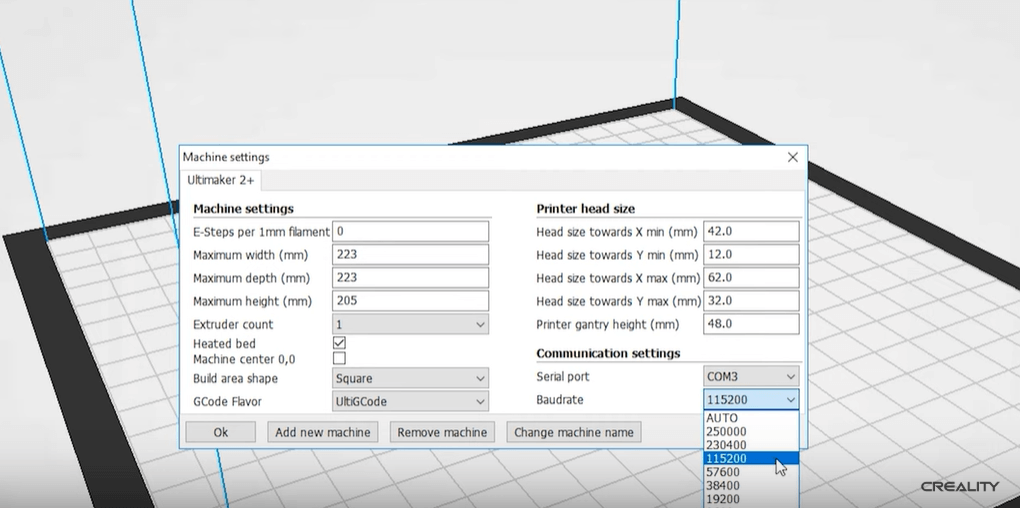
3. As the BL-Touch is going to be your great assistant, you can now remove the limit switch. Then, it will be time to install the BL-Touch. Connect the BL-Touch cable to the pre-reserved cable connector inside the extruder.
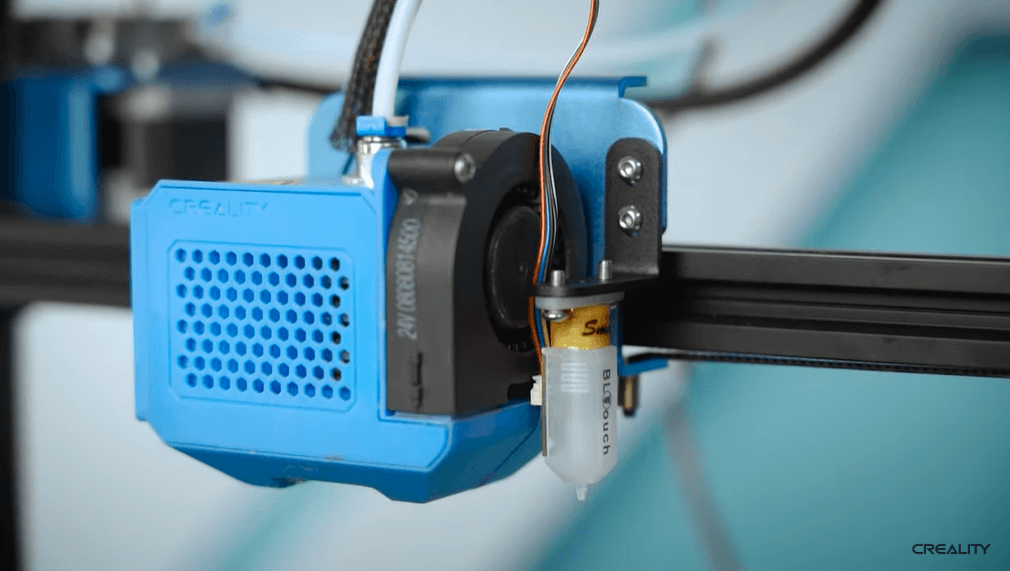
What Tools You Need to Prepare Before Installation
- BL-Touch in a 3D printed BL-Touch mount
- Wire strippers
- Soldering iron, solder, and a small piece of heat shrink tube
- 2mm & 3mm Allen keys
- Wire clippers
- 2 pieces of tape/labels
- 1000mm BLTouch wire extension kit
- BLTouch Genuine kit items
- Zip ties
- Star head and slot head screwdrivers
- Arduino Uno
- 5 female-to-female DuPont connectors
- 1 female-to-male DuPont connector
The Clearest Tutorial of Easiest BL-Touch Installation
Is the BL-Touch installation easy or not? The answer varies from person to person. Below shows the general step-by-step installation tutorial of a BL-Touch device:
1. Mounting the Probe: Based on the working principle, the BL-Touch is attached next to the printing nozzle. Make sure to get a tool-head ready to mount the BL-Touch device. What needs attention is the mounting distance. The bottom of the sensor (not the pin) should be 8.3 mm above the nozzle and at least 15 mm away from the hot parts.
2. Wiring: Correct wire connection ensures the BL-Touch device to work well for the 3D printer. Normally, the sensor has 5 wires to hook up, three for the servo, and two for the Z min Endstop. It would be better to confirm the controller boards matched to the corresponding connector. For CREALITY 3D printers such as CREALITY CR-10 and Ender series, there has been countless tutorial video available on YouTube.
3. Configuring Firmware: Different version of BL-Touch is supposed to match with the correct versions of 3D printer firmware. Let alone various versions of 3D printer firmware. Thus, specific information can't be provided in this case. CR-10 V2 3d printer, on the contrary, is upgraded with the reserved space for BL-Touch, which enables users to install it within two steps, one for device installation, and the other for firmware upgrade.
4. Testing: Make sure the newly installed sensor is working well before beginning a print. Make sure to test your newly-mounted sensor before beginning a print and inadvertently sending the tool head careening towards the build platform.
5. Configuring the Slicer: Add the G29 command to your start g-code so that the homing sequence for the probe actually runs at the start of every print.
Make sure to look for a BL-Touch setup guide for your specific machine just in case there are some special configuration steps for your hardware.