

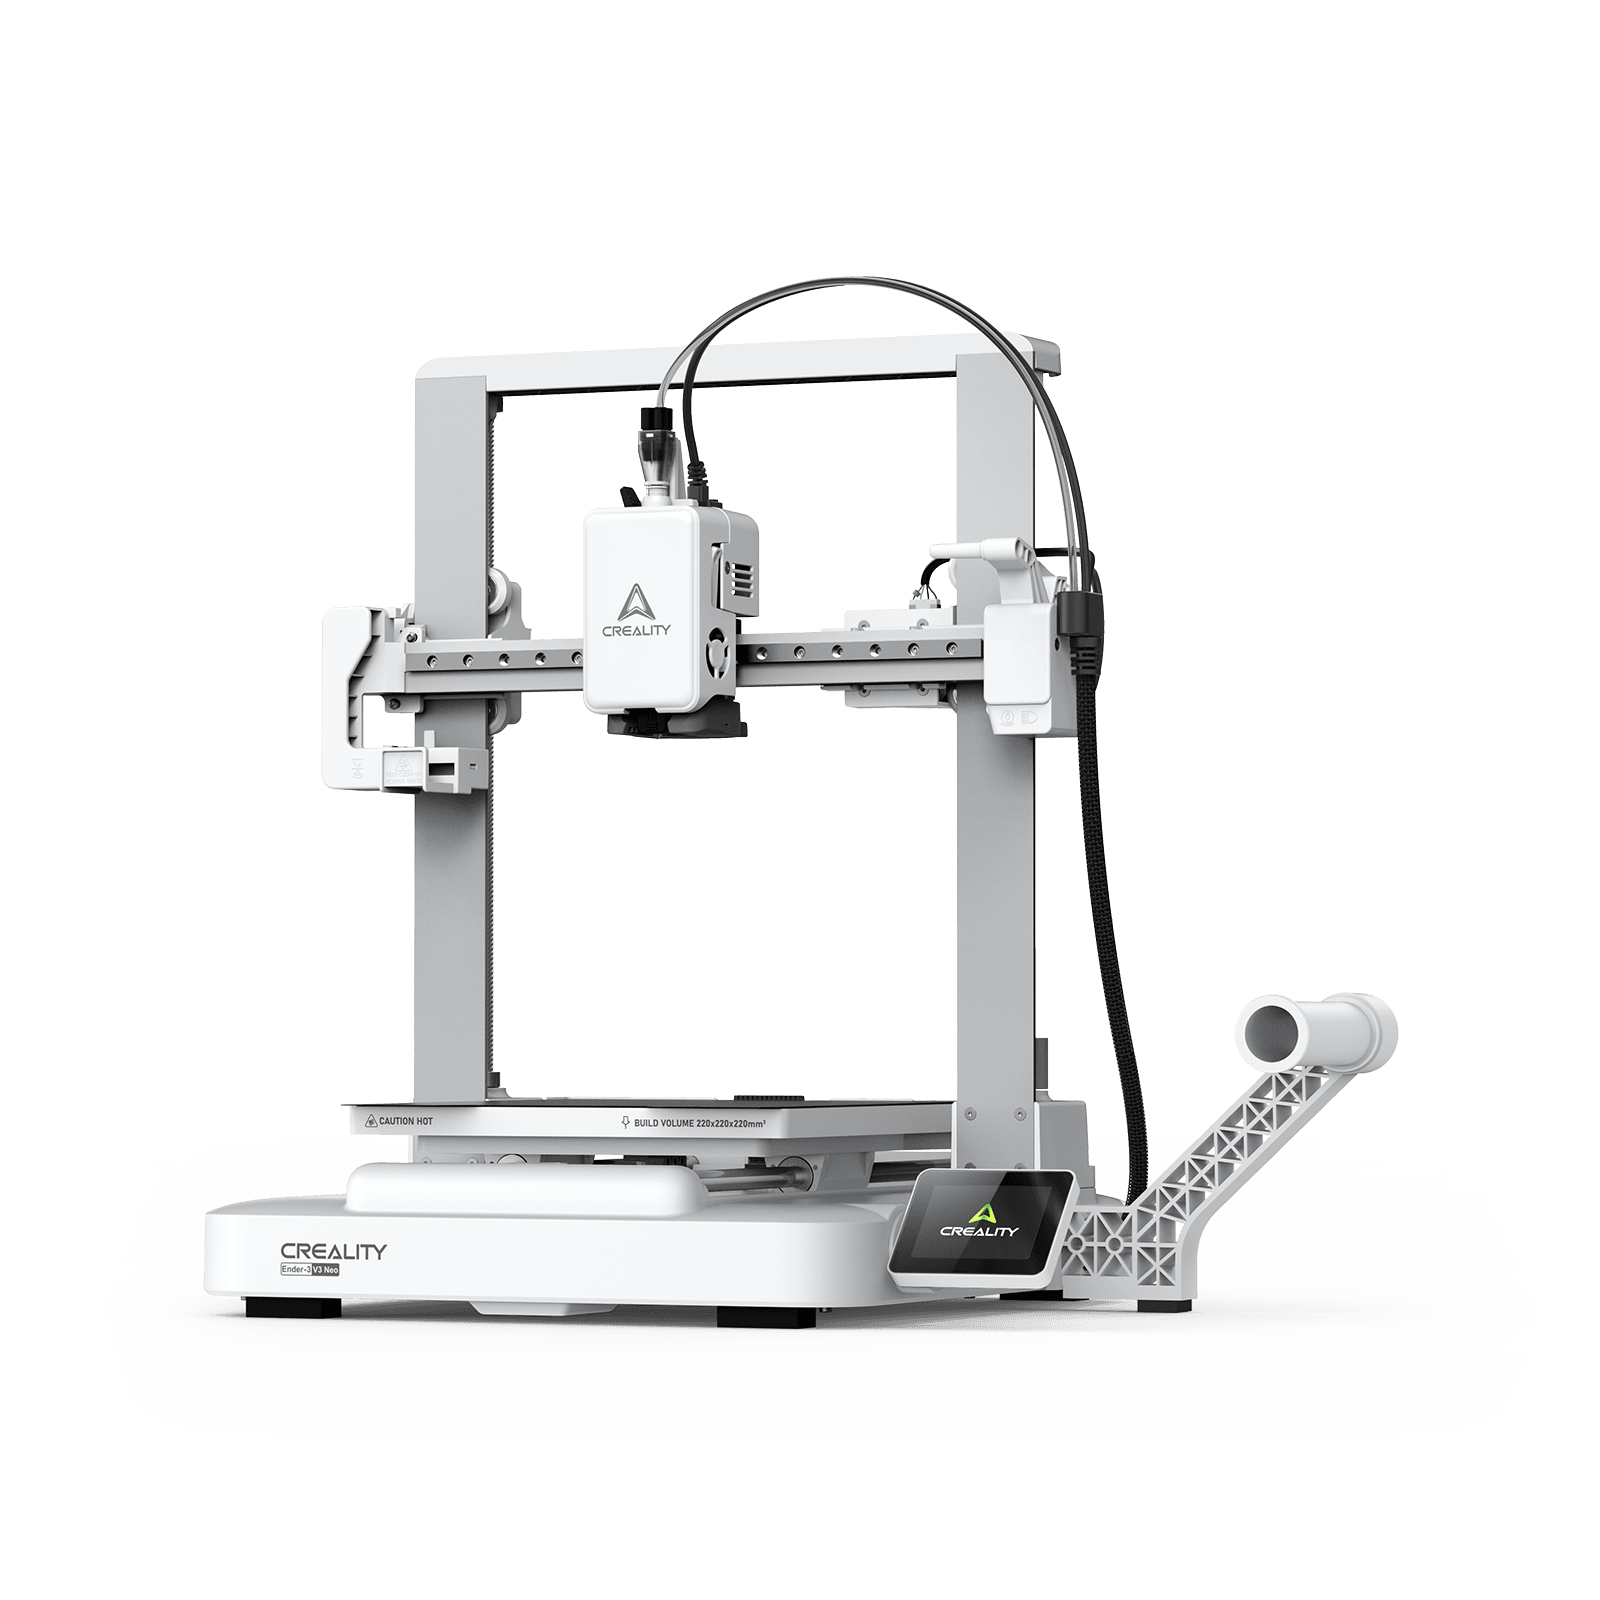
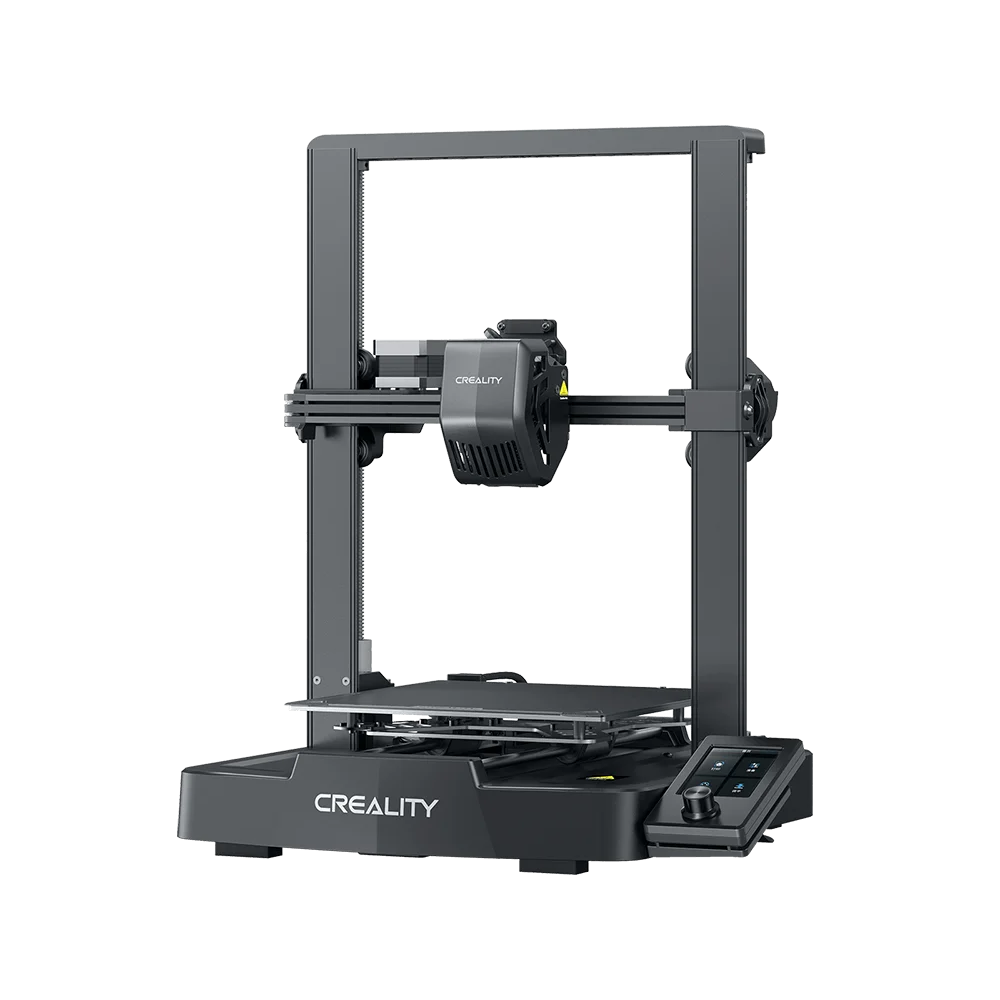
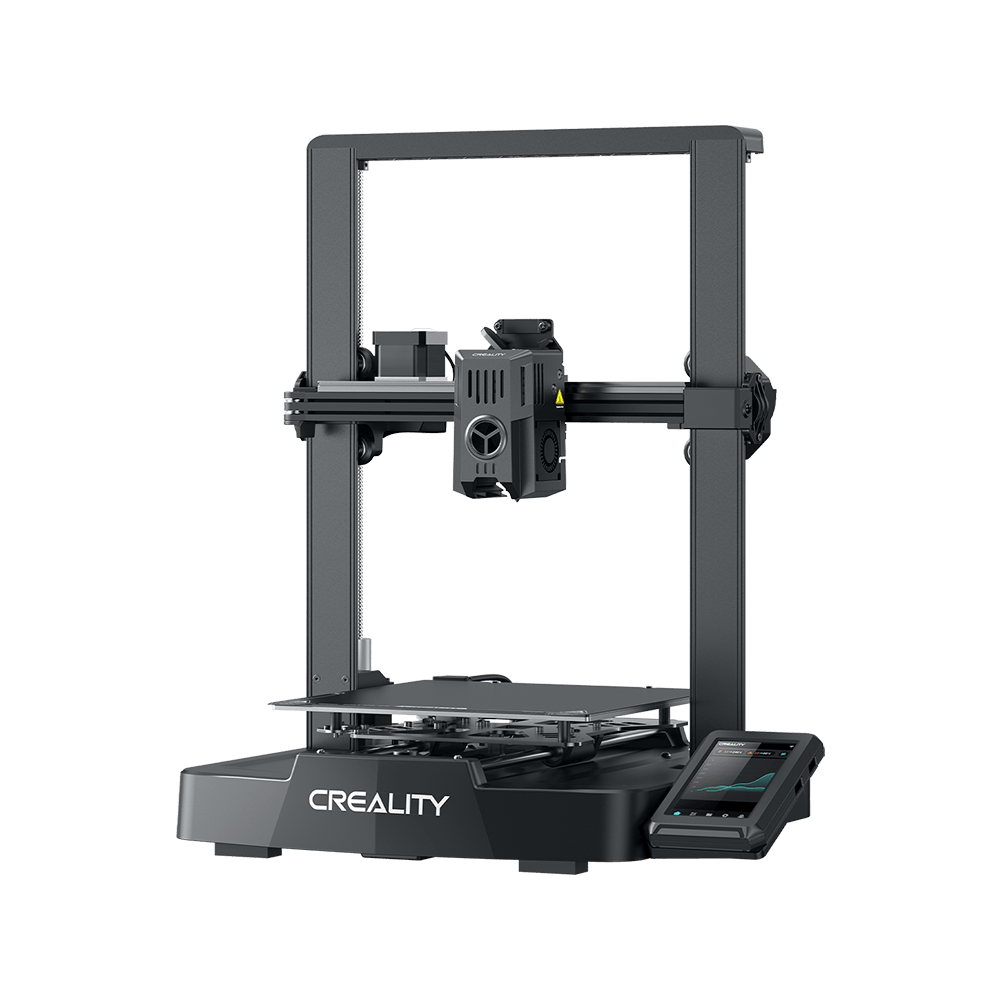
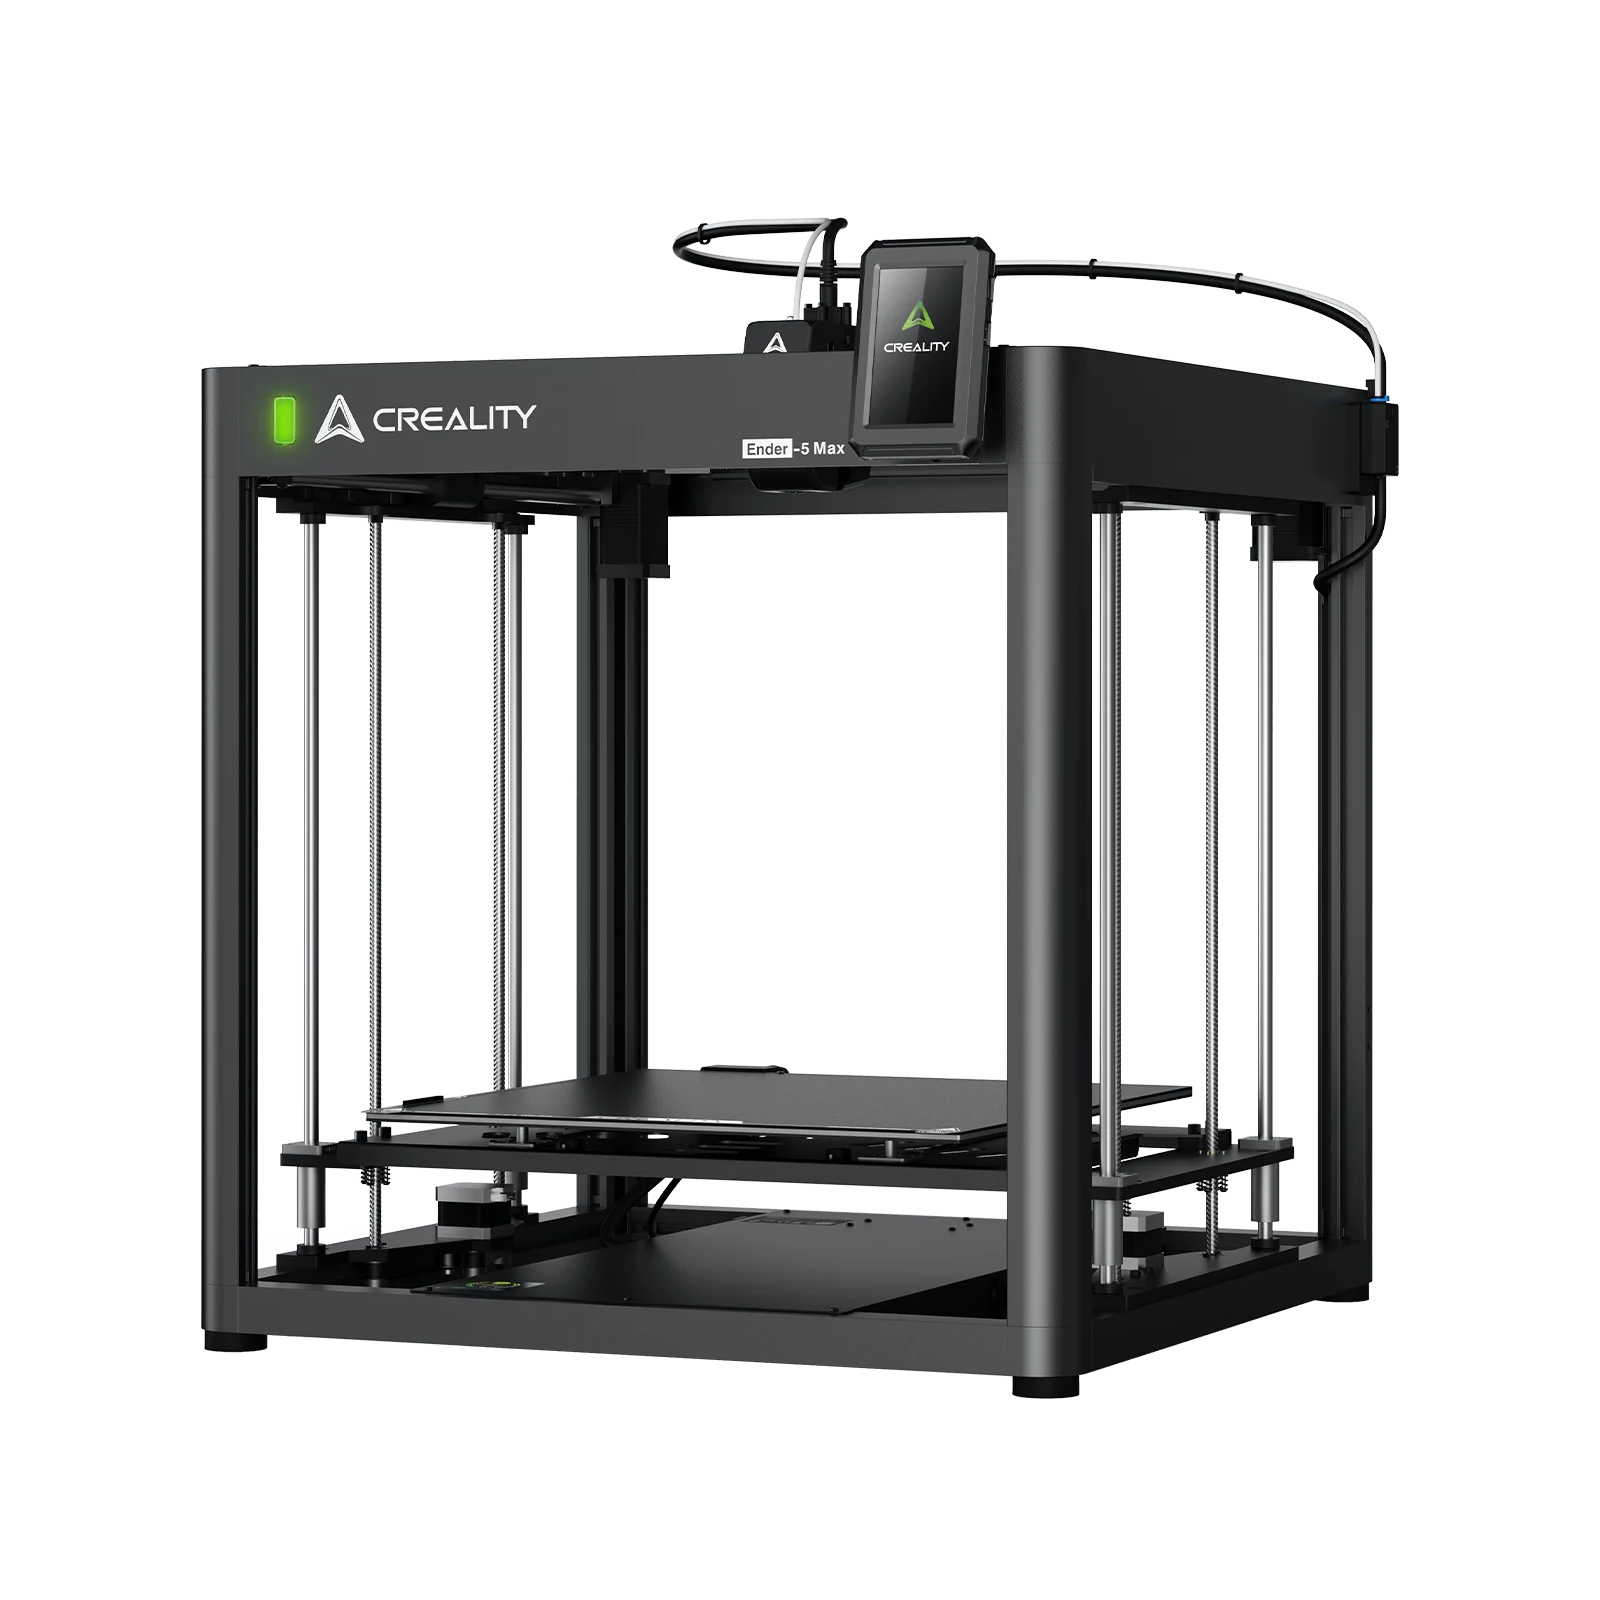

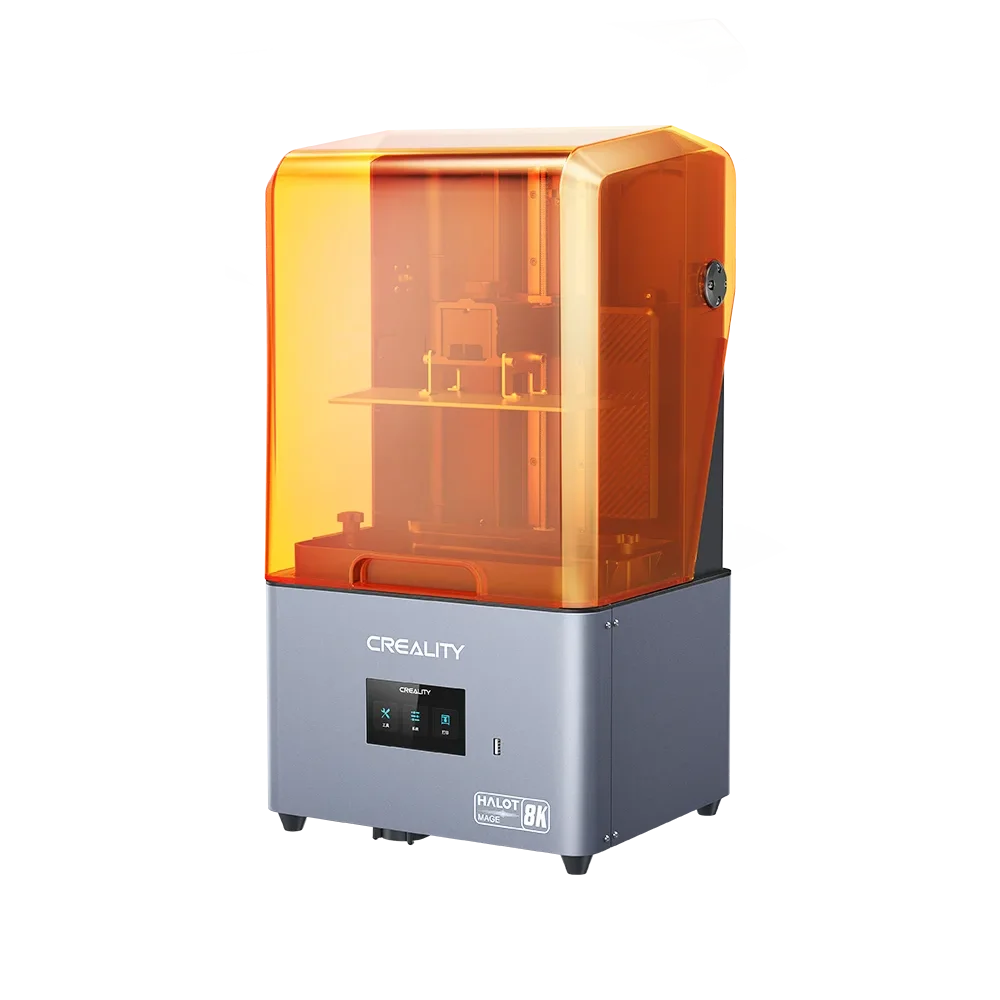

Marble races are one of the most satisfying games. Watching the little marbles go through the twists, drops, loops, and spirals leaves us all feeling nostalgic. Whether you’re making a marble run for yourself, your child, or even as a decoration, a 3D printer allows you to create your own modular marble track.
This 3D printing project combines creativity, problem-solving, and engineering while giving you a model that can be expanded and adapted over time. It’s an ideal project for beginners who want to learn basic design principles, as well as experienced hobbyists who want to customize or reconfigure an existing model.
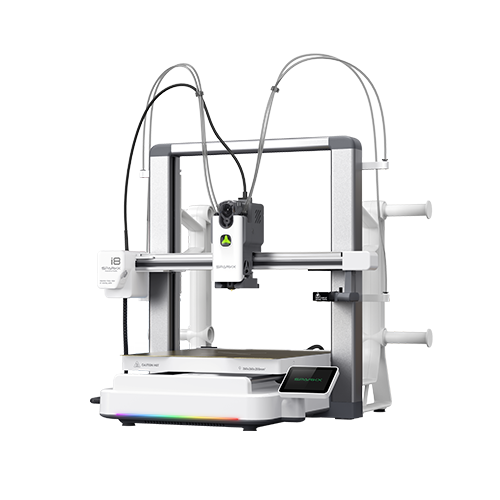
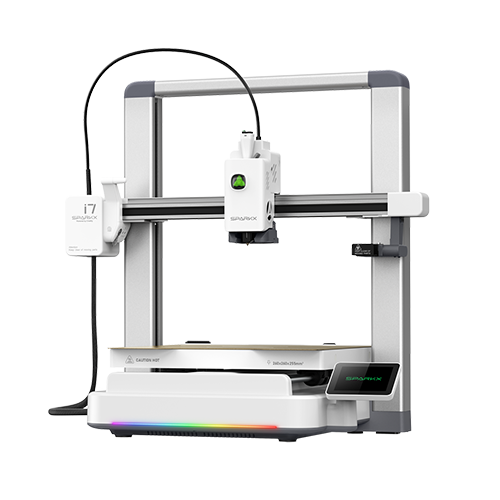
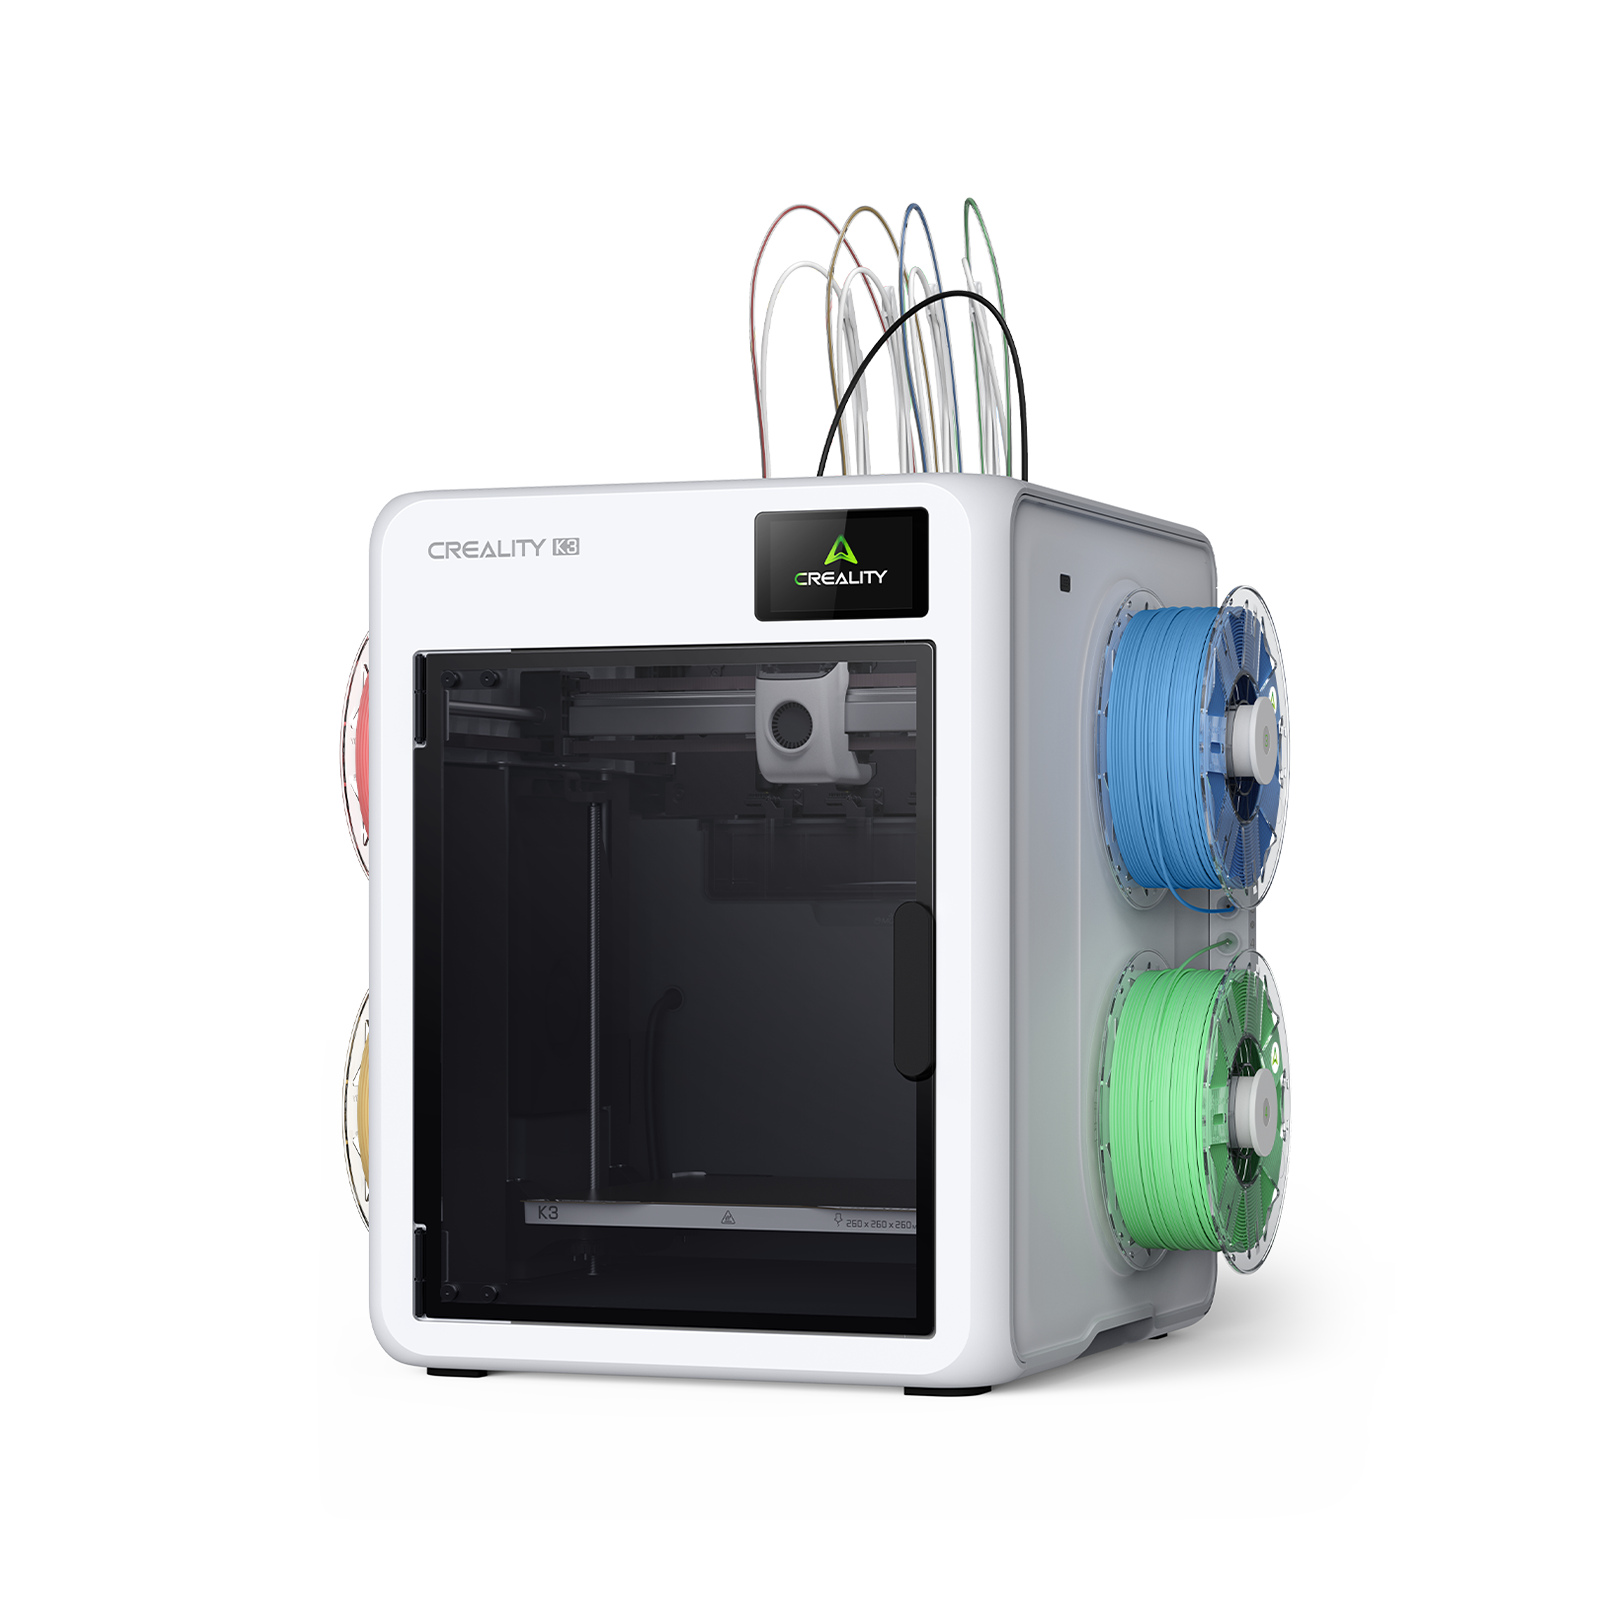
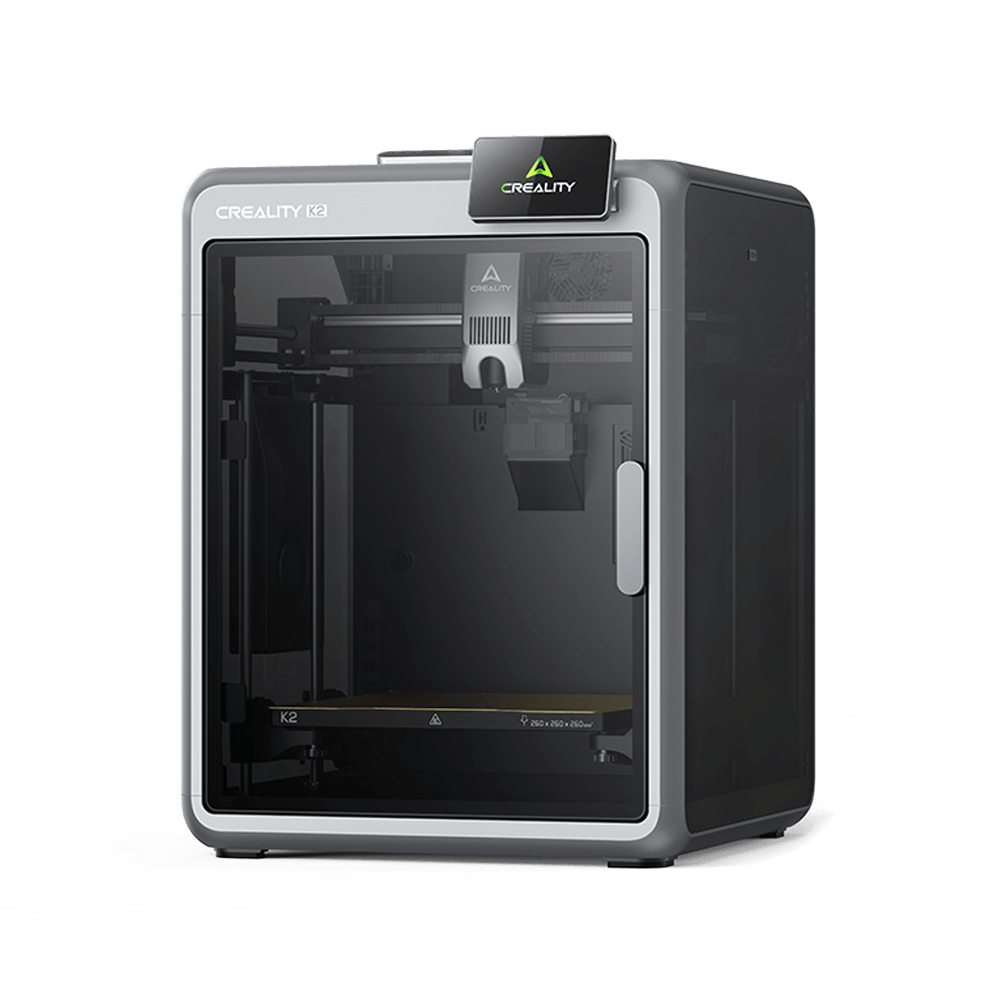
In this guide, we’ll explain how to design, print, and build a custom modular marble track using a Creality 3D printer.
What Is a 3D Printed Marble Run?
If you’ve ever played with marbles, you’ll know that rolling them across a floor doesn’t stay entertaining for long. A marble run is a multi-layered toy that keeps the marble rolling, often going through loops, funnels, and curves. There are interlocking track pieces that guide the marble from start to finish.
Most 3D-printed marble runs use a modular designs, allowing for the layout to be changed by connecting different pieces, offering multiple layouts without having to print entirely new structures. There are hundreds of different marble run designs, but most will include features like funnels, drops, straight tracks, and spirals.
Why Modular Designs Make Marble Runs More Fun
A 3D printer is one of the best ways to create a marble track because it allows you to build a modular system with dozens of possible layouts. Modular designs are easier to repair and make upgrades to.
A marble run is a project you can continue developing as your 3D printing skills grow. You’ll only need to print the pieces that you need, and it’s easy to experiment with different designs when using a modular track. This type of design is ideal for group projects, whether it’s a classroom setting or with family members.
Designing Your Marble Run Before You Start Printing
Most of the common mistakes associated with creating a 3D-printed marble run can be avoided with a little extra planning. Just like designing a maze, you’ll need to consider how your marble track will work before you start designing it.
1. Choose Your Marble Size First
Before you can decide the dimensions of your modular marble track, it’s important to check your marble diameter. Most marbles range between 14 – 20 mm, so it’s a good idea to ensure your track dimensions can at least accommodate a 16 mm marble.
2. Decide Between Tabletop or Wall-Mounted
Although most marble runs are designed as tabletop tracks, you could alternatively choose a wall-mounted design. This decision will impact the design elements that you’ll need, especially if you’re creating a pegboard-mounted track. Freestanding towers are a great option for more experienced hobbyists, while a compact desk display is the perfect beginner project.
3. Sketch the Route
The most important thing to do before you start designing your 3D-printed marble run is to sketch the route that the marble will take. You’ll want to consider the start and finish sections, any height changes, and how turns and curves will impact the marble’s momentum. Sketching the route makes it easier to identify areas that may require additional supports or structural reinforcement.
Essential Marble Run Pieces to Print
Modular marble tracks can be made pocket-sized or as larger, statement pieces that can also act as décor. While there are no hard-and-fast rules for what qualifies as a marble run design, there are a few elements you’ll want to include:
-
Straight track sections: These connect large parts of the structure and help build speed as the marble travels.
-
Curves and corners: Enable the marble to change direction and help to control its speed.
-
Spiral drops: Allow smooth transitions as the marble moves between different sections, creating slow descents while ensuring the marble still maintains momentum.
-
Funnels: These elements create anticipation for where the marble will go before it’s released.
-
Jump sections: More experienced makers can add jump sections, which require careful alignment, to make the marble run more exciting.
-
Splitters and decision points: These pieces allow marbles to take different routes along the track, ideal for randomized layouts or for racing multiple marbles.
-
Lifts and elevators: Better suited for more advanced hobbyists, these lifts can be automated or manual, creating a continuous loop for the marbles.
Best Filaments for Printing Marble Runs
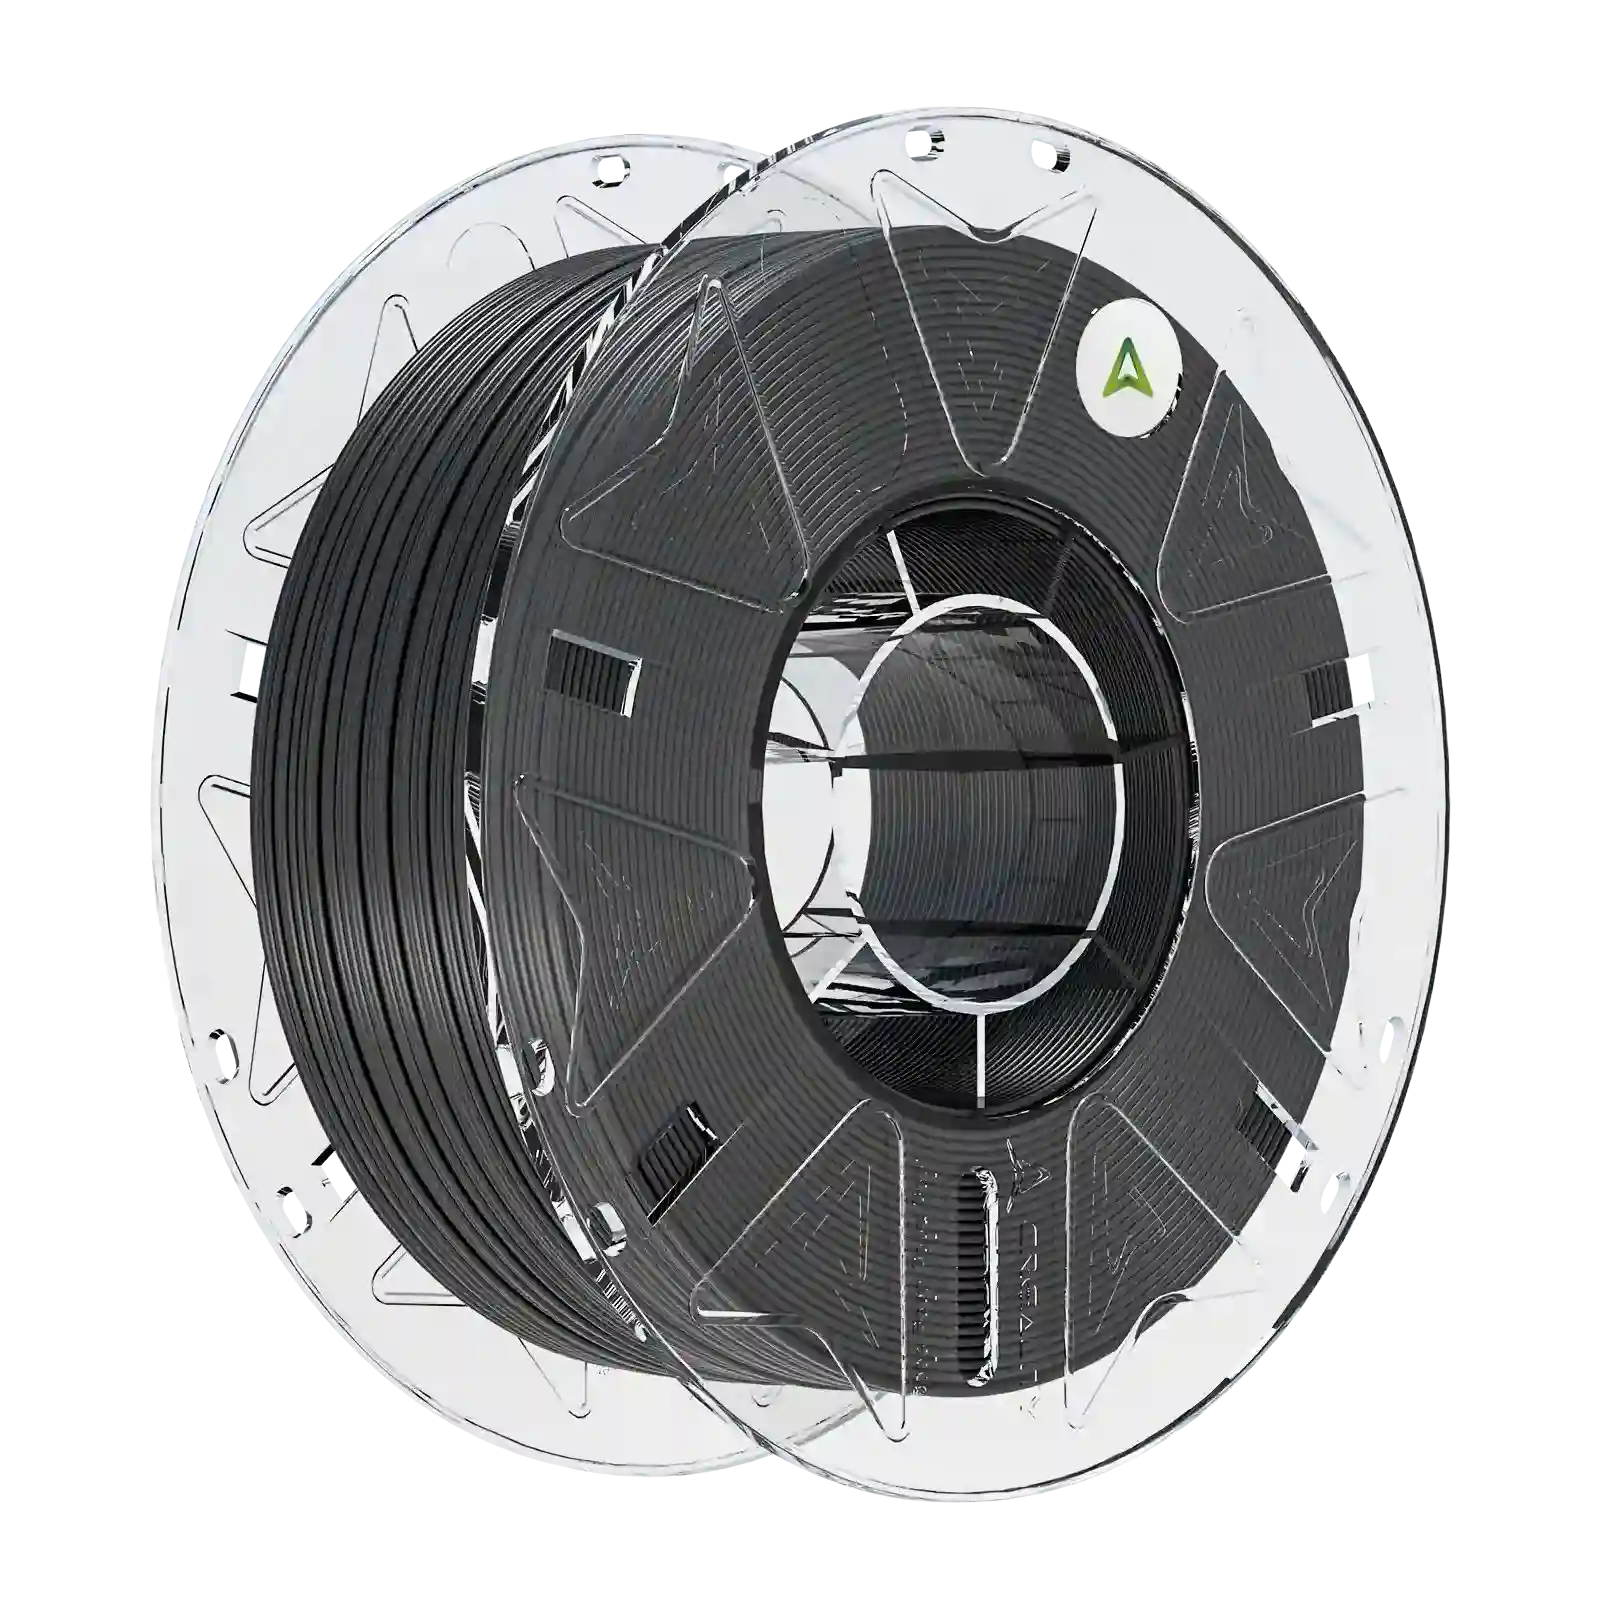
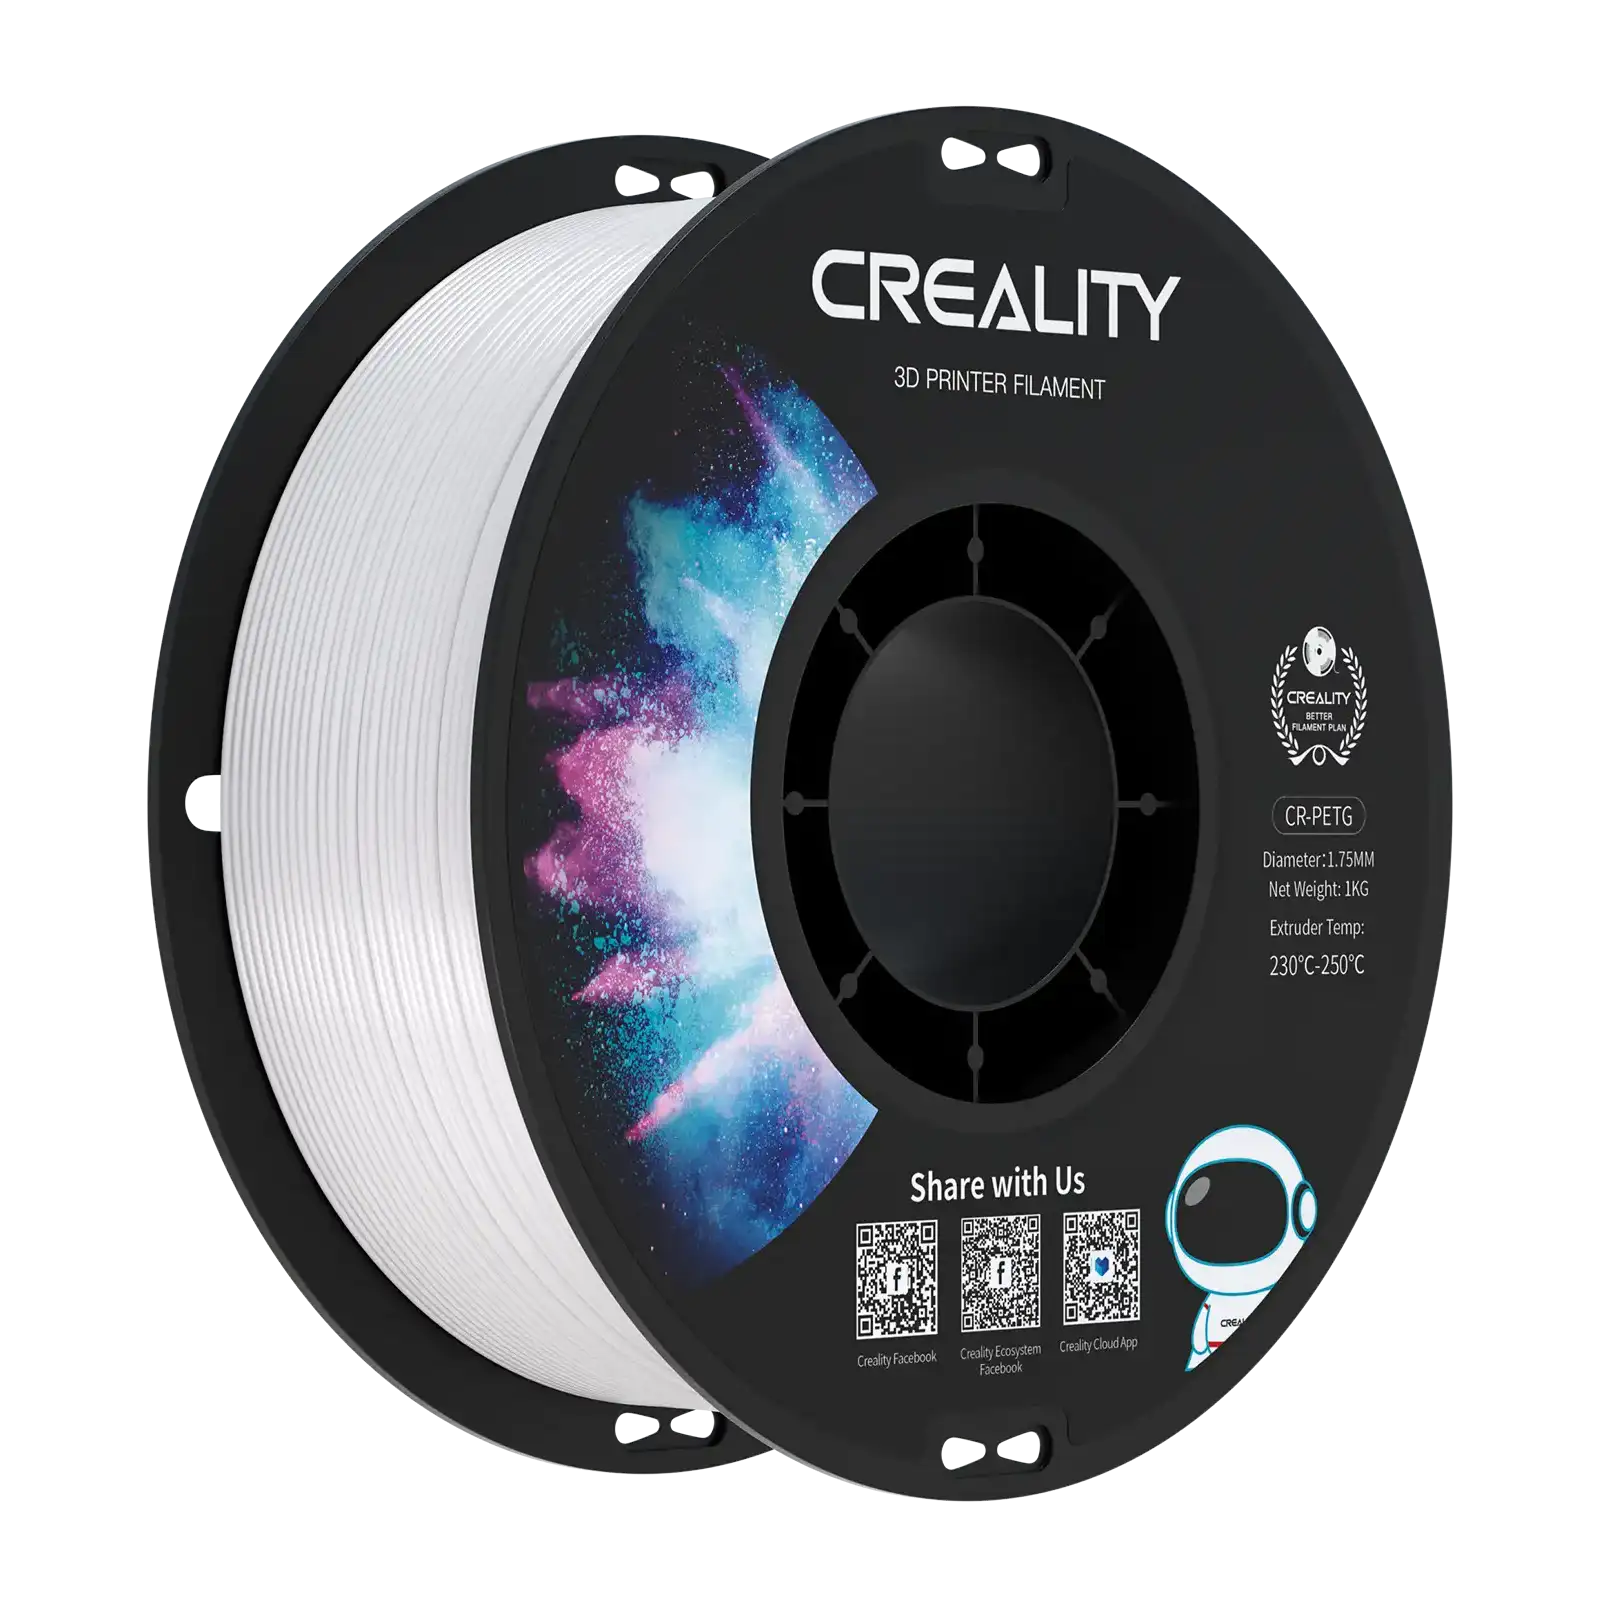
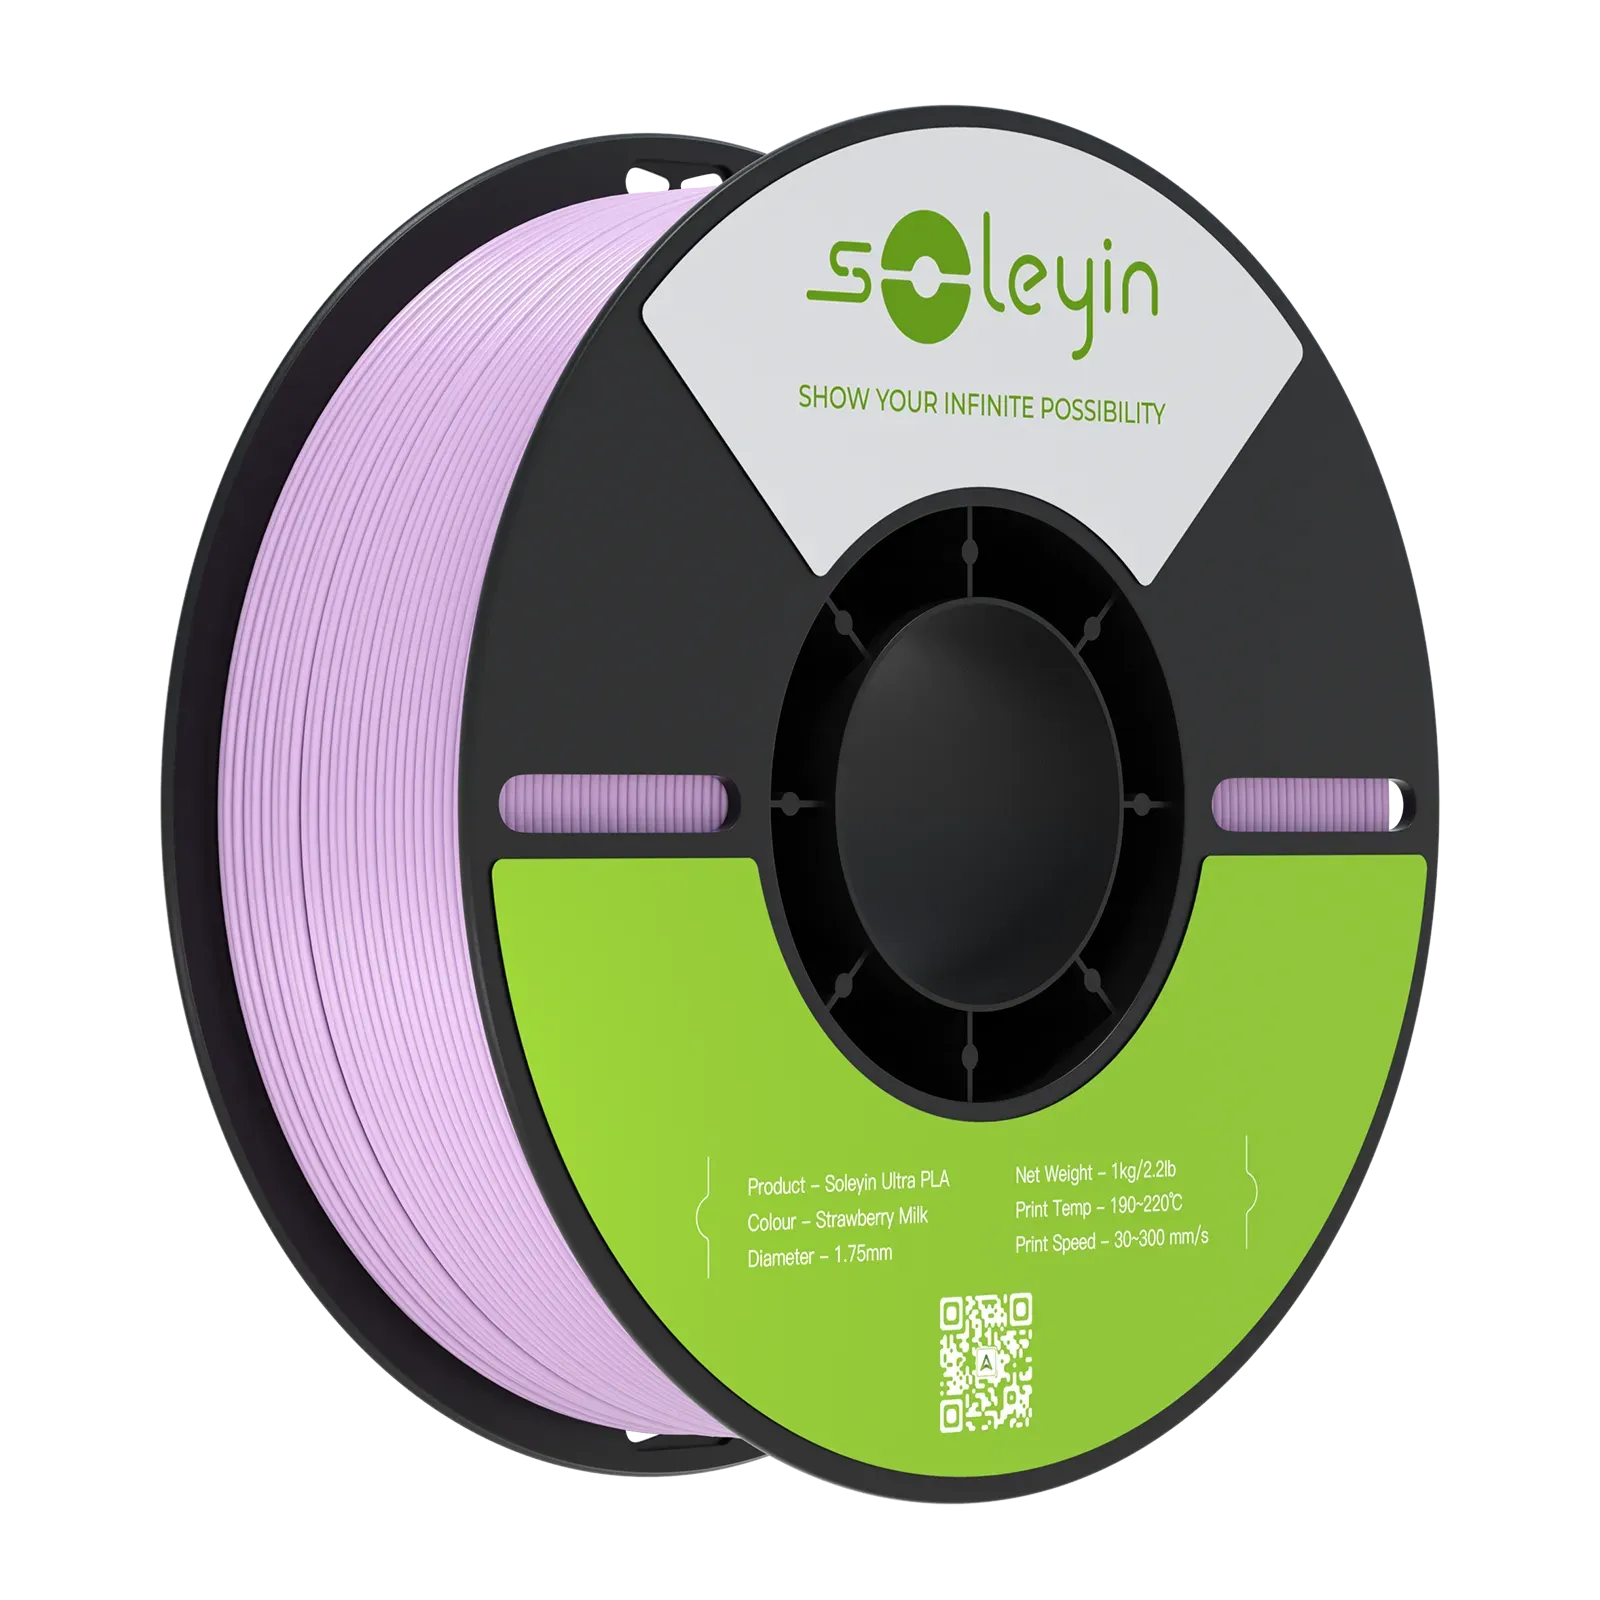
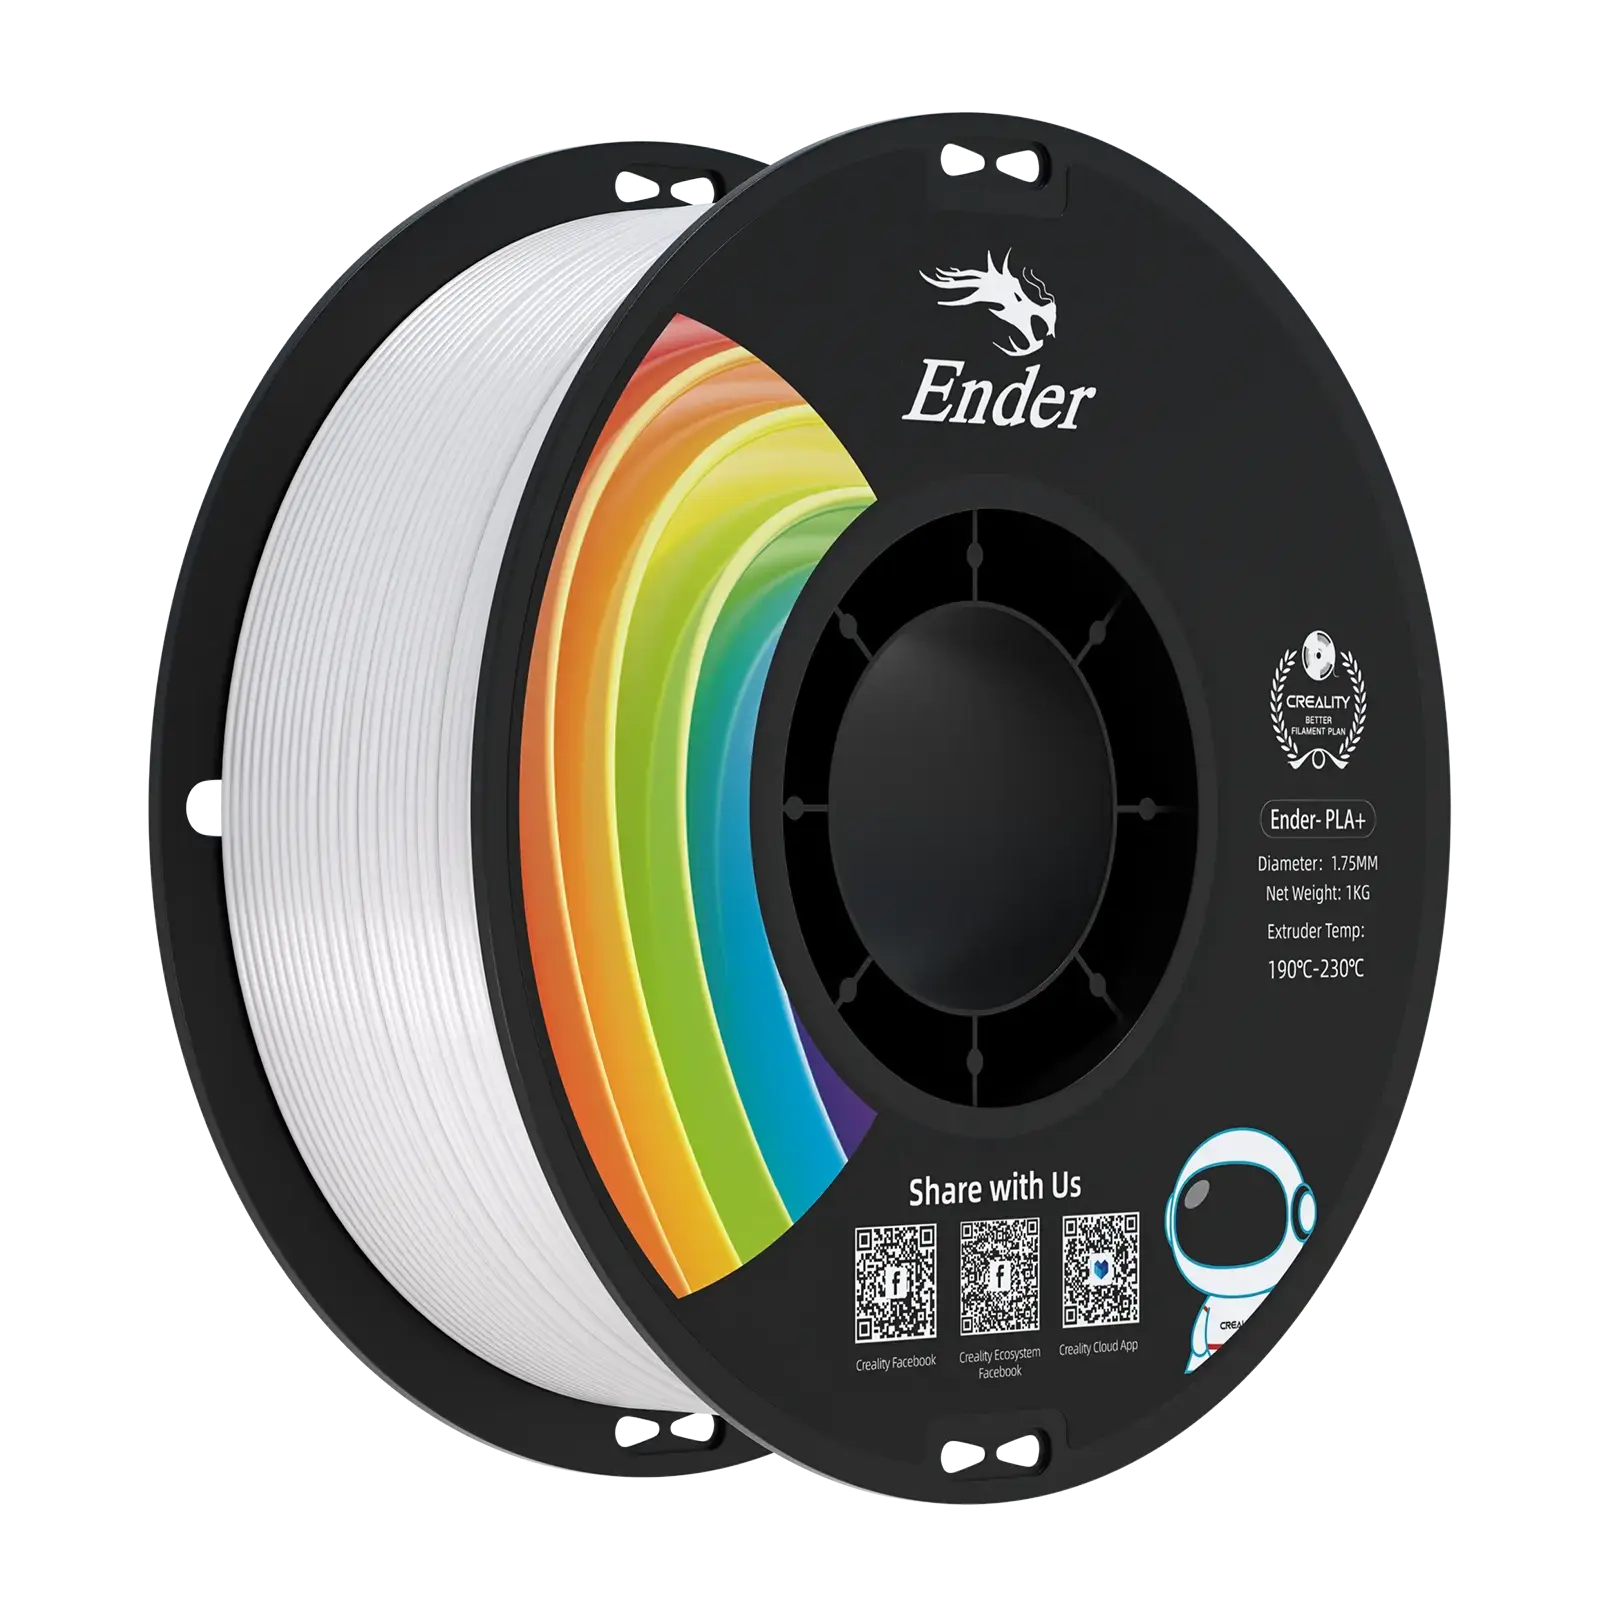
Your choice of filament can make or break your 3D-printed marble run design. It’s important to choose a durable filament that can support continued use, especially for modular tracks. Here are three of the best filaments to use:
-
PLA: Ideal if you’re using decorative colors for your 3D printed marble run or if you’re new to 3d printing.
-
PETG: Offers better durability than PLA, making it suitable for larger marble runs, especially those that will be used regularly.
-
Silk PLA: Best suited for 3D printed modular tracks that are best for colorful marble runs intended primarily for display rather than frequent use.
Common Problems When Printing Marble Runs (and How to Fix Them)
Creating a modular 3D printed marble run can take some trial and error, especially for beginners. Below, we’re covering some of the most common problems that you may encounter when printing marble runs and how to fix them.
-
Marbles get stuck: The marble is likely to get stuck in the track if it has rough surfaces, warped sections, or if the design is incorrectly scaled.
-
Sections don’t fit together: Incorrect dimensions and printer calibration issues can lead to an incorrect fit between modular pieces. Always double-check your measurements and ensure your printer is calibrated before starting.
-
Weak connectors: Weak or poorly fitted connectors can make your modular design less durable. You can avoid this by increasing the wall count or wall thickness, checking your print orientation, and using a durable filament like PETG.
-
Poor marble rolling: If the marble is struggling to roll on your track, it may be due to over-extrusion and layer lines. Check for any surface imperfections and follow our guide on how to remove layer lines from 3D prints.
Design a Custom Marble Run with Your Creality 3D Printer
A modular marble run is a 3D printing project every maker should try. It is easy to customize, expand, and upgrade over time, making it ideal for experimenting with new layouts and design ideas.
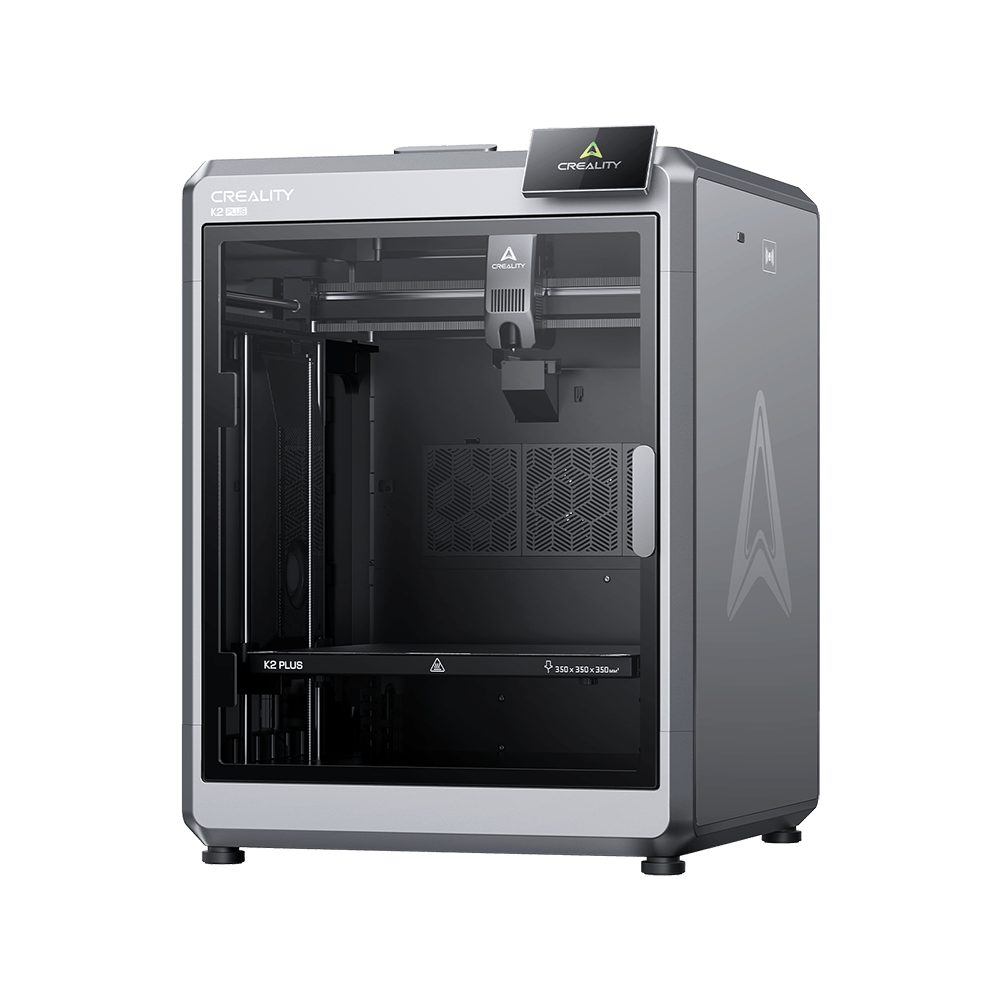
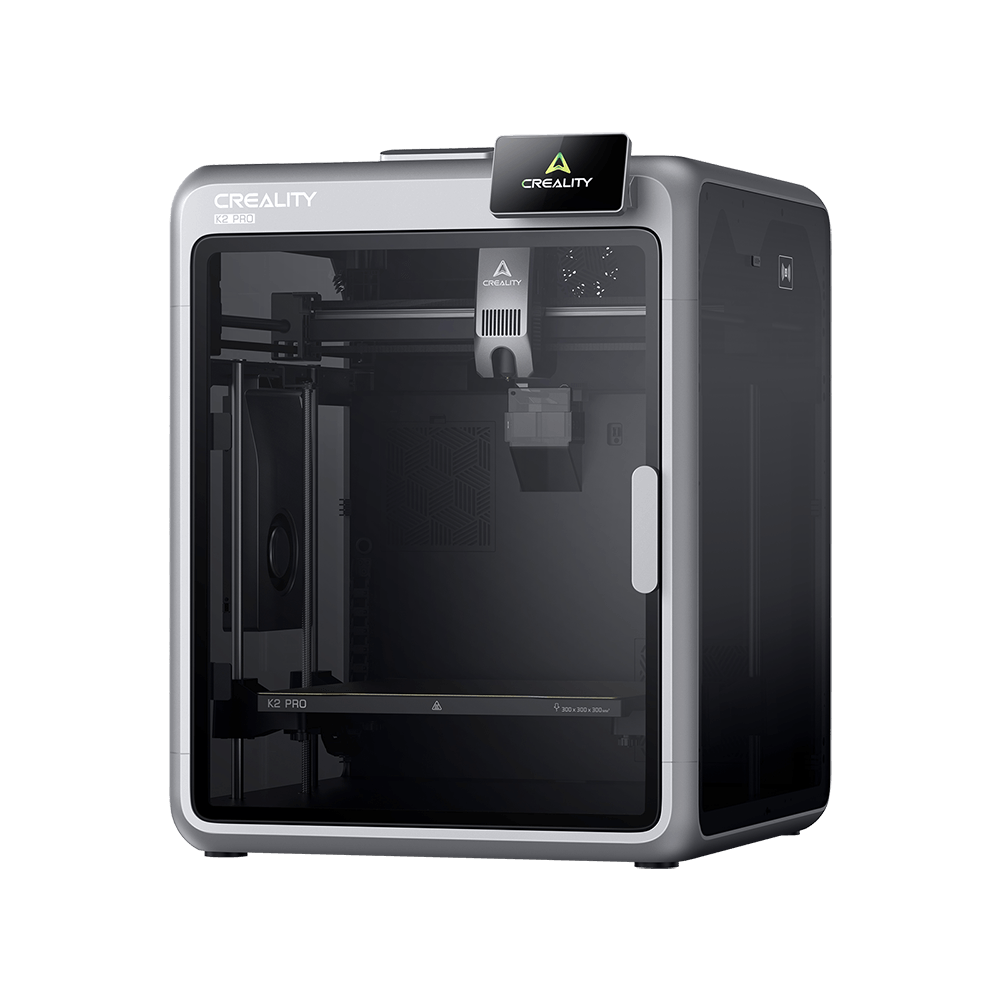
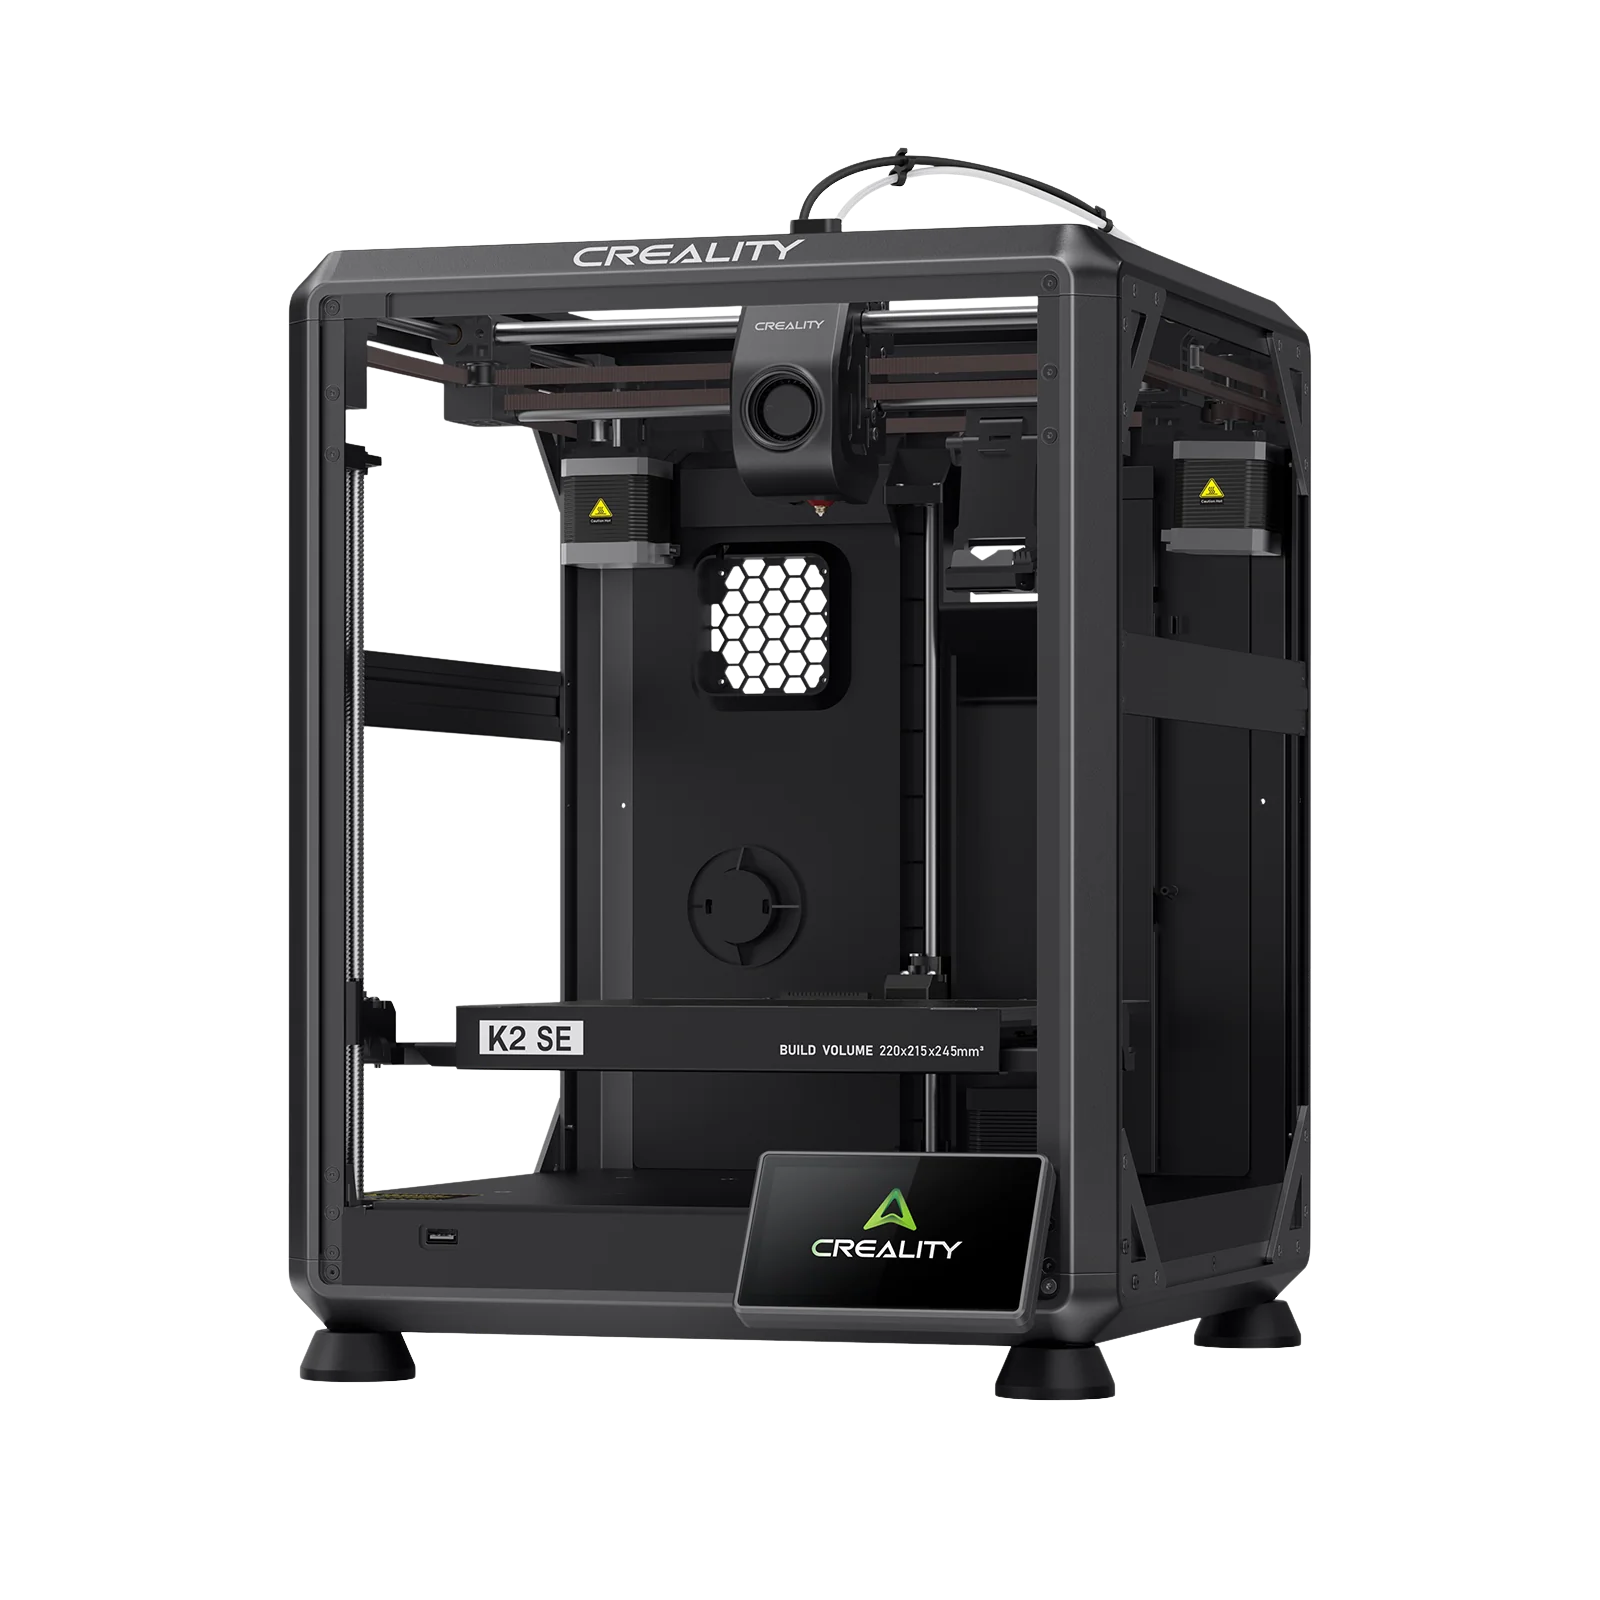
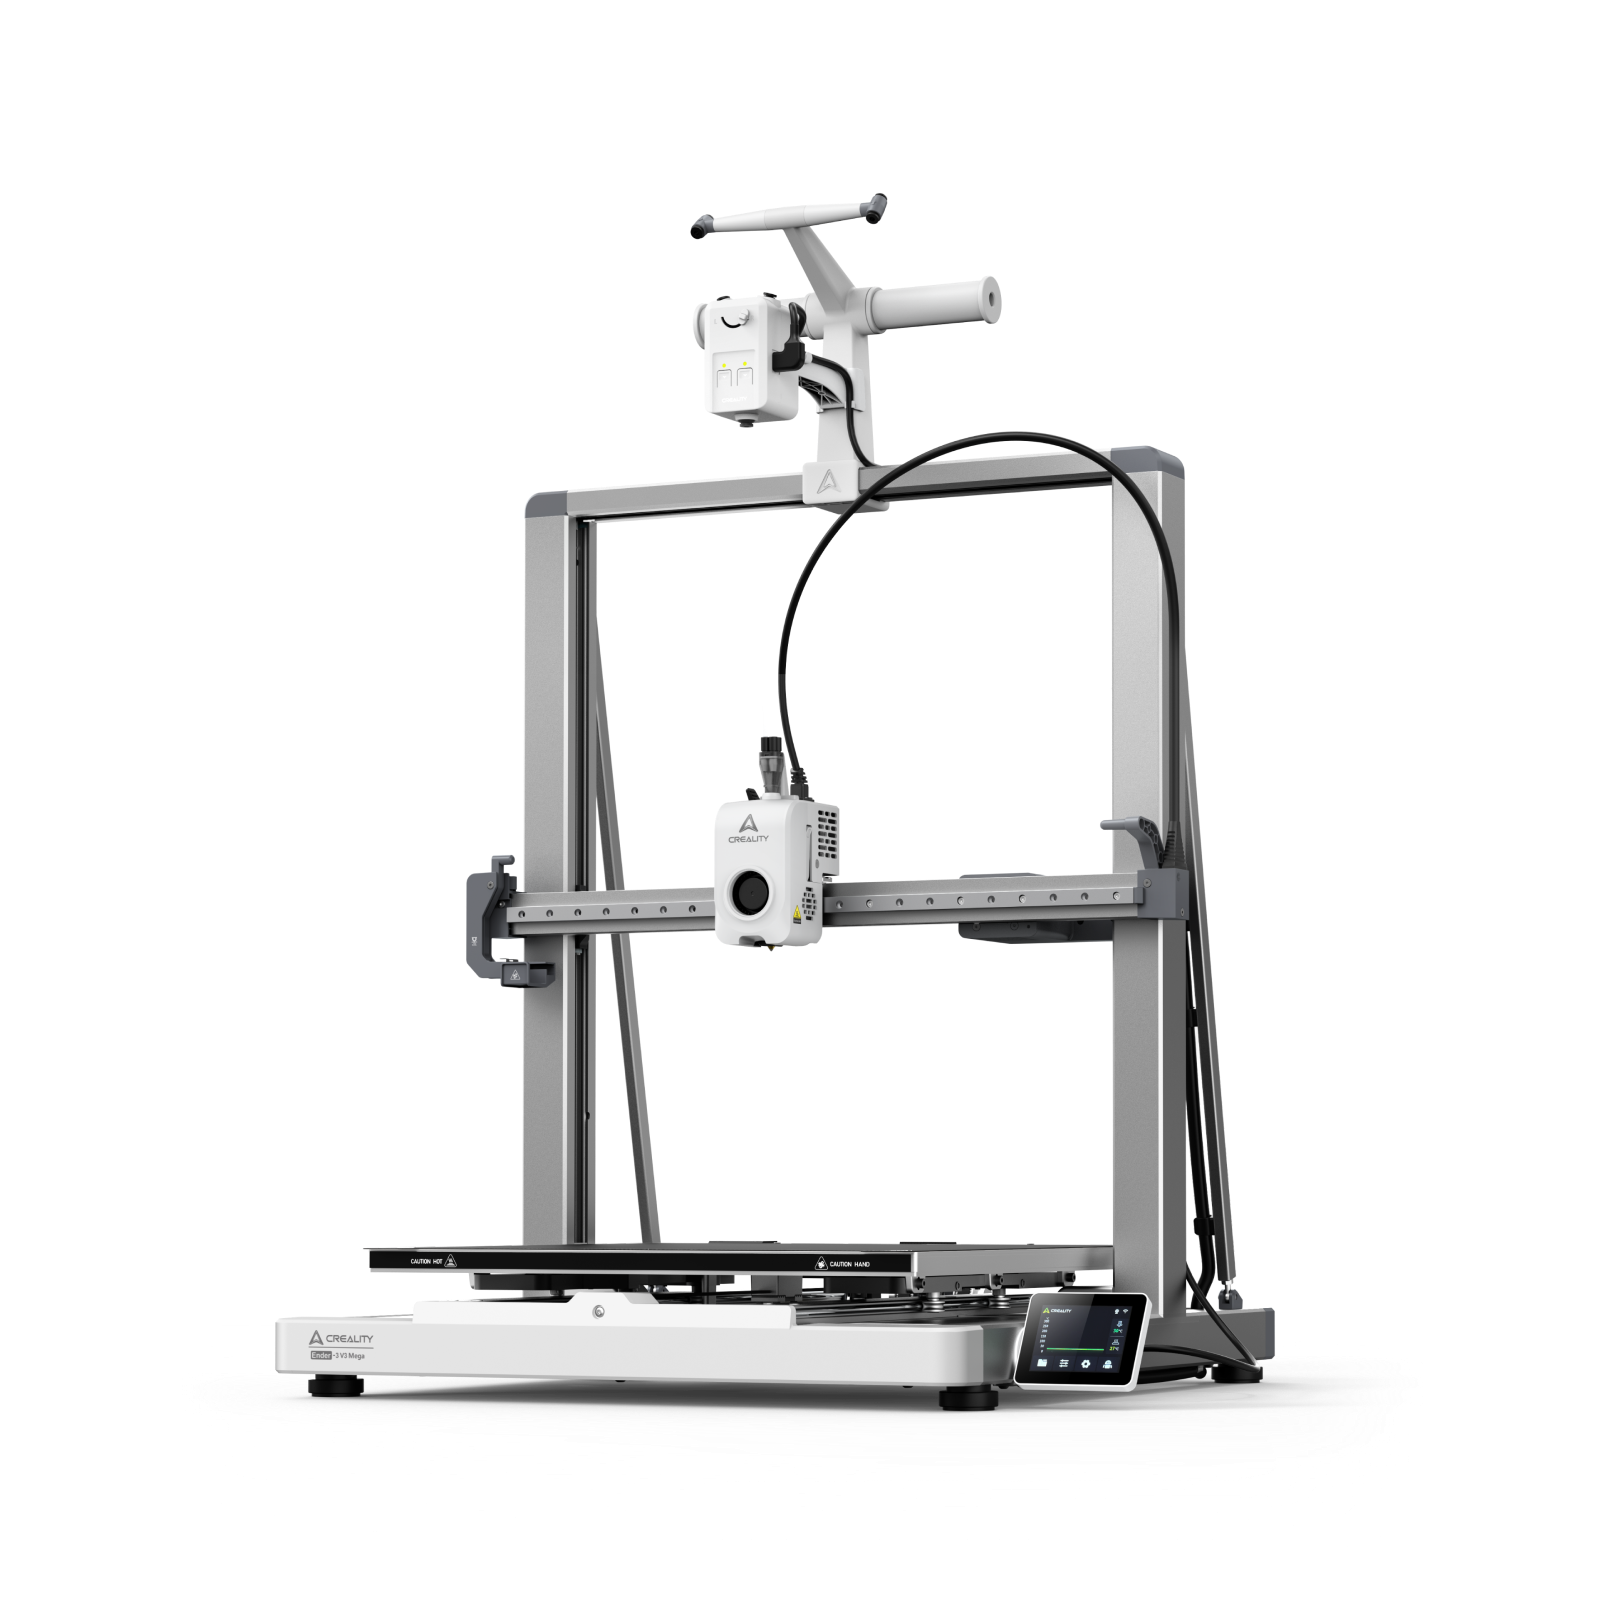
Ready to start your next project? Explore Creality Cloud to download free 3D models, or shop the latest Creality 3D printers to upgrade your setup.
FAQ About 3D Printed Marble Runs
What size marbles work best for a 3D printed marble run?
16 mm is the most popular marble size for 3D printed marble runs as they’ll roll easily through most sections. Alternatively, 12 mm works well for smaller models and 8 mm can be used for more complex marble runs.
Is PLA strong enough for marble runs?
PLA is an ideal filament for 3D-printed marble runs as it is strong and rigid, helping the marble roll smoothly through the design.
Can I design my own marble run?
You can design a custom marble run using CAD software or download a pre-made 3D design from Creality Cloud, ensuring that you choose the correct filament for your preferred design.
Are marble runs good beginner 3D printing projects?
Basic marble runs are ideal projects for beginners in 3D printing. It’s the perfect way to learn about modular building, and most models can be snapped together, meaning that no glue or fasteners are required.
Where can I download marble run STL files?
You can find and download marble run STL files on Creality Cloud, an all-in-one platform for 3D printing models.