

Welcome to Creality  12th Anniversary 🔥

Creality
Store
  • 3D Printers
  • Ecosystem
  • Support
  • Software
  • Blog
  • Creality Cloud
  • United States (English)
Cancel

Quick Links

    Creality
    3D PrintersEcosystem SupportSoftwareBlogCreality Cloud
    Store
    SPARKXFlagshipHi SeriesEnder SeriesHALOT Series
    SPARKX i7
    New
    SPARKX i7
    More Products
    Compare
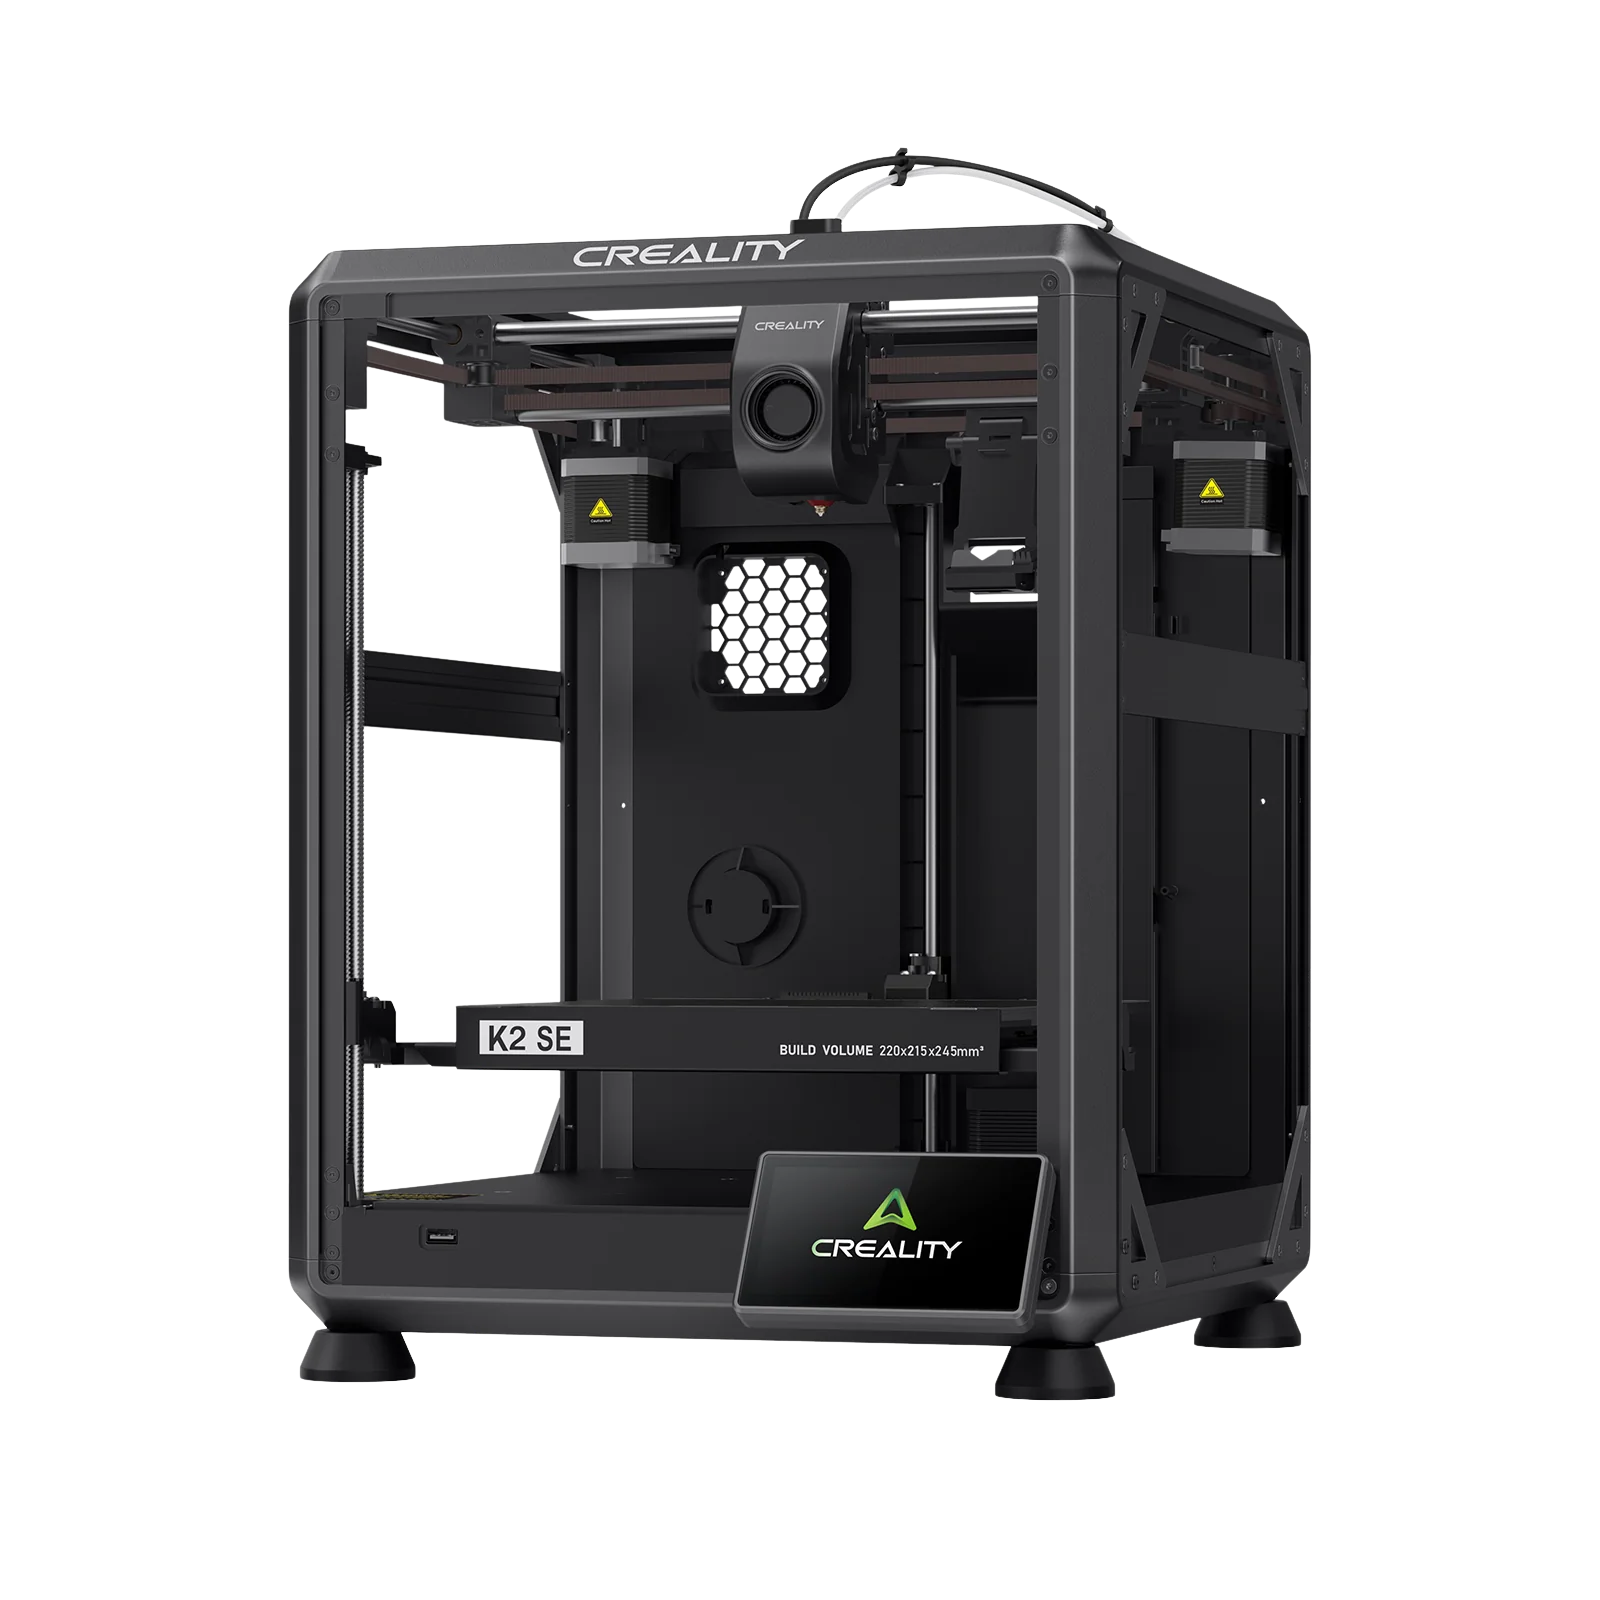
    K2 SE
    New
    K2 SE
    K2
    New
    K2
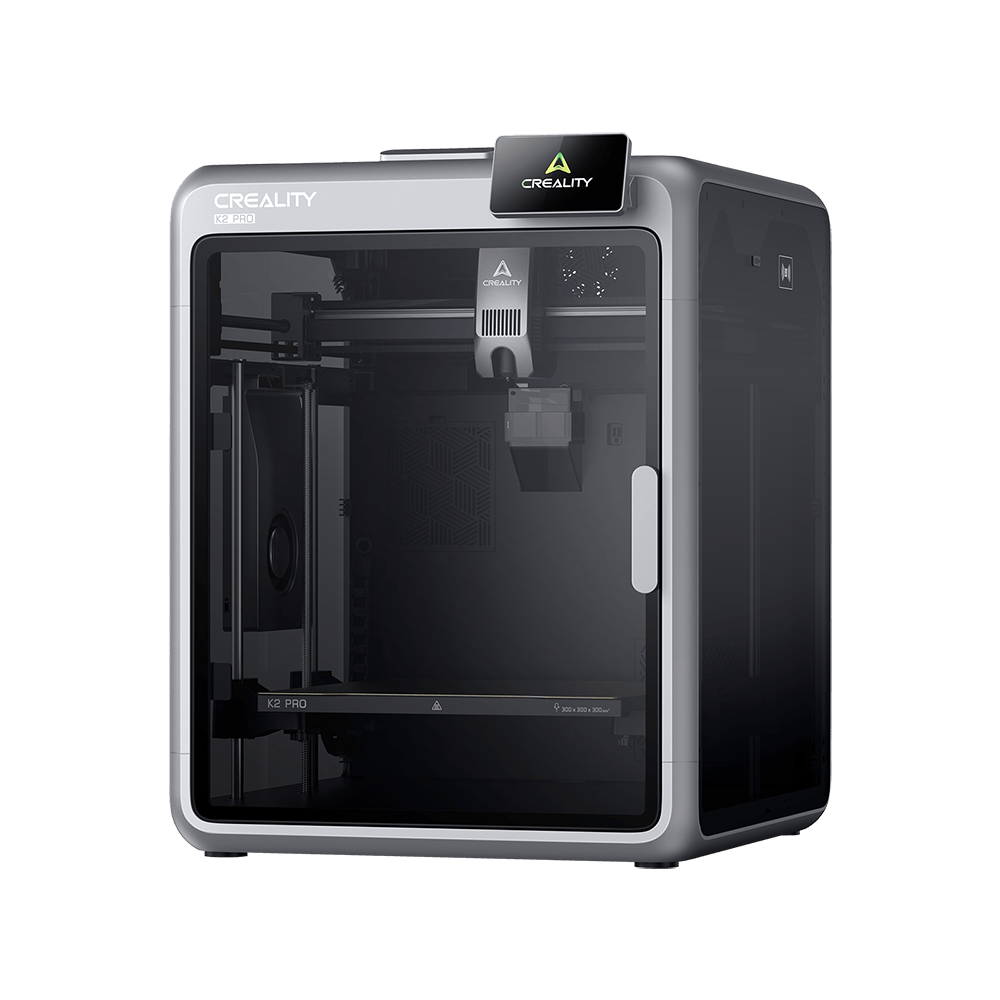
    K2 Pro
    K2 Pro
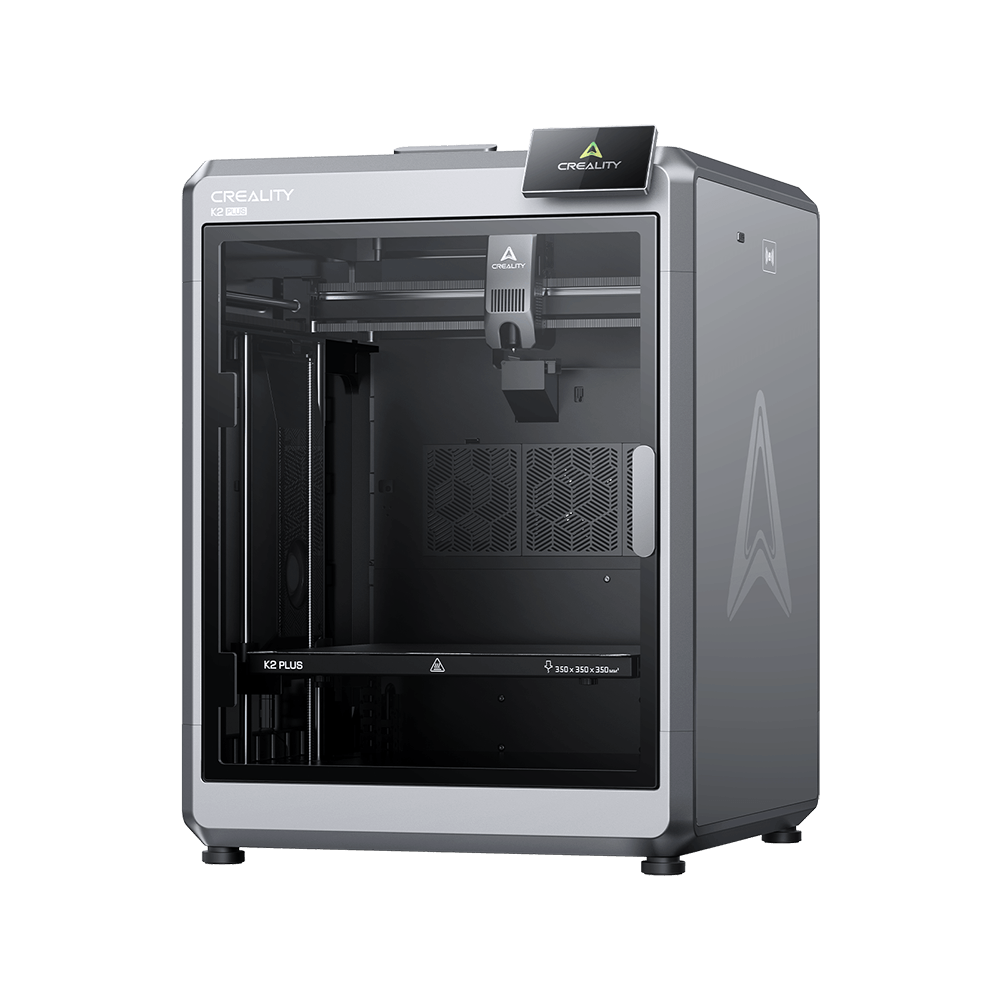
    K2 Plus
    K2 Plus
    K1 Max
    K1 Max
    More Products
    Compare
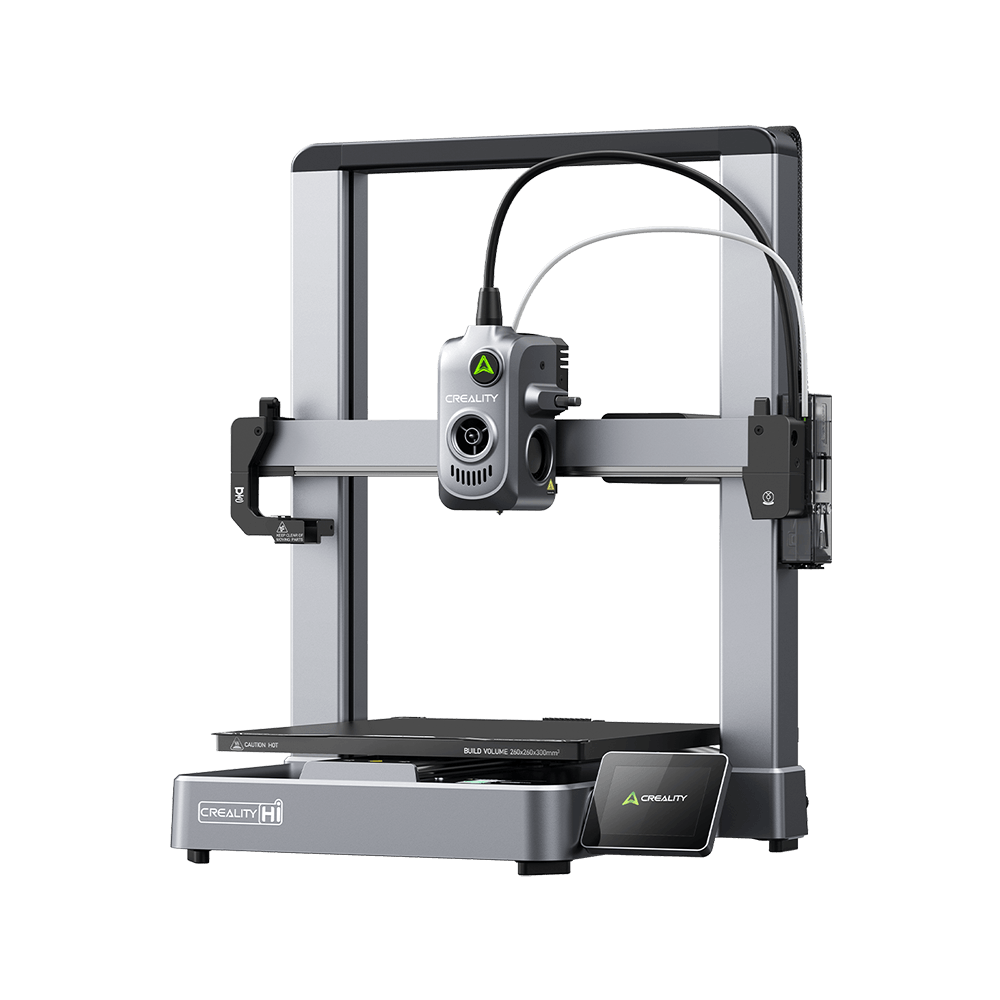
    Creality Hi
    Creality Hi
    More Products
    Compare
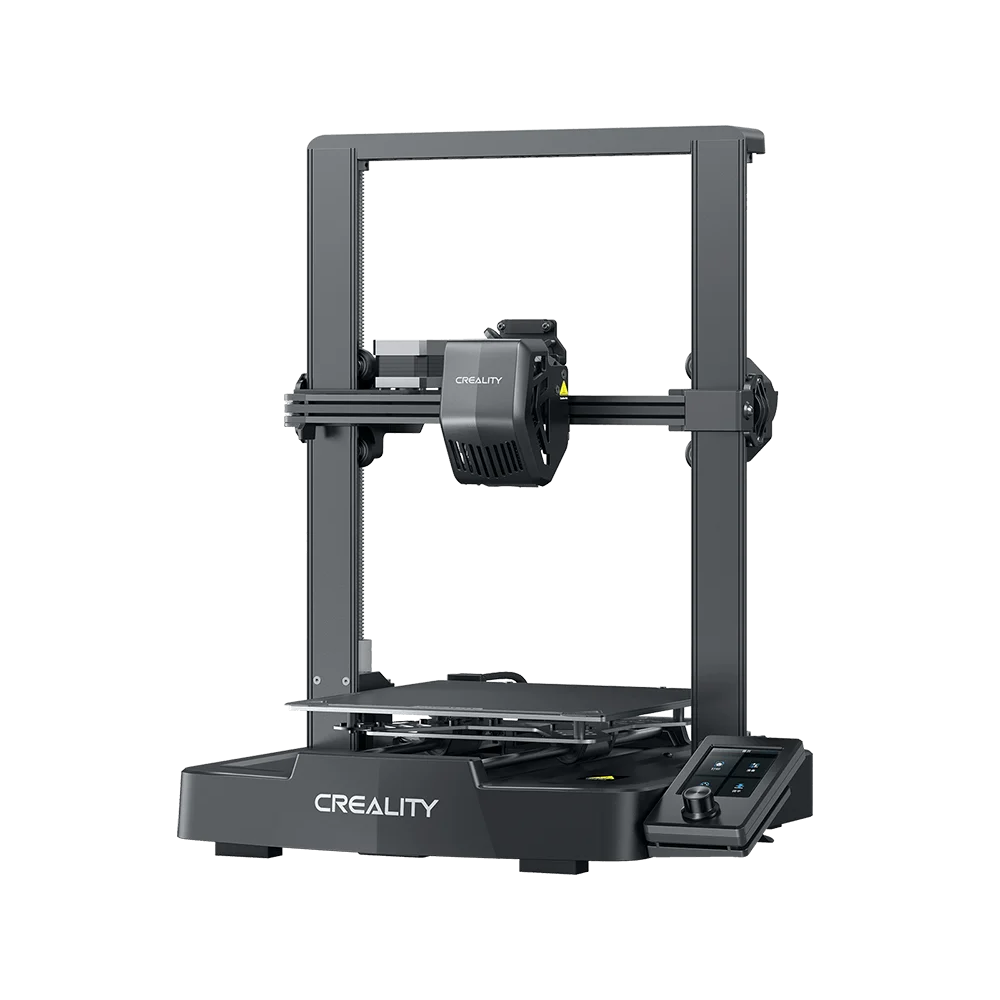
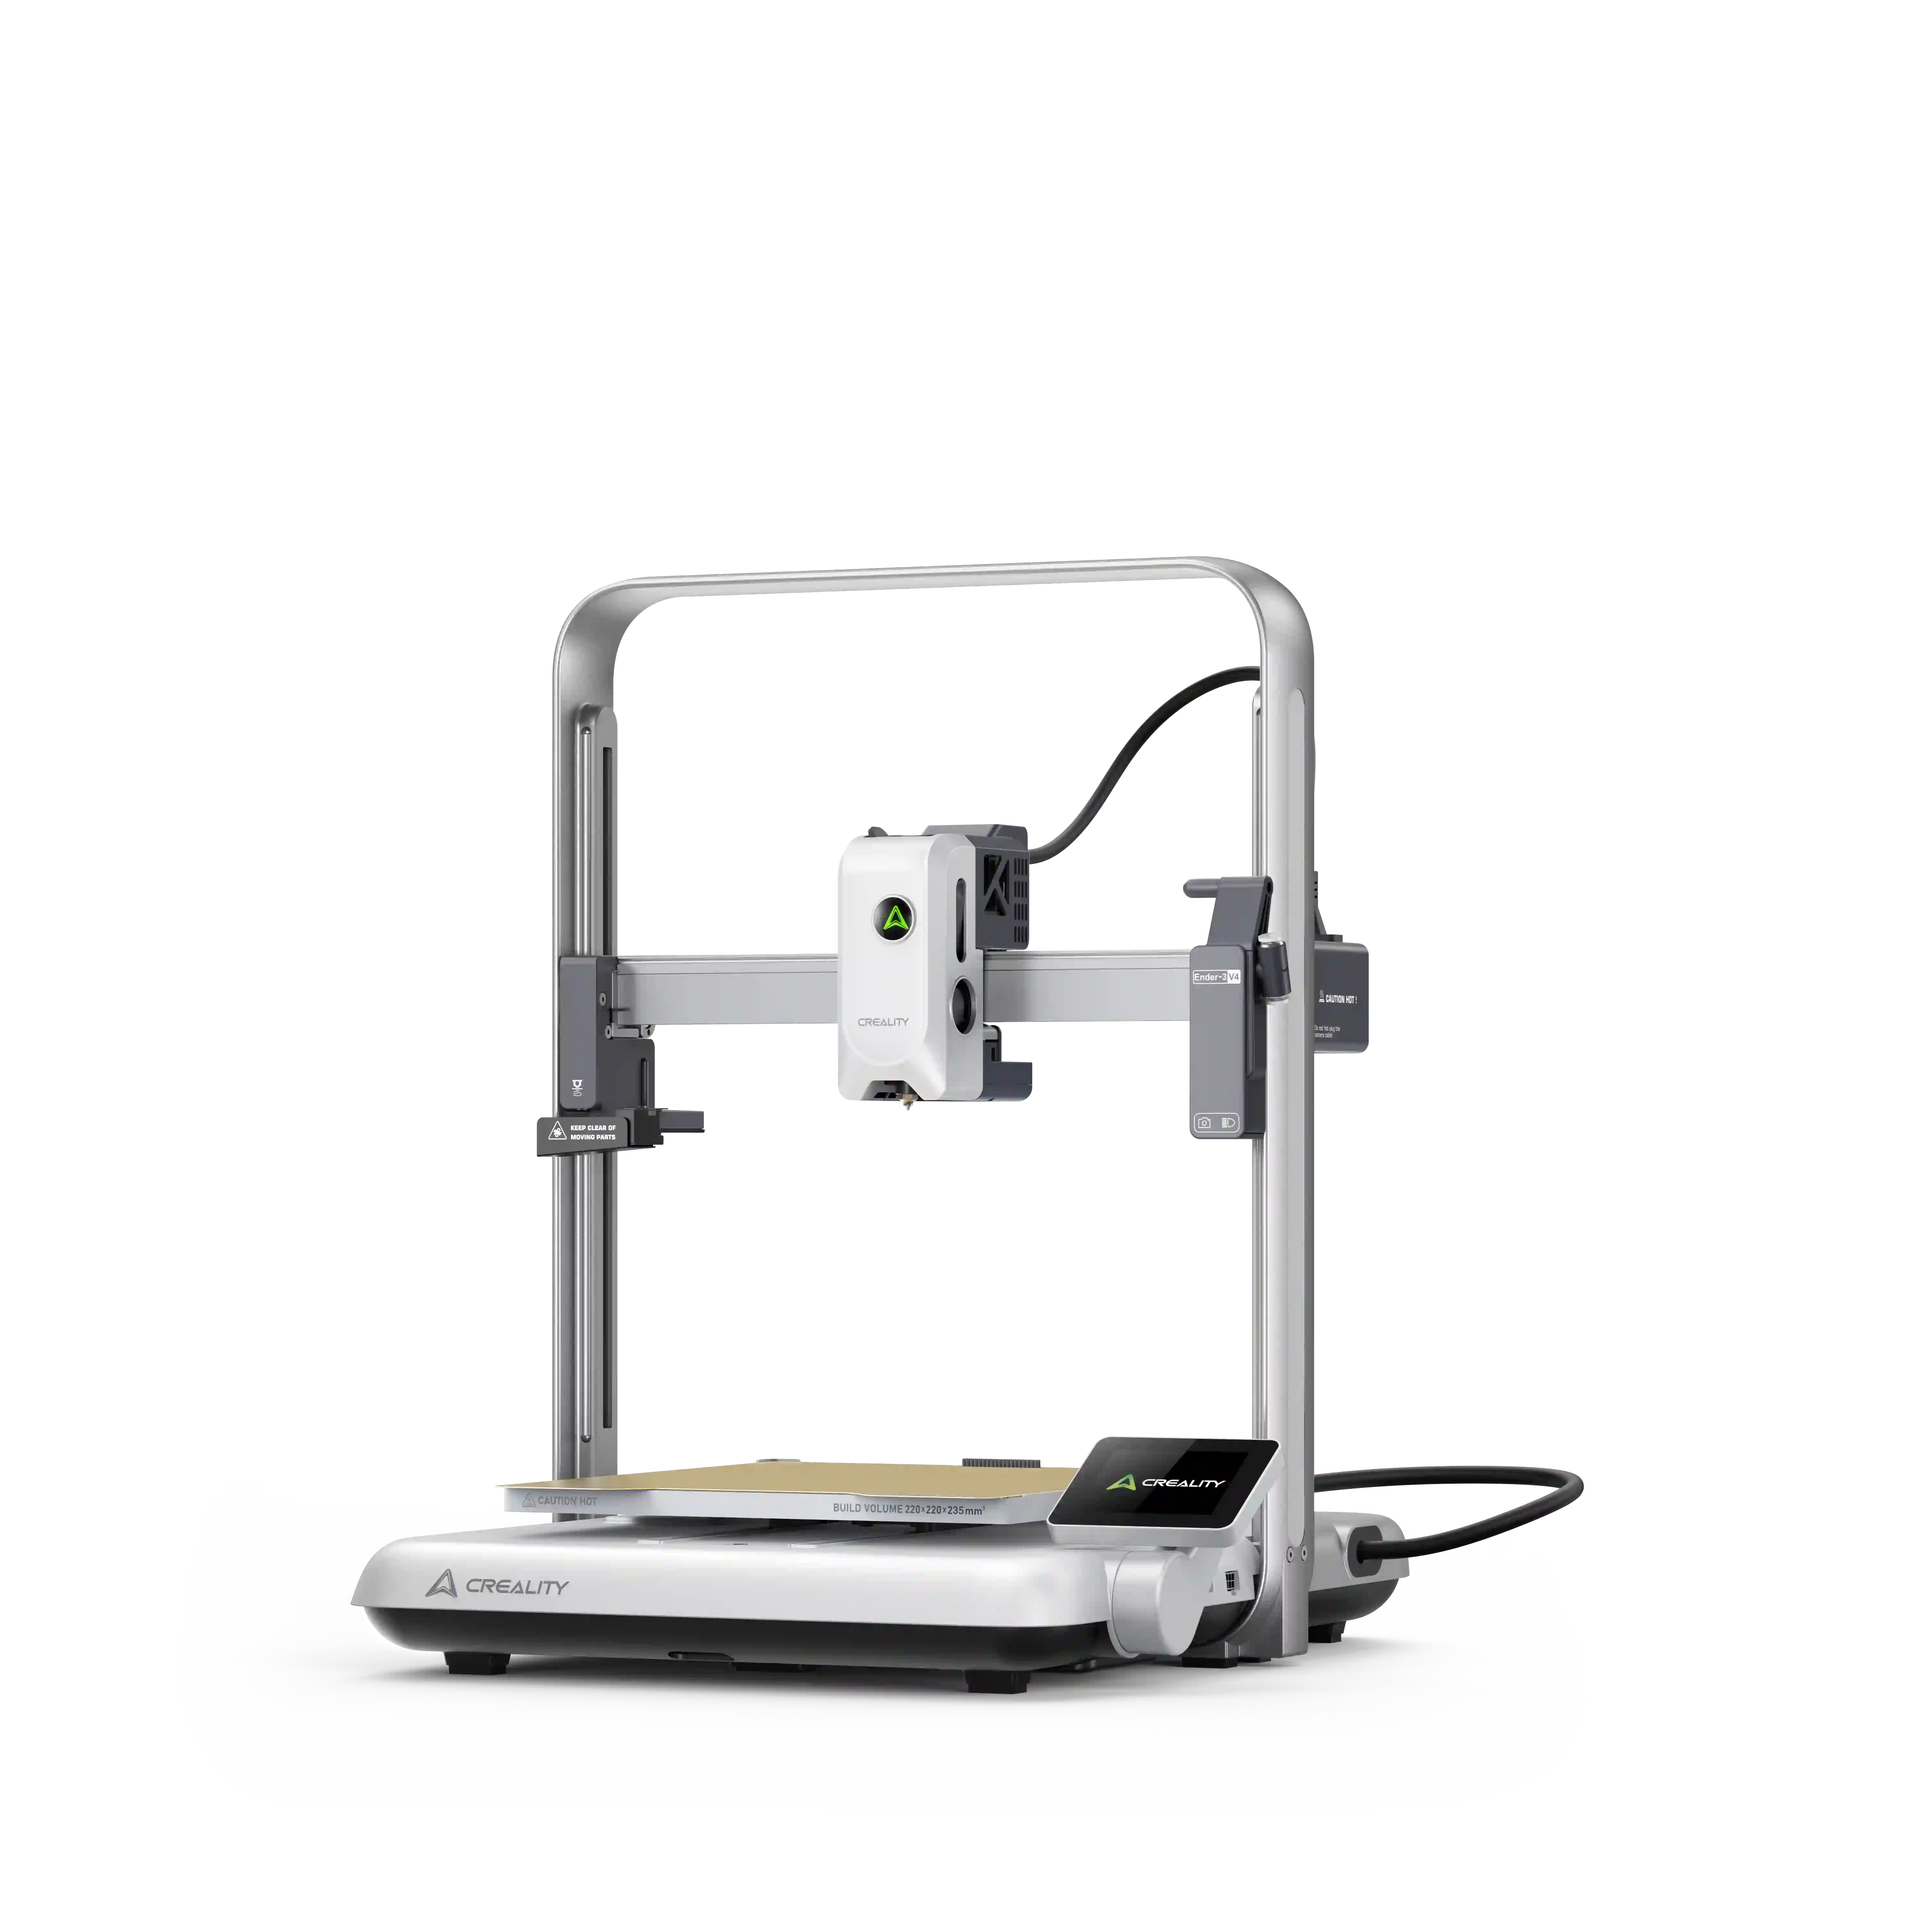
    Ender-3 V4
    New
    Ender-3 V4
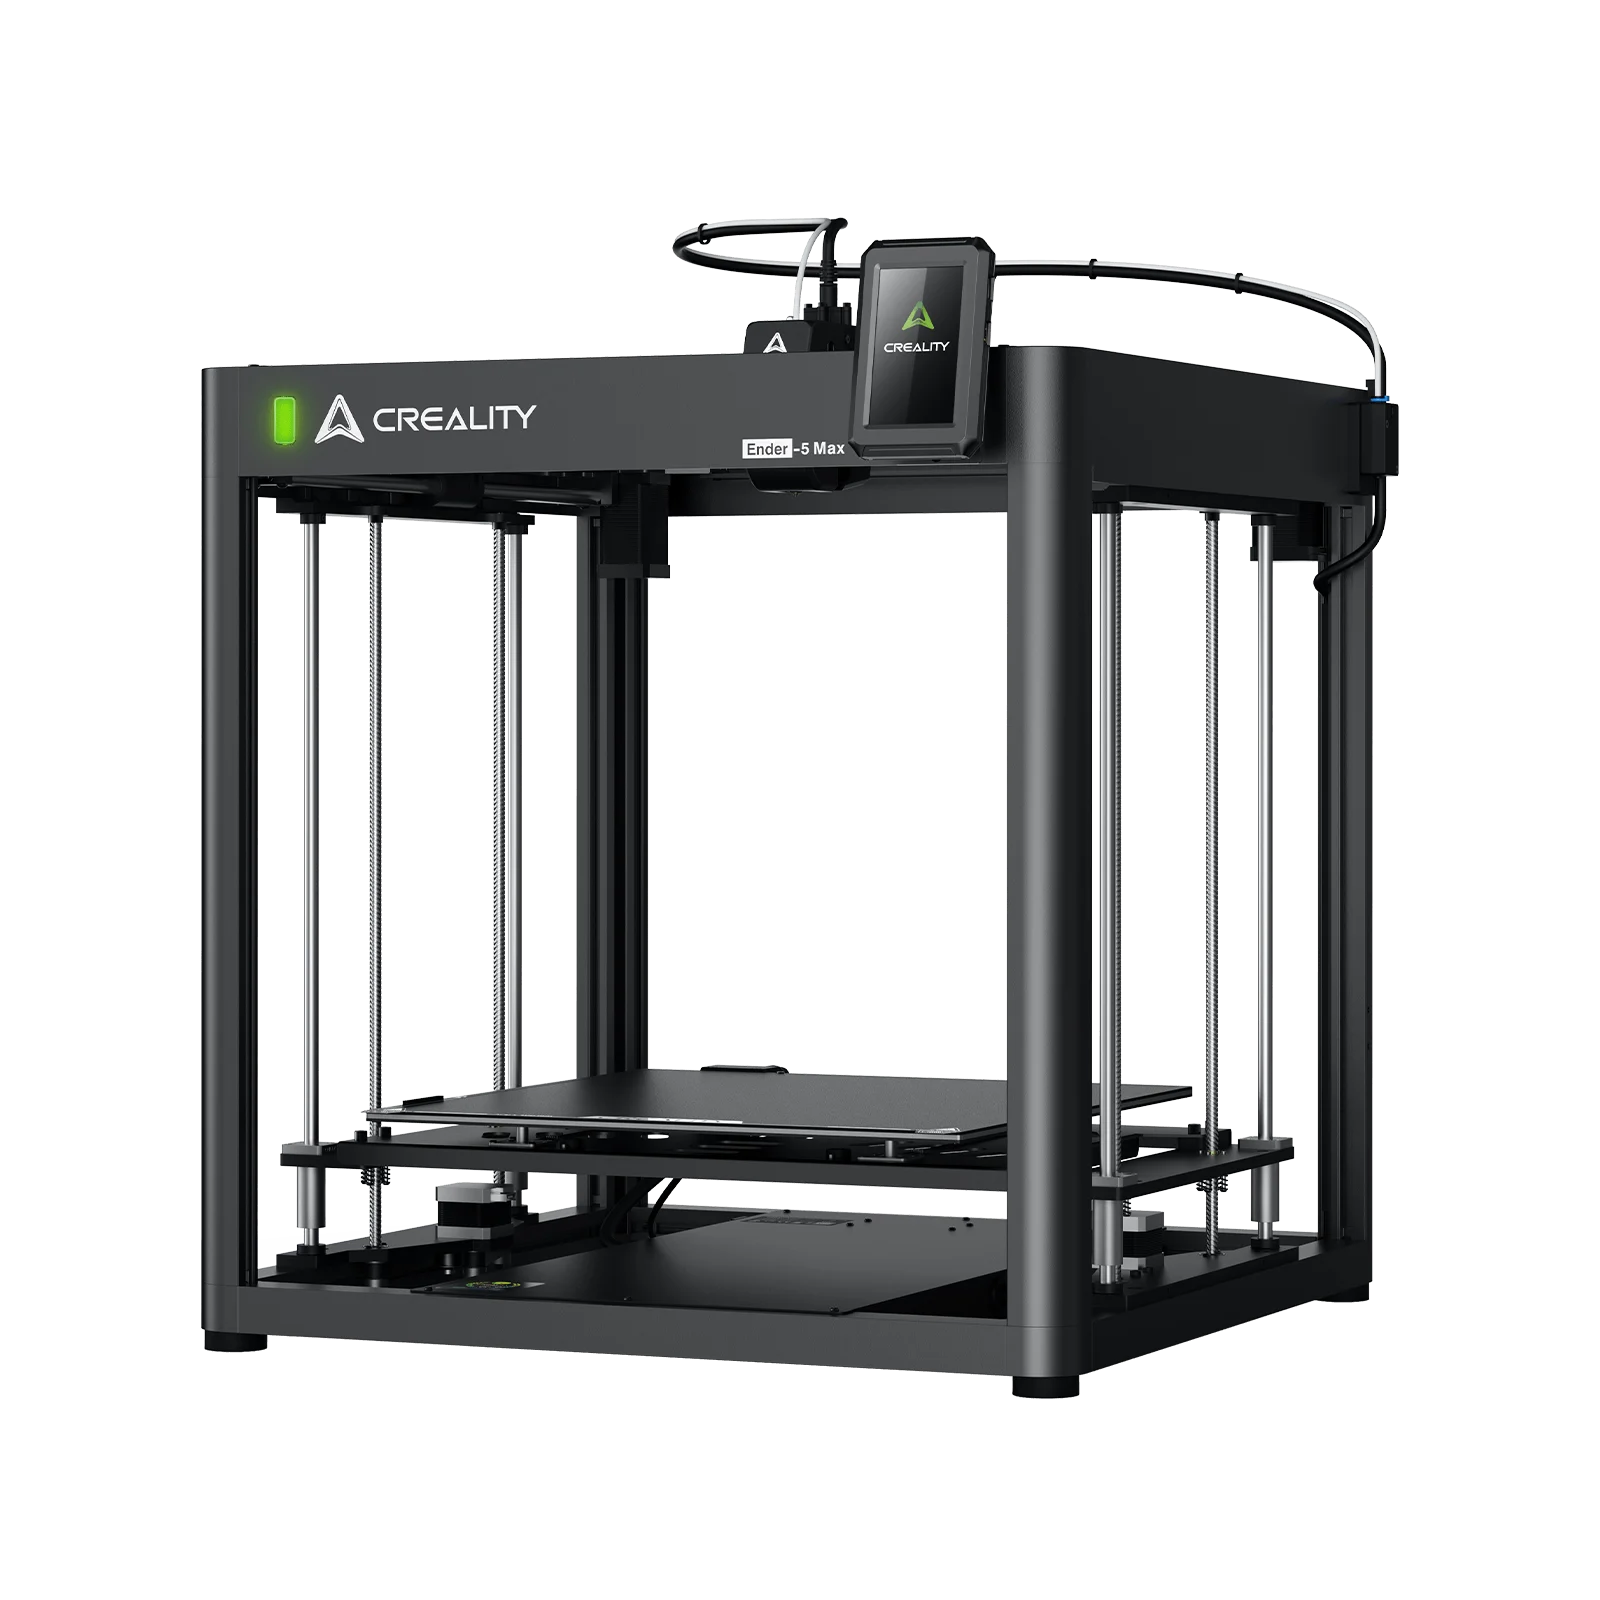
    Ender-5 Max
    Ender-5 Max
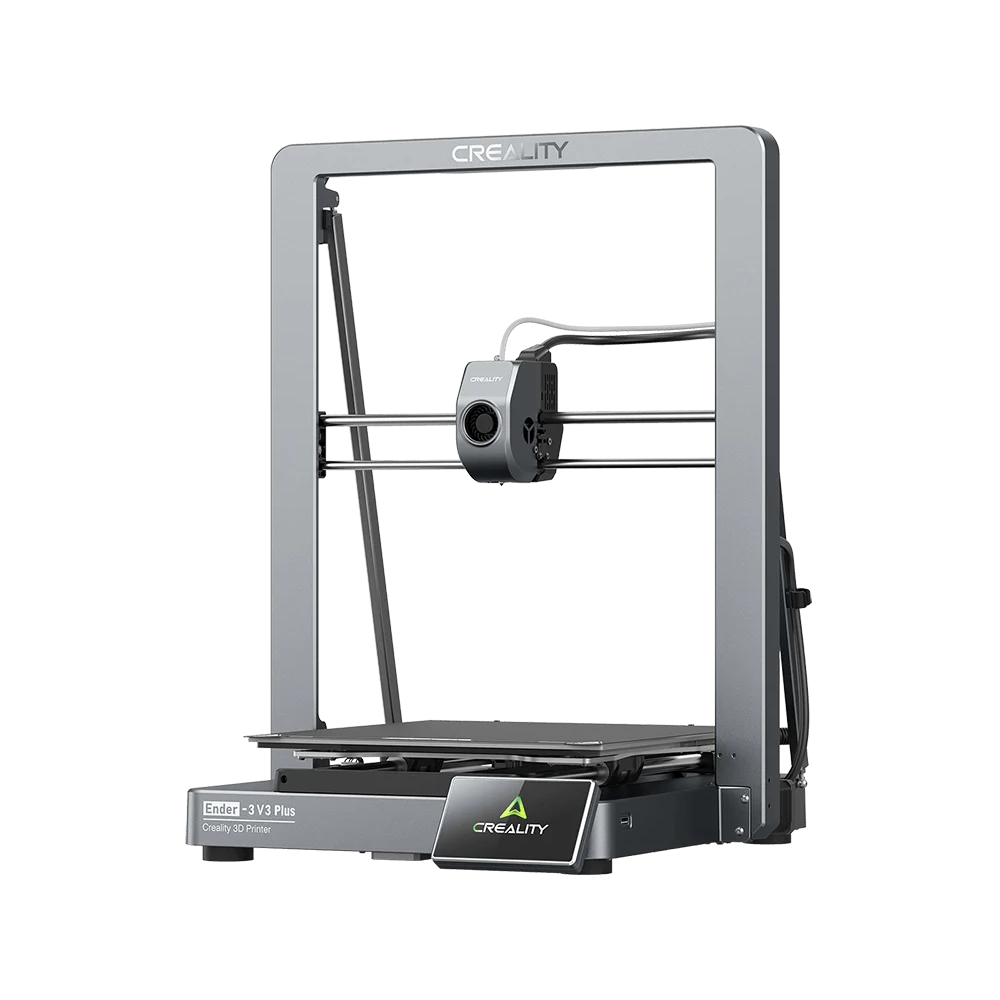
    Ender-3 V3 Plus
    Ender-3 V3 Plus
    Ender-3 V3
    Ender-3 V3
    Ender-3 V3 SE
    Ender-3 V3 SE
    More Products
    Compare
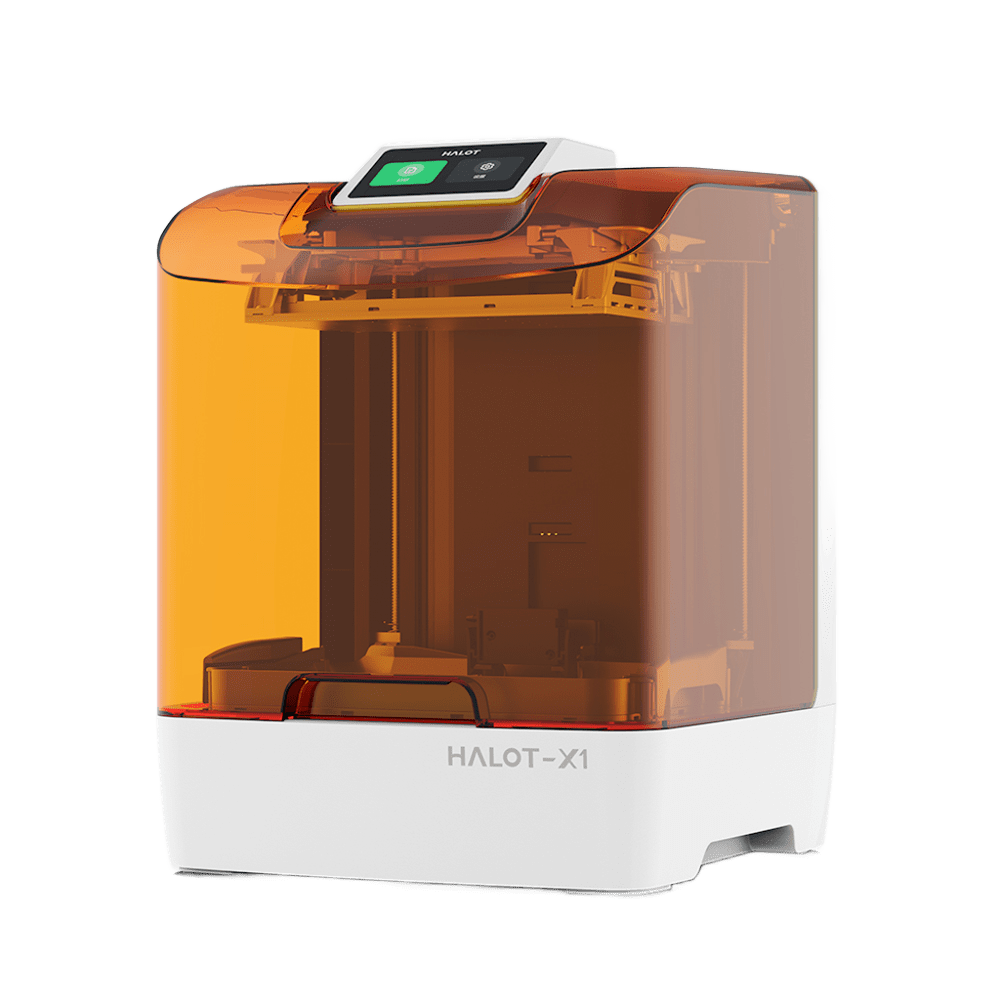
    HALOT-X1
    New
    HALOT-X1
    HALOT R6
    HALOT R6
    HALOT-MAGE S
    HALOT-MAGE S
    HALOT-MAGE
    HALOT-MAGE
    More Products
    Compare
    Filaments3D ScannersLaser EngraversAccessories
    Hyper Series
    Hyper Series
    CR Series
    CR Series
    Soleyin Series
    Soleyin Series
    Ender Series
    Ender Series
    More Products
    Compare
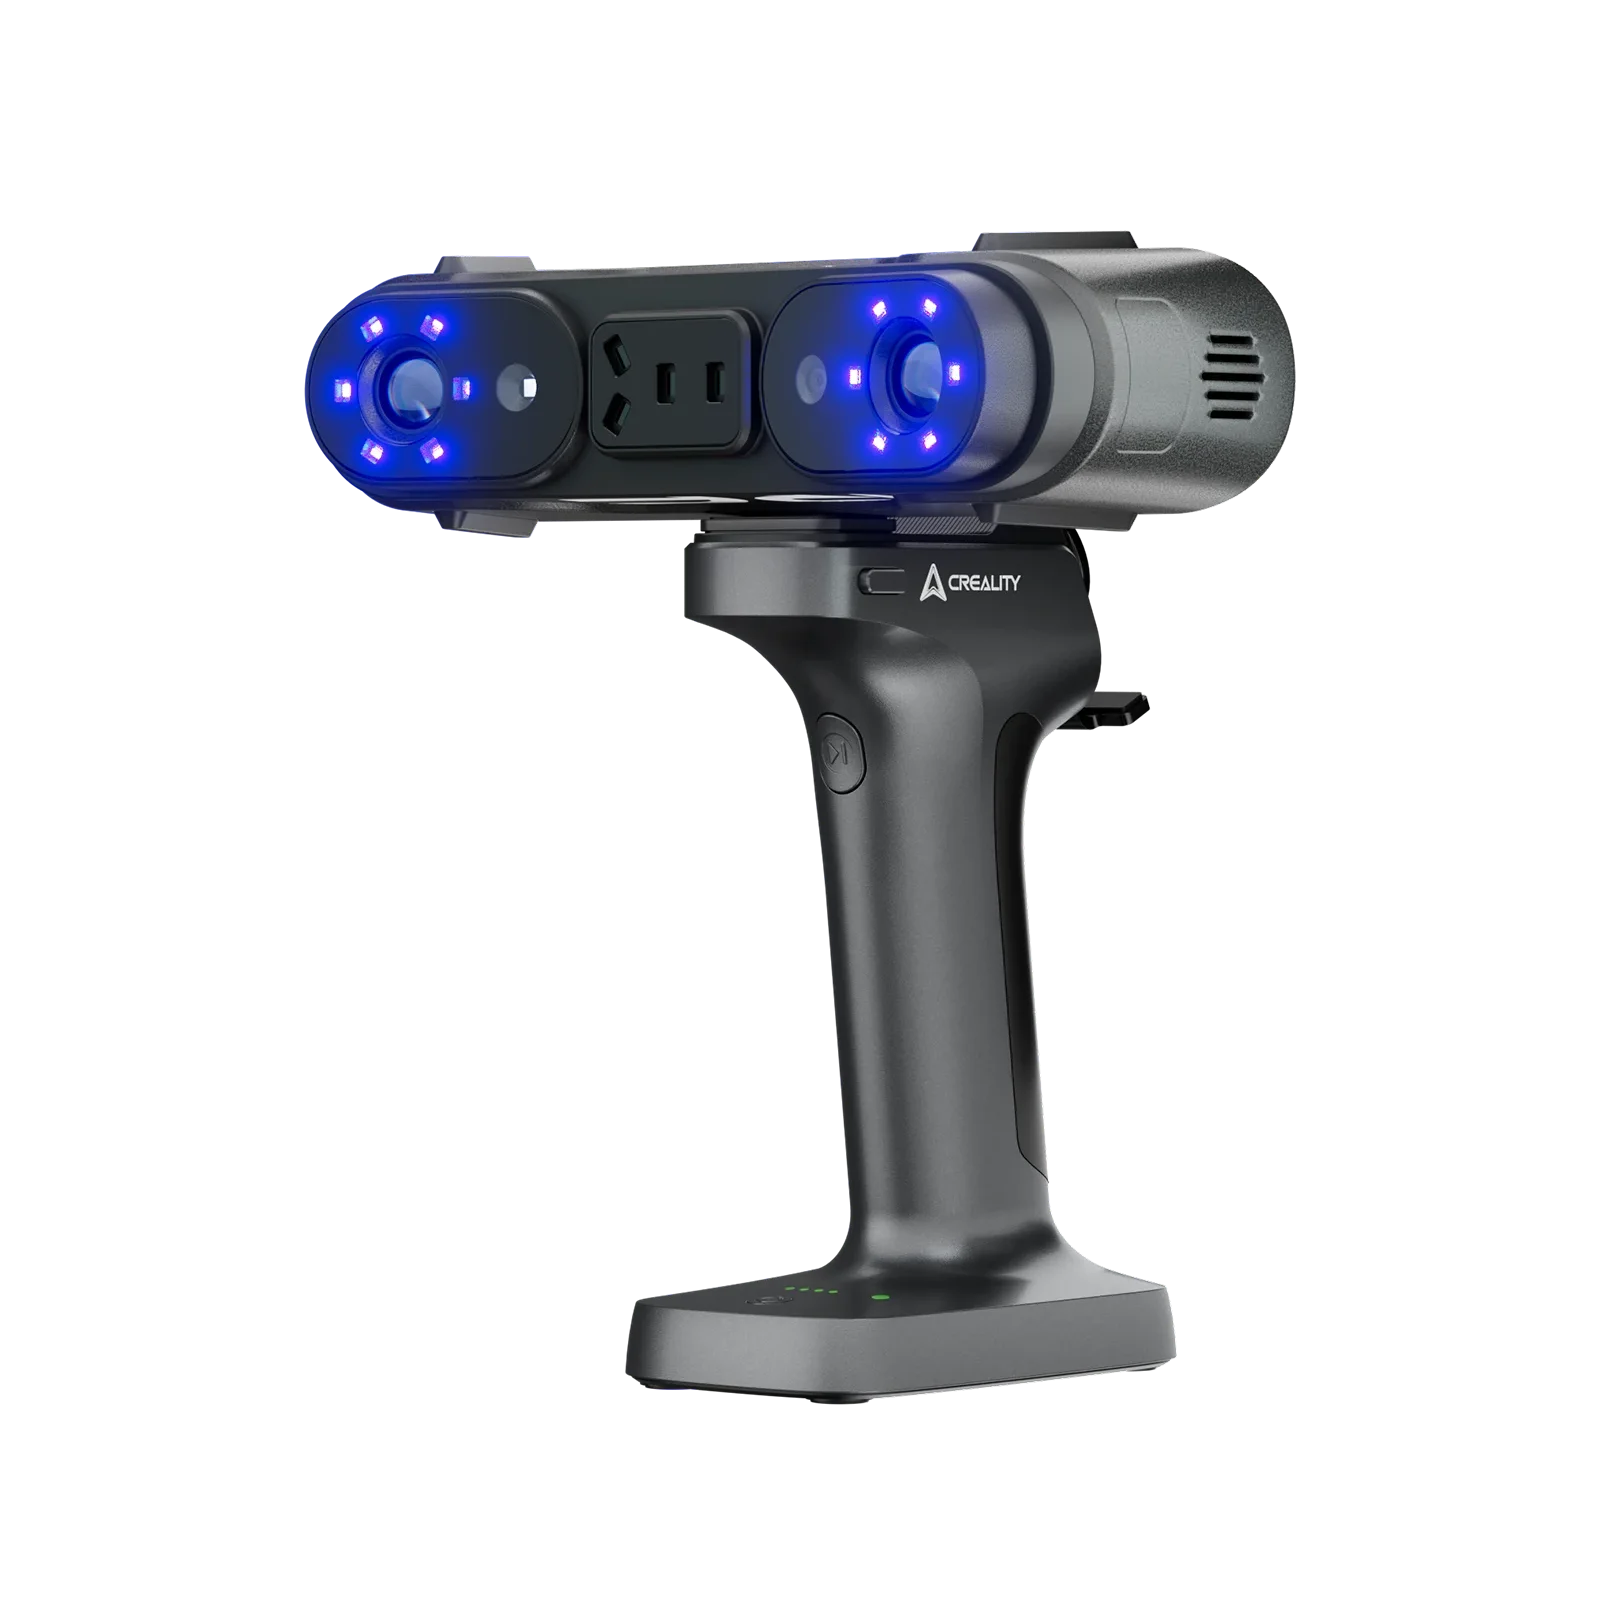
    Sermoon P1
    New
    Sermoon P1
    Sermoon X1
    Sermoon X1
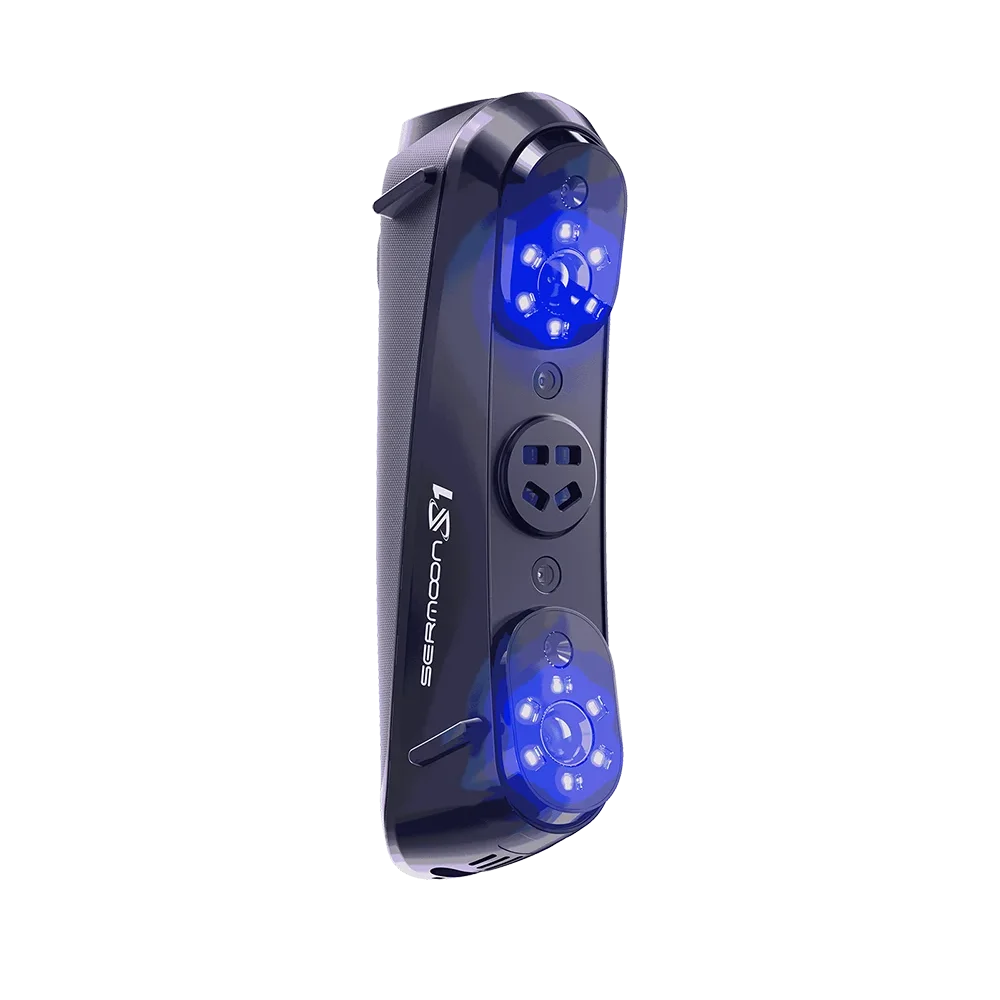
    Sermoon S1
    Sermoon S1
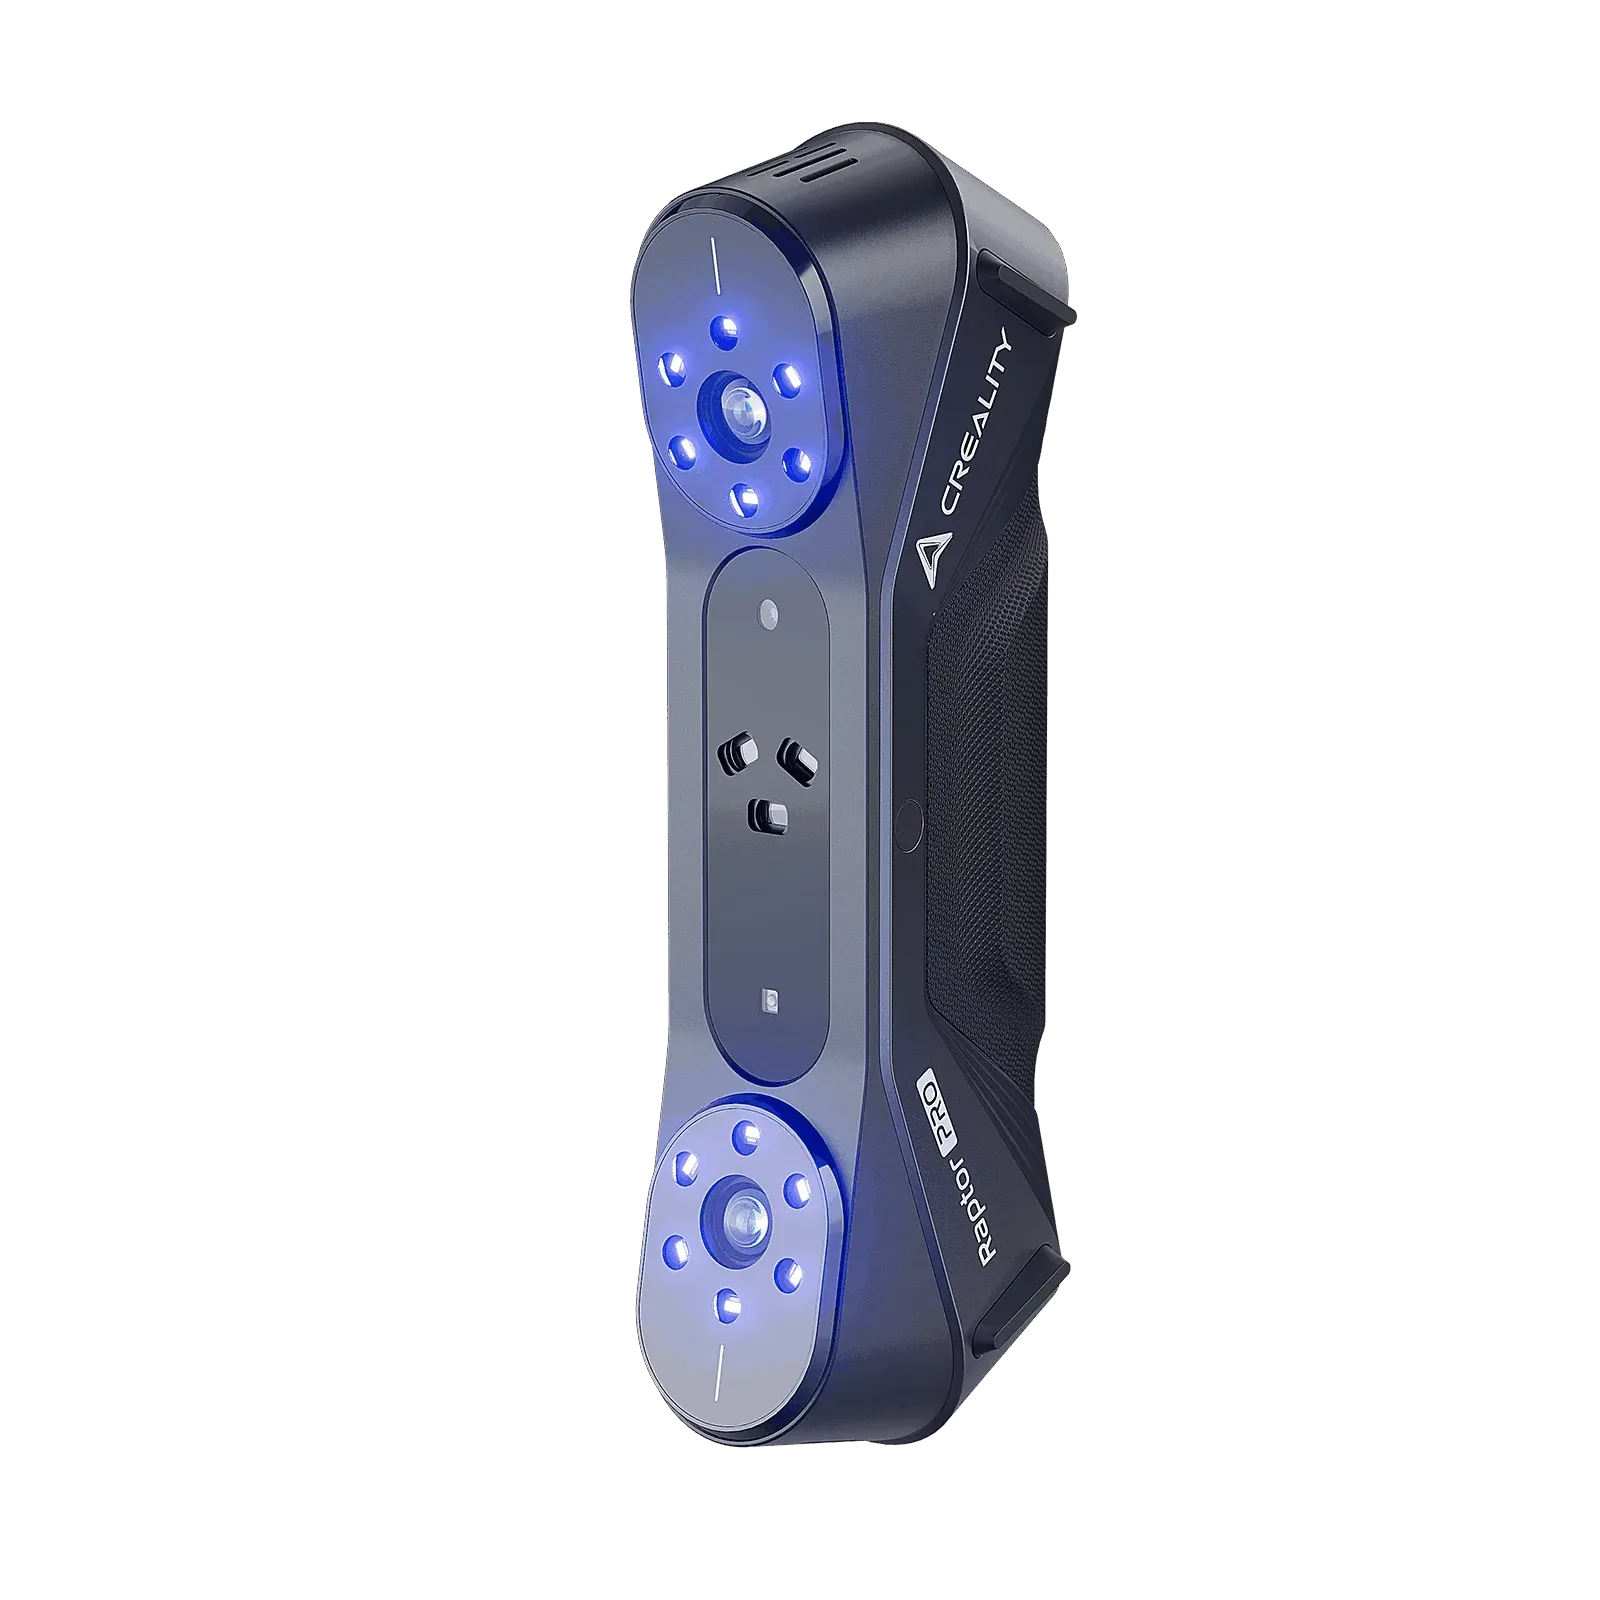
    Creality Raptor Pro
    Creality Raptor Pro
    Otter Lite/Basic
    Otter Lite/Basic
    More Products
    Compare
    Creality Falcon T1
    New
    Creality Falcon T1
    Creality Falcon A1 Pro 20W
    New
    Creality Falcon A1 Pro 20W
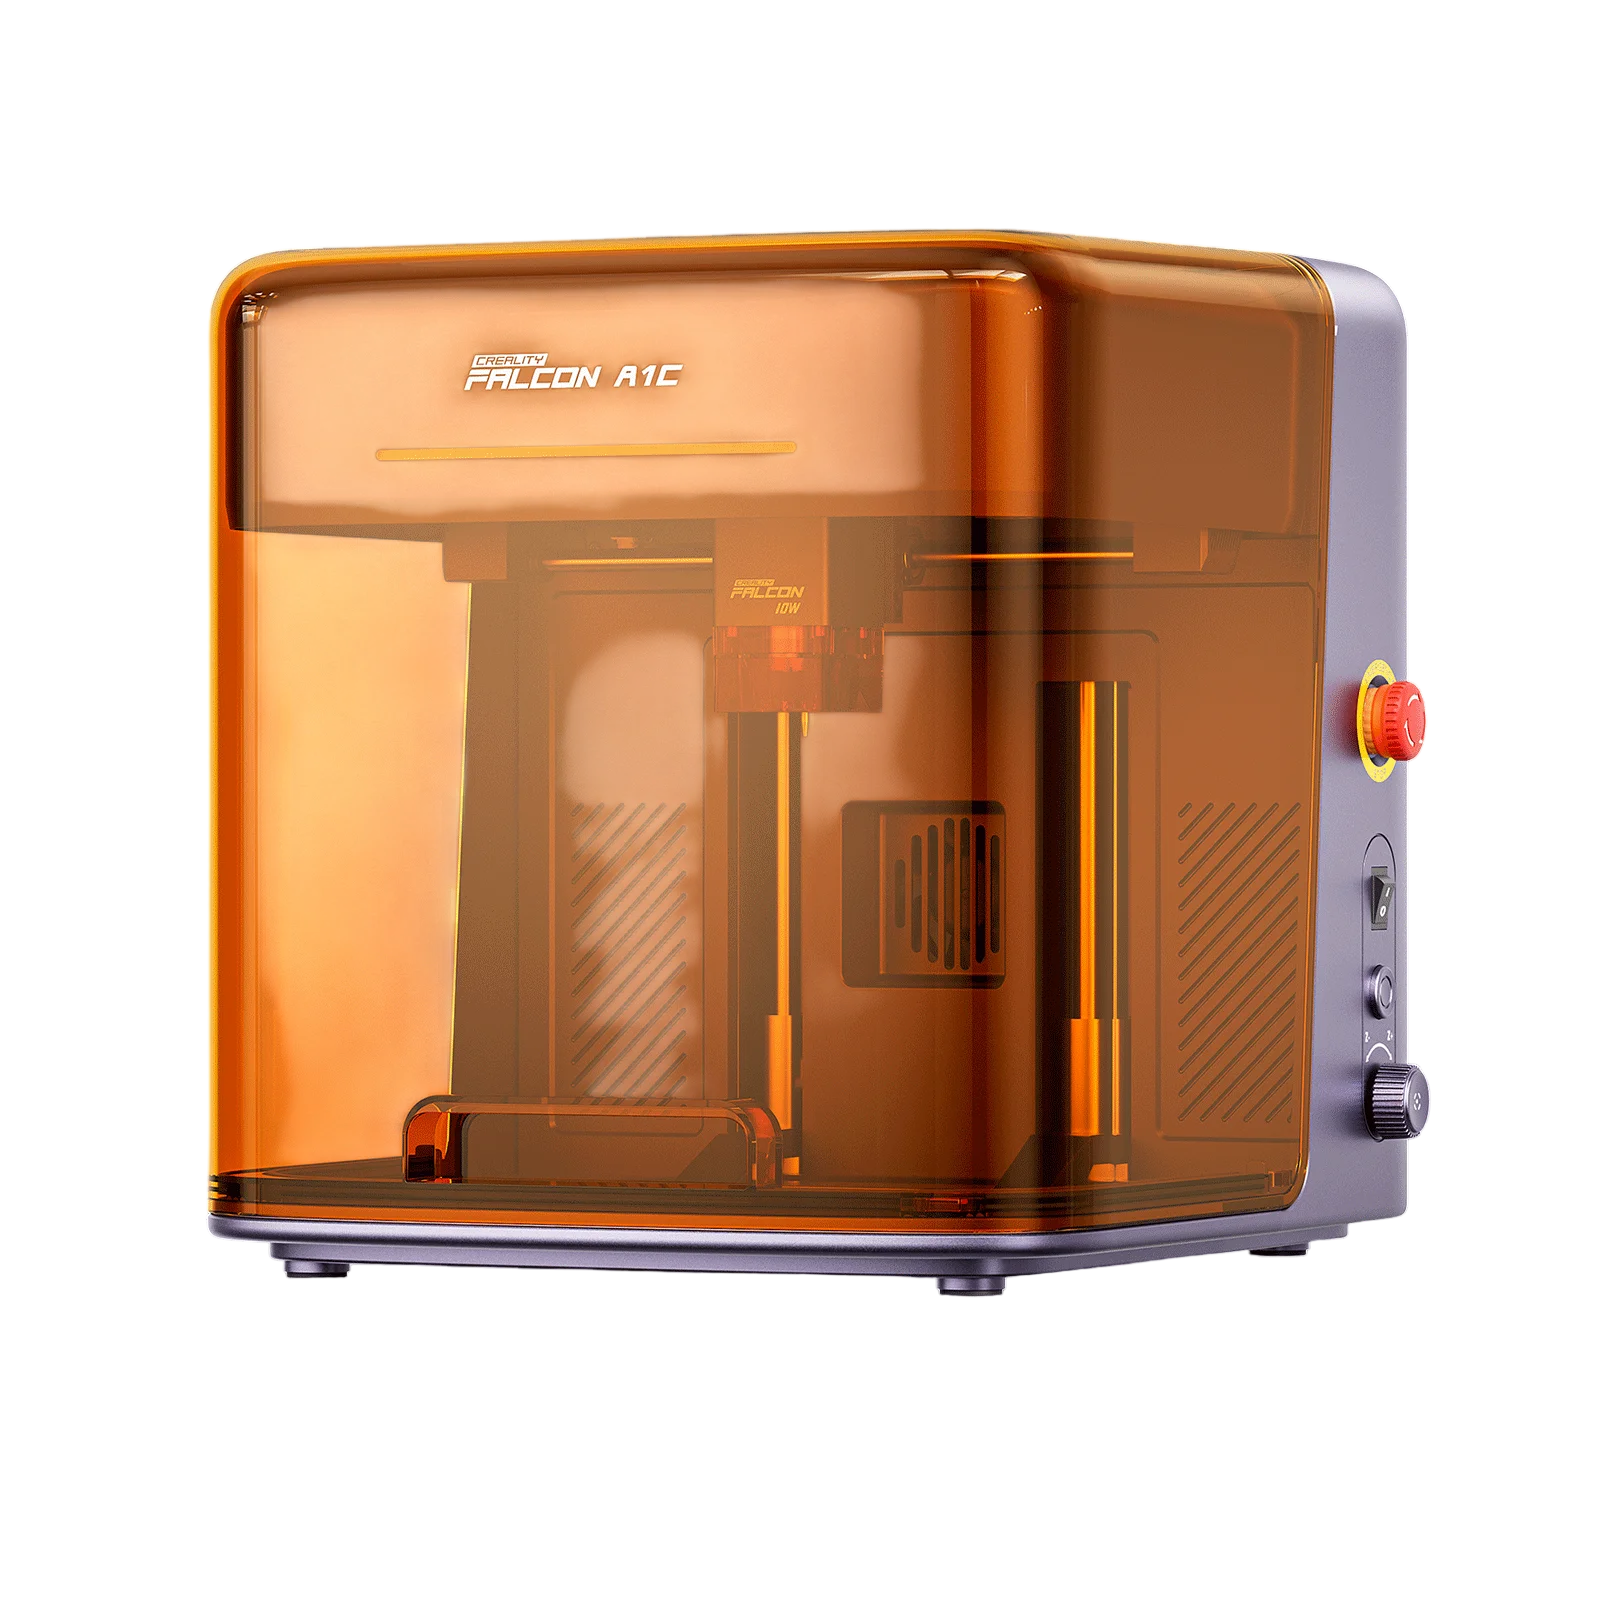
    Creality Falcon A1
    Creality Falcon A1
    Creality Falcon2 Pro 60W
    Creality Falcon2 Pro 60W
    Creality Falcon2 Pro
    Creality Falcon2 Pro
    More Products
    Compare
    CFS-C
    New
    CFS-C
    SpacePi X4L
    New
    SpacePi X4L
    Creality SpacePi X4
    Creality SpacePi X4
    Creality Space Pi  Dryer
    Creality Space Pi Dryer
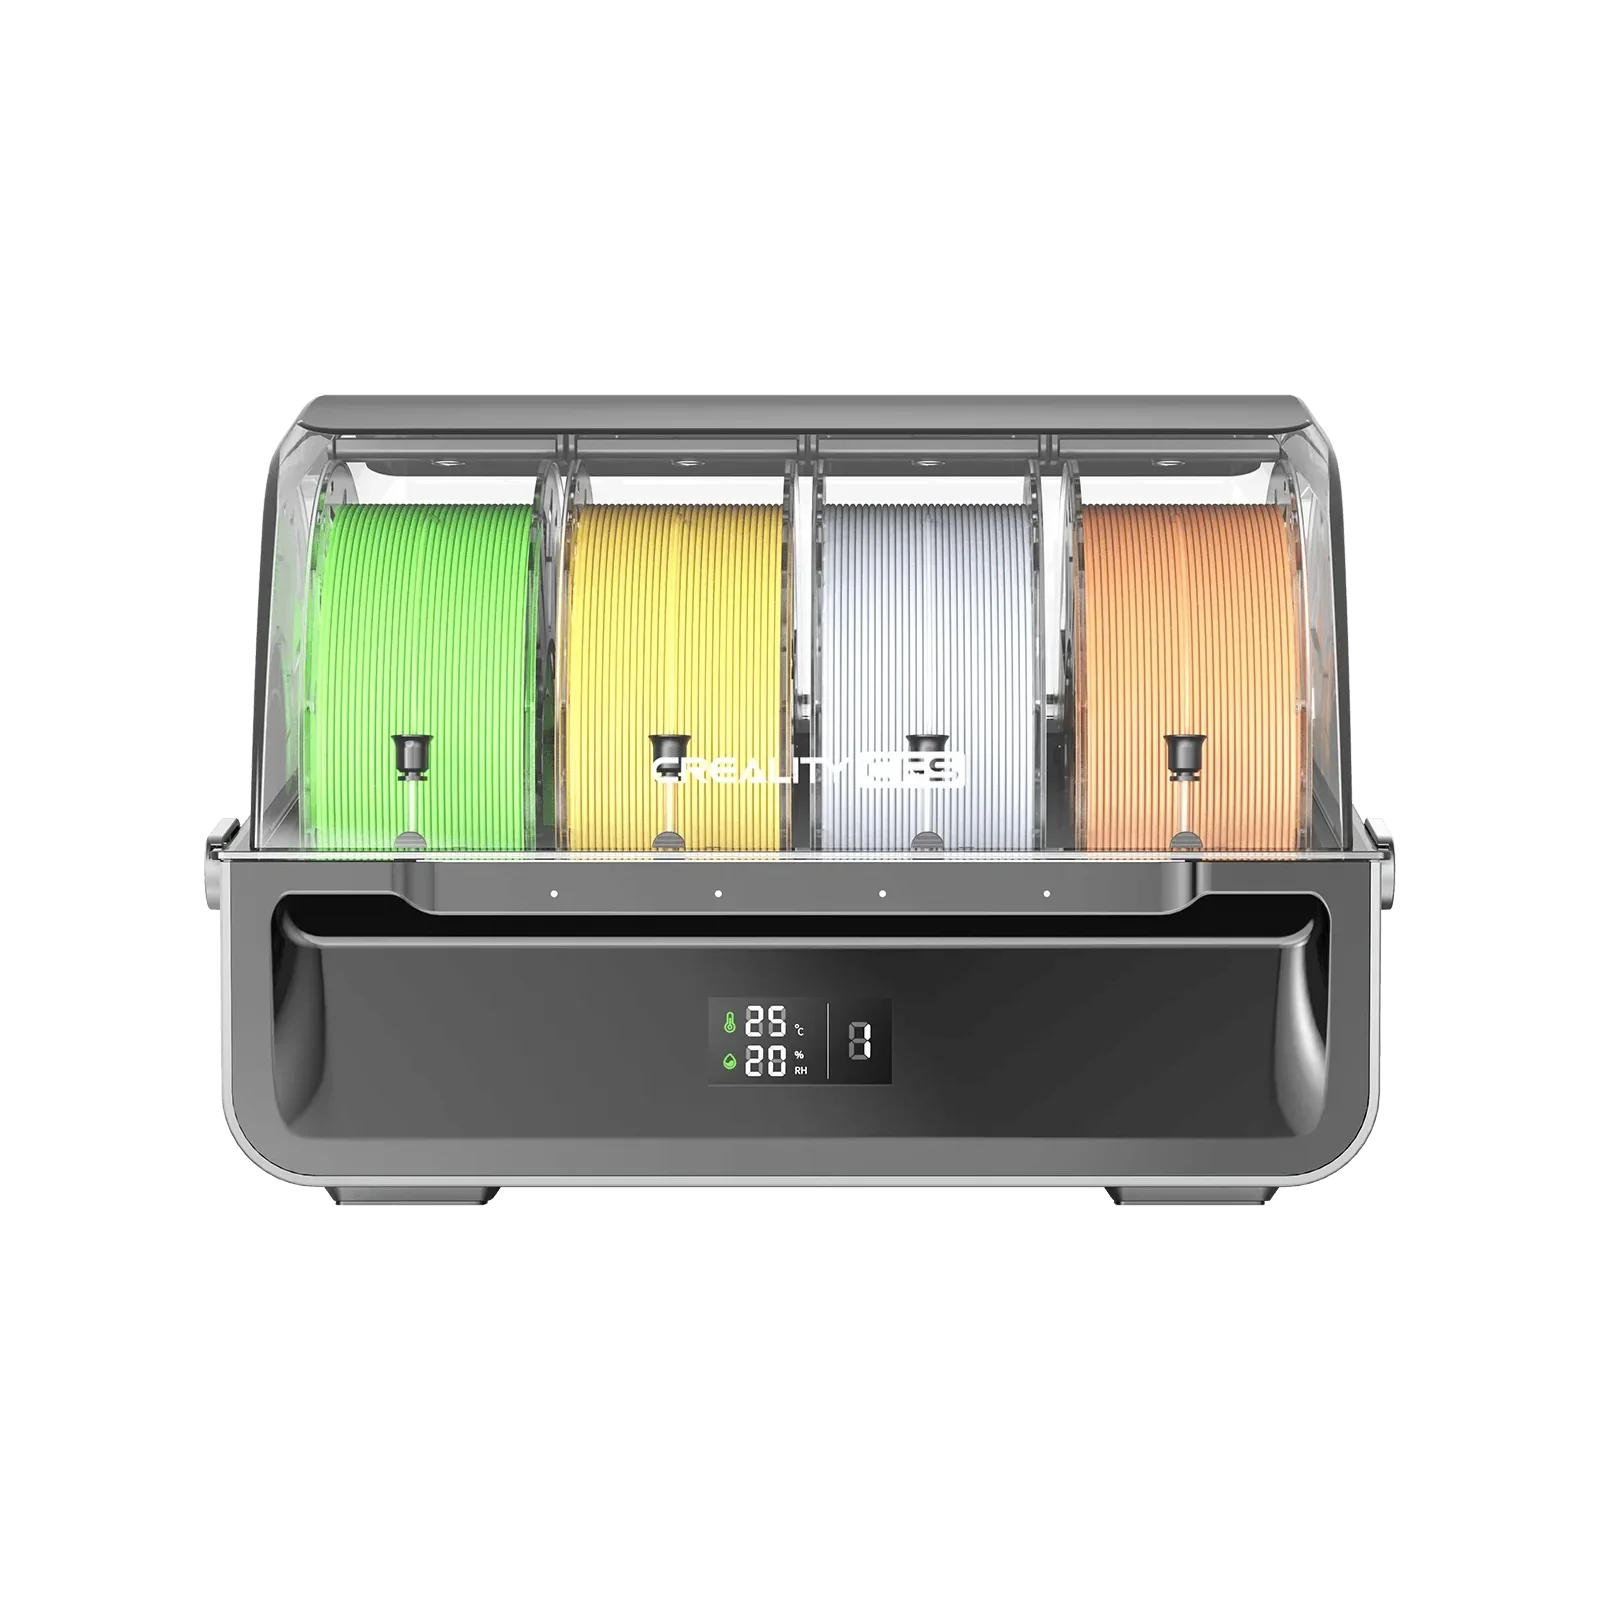
    CFS - Creality Filament System
    CFS - Creality Filament System
    More Products
    Compare
    Download Center
    3D Models
    Creality Cloud App
    Firmware & Software
    Service Center
    Help Center
    Creality Wiki
    Product Support
    Video Guides
    Product Comparison
    Filament Guide
    Find Your Printer
    Discover
    User Stories
    3D Scanner Applications
    3D Printing in Education
    Blog Center / K2 Series Use CFS to load/unload/replace filament Guide
    Contents
    contents

    Join Our Newsletter

    Subscribe to our newsletter for 3D printing insights, step-by-step guides, and inspirations for your next 3D printing adventure.

    By subscribing, you agree to our Terms and Privacy Policy.

    Social Media

    • Youtube
    • Facebook
    • Instagram
    • TikTok
    • Twitter
    • Reddit
    • Discord
    • LinkedIn

    Contents

    • Connect the CFS
    • Edit Filament
    • Load Filament
    • Unload Filament
    • Replace Filament
    • Edit New Filament
    • Extrude New Filament
    • Start to Print

    K2 Series Use CFS to load/unload/replace filament Guide

    May 25, 2026 10:33:56

    Connect the CFS

    Place the filament in the CFS, insert the filament head into the corresponding slot's PTFE tube, and gently push it in until you feel resistance, then release. The corresponding CFS indicator light will illuminate and auto-refill will start. The filament is rotated into the spool.
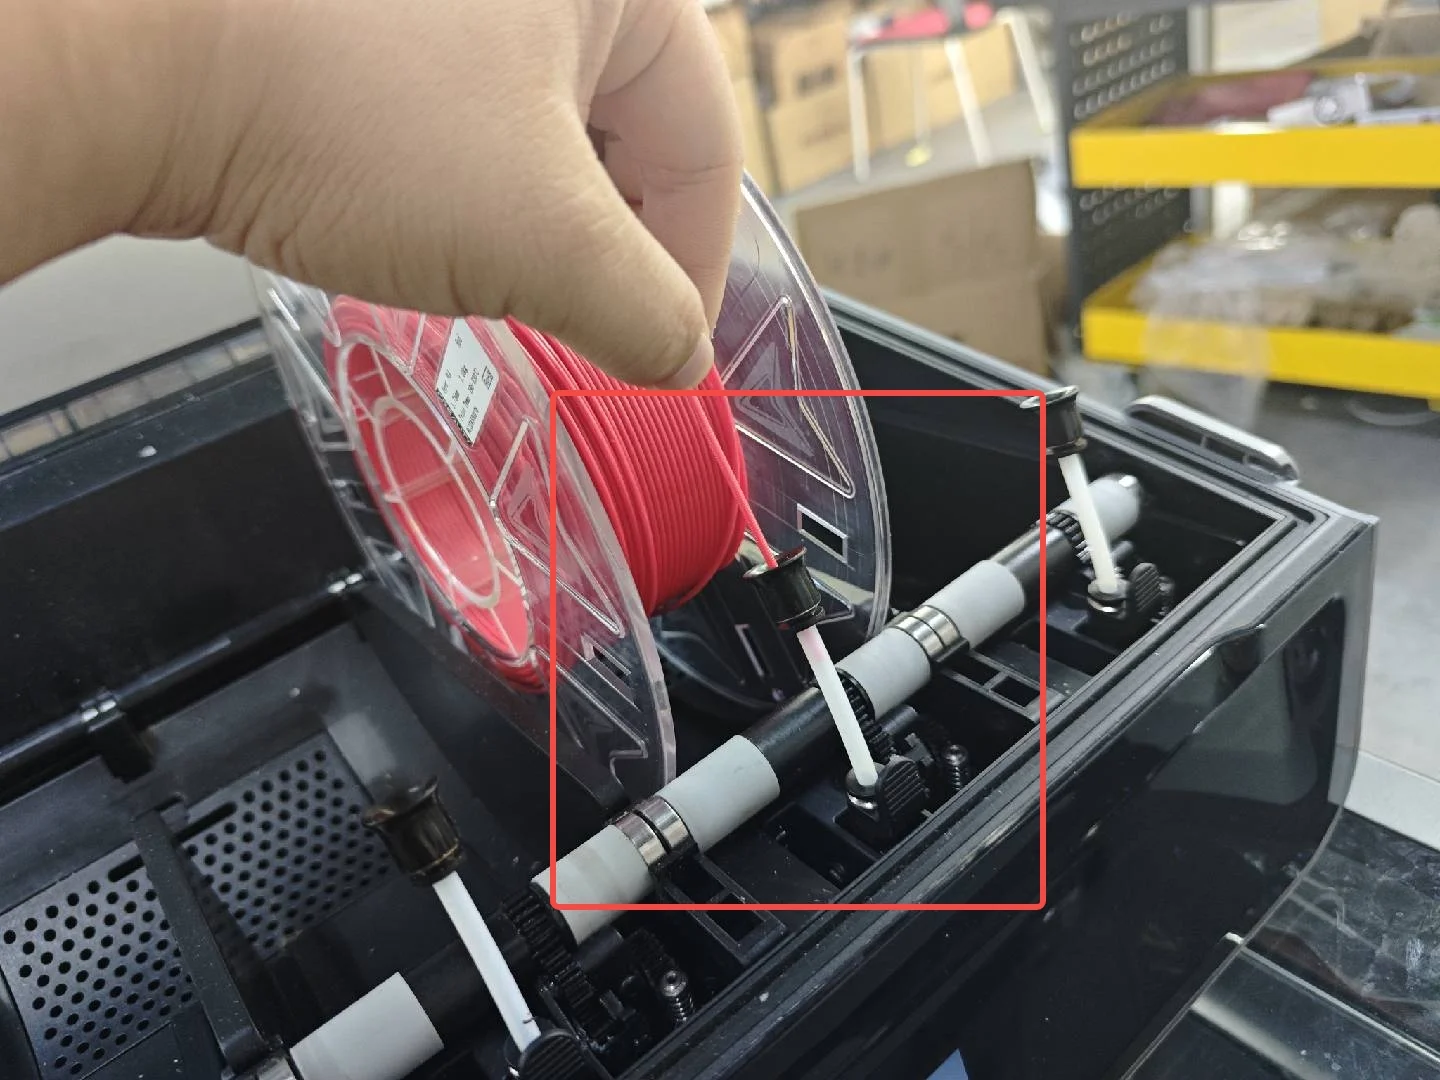
    Connect the CFS

    Edit Filament

    Non-RFID Filament

    When inserting non-RFID filament, the printer will auto-tension and read it, displaying a "?" on the interface, with the edit button activated on the filament page. Click the edit button for the corresponding filament slot, then set the filament brand - filament type - filament name, and lastly the filament color. Click "OK" to save.
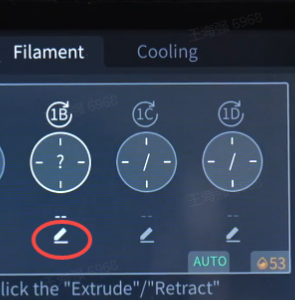
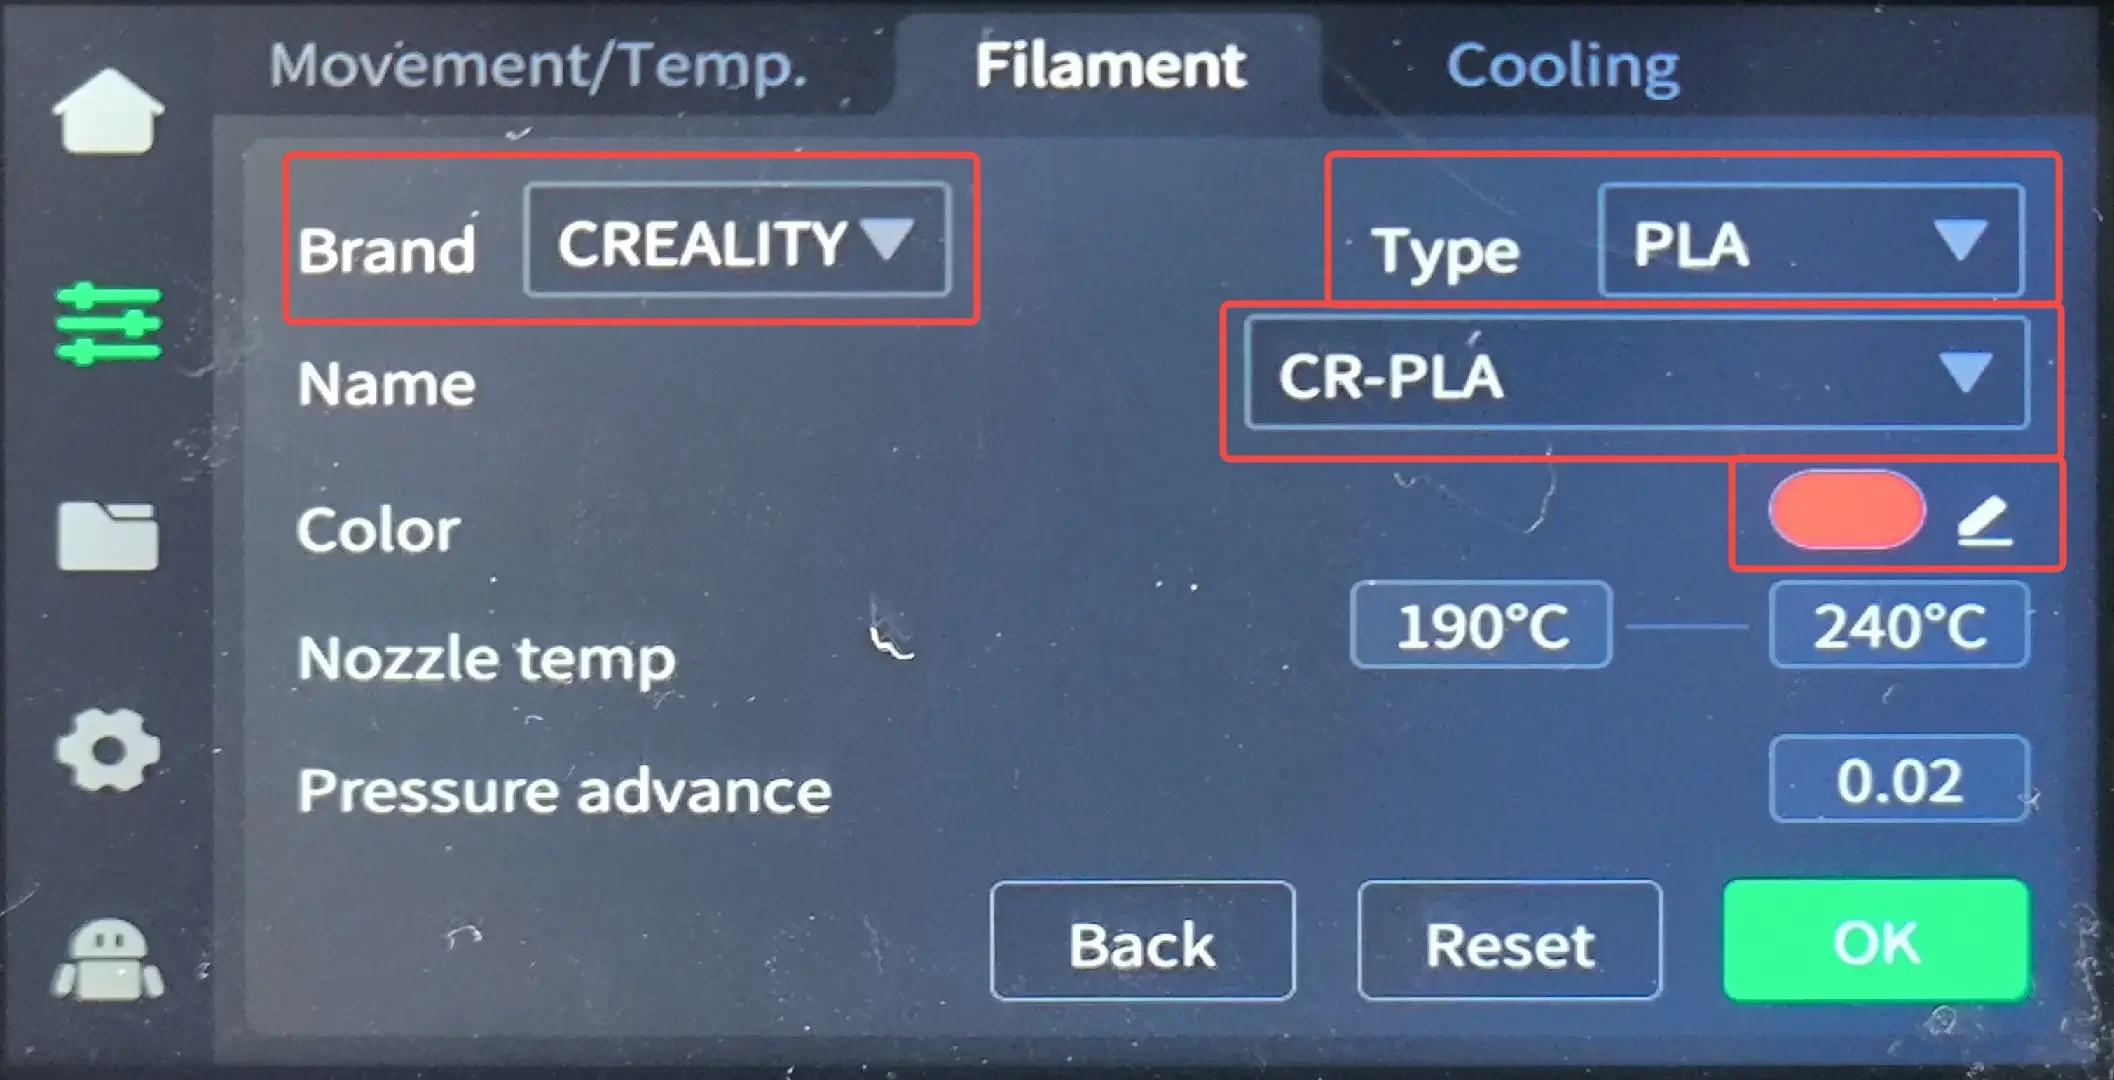
    Non-RFID Filament-1
    Non-RFID Filament-1-2

    RFID Filament

    When inserting RFID filament, the CFS will auto-read the filament information (ensure "Insertion Detection" option is enabled). No need to edit. There will be a view button instead of an edit button below the filament.
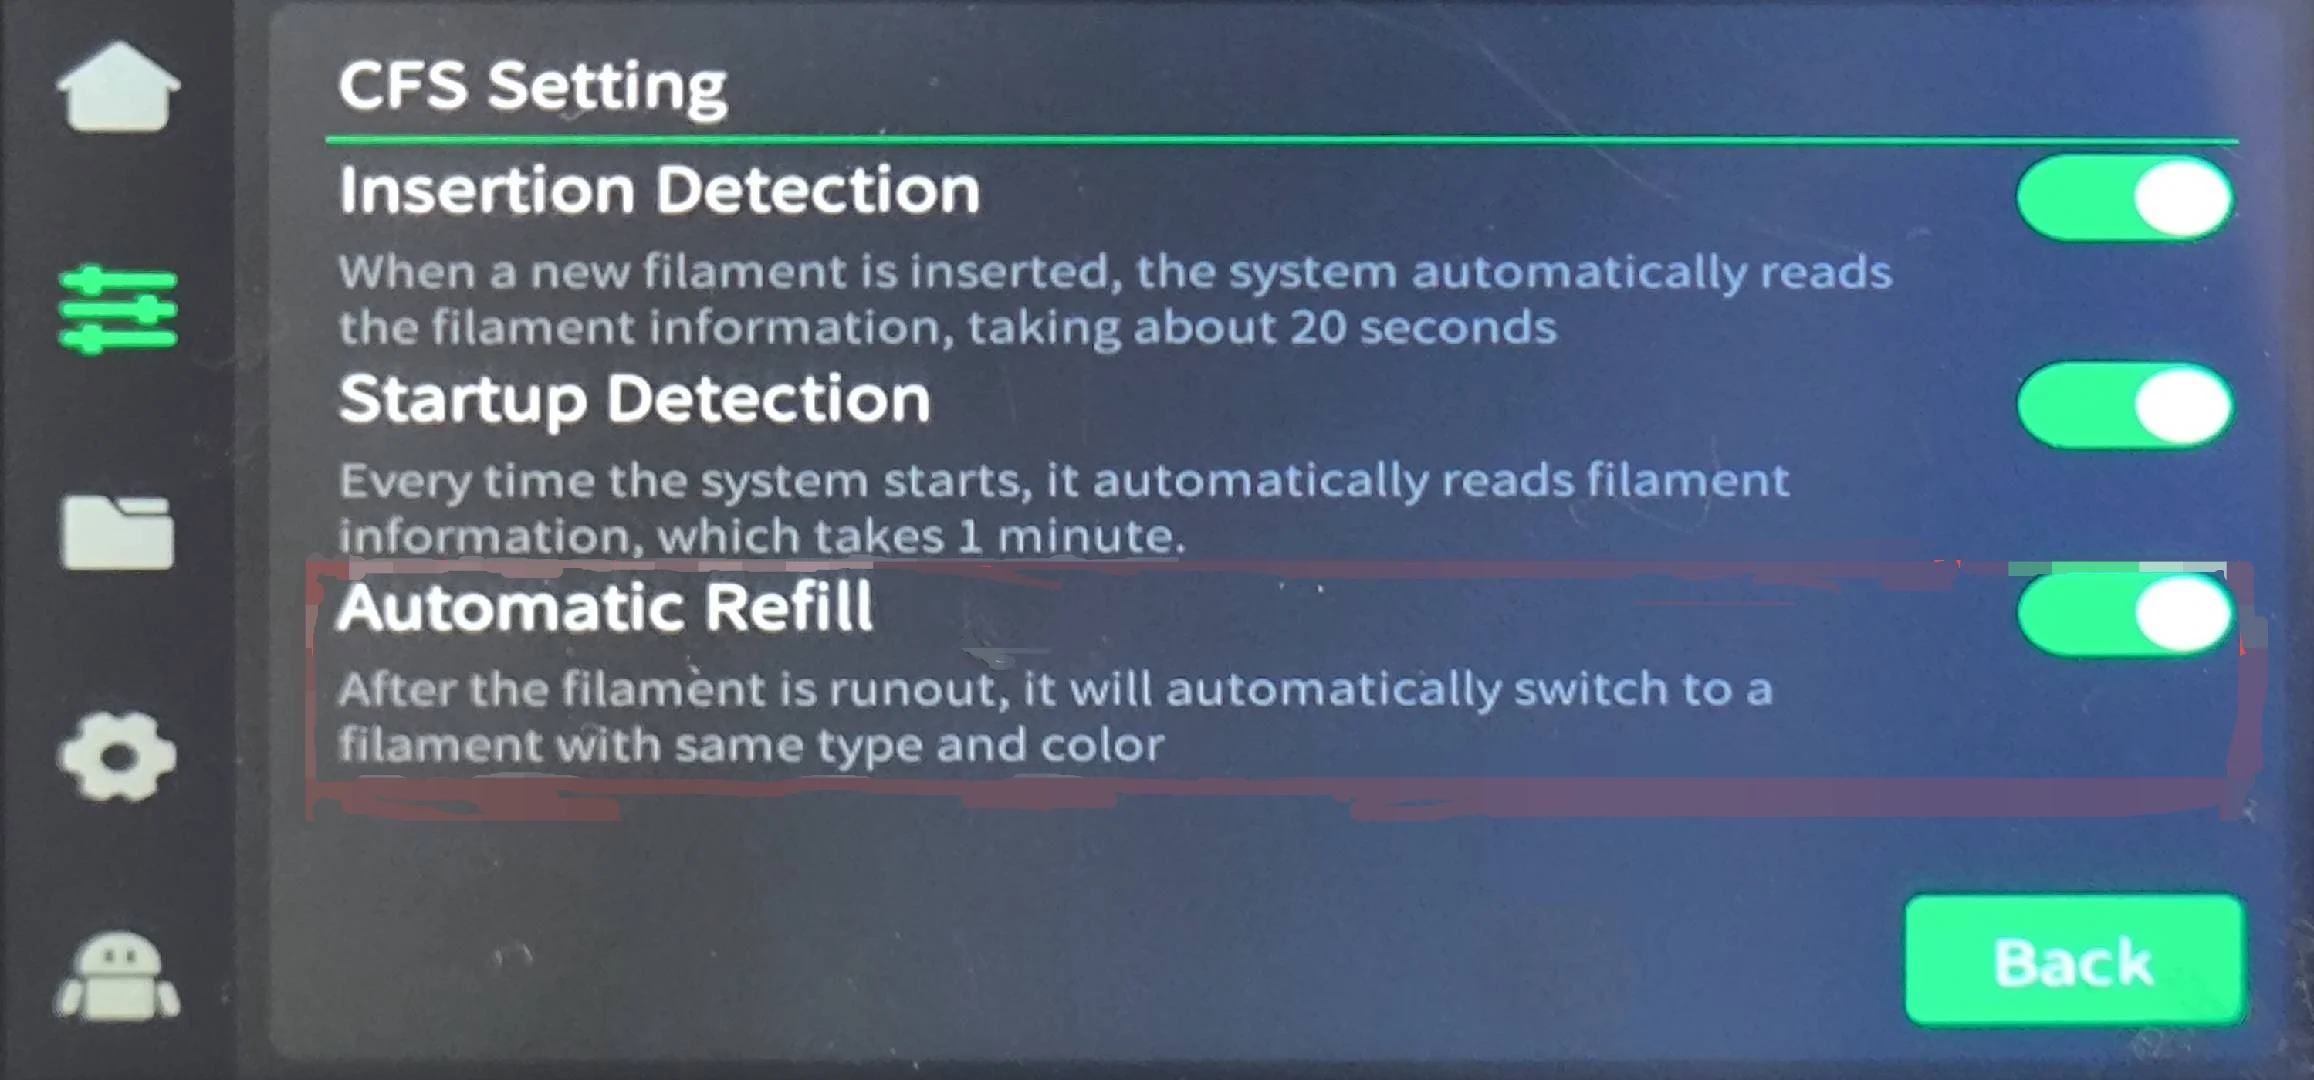
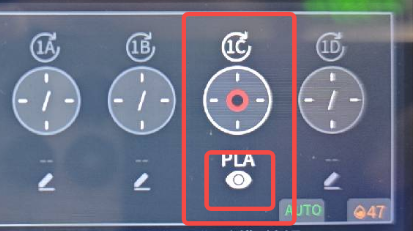
    automatic refill
    RFID Filament-1

    Click the view button below the filament, you cannot edit.
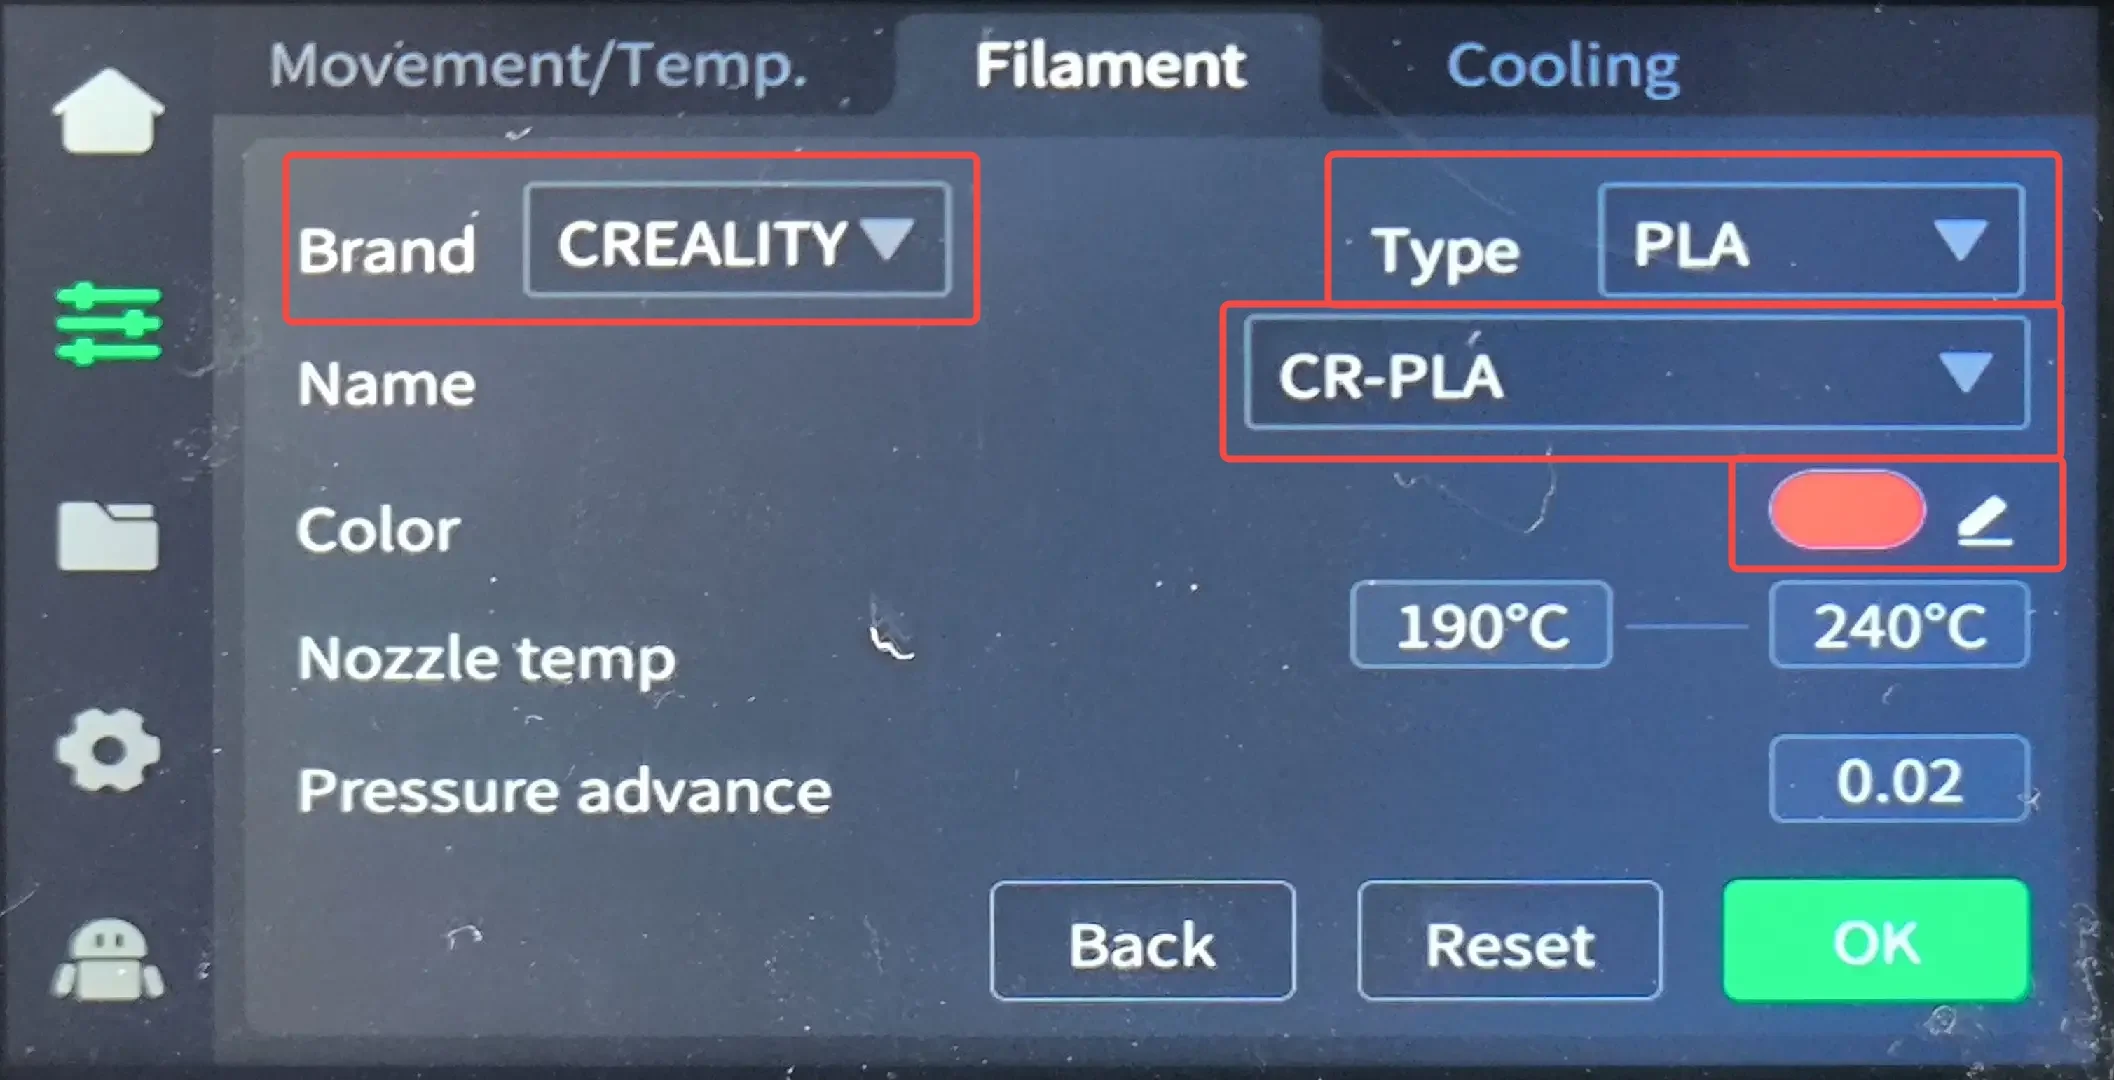
    Non-RFID Filament-1-2

    Load Filament

    On the filament page, select the filament that needs to load. The CFS will load the filament automatically. Observe the nozzle. If filament is extruding, wait for the "Extrude" button to illuminate.
    (The selected filament will have a white outline; the unselected one is grayed out).
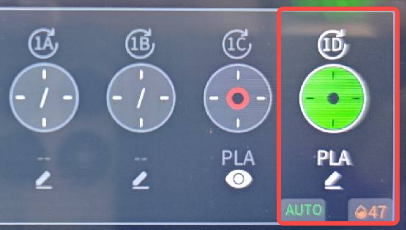
    inserting non-RFID filament

    After clicking "Extrude", the nozzle will heat up to the set temperature, then the CFS will auto-feed the filament into the printer. The "Extrude"/"Retract" buttons will gray out during this process.

    Unload Filament

    1.On the filament page, click "Retract". The extruder will move to the front-left position to cut the filament, then retract it.

    2.After clicking "Retract", the nozzle heats up to temperature, the printer cuts and retracts the filament. The "Extrude"/"Retract" buttons gray out during this.

    3.After retraction is complete, the CFS will auto-pull back the filament, and the "Retract" button will illuminate.

    Replace Filament

    Ensure printing is paused or stopped. Check if the old filament is still inside the extruder.

    Old filament Not in the extruder

    If the old filament is not in the extruder, directly pull it out from the CFS, then skip to step "5.2 (6)".
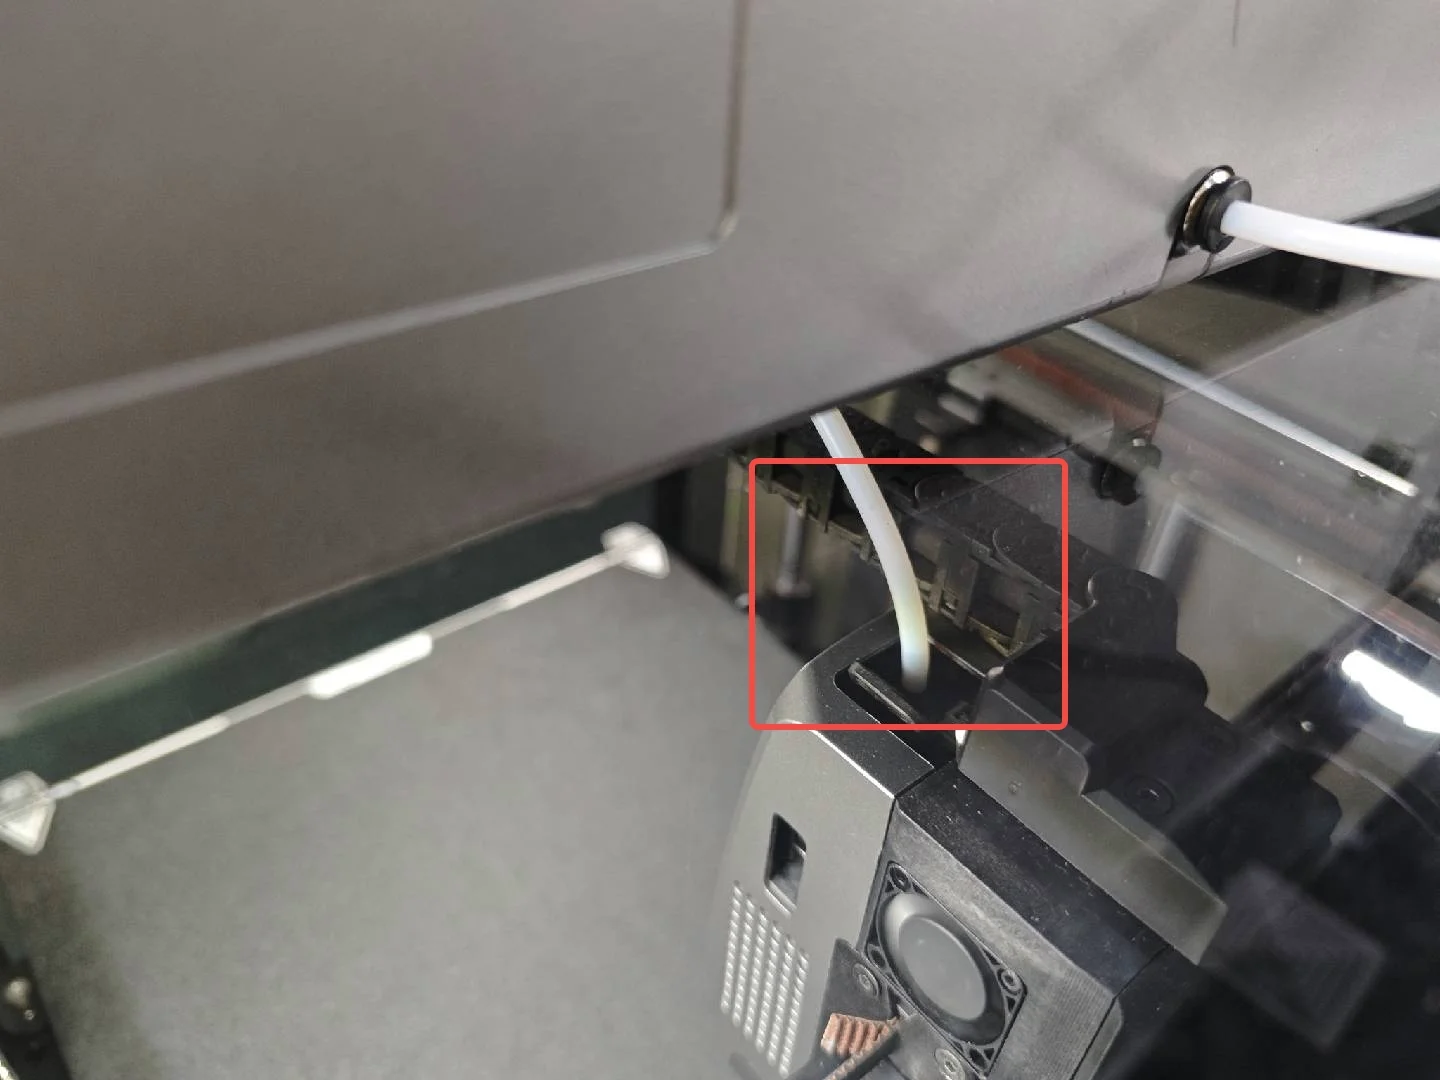
    Old filament Not in the extruder

     Old filament in the extruder

    (1) If the old filament is in the extruder, you need to retract the filament, then proceed to step "(2)." below.
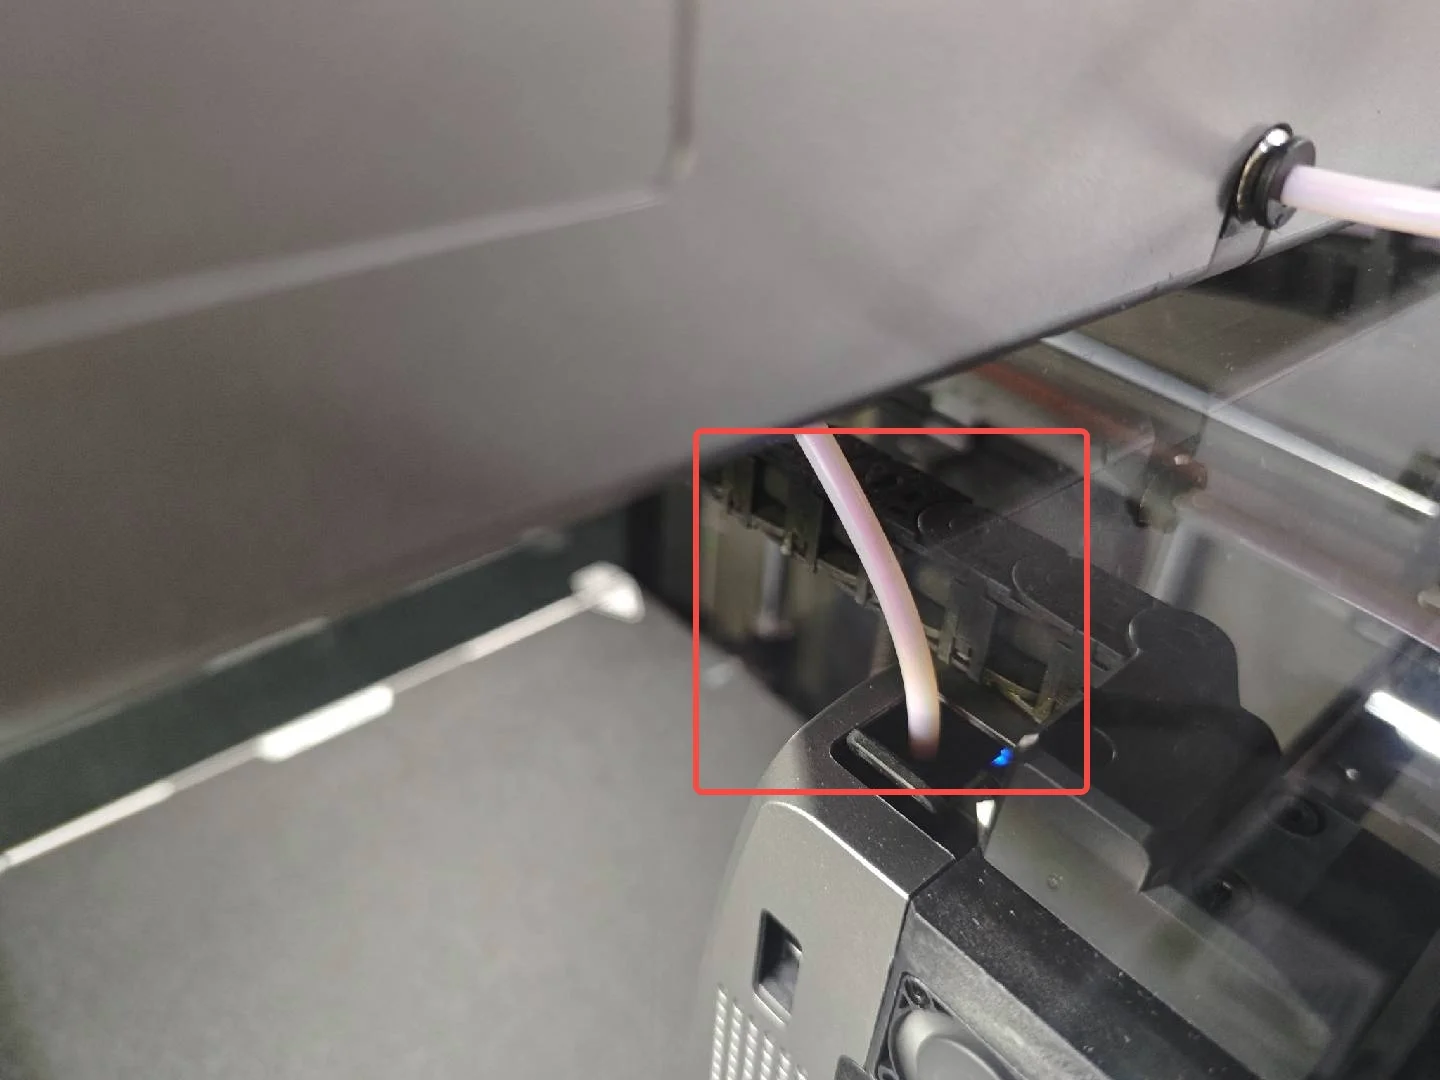
    Old filament in the extruder

    (2) On the filament page, click "Retract". The extruder will move front-left to cut the filament, then retract it.

    (3) After clicking "Retract", the nozzle heats up, the printer cuts and retracts the filament. The "Extrude"/"Retract" buttons gray out during this.

    (4) After retraction is complete, the CFS will auto-pull back the filament, and the "Retract" button will illuminate.

    (5) When finished, you can pull out the old filament from the CFS.
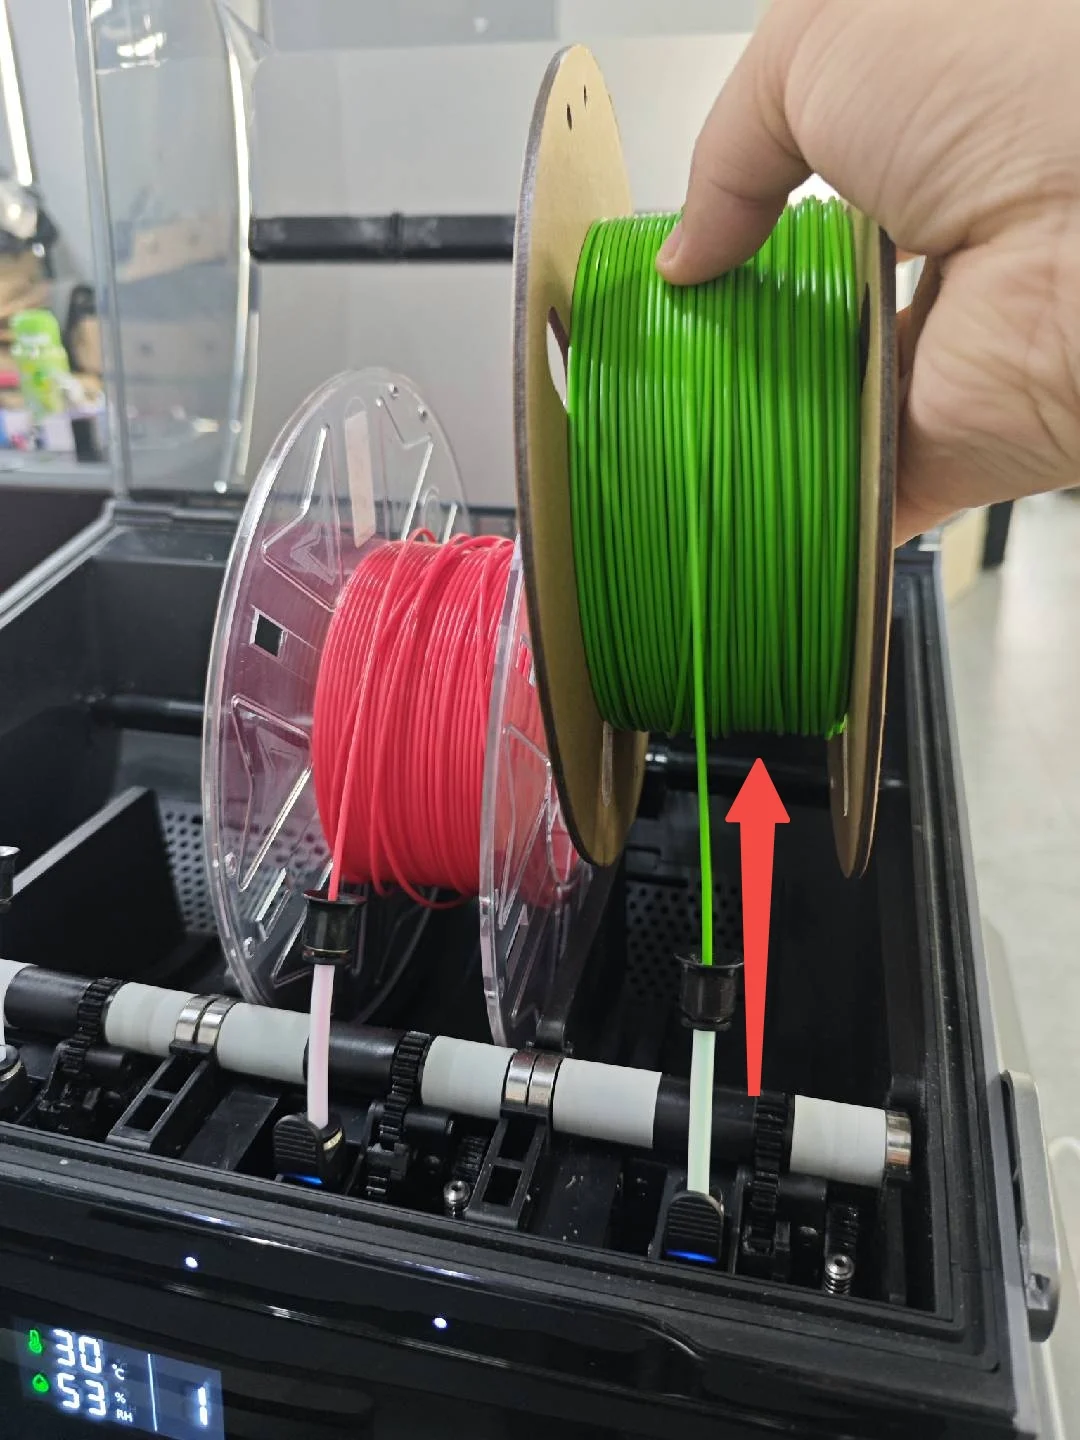
    pull out the old filament from the CFS

    (6) Place the new filament in the CFS, insert the filament head into the corresponding slot's PTFE tube, gently push until you feel resistance, then release. The CFS indicator light will illuminate and auto-refilling will start, the filament is rotated in the spool.
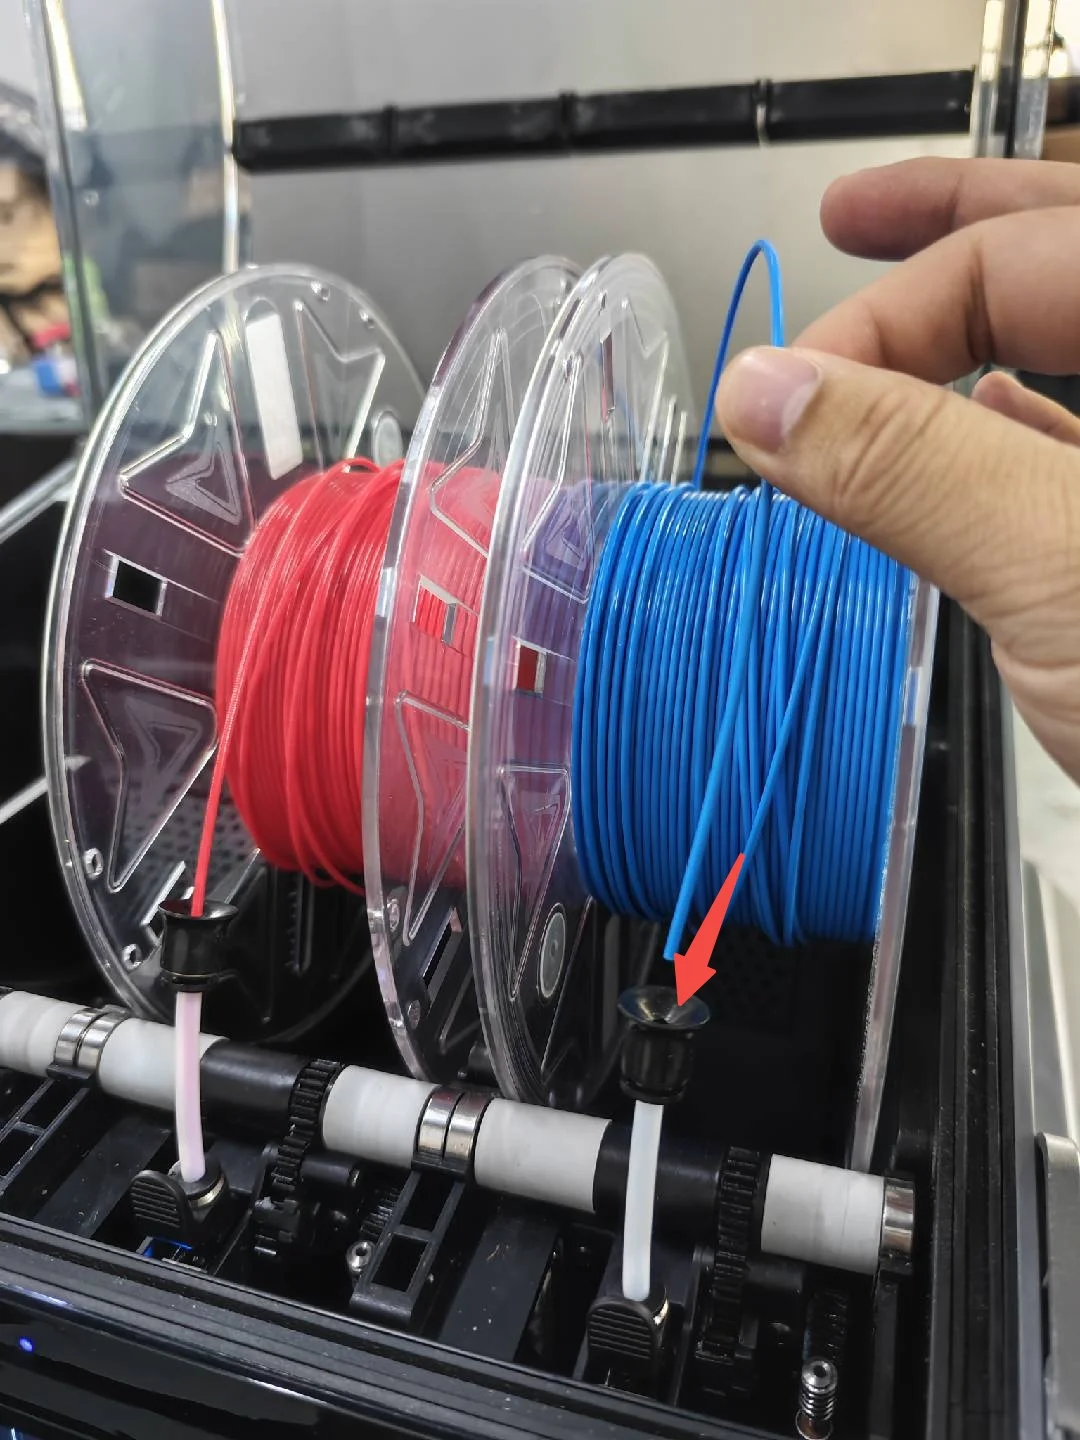
    Place the new filament in the CFS

    Edit New Filament

    Non-RFID Filament

    When inserting non-RFID filament, the printer will read it by auto-tension, but the interface will still display the previous filament informaton. You need to re-edit the new filament info. Click the edit button for that filament slot, re-set the brand - type - name, and finally color. Click "OK" to save.
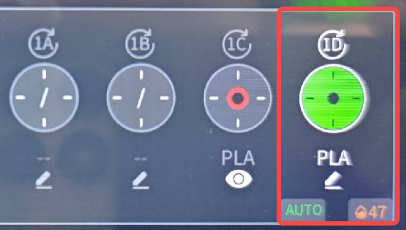
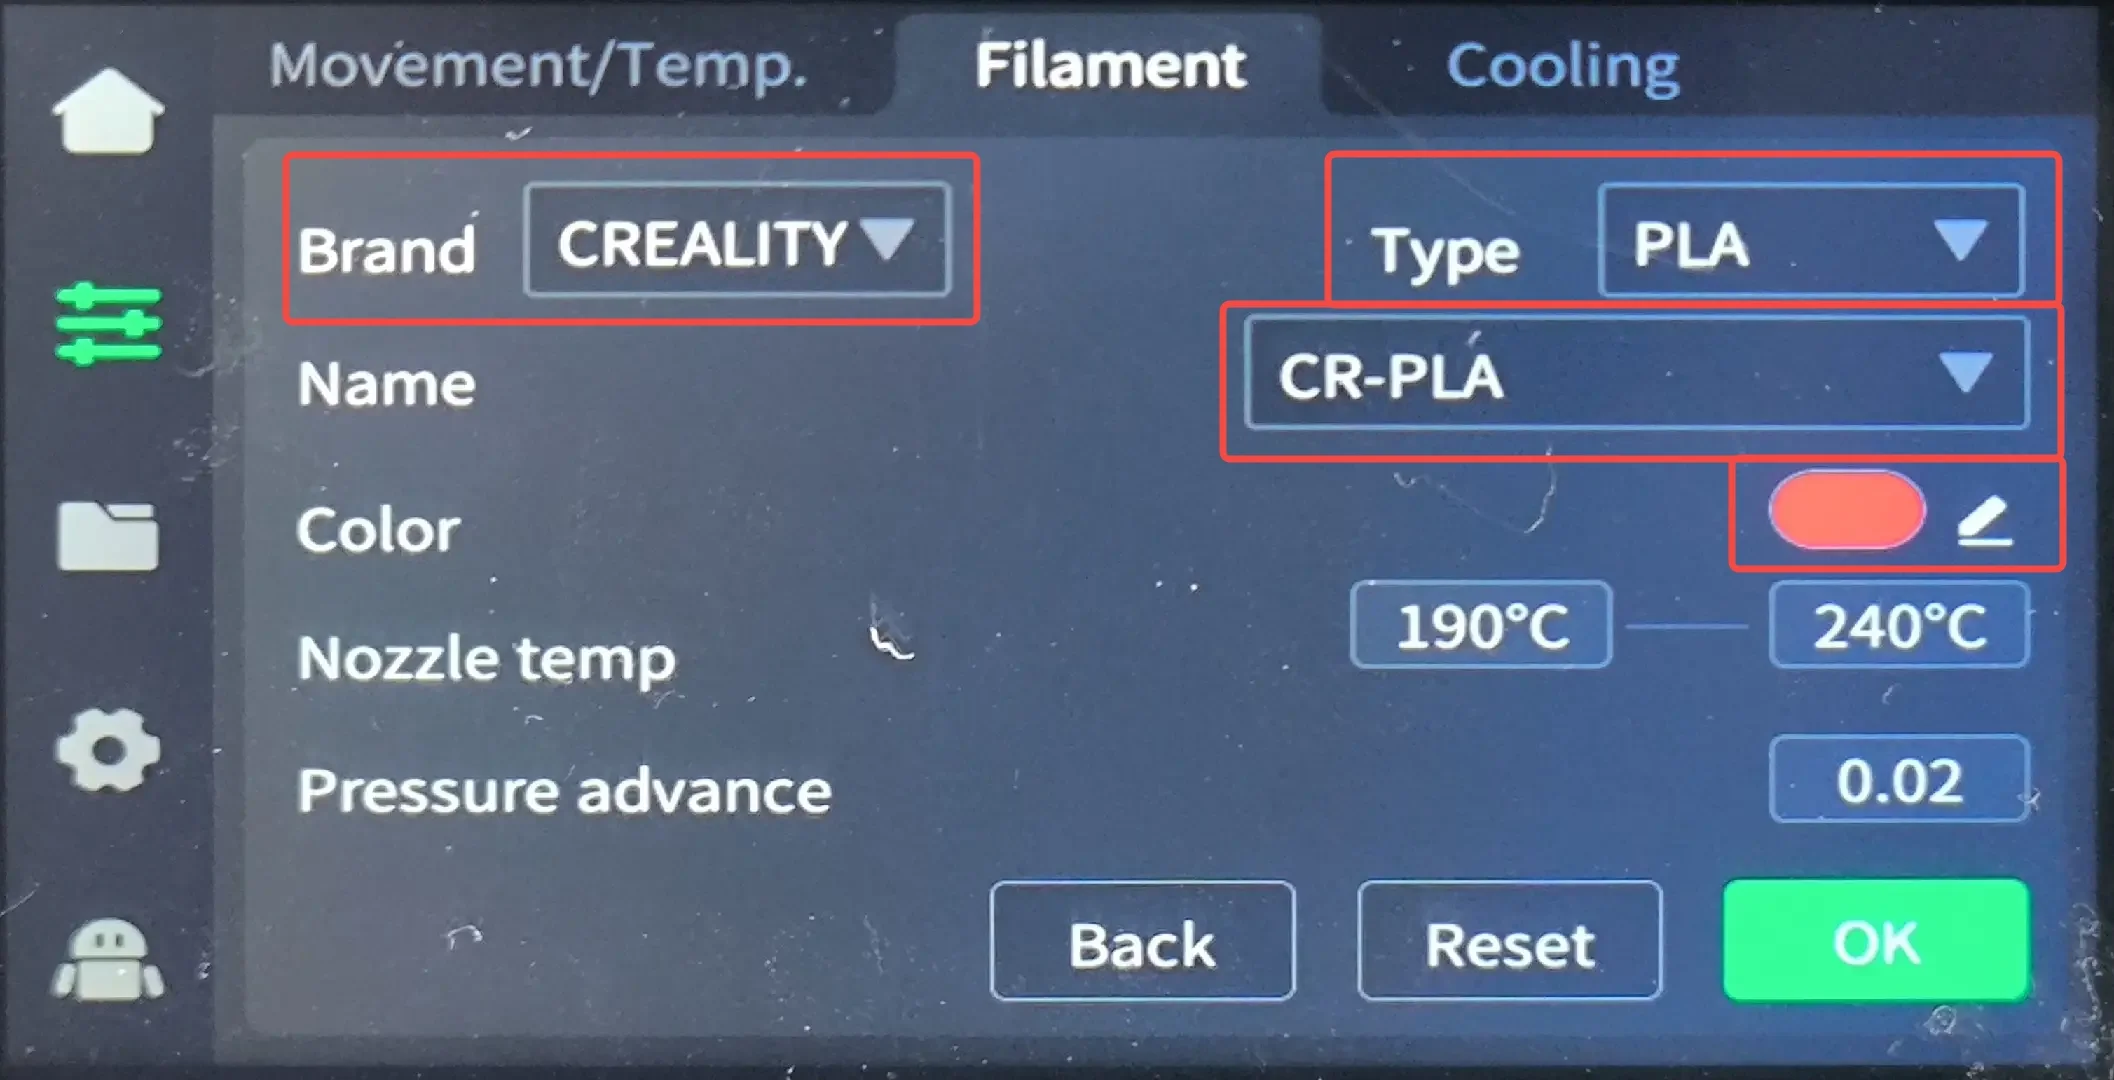
    inserting non-RFID filament
    Non-RFID Filament-1-2

    Re-edit the new filament information.

    RFID Filament

    When inserting RFID filament, the CFS will auto-read the info (ensure "Insertion Dection" is enabled). No need to edit, there will be a view button instead of editing.
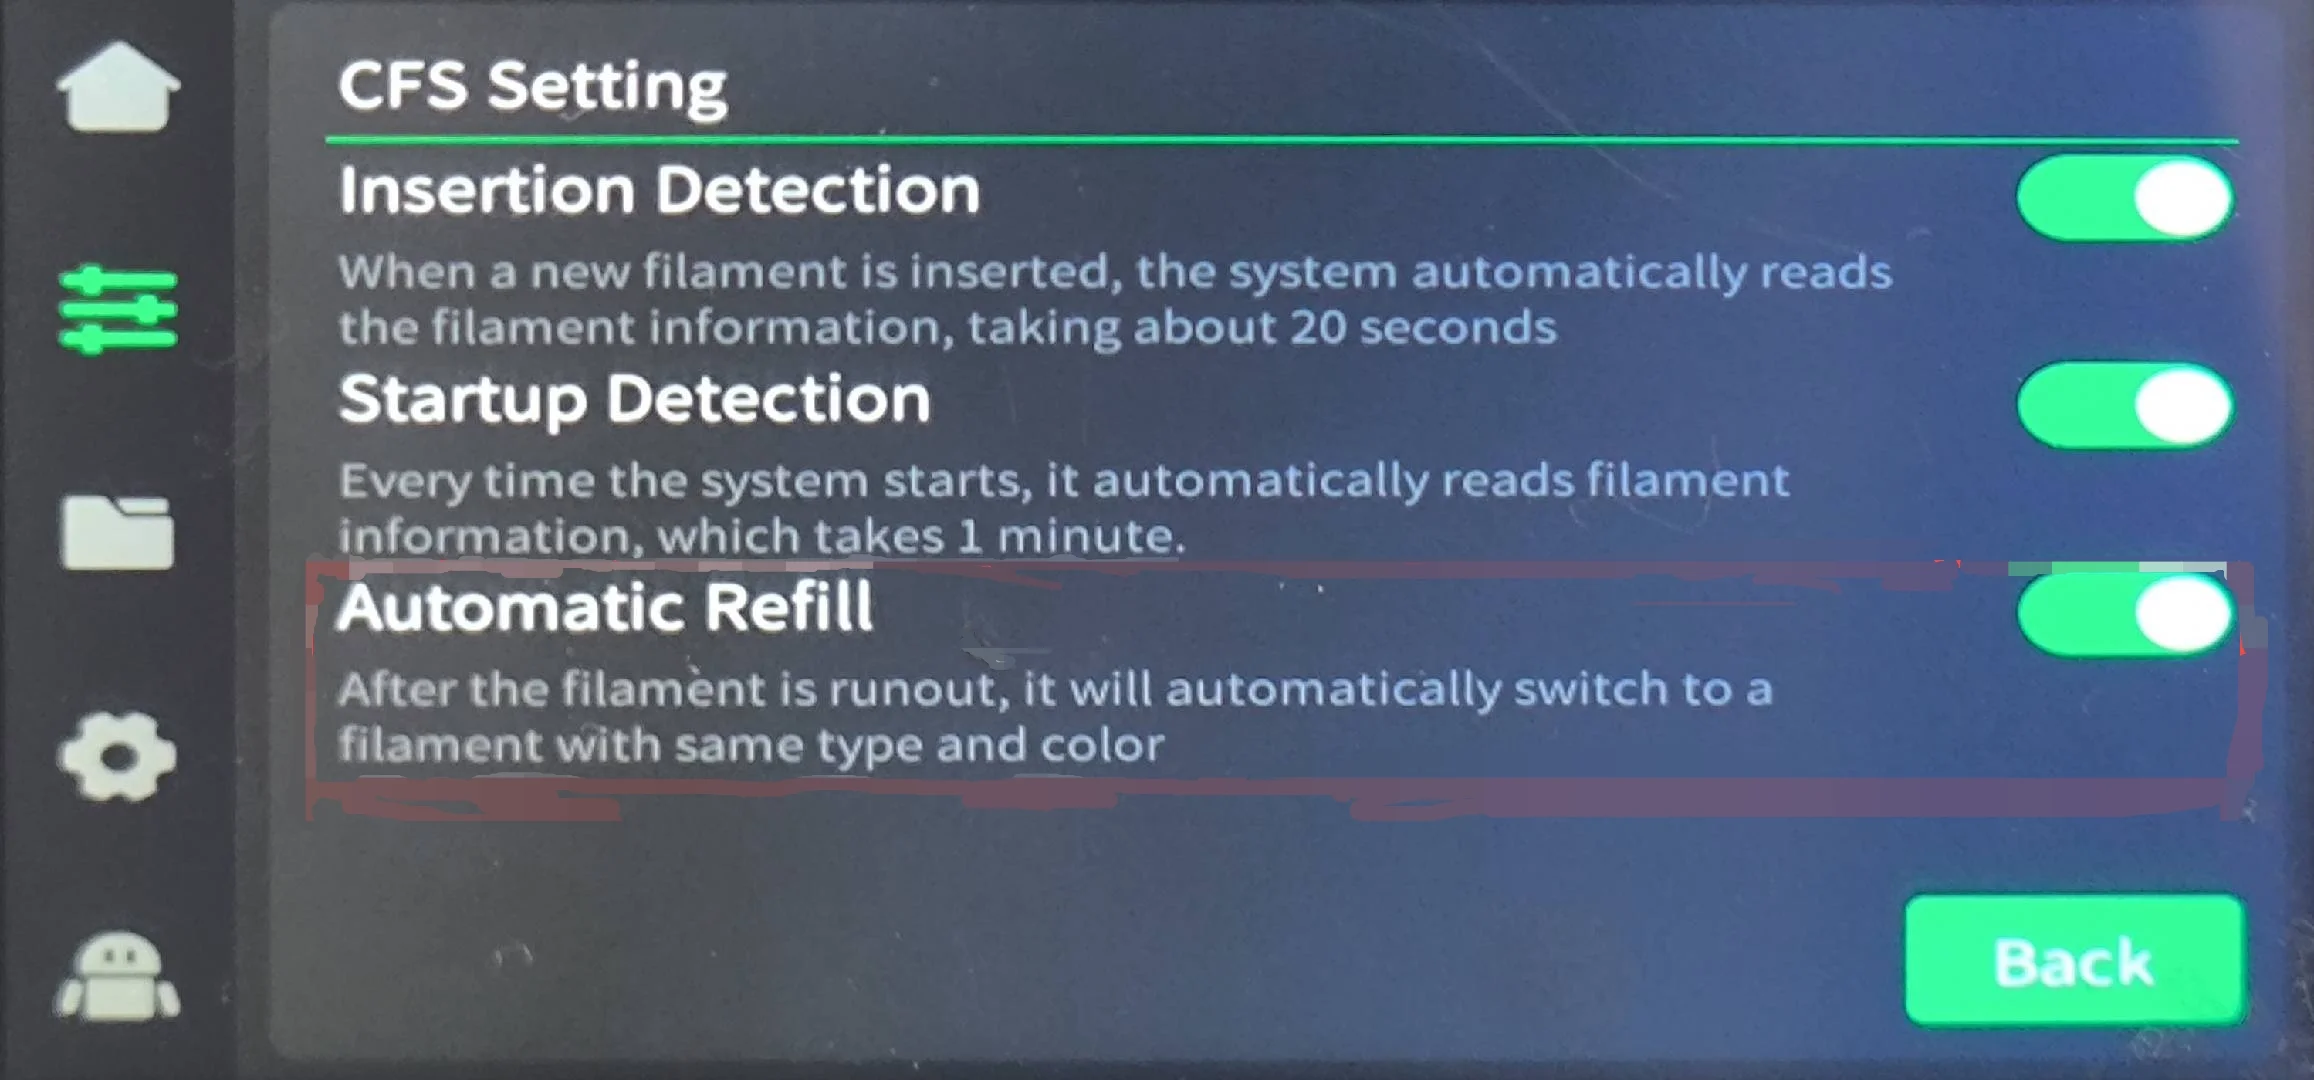
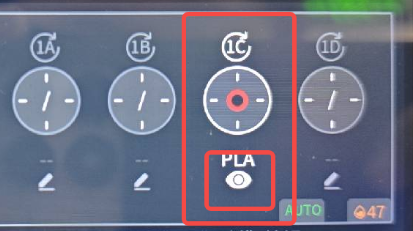
    automatic refill
    RFID Filament-1

    Clicking the view button, you cannot edit
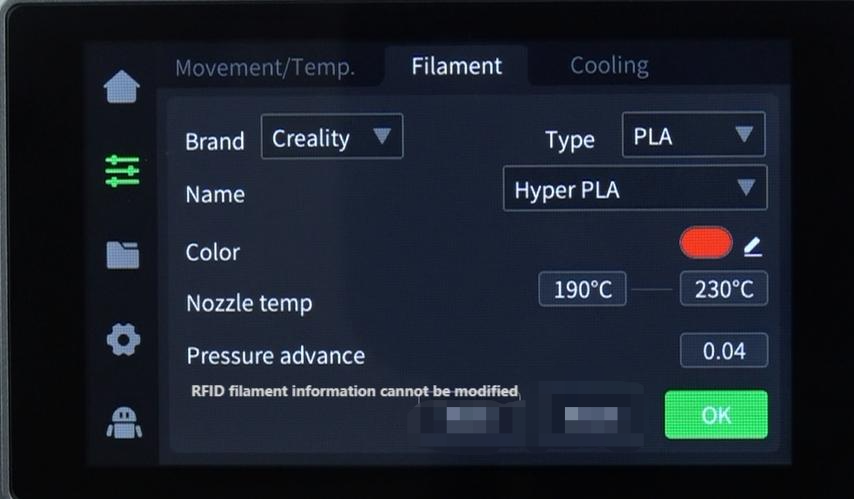
    RFID Filament-2

    Extrude New Filament

    On the filament page, select the filament to load by clicking on it (white outline when selected), then click "Extrude". The CFS will auto-load. Observe the nozzle, if filament extrudes, wait for "Extrude" to illuminate.

    After clicking "Extrude", the nozzle heats up, then the CFS auto-feeds filament into theprinter for loading. "Extrude"/"Retract" buttons gray out.

    Start to Print

    Once filament loading is complete, you can resume printing.

    SHOP

    • Store
    • Falcon Store
    • Where to Buy
    • K Series
    • Hi Series
    • Ender Series

    COMMUNITY

    • Forum
    • Creality Cloud
    • Discord
    • Reddit
    • Open Source

    SUPPORT

    • Downloads
    • Help Center
    • Video Guides
    • Warranty & Repairs
    • Creality Wiki

    ABOUT

    • About Us
    • Distributors
    • ShareFest Events
    • Investor Relations

    Be the First to Know

    Get the latest news from Creality.

    • Youtube
    • Facebook
    • Instagram
    • TikTok
    • Twitter
    • Reddit
    • Discord
    • LinkedIn
    Privacy PolicyTerms of SalesShipping PolicyFeedback
    United States(English)

    Copyright © 2026 Creality Co., Ltd. All rights reserved.