


Pre-print Preparation
Installing the Spool Holder
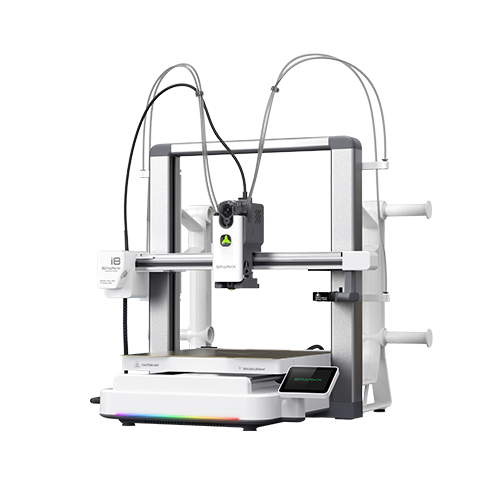
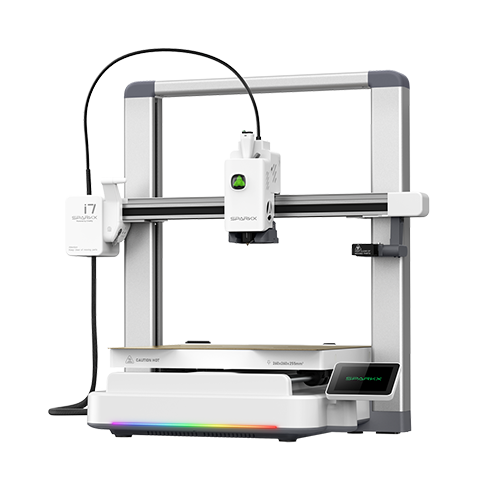
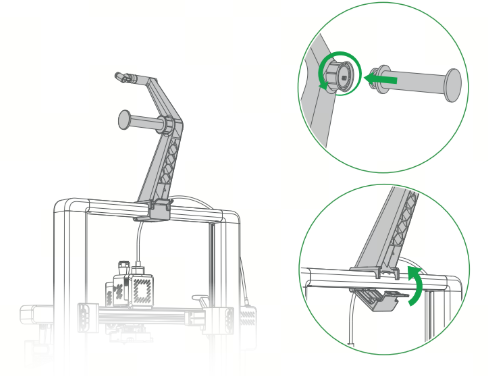
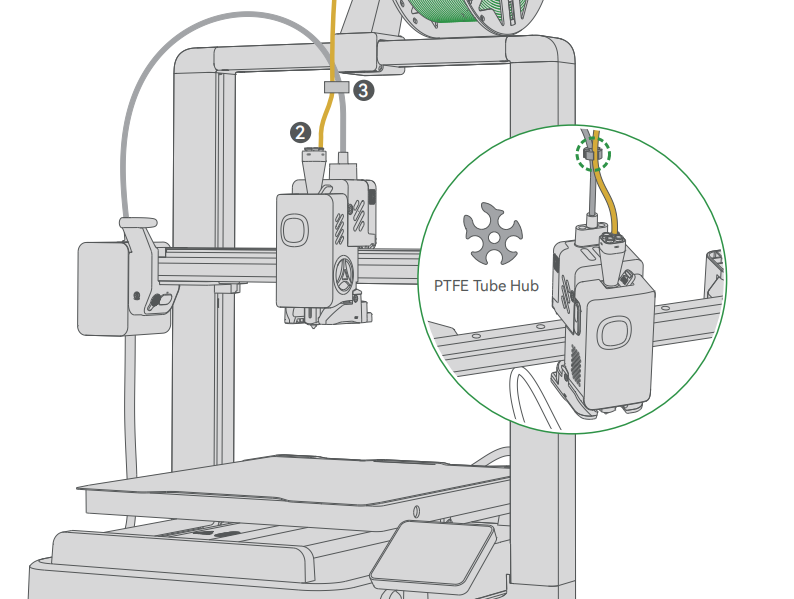
Assemble the i7 external Spool Holder and mount it onto the Gantry. Connect one end of the PTFE Tube to the Spool Holder Filament Inlet, and connect the other end to any filament inlet on the Toolhead Manifold. Please secure the Toolhead Cable and the PTFE Tube into the filament hub to prevent damage during operation.
Filament Preparation
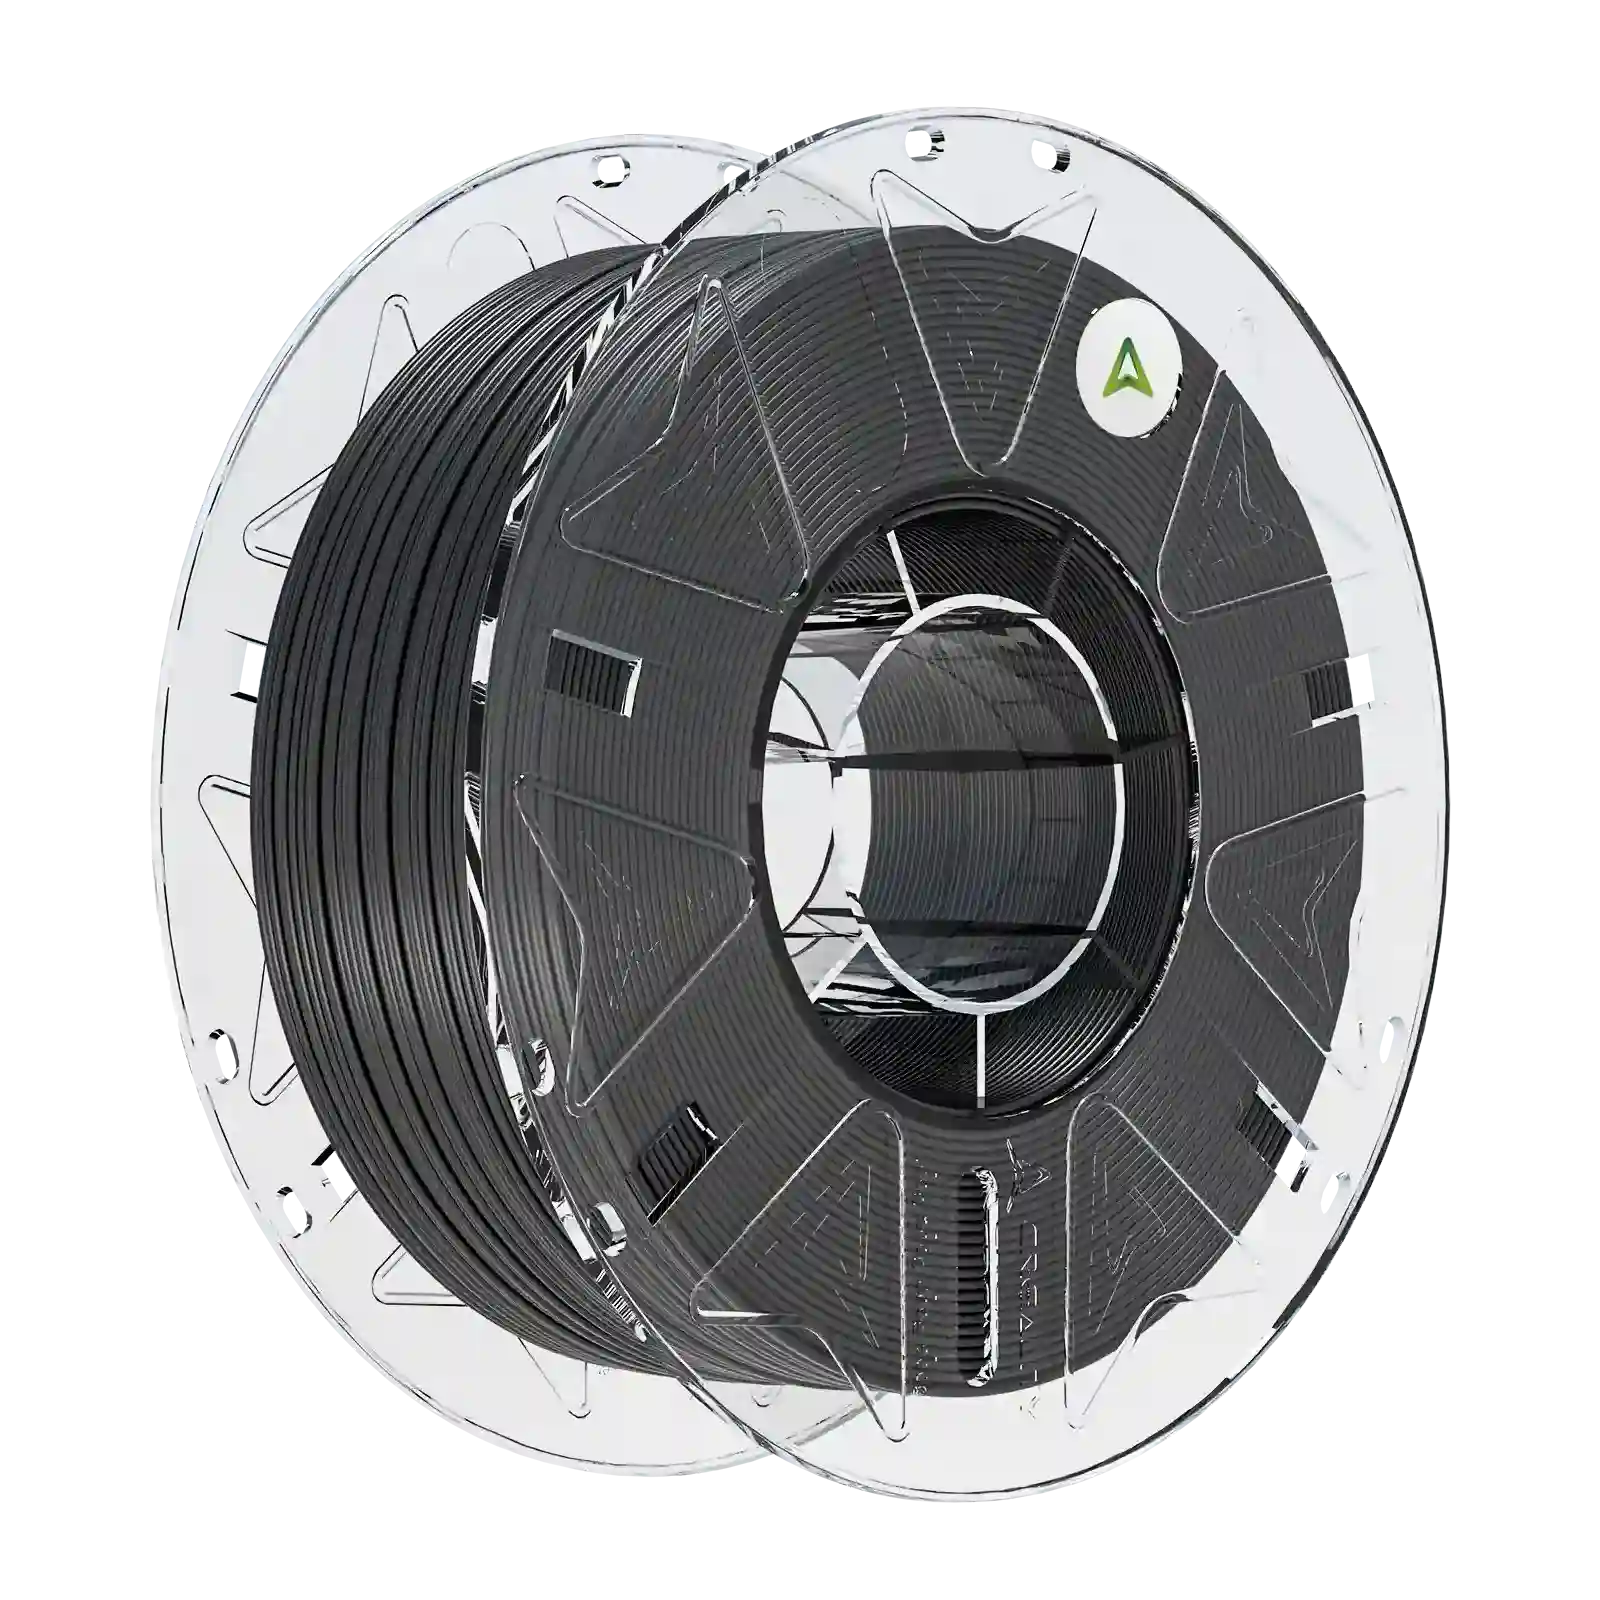
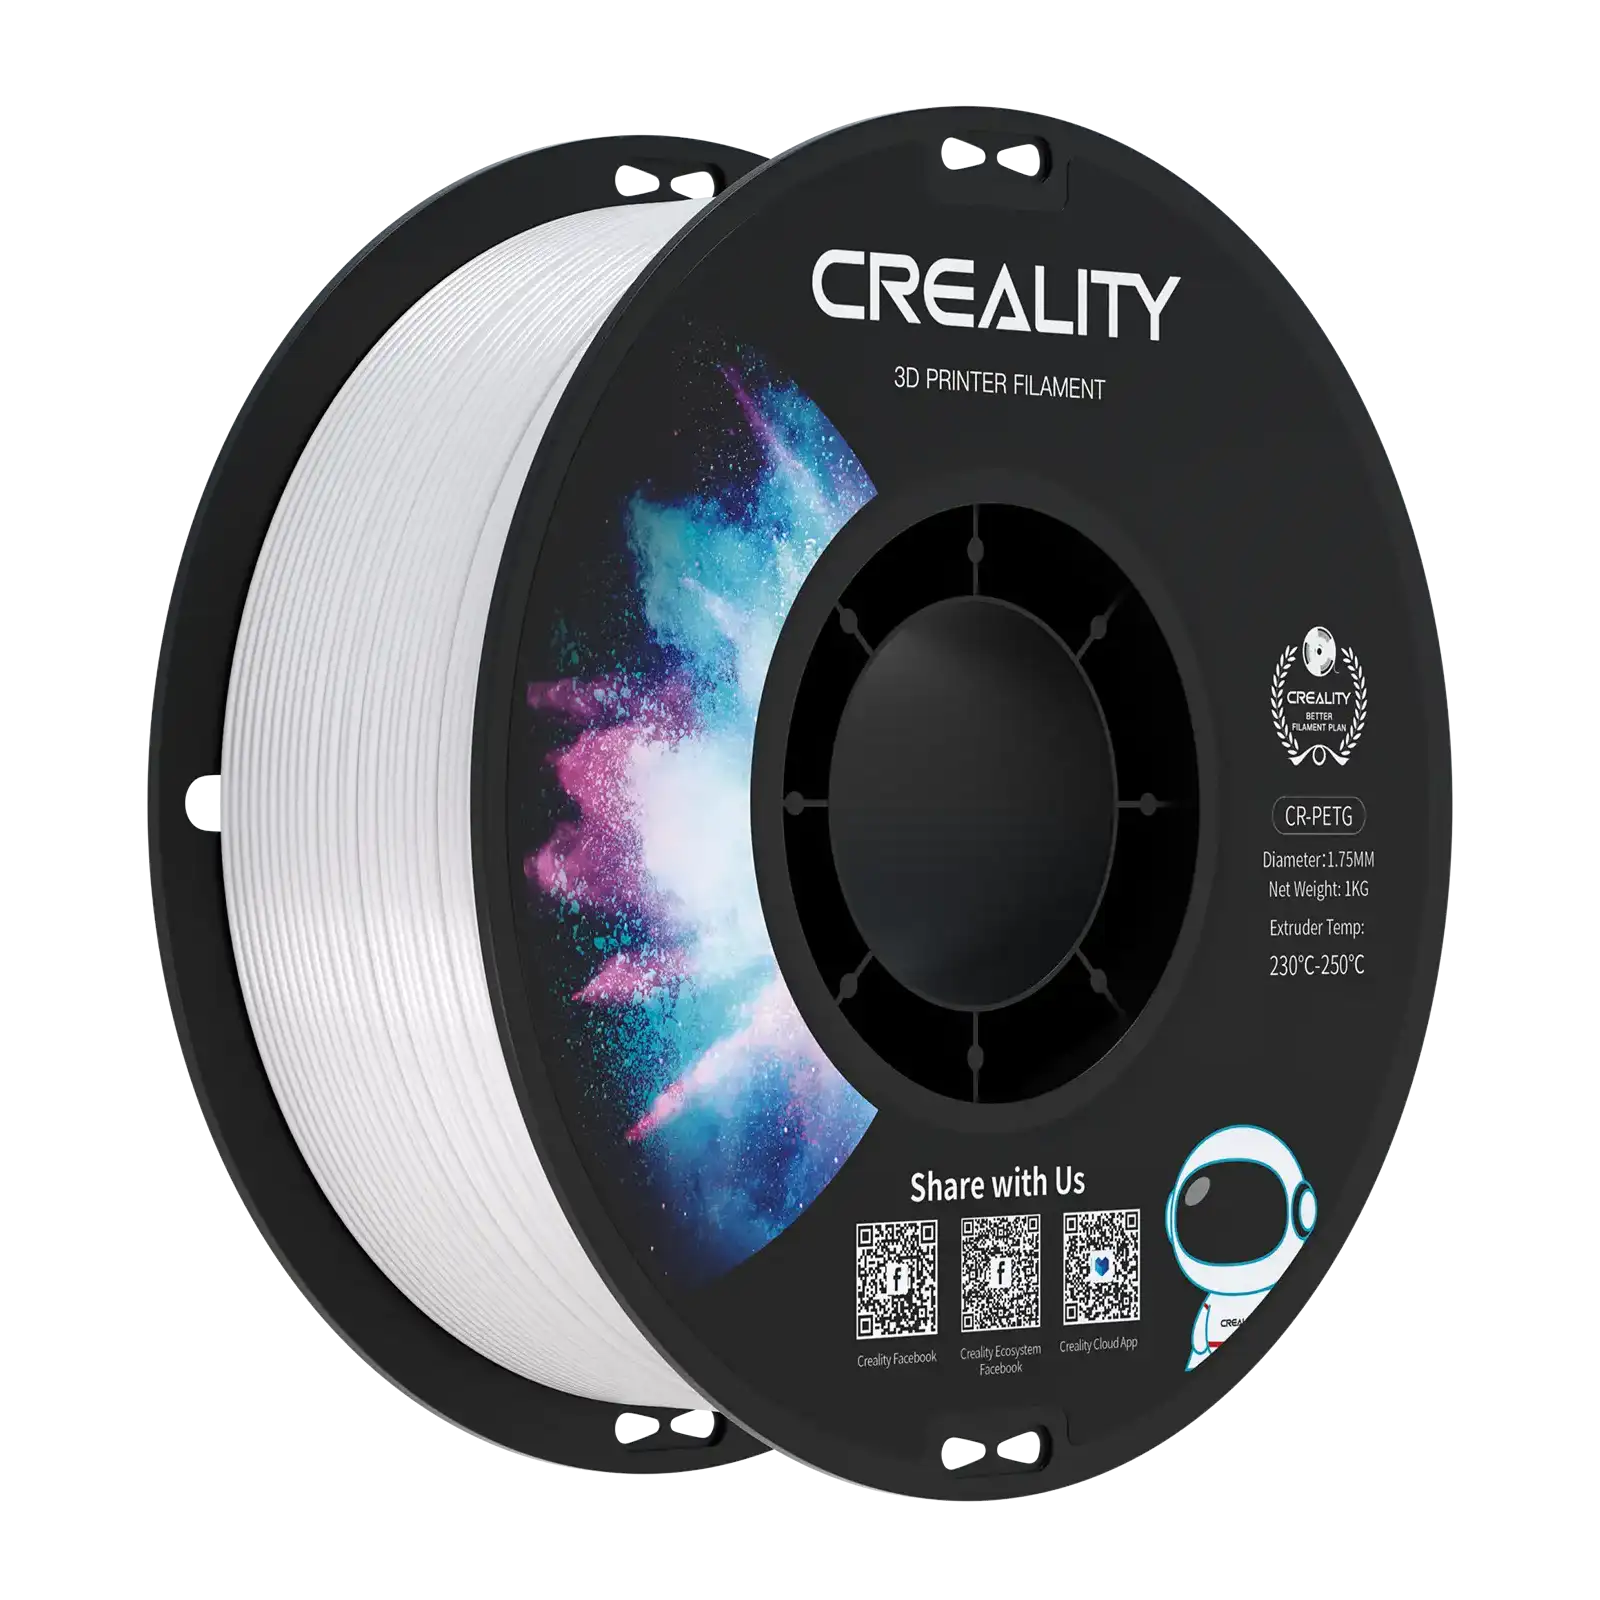
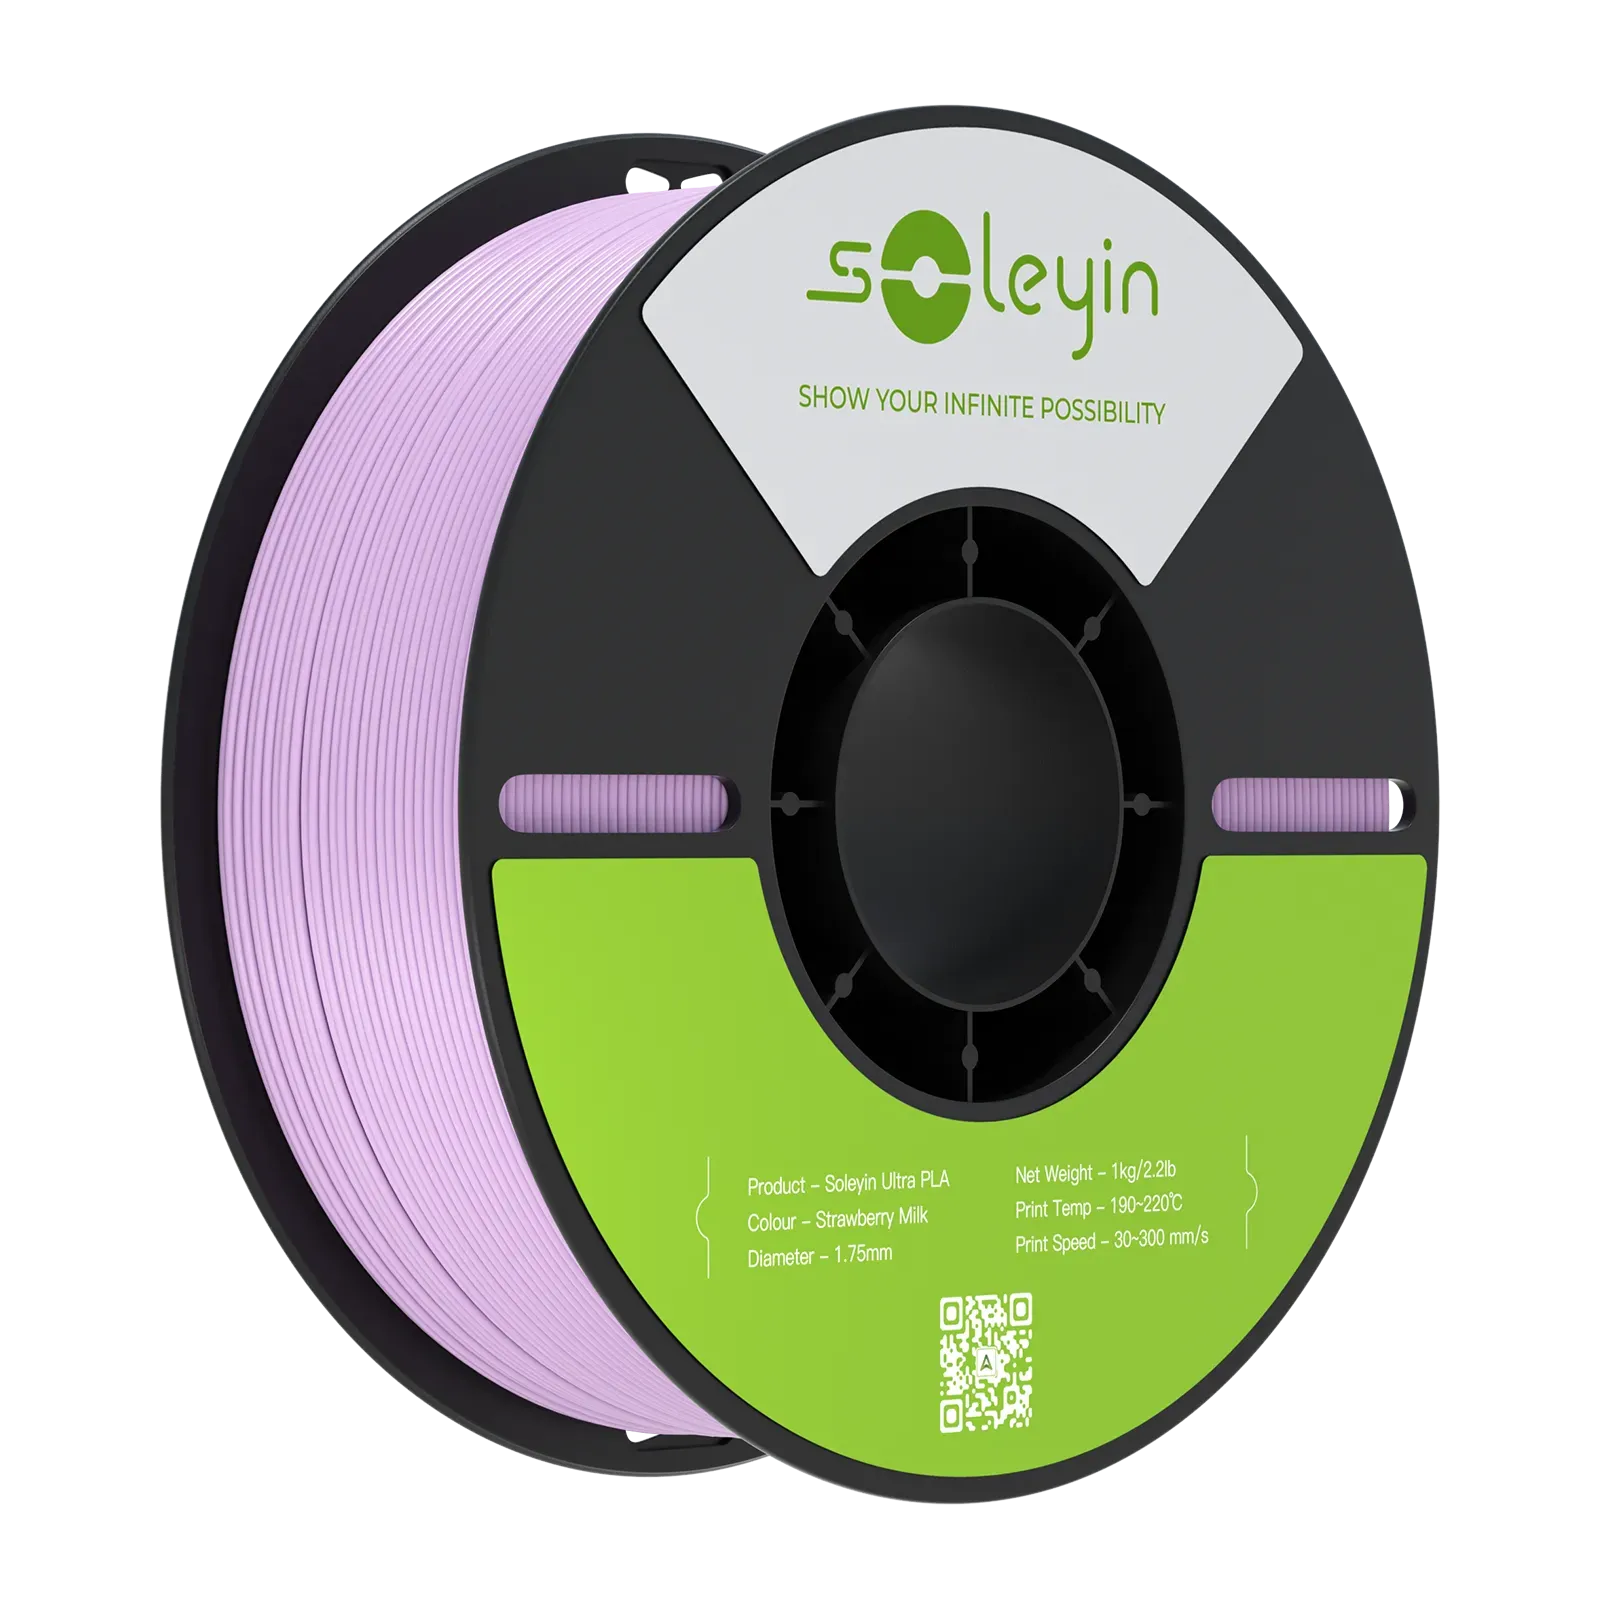
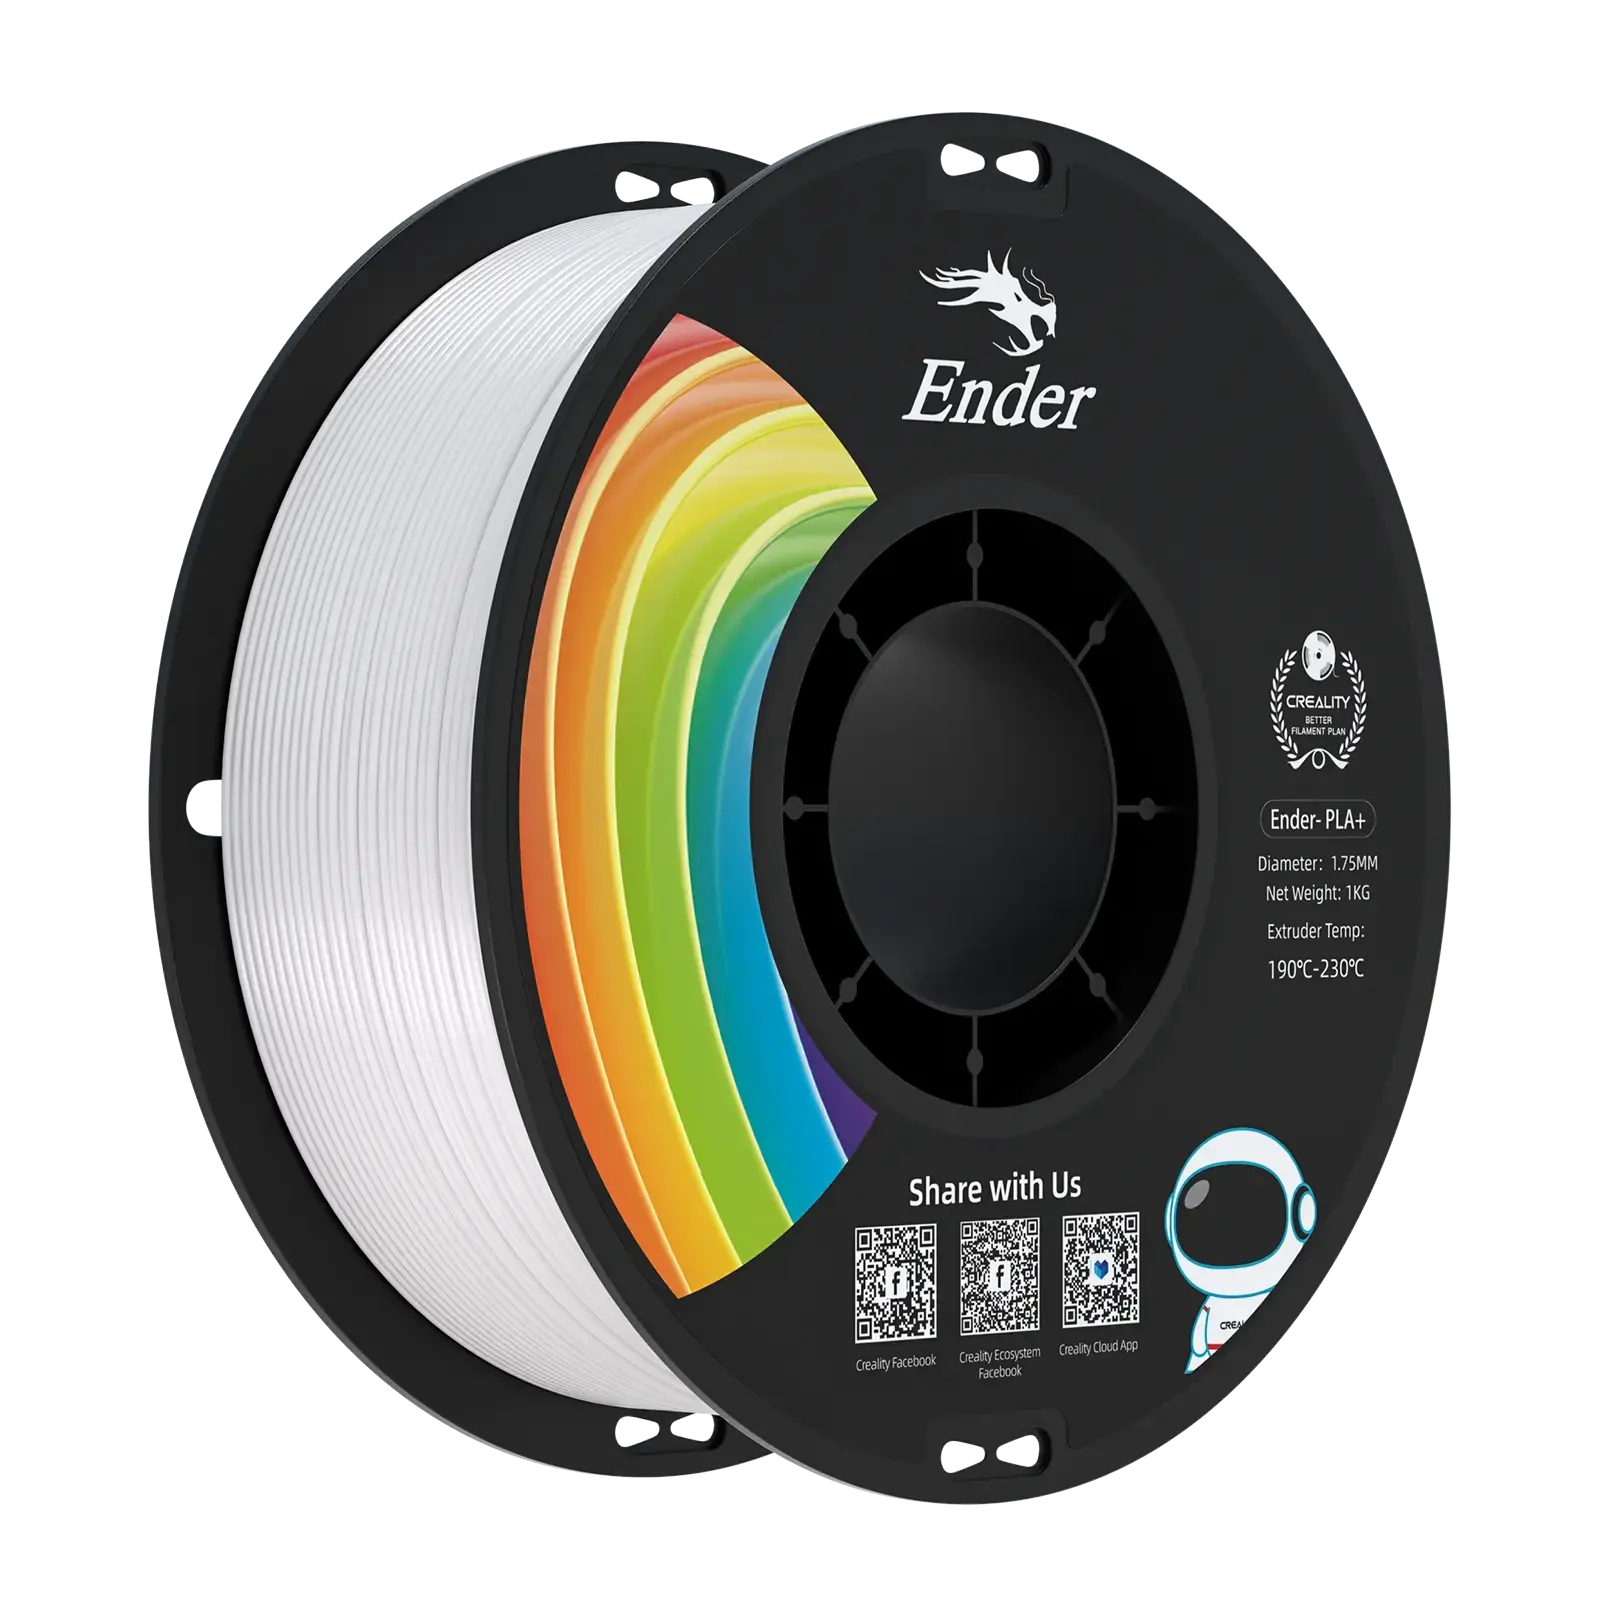
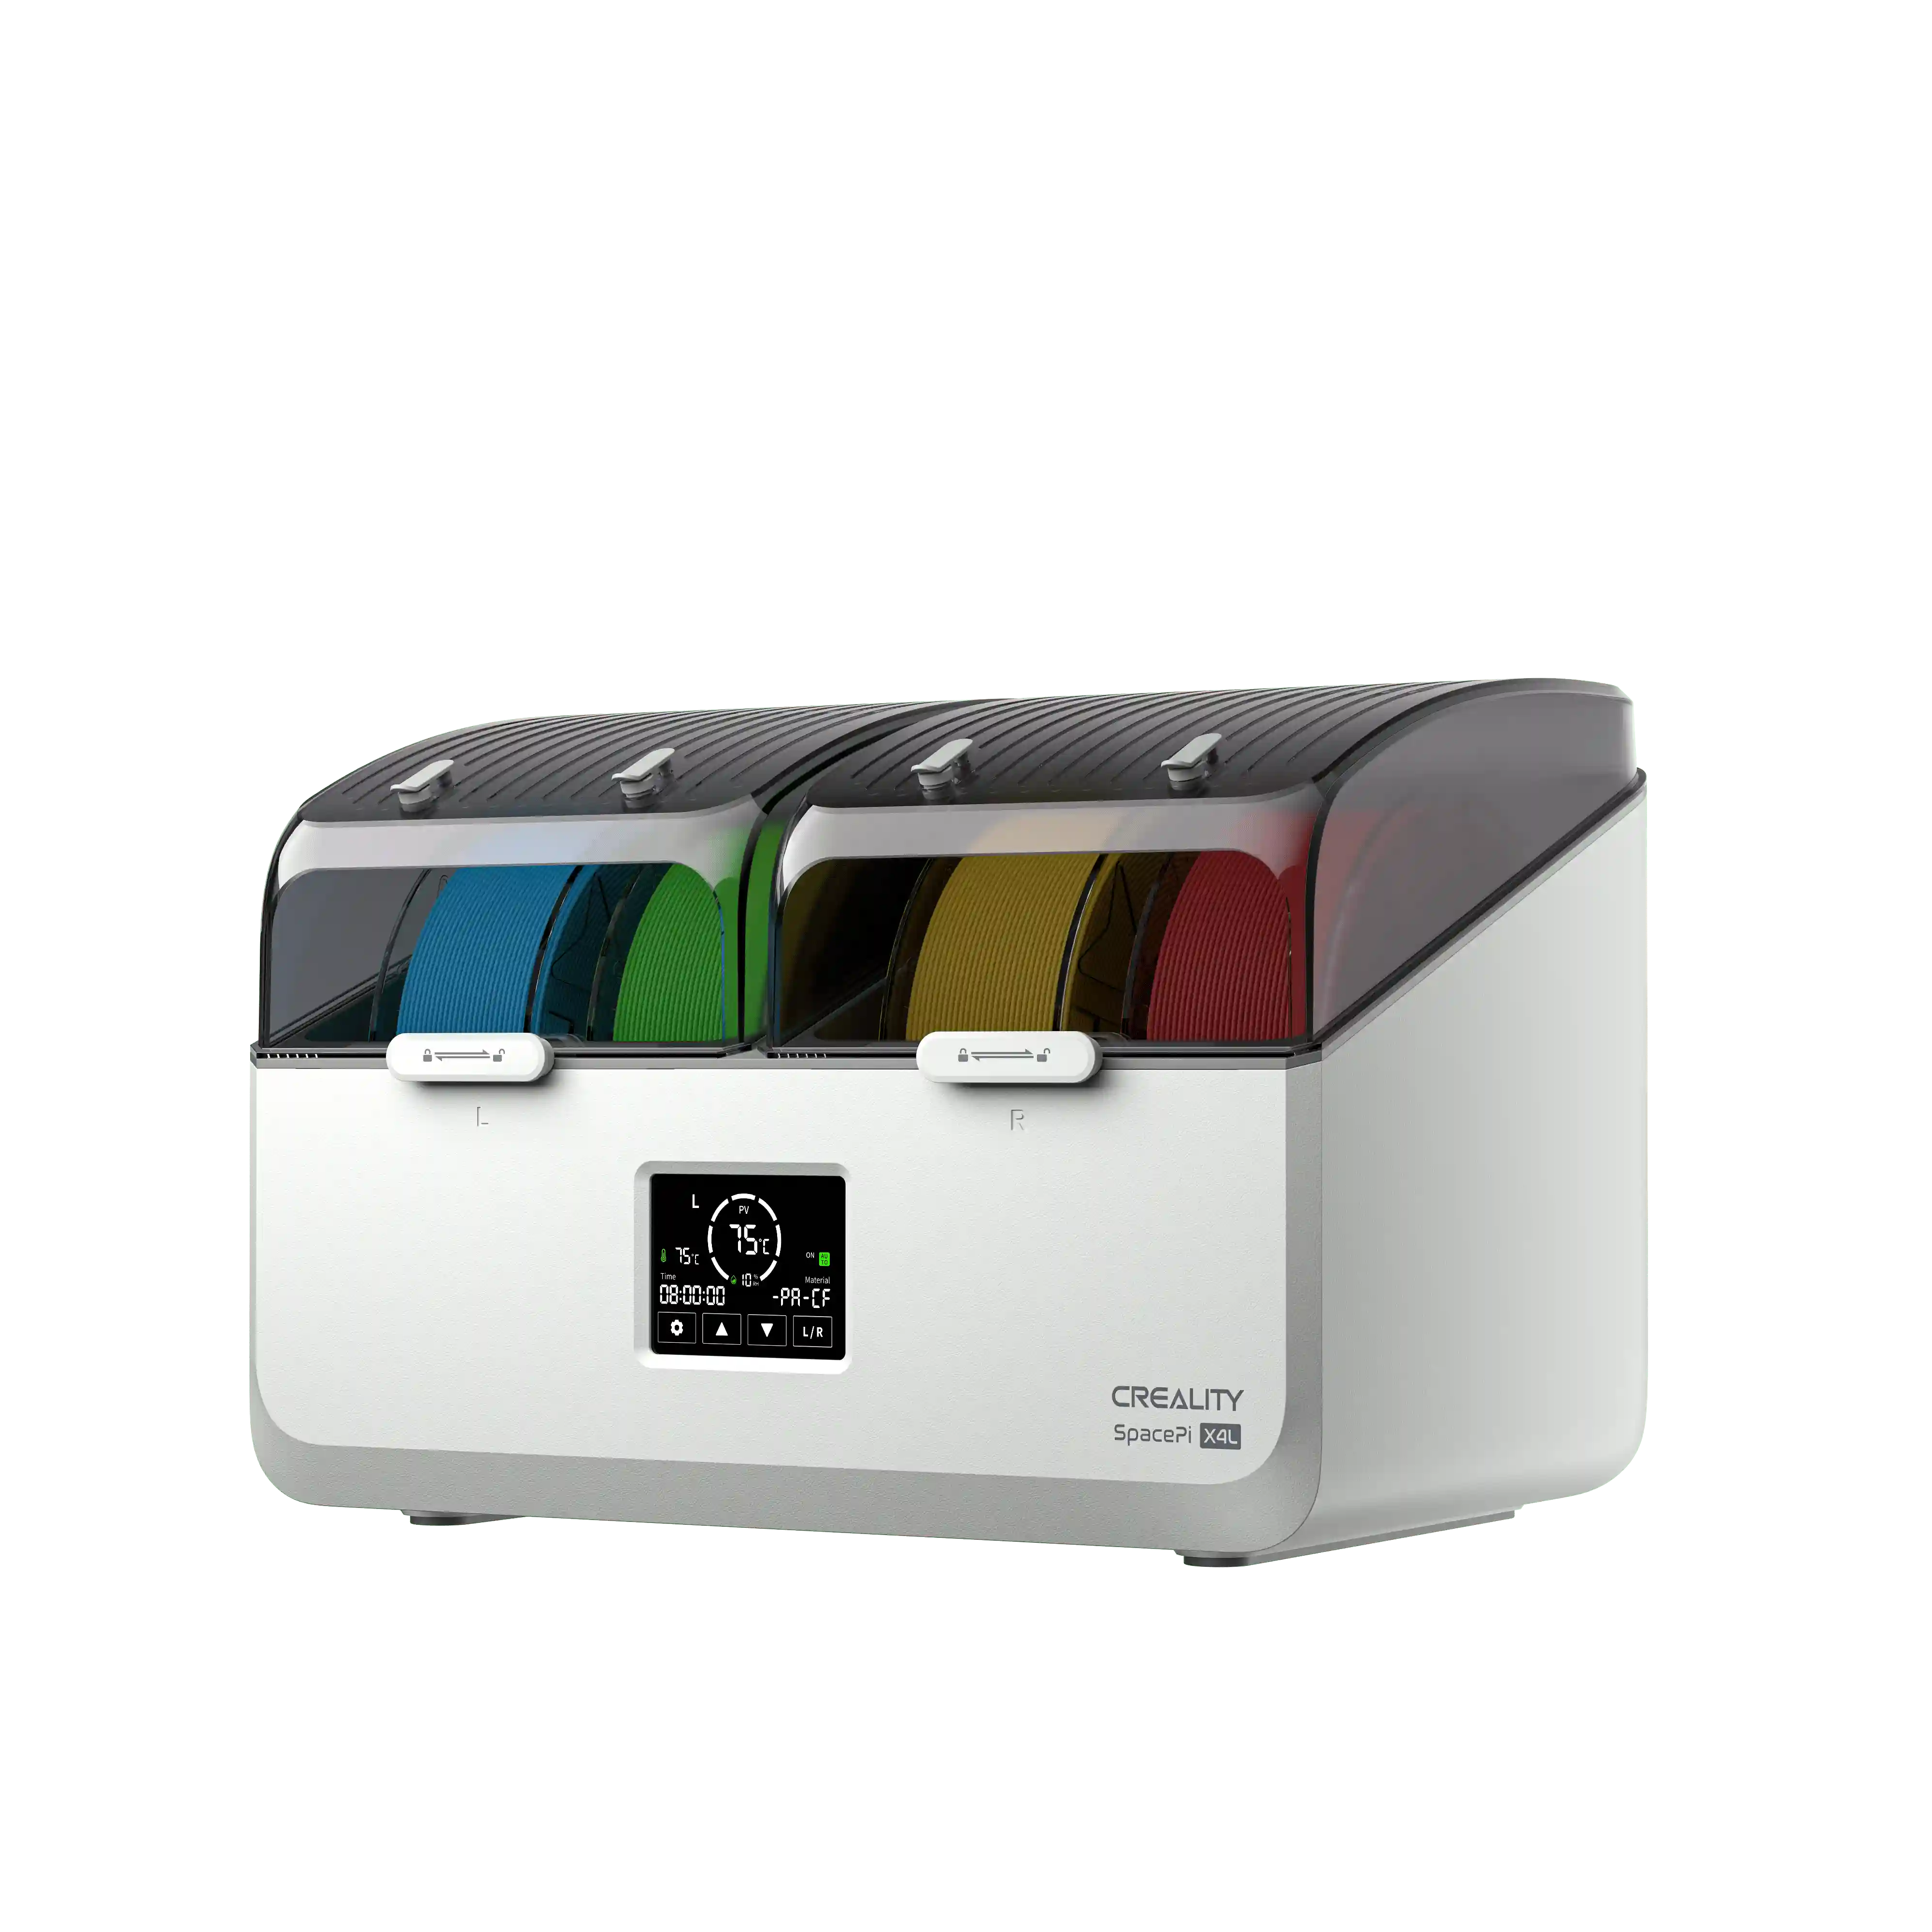
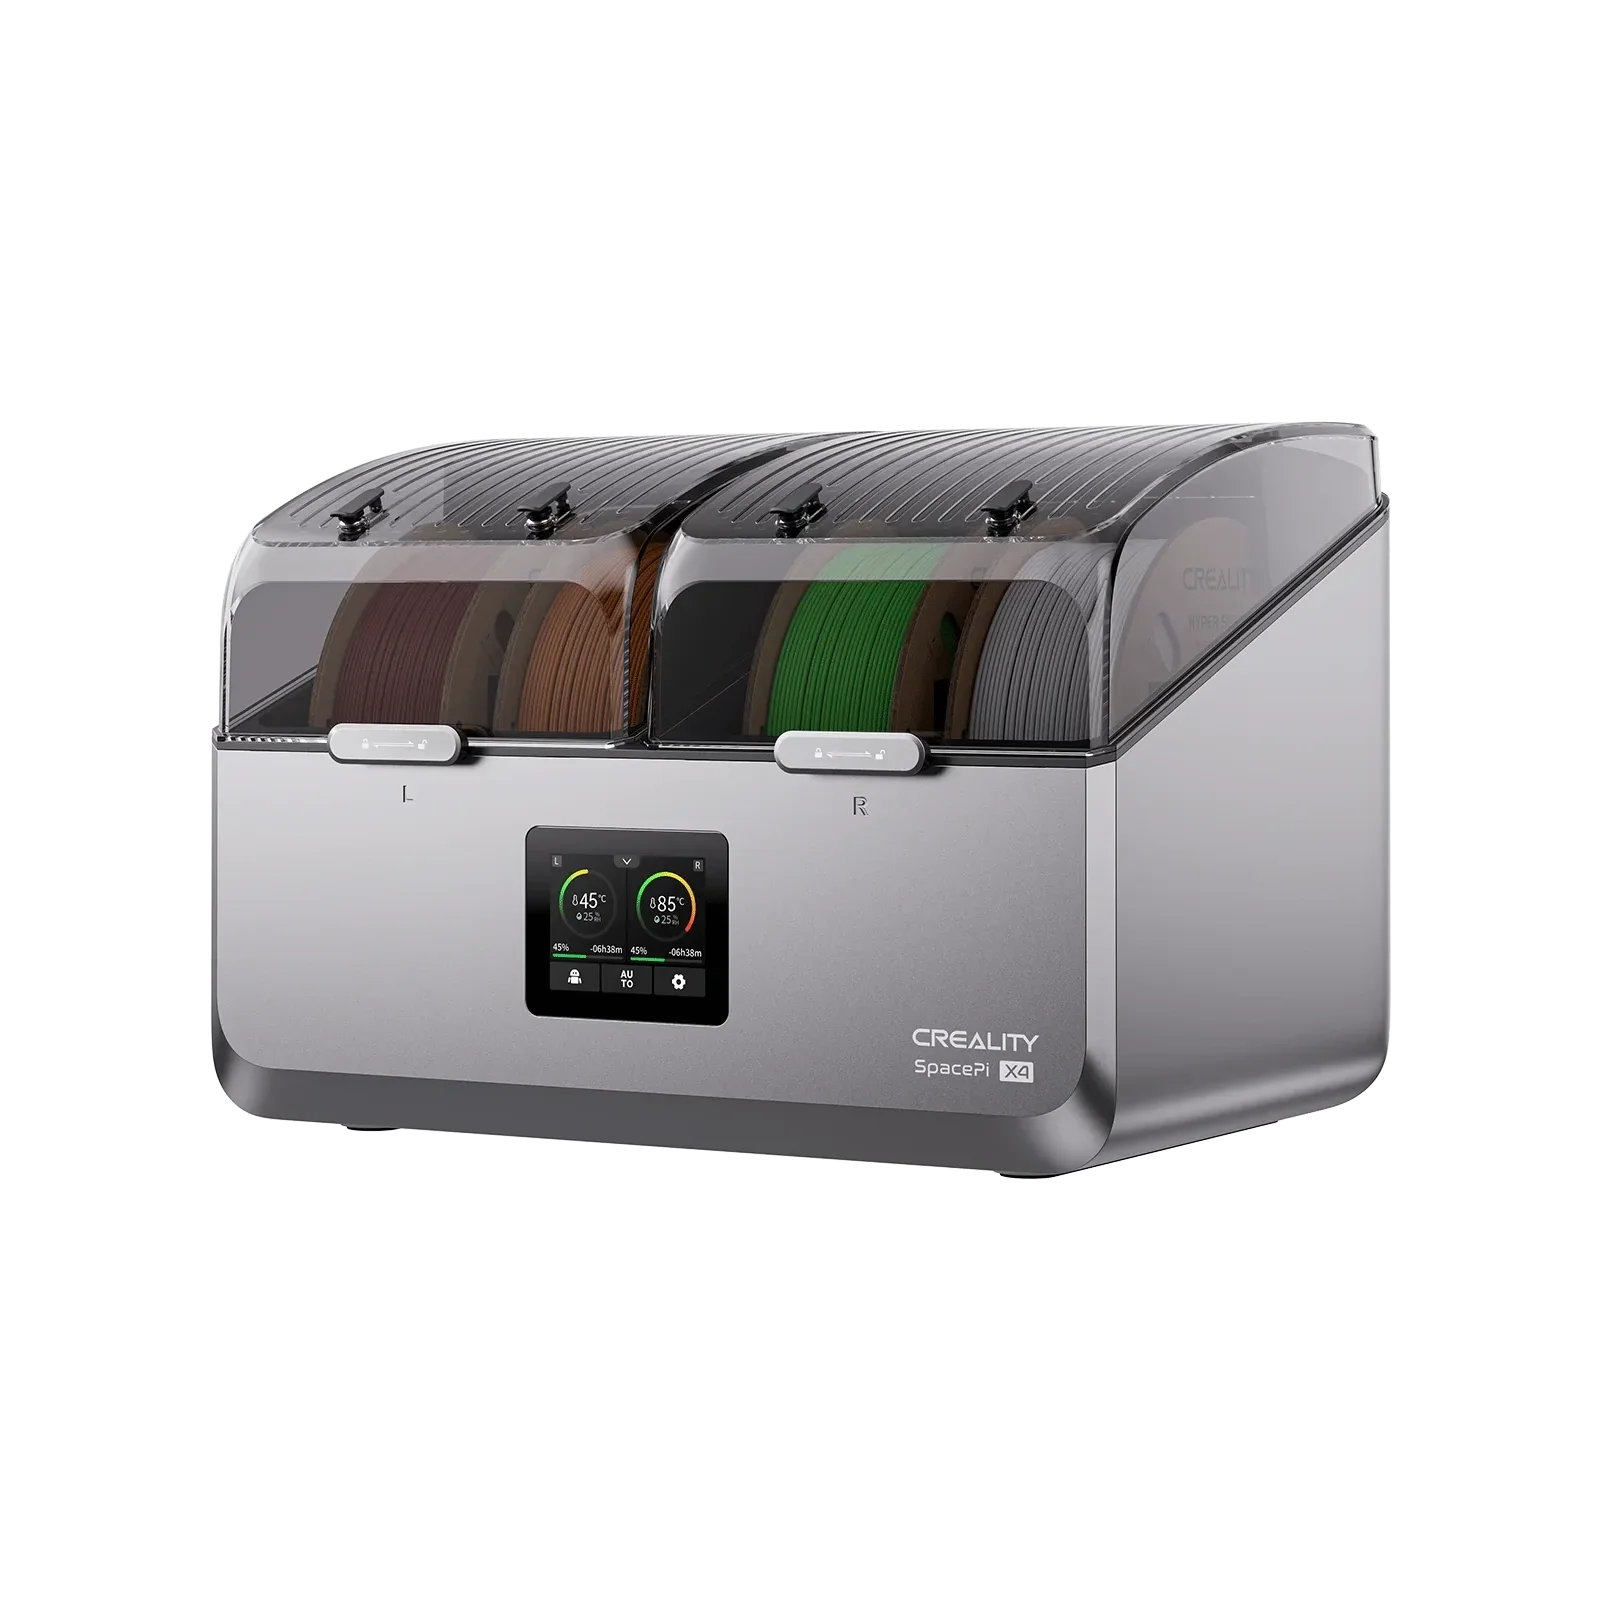
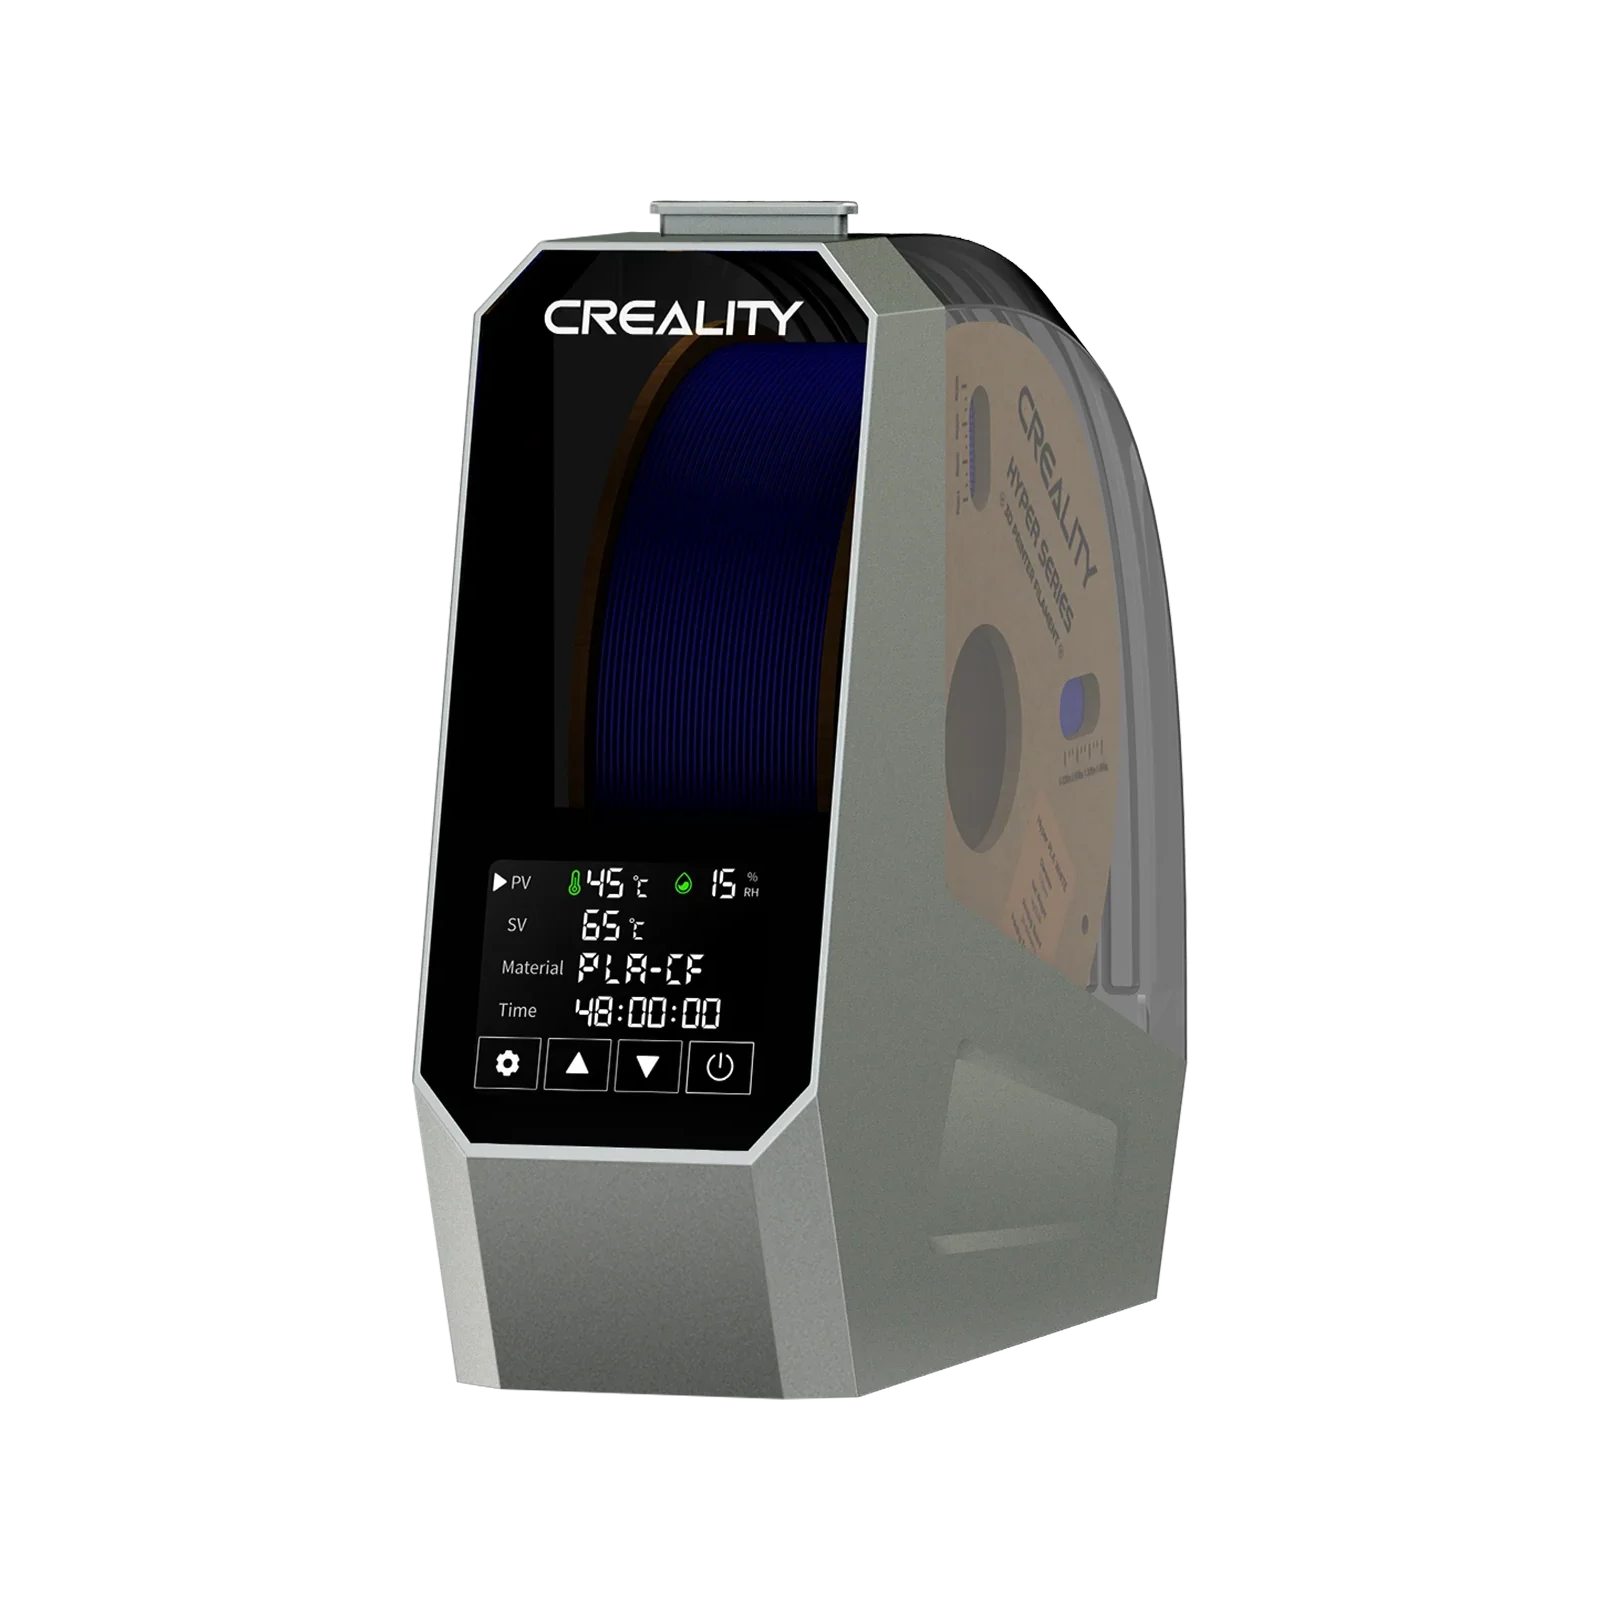
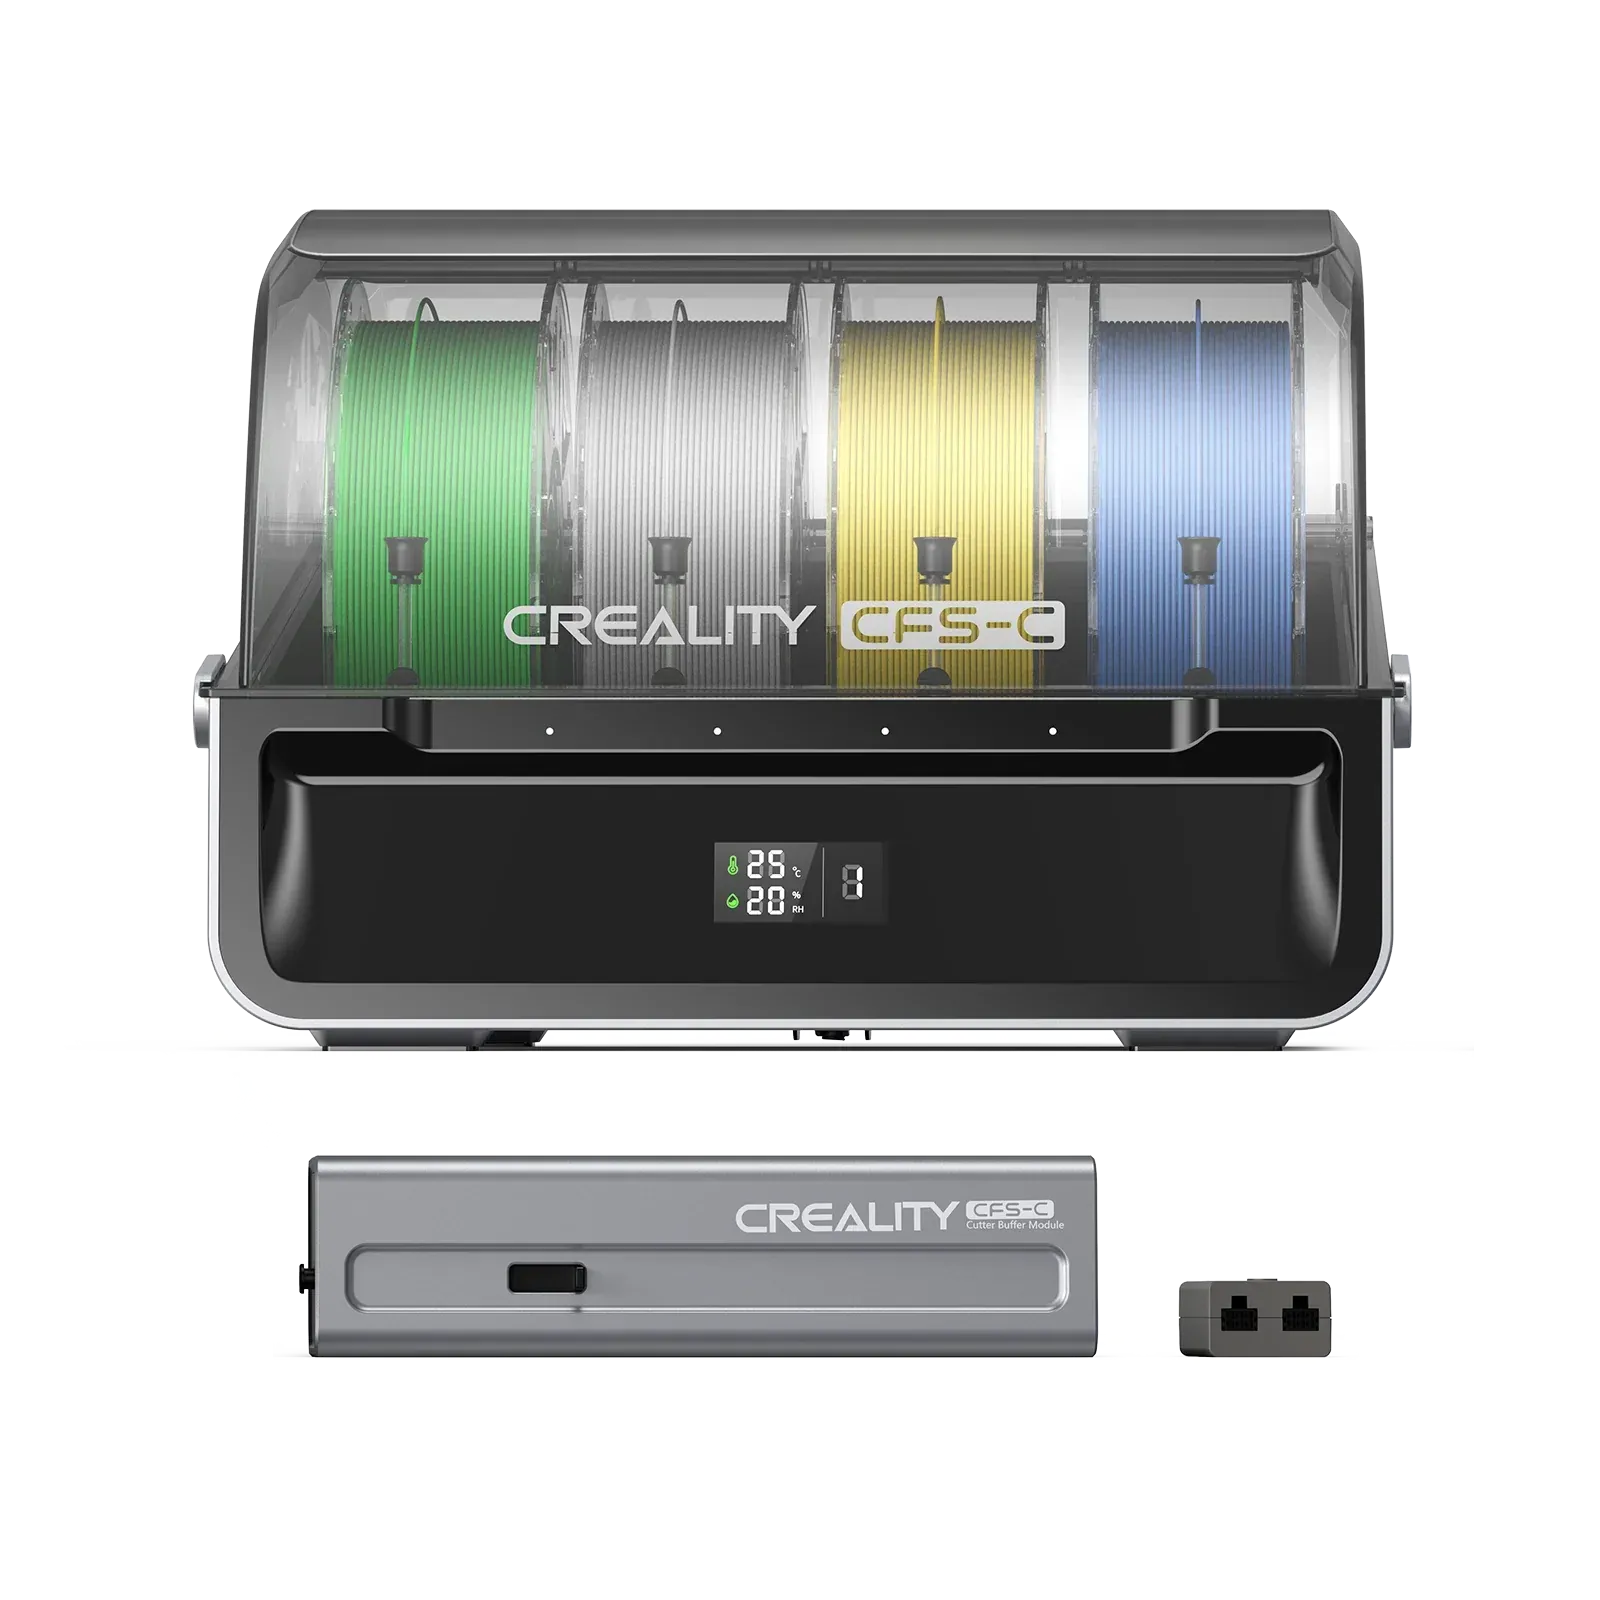
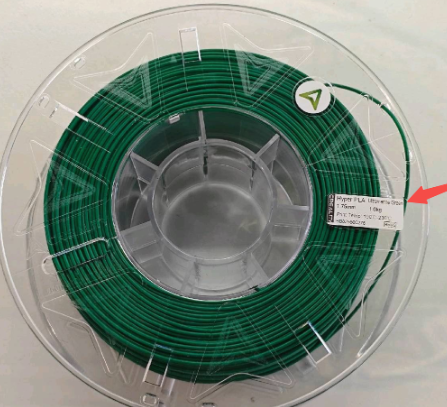
Prepare filament in advance. The filament included with the product is Creality Hyper PLA.
Load Filament
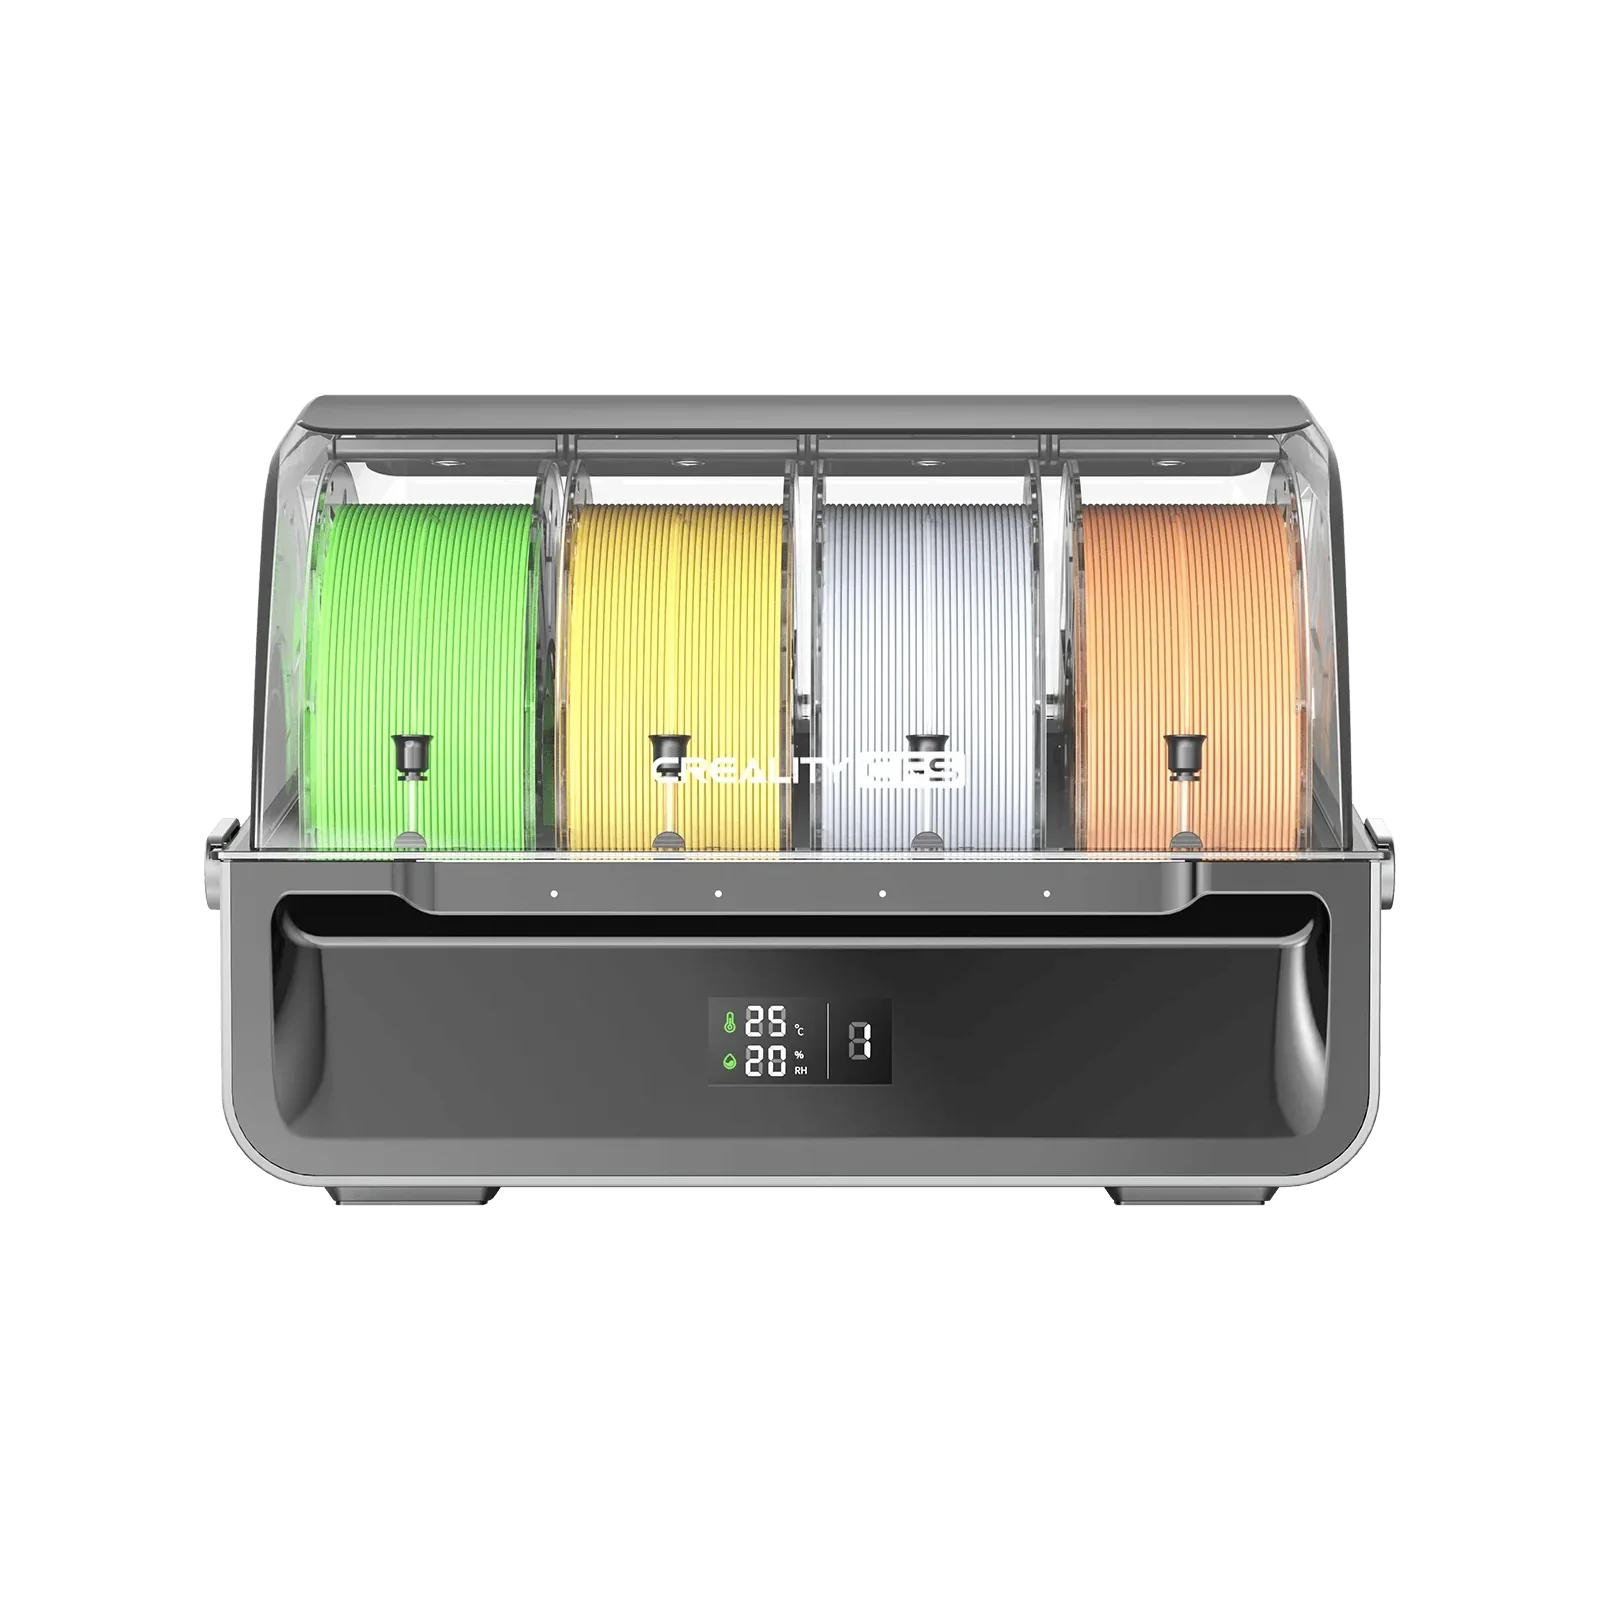
Place the spool onto the Spool Holder. The included filament can also be placed on the Spool Holder.
Insert the filament into the Filament Inlet on the spool holder according to the filament winding direction, and feed it through the PTFE Tube into the Toolhead until it cannot be pushed further.
Filament Feeding
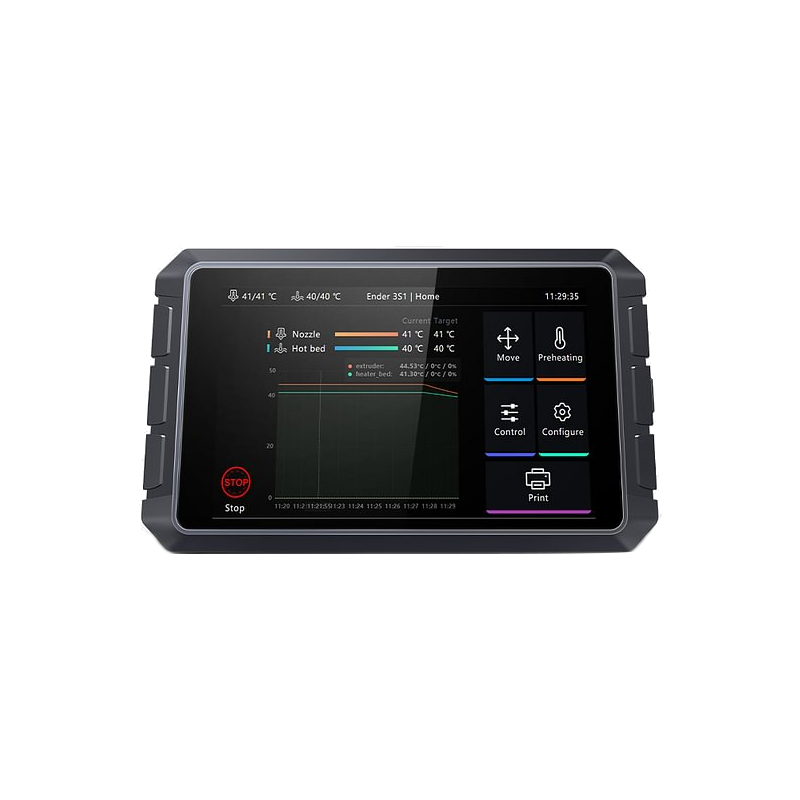
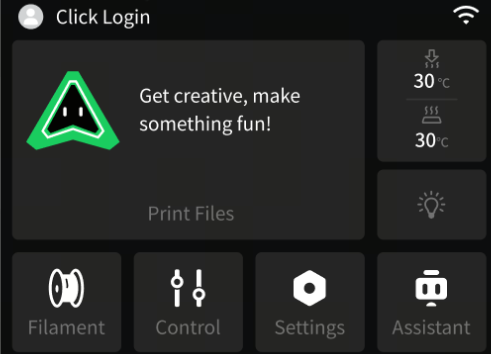
On the Printer Screen, tap Filament, then tap the Edit button. Enter the filament information and tap OK.
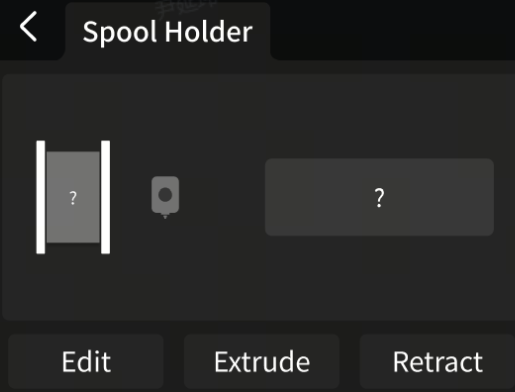
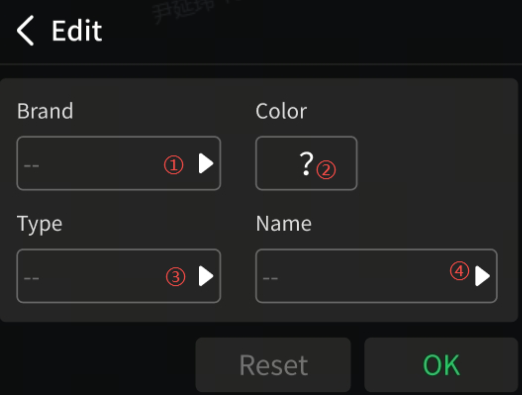
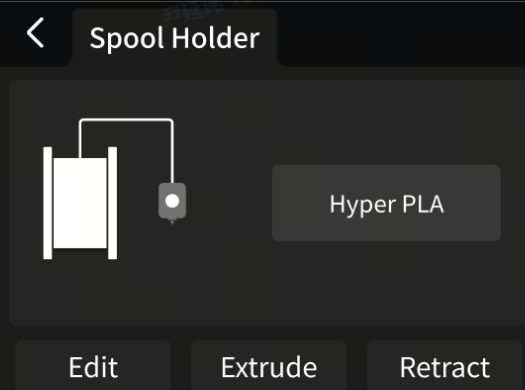
① The Toolhead will display a small white dot, indicating it has detected that the filament has been successfully loaded.
② Tap Feed. The nozzle will heat up to 240 °C, then start feeding the filament. At this time, gently push the filament again.
③ Observe the Nozzle. If the filament is extruded normally, the filament feeding is successful. Wait for the printer to complete the entire feeding process.
④ If the filament is not extruded properly, push the filament again until it is successfully extruded.
Start Printing
Before printing, make sure the Print Plate is placed flat and there are no foreign objects on it.
To start printing using the printer model file:
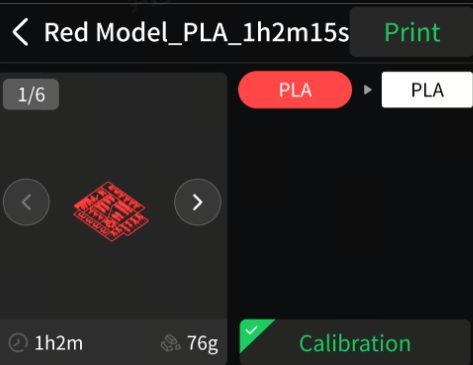
Tap Print File and select the model you want to print.
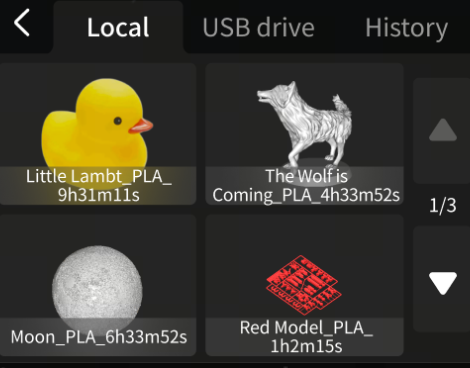
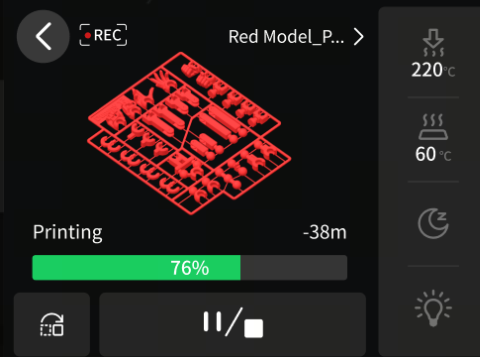
It is recommended to enable the Calibration option, then tap Print.
How to Refill?
If the filament runs out during printing, the current print job will be automatically paused. Follow the steps in “Pre-print Preparation” to reload the filament, and printing can continue after the refill is complete.
How to replace the filament?
To change filament, ensure that the print job is completed, ended, or paused. Remove the current filament before loading the new filament.
Retract the Current Filament
Tap Retract. The printer will automatically heat the nozzle to the corresponding temperature and cut the filament. Wait patiently for the unloading process to complete.
After unloading is complete, pull the filament out of the Toolhead and through the PTFE Tube.
Extrude New Filament
Follow the steps in “Pre-print Preparation” to load the new filament, then continue printing.