

When 3D printing was invented, traditional manufacturers couldn’t be happier for finding this fast prototyping way because of the foreseeable benefit like cost reduction, simplified process. Is that possible to increase the 3D printing speed?
Extended reading: What if 3D printing 100X faster?
If you want to get started into it, you may have to grasp a solid understanding of the main factor that affects the printing time.
• Print speed
• Layer height
• Nozzle diameter
• Infill density
1. Change default print speed
The average printing speed for most 3D printers is 40-80mm/s, the highest reaching up to 200m/s. If you want to hasten your print, the easiest and commonest way for your choice is to adjust the print speed in the settings of your slicing software.
However, it may cause a ponderation over whether it decreases the quality of the 3D prints. It depends on what slicing software you use and the neatness of your 3D models.
2. Use a large nozzle
No doubt will a larger nozzle reduce your printing time. Under this occasion, there will be two possibilities:
①Using a small layer height with a large nozzle will maintain better print quality.
②Using a large larger height with a large nozzle will maximize the print speed.
Here you have to notice is that if the part to be printed has a wall thickness of 0.6 mm and a nozzle of 0.8 mm, it will not be sliced correctly and you will not be able to print it.
The practical way is to slice with the nozzle that you are going to use, then look at the layer view in the slicing software and check whether the smallest layer view is shown. If it does, go ahead.
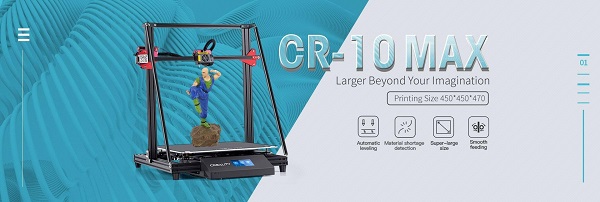
If you are using a 0.08mm nozzle, you can choose the layer height between 0.02mm to 0.04mm, and change the wall thickness to 0.8 mm and your wall line count to 1.
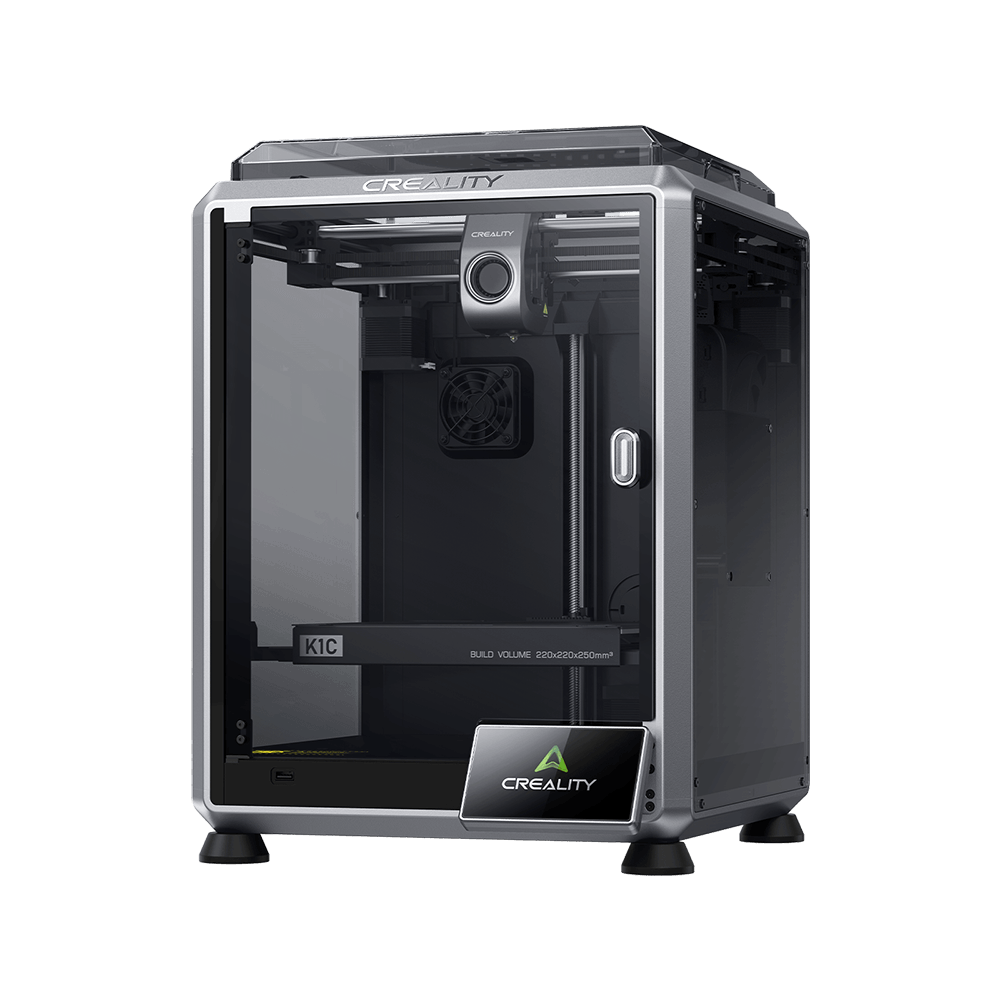
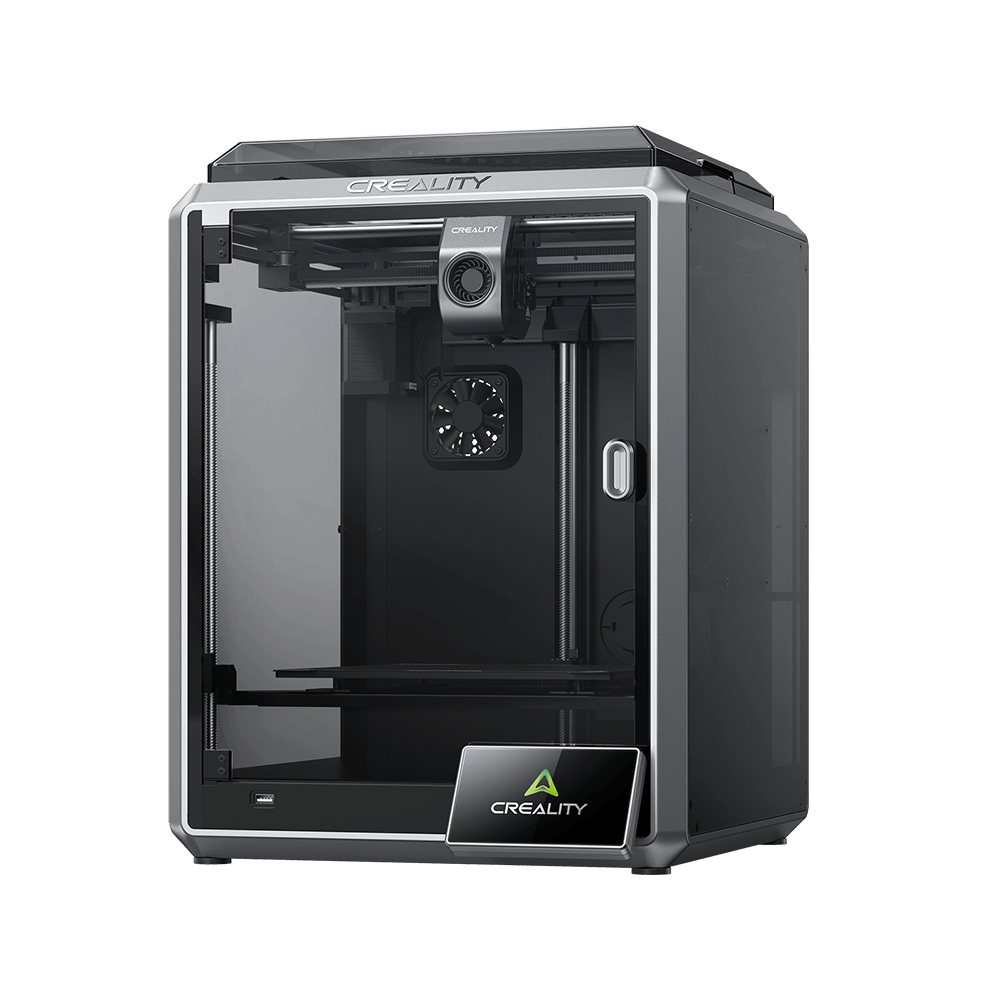
Early in June, CREALITY 3D release the latest product CR-10MAX which is equipped with an alternative 0.08mm nozzle, aiming to help users speed up their printing.
3. Change infill density and wall thickness
The infill is an essential factor deciding the print's strength. More infill contributes to stronger prints, but takes more time and costs more materials.
Whereas, you can get a good way to shorten the print time by reducing infill density and wall thickness. You could therefore simultaneously make the infill looser by placing the grids further apart. To do this, adjust the infill percentage in the slicing software.
Another similar strategy to speed up your printing is to hollow your model. For individual parts, speed will be a decisive factor in print quality. Printing with no infill will improve speed and surface quality. However, you have to notice that no infill will probably cause vulnerability.
You want to print fast and not waste too much material, but you also want to give your product the right strength. It’s therefore important to find the right balance! Experiment with different infill patterns, the printing speed, and the infill extrusion to achieve the result that meets your product requirements.
4. Maximize extrusion volume
The extrusion volume of your nozzle is determined by three factors: print speed, nozzle diameter, layer height. Changing any of the three will make your printer extrude more filaments, which means you have to increase the print temperate to ensure that the filament gets melted quickly to be deposited.
5. Produce in the same batch
Producing several prints in the same batch is a good way to meet multiple needs at the same time.
If you can’t wait long enough to get started into the next print until your first print is finished. We suggest two or more products in the same batch. It is only possible if the two products are small enough and suitable for the print bed.
To perform this step, use your slicing software to get everything done before you start your printing.