
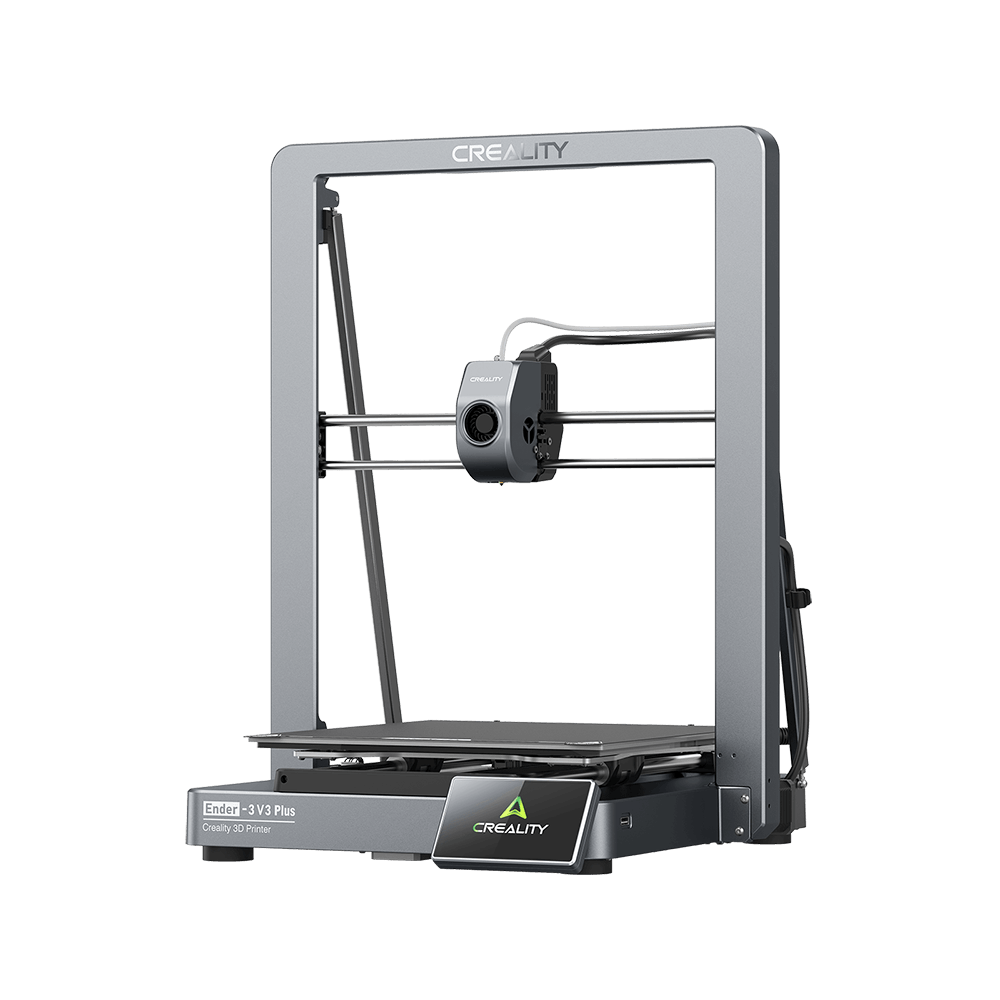
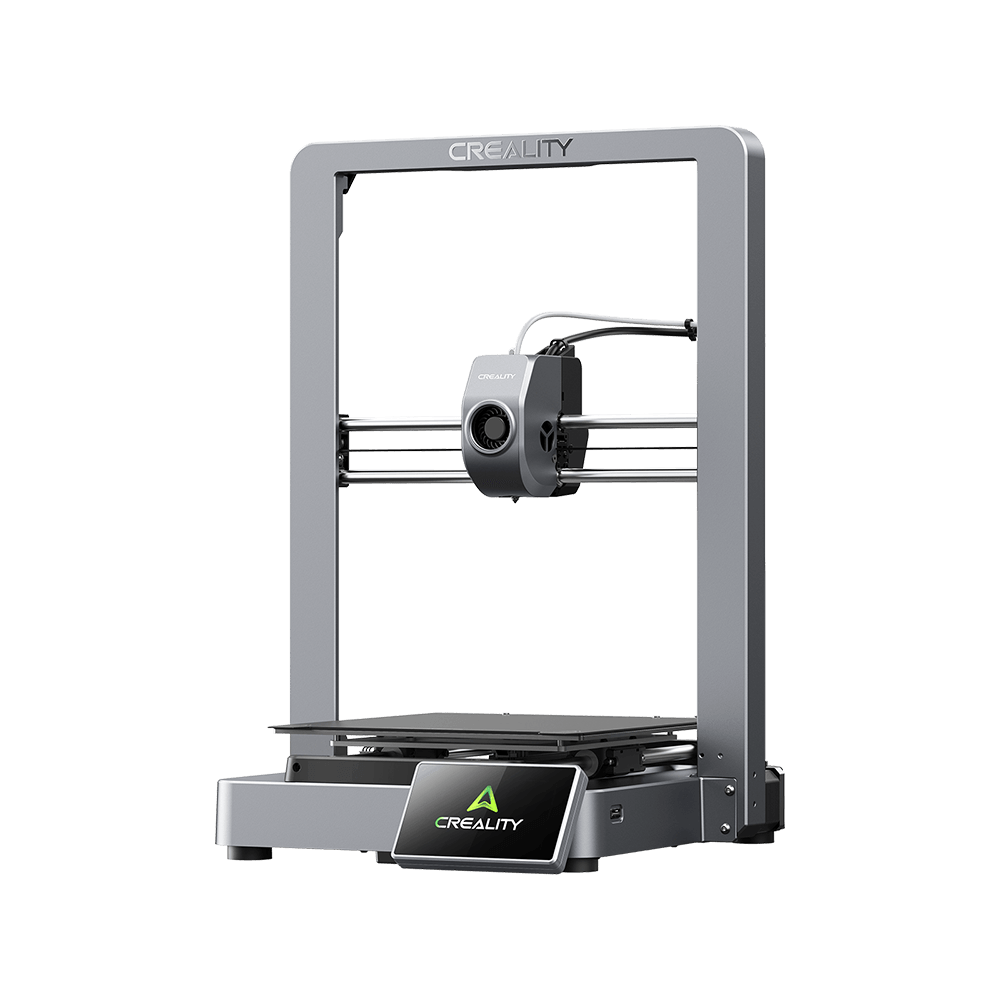

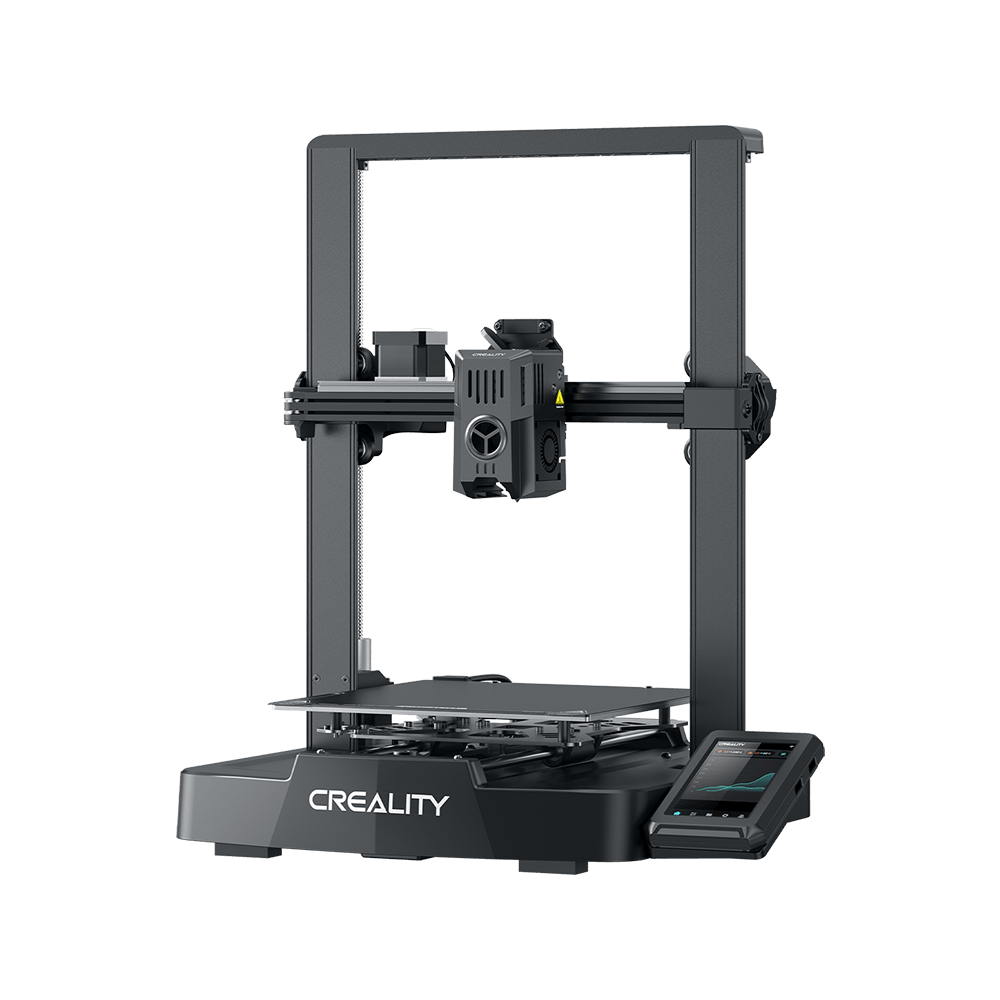
3D printers will definitely work better and avoid unnecessary repair if properly maintained. Creality Ender-3 is always a must-pick-up for 3D printing enthusiasts and hobbyists since its release. In this case, we would like to make it clear what routine maintenance is required on your Ender-3, so as to make Creality Ender-3 serve your needs.
Taking about 10 mins to do the cleaning and adjusting is always a good thing to do. Now, let’s probe into more details!
Check Your Ender-3 X and Y Belts
For the Ender 3's X and also Y axes, you'll intend to examine the stress on the belts that move the print head left and right, and the warmed bed back and forth. The up and down movement is not controlled by a belt, however, rather utilizes worm gear. The belts for X and also Y must be limited like a guitar string. They should "twang" when you pluck them.
To evaluate them, take the bigger Allen trick that came with the printer, and also tweeze the belt. Tightening is not that simple. There are two locking screws that hold the stress wheel in position. Loosen up these. You'll locate that the belt is extremely droopy currently. To tighten up, you can utilize a pair of pliers or Allen wrench as well as pry back the wheel till it tensions the belt rather firmly. It is under tension, you can tighten up those 2 bolts to keep the wheel in the tensioned state. It's as easy as that.
Do the exact same for both the Y and the X belts, if they need to be adjusted. Twang the belt first. Disregard them if they're already tight. If they need readjusting, do it again. You might need an added collection of hands to aid if you find that you adjusted them but that they're still loose. One person can tension back the wheel while the other person tightens up the bolts. Try once more if it does not function the initial time.
With a well-changed collection of belts, you will discover that your final prints have much less pattern on smooth surfaces. The quality of the print will certainly be a bit much better, which's constantly an advantage!
Clean Out Fans on Your Ender-3
There are 2 fans on the shadow around the hot end of the Ender 3. Power off your Ender-3, and then remove both mount screws on the shadow, as well as very carefully relocate back to reveal the inside of the shadow. Usually, we recommend making use of tweezers to eliminate dirt as well as pet cat hair from inside and on the fan blades. A can of compressed air (utilized for computer systems and also key-board cleaning) can truly assist too.
Activate the power and watch the fans spin up. If there's any type of brand-new material, switch off the printer and also clean the recently disclosed product out. Then change the fan shroud by placing the two screws back in. Guarantee that you do not twist, squeeze, or tension the power cables. When you power on the printer (and the fans) with the shadow replaced, you ought to hear no international object noise from the followers.
There's a fan beneath the cover of the enclosure for the mainboard of the Ender 3. Shut off the power and then remove the cover. This can be more difficult, as you'll have to remove the bed from its bolts as well as raise it to get to the back screw for the cover. Unfortunately, that means that when you reassemble, you'll need to re-level the print bed.
Next, use your compressed air can and air opening to blow out any type of evident substance. You can make a 3D printed fan cover to protect versus anything dropping from the print bed or in from around the print bed.
The paradox of this mod is that you need to have a functioning printer to publish the mod in the first place! As soon as you've printed the fan cover, connect it with the very same two front screws that hold the enclosure closed. When in position, things dropping from the print bed (like little bits of filament) or dust bunnies won't end up falling under the fan. The fan blows up, so dust should be blow out.
Check and Clean Your Ender-3 Hot End
Have a look at the hot end itself when you've obtained the fan shadow off the hot end when you're inspecting the fans. You might discover that you have a build-up of melted filament from a jam or trouble caked around the warm end. It may be simplest to remove this with a small toothpick once the hot end is up around 200 ° C. The offending molten filament is soft (but extremely hot, so beware). Scrape away any deposit and after that power down the printer. Let the warm end cool prior to reassembling everything.
If you find that the Bowden filament feed tube is somehow harmed, this would certainly be a great time to replace that too. The very same write-up connected to ontop has a web link to a set for replacing both television and the two connectors.
Check Your Ender-3 Extruder
The way an Ender 3 works is to force filament into the hot end, where it's extruded with the nozzle. To ensure that to happen, the feed system requires being in excellent repair service. If you ever hear a "beat, beat" noise from the extruder, take a close inspection of it. It might mean that something is obstructed ahead in the hot-end, not allowing the filament to be fed in.
Yet you might not be around if this occurs. It may happen 19 hours into a 22-hour print! If so, you might discover a failed print, but even worse, you might discover that raw filament has been ground right into the extruder gear teeth of the extrusion system on the left side of the printer. You can visually examine this gear without disassembling it. If it appears like brass, and also tidy of plastic deposit, then you're great. If it has residue, then you may need to use a probe to try as well as remove the material.
If it's truly fouled, you might take into consideration dismantling to obtain a much better angle to clean the equipment, or even replace them with a new extruder.
With an easy set of checks, you'll keep your Ender 3 printing for a very long time right into the future. Much better some easy maintenance than costly repair work or replace!
Related Question: How to Change or Clean the Ender-3 Nozzle?
The nozzle is a screw fit under the hot end. You can utilize the supplied or your own wrench (spanner) and untighten the nozzle. If it's hot, let it fall away. Do not attempt to get or hold it, for anxiety of shedding yourself. As soon as you remove it from the hot-end, you can either clean the nozzle or replace the old one with a new nozzle, and then screw it back in. Once again, take care if the hot end is heating. Don’t shed on your own. Tighten up with the wrench (spanner).
The suggested means to clear out an Ender-3 nozzle is to heat it up, then, using a wooden mixed drink stick or toothpick, push out or choose any staying melted filament. Right here we also recommend replacing the nozzle with a fresh 0.4 mm nozzle. The other reliable approach is to get rid of the filament, after that heat the nozzle to the maximum on the Ender 3, and leave it to trickle clean over the duration of 5 to ten minutes, then reload the filament.