
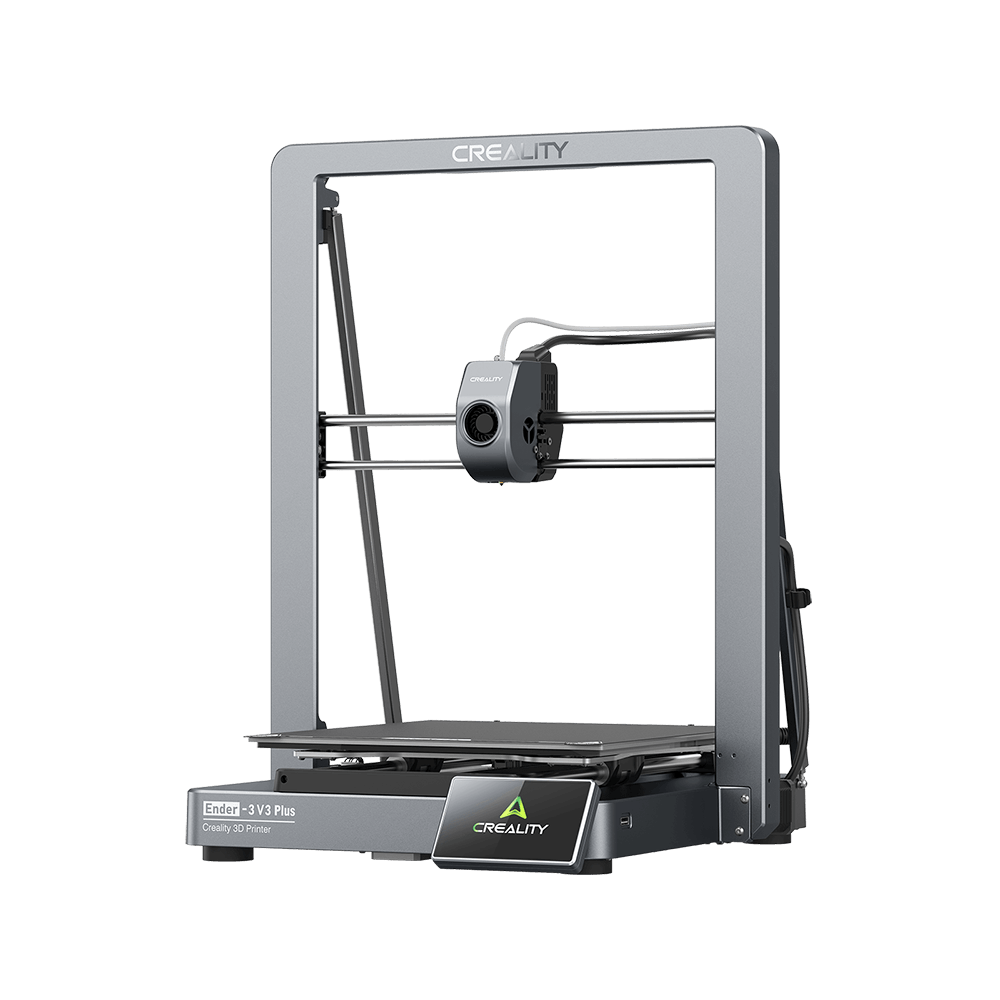
Creality Ender 3 is currently one of the most preferred hobby 3D printers as a result of its small cost factor and exquisite print quality. Actually, this equipment can print with a huge selection of products. Here's a shortlist of what is qualified on your Ender 3 3d printer:
PLA/PLA+/ Exotic PLA(Polylactic acid): The best filament for the majority of customers. This filament can print at reduced temperatures, has unbelievable toughness, no warpage, little stringing, and good bed bond.
ABS: High-temperature resistance and versatility under strain, but can launch hazardous fumes as well as normally calls for a room to restrict warping.
PETG: This filament has comparable printability to PLA while still having high warm resistance as well as elasticity under pressure. Although, it can have minor stringing issues. Furthermore, the optical clarity of PETG filament is remarkable.
There you have it: The Ender 3 is a proficient machine also when maintained to the supplied setup.
What makes more unique filaments such as polypropylene as well as polycarbonate off-limits for the Ender 3 is its Bowden type extruder. Making use of the PTFE tube in the Bowden setup limits the temperature range of the hot end. In spite of this, Ender 3's PETG abilities make this printer an excellent addition to anyone's collection.
In the adhering to, we'll provide a number of tips for successful PETG printing on the Ender 3.
# Step 1
1.1 Bed Adhesion
3D printing PETG on the Ender 3 can seem challenging, but with the ideal bed adhesion steps, you can enter this brand-new material easily:
1.2 Bed Temperature
Because of the high melting temperature of PETG, we advise establishing your Ender 3's bed temperature level to between 50 and also 60 ° C.
1.3 Build Surface
The conventional Ender 3 develop surface, BuildTak, is the optimal surface area for printing PETG with the Ender 3. This material will certainly permit you to have an excellent bond while providing a much more all-natural method to get rid of the print as a result of its adaptability. But be warned: A first layer elevation that is too tiny can create PETG to fuse to the print bed, making it easy to damage.
If you have furnished your Ender 3 with a glass build plate, you must lookout. PETG is notorious for adhering to the glass so well that it merges to it. This fusing can be so strong that it removes portions out of the glass bed, completely harming it. If you pick to make use of glass, utilize a slim layer of hairspray, adhesive stick, or specialty bed adhesive.
Treatment the Ender 3's print bed with blue painter's tape is the most effective and simplest method to get PETG to have a safe bed bond in addition to ease of removability. We suggest this technique as your default.
An additional excellent choice is Kapton tape. This tape will give you the exact same advantages of using blue painter's tape, but may not have the exact same amount of bond.
1.4 First Layer Height
Basically, PETG is various from ABS and PLA: We advise retreating from your print bed in 0.02-mm increments up until you get the initial layer height perfect.
# Step 2
1.1 Print Temperature and Fan
3D printing PETG on the Ender 3 can appear overwhelming, however, with the appropriate bed adhesion steps, you can step into this new product easily:
1.2 Bed Temperature
As a result of the high melting temperature level of PETG, we advise setting your Ender 3's bed temperature between 50 and 60 ° C.
1.3 Build Surface
The standard Ender 3 develop the surface area, BuildTak, which is the perfect surface area for printing PETG with Ender 3. This product will certainly enable you to have superb adhesion while supplying a much more natural method to remove the print because of its versatility. Yet be advised: An initial layer height that is also little can create PETG to fuse to the print bed, making it very easy to damage.
You ought to view out if you have outfitted your Ender 3 3d printer with glass to develop the plate. PETG is well-known for adhering to the glass so well that it merges to it. This fusing can be so strong that it gets rid of portions out of the glass bed, permanently damaging it. If you pick to use glass, use a slim layer of hairspray, adhesive stick, or specialty bed adhesive.
Treatment of the Ender 3's print bed with blue painter's tape is the most effective and also most convenient method to get PETG to have a safe and secure bed bond along with ease of removability. We advise this method as your default.
One more excellent option is Kapton tape. This tape will certainly give you the very same benefits of using blue painter's tape, however, it might not have the same amount of adhesion.
1.4 Initial Layer Height
Basically, PETG is different from ABS as well as PLA: We advise retreating from your print bed in 0.02-mm increments until you obtain the first layer elevation just right.
# Step 3
1.1 Print Speed
It has more of a liquified state that permits it to flow even more readily than various other filament types when PETG obtains hot. When printing, the thickness of the filament makes it much more temperamental than others. Right here are our referrals for Ender 3 PETG printing:
Maintain your retraction speed reduced, at 40 mm/s or less.
Maintain retraction distance comparable to PLA, around 6 mm.
Maintain print speed between 30 and 50 mm/s.
As you can see, these worths are very comparable to those of PLA, for this reason, the popularity of PETG. If you've tried numerous various retraction sizes and also can not get it ideal, try differing retraction rates.
1.2 Wrapping Up
The benefits of PETG are plentiful. You obtain the strength of ABS with the printability of PLA. Further, PETG can be food-safe and also has a greater warm resistance than PLA. You'll find the Ender 3 is an excellent device to print this product with as soon as you get the print setups dialed properly.
We wish you've appreciated our overview of 3D printing with PETG on Ender 3. While the filament can be tricky to solve, we really hope that this quick overview shows valuable as you start your adventures with PETG. As always, happy 3D printing!