

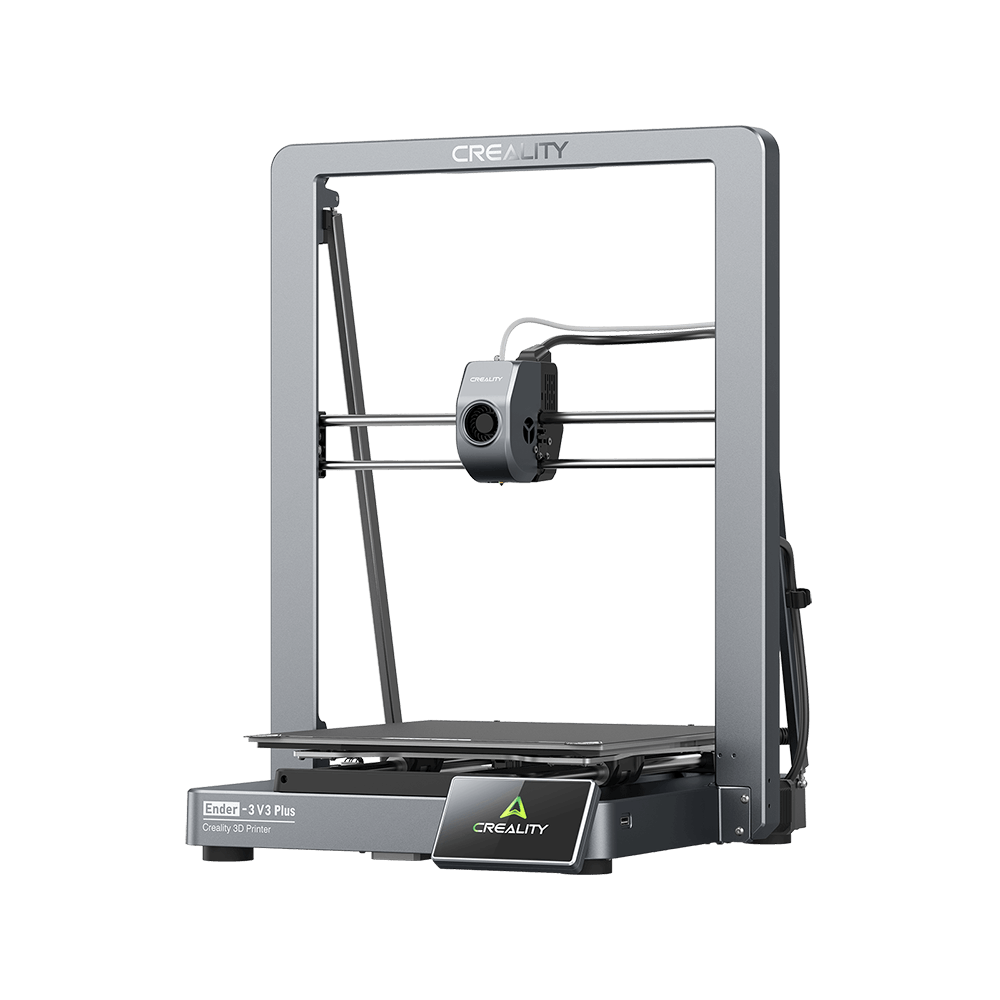
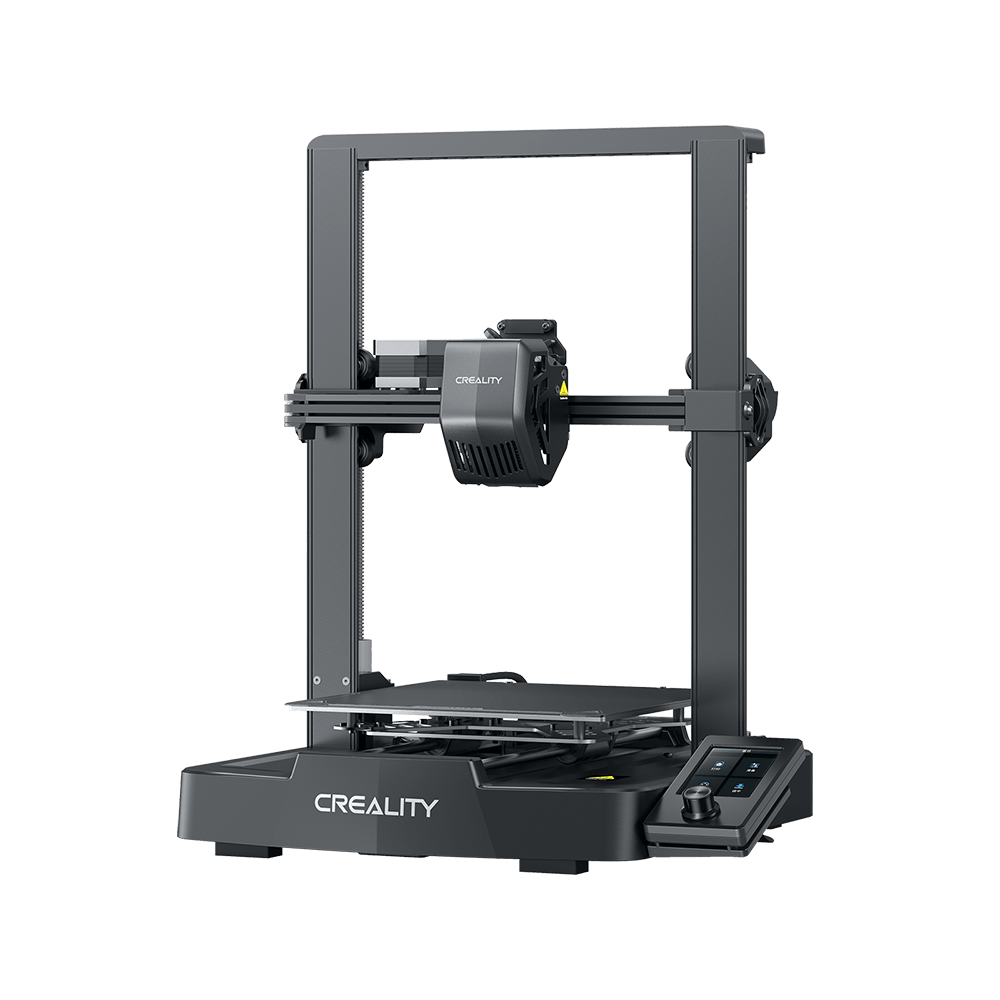
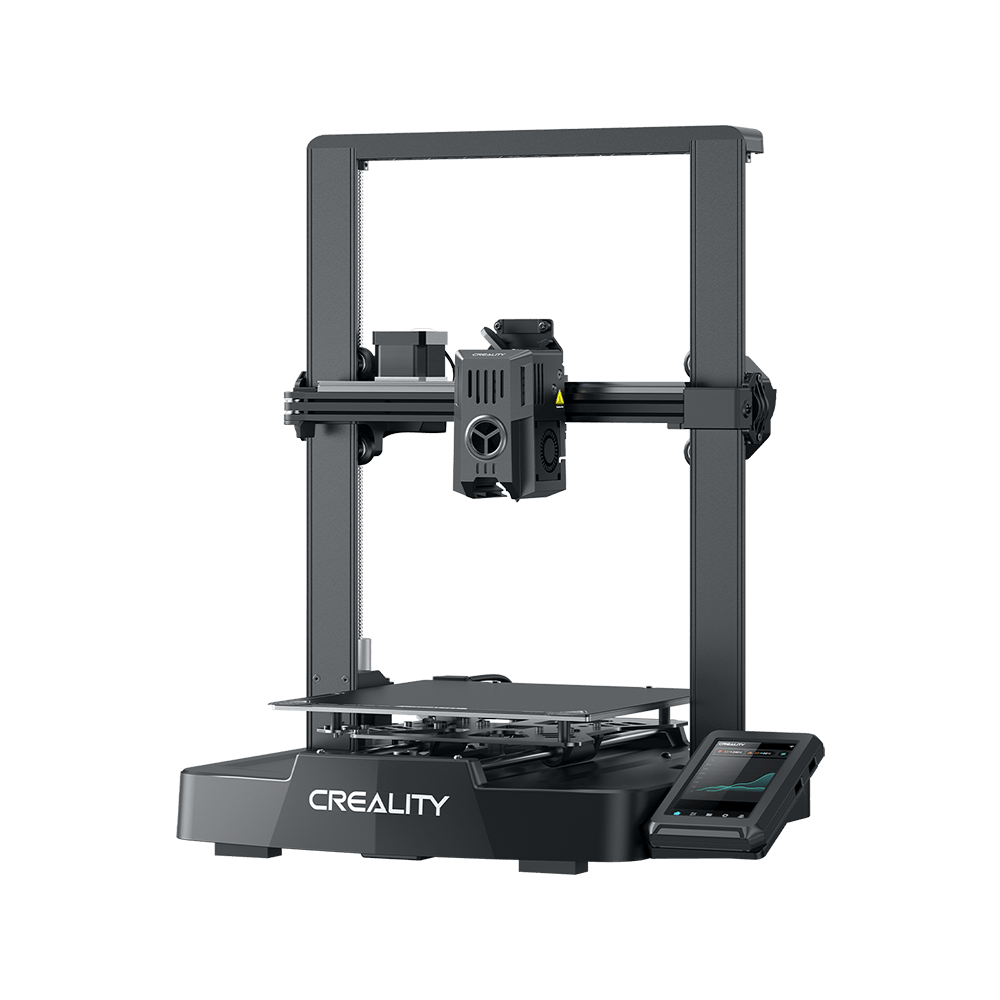
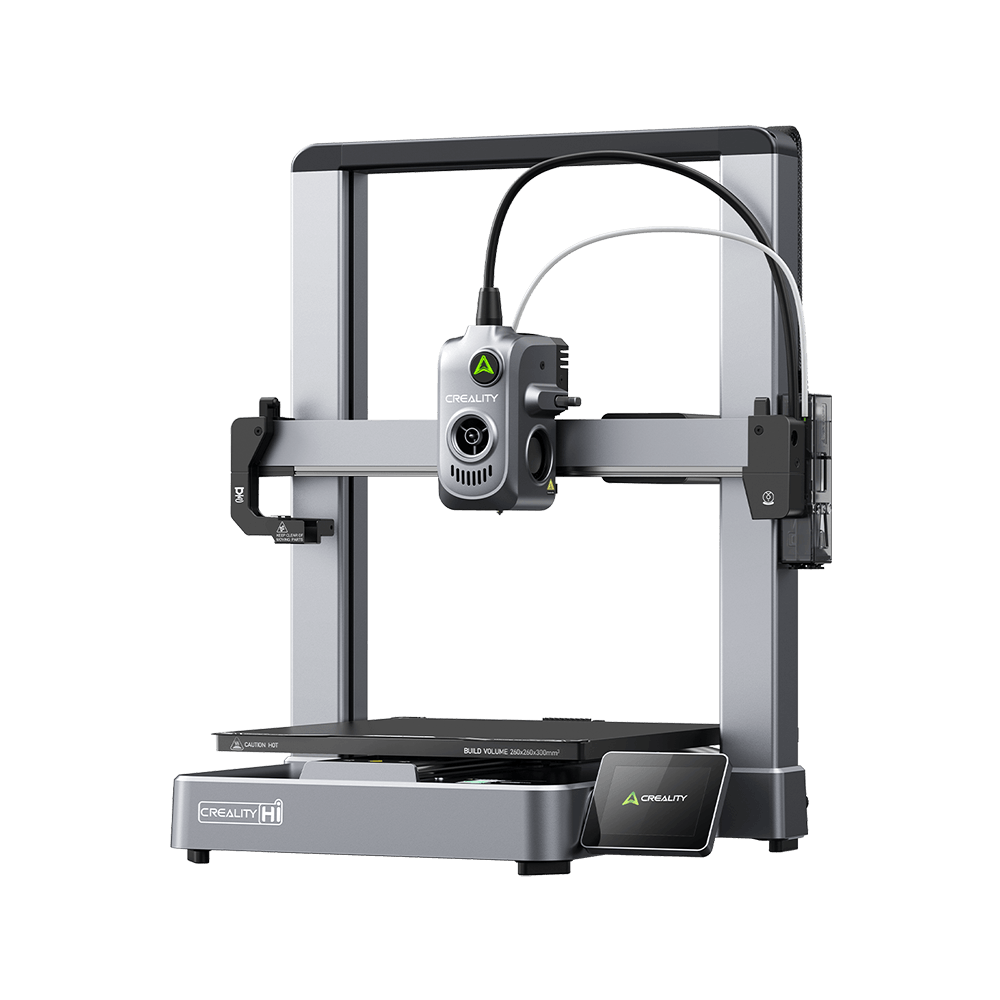

I love my Creality Ender 3 S1. It prints well out of the box, and the new Sprite extruder is great. But it can be further improved using Klipper Firmware. In this guide, I will show you how to install Klipper on the Ender 3 S1.
What is Klipper?

Klipper is an open-source firmware for your 3D printer that combines the power of a Raspberry Pi and your printer mainboard for better printer control. By doing this, you are able to run your printer at higher speeds with better precision and control.
Why Install Klipper on Creality Ender 3 S1?
By installing Klipper on the Ender 3 S1, you will be able to print faster compared to a stock printer, and you will also be able to control your printer remotely through Wi-Fi using a Web interface. The main reason to install Klipper is to use Pressure Advance and Input Shaper, which will further improve the capabilities of the new Sprite extruder from Creality.
I also attached a video where you can see the Ender 3 S1 running Klipper, printing at 150mm/s, 0.15 mm layer height with 3500 acceleration (realistically, it’s probably printing at 100mm/s). This is probably the maximum printing speed you can achieve with the stock configuration. The main limiting factor would be the hotend which is not able to keep up with the high flow rate. I will update the guide after I upgrade to a CHT nozzle.
Here are some test prints with Klipper on Ender 3 S1, check it now.
Prerequisites & Before you begin
Install Mainsail or Fluidd
Before we begin, we need to install the web interface for our Klipper setup. I recommend installing MainsailOS because it is actively developed and it’s easy to use, but you can also install Fluidd.
Prepare and install Klipper firmware for Ender 3 S1
Configure Klipper for Ender 3 S1
Open Putty, enter the IP of your Raspberry Pi then click Open.
In the Login prompt, you need to enter the credentials for MainsailOS. The default user is pi and the password is raspberry. Please note that the password will not be shown when typing.
Now you are in the SSH console of your MainsailOS install. Enter the Klipper folder:
cd klipperOpen the Klipper Firmware Configuration screen using the following command:
make menuconfigThe Klipper Firmware Configuration screen will appear. Using your navigation keys, move through the menus and replicate the same settings I used.
When finished, press Q then Y to save your configuration. Now run the following command to start building the firmware:
makeThe build process will start and when finished, the firmware will be ready to install. For the Creality Ender 3 S1, we need to install it from the SD card.
Ender 3 with STM32F401 chip
This section is only for machines using STM32F401 chip. You can check the type of CPU by removing the bottom cover and inspecting the board. If you don’t have this chip, you can skip past this.
Creality started shipping some Ender 3 S1s with F401 CPUs. If your printer is running a STM32F401 CPU, you need to use the following settings. Please note that I have not tested this configuration, because I don’t have an F401 board on my S1.
Please note that you might also need to copy the klipper.bin firmware in a STM32F4_UPDATE folder on your SD card. Other than that, the rest of the settings should be similar to the regular F103 boards.
How to flash Klipper firmware on Ender 3 S1
First, connect via SFTP to your Raspberry Pi. I use WinSCP. Enter the IP, username and password just like you did for Putty, then click on Login.
Navigate to /home/pi/klipper/out and copy the klipper.bin file on an SD card.
Next, plug the SD card in your printer and turn it on. The installation process takes about 10 seconds. I recommend you wait for a minute, then remove the SD card and restart your printer.
Copy the Ender 3 S1 Klipper config file
Finally, you just need to connect Klipper to your printer. This is super easy. You just need to go back on your Mainsail Dashboard, click on the Power button in the top right corner then click on Firmware Restart.
This action will trigger the connection between the Klipper service running on Mainsail and the Ender 3 S1 firmware we just installed. If all the steps have been followed, then your printer will connect, and you will be greeted by this interface.
Feel free to home the printer first, to make sure everything is running correctly. Heat up the nozzle and heatbed and check if the temperature rises as expected. If everything looks good, I recommend starting the calibration process for Z offset, Pressure Advance, and Input Shaper.
My configured values should work well, but it doesn’t hurt to double-check.
Source by 3dprintbeginner: https://3dprintbeginner.com/how-to-install-klipper-on-ender-3-s1/.