


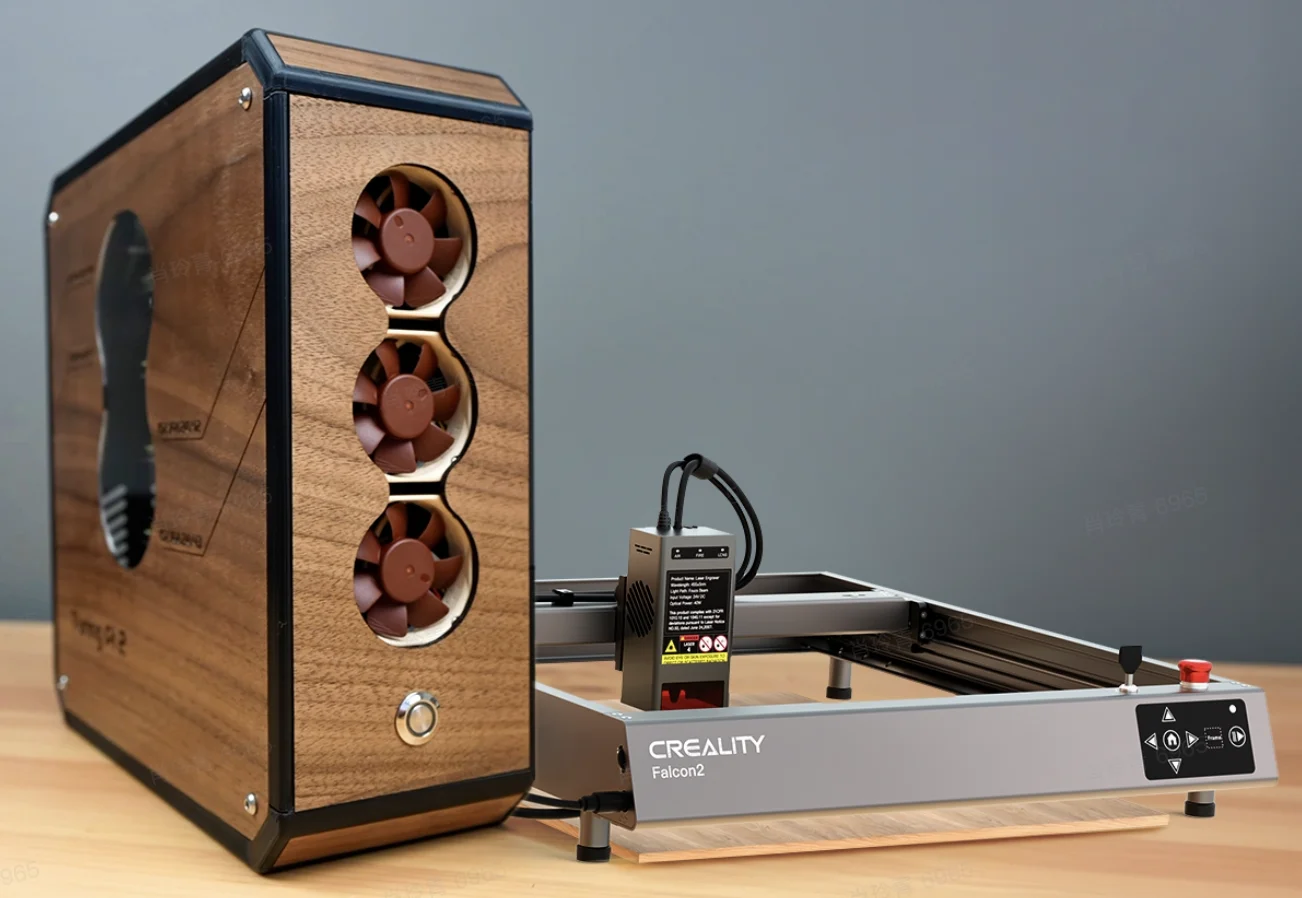
Today we will use the Creality Falcon2 40W laser cutting engraver to make up a mini RTX computer case for maturing part 2.
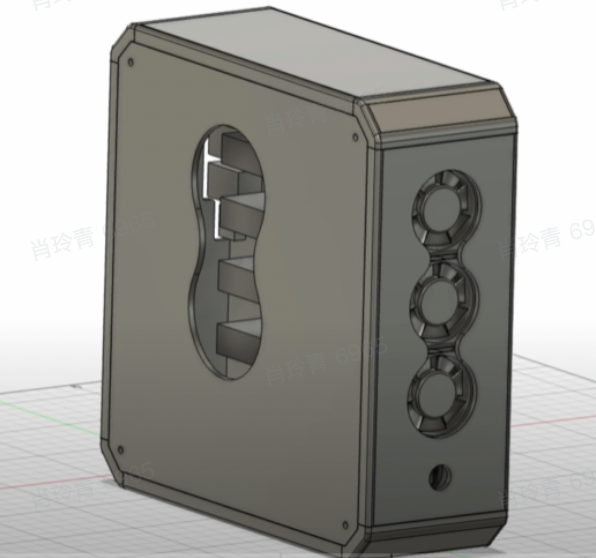
1. Use Fusion 360 to design a frame to hold the plywood panels.
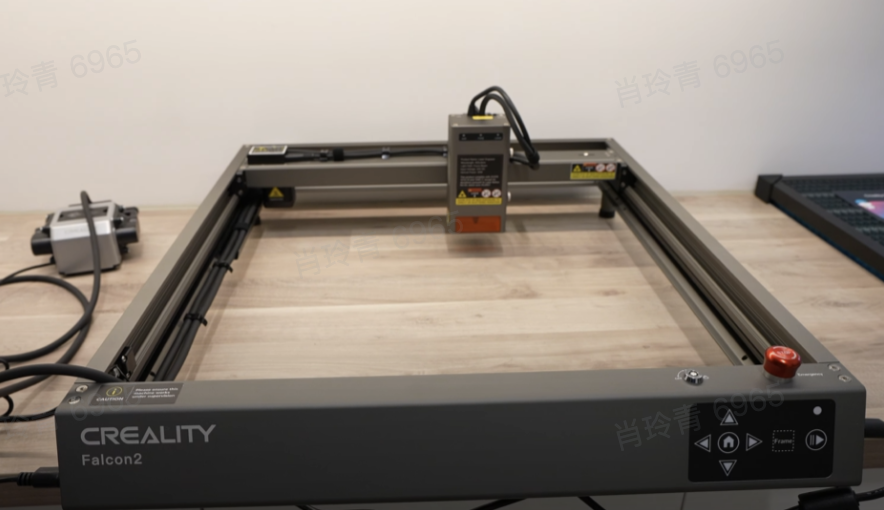
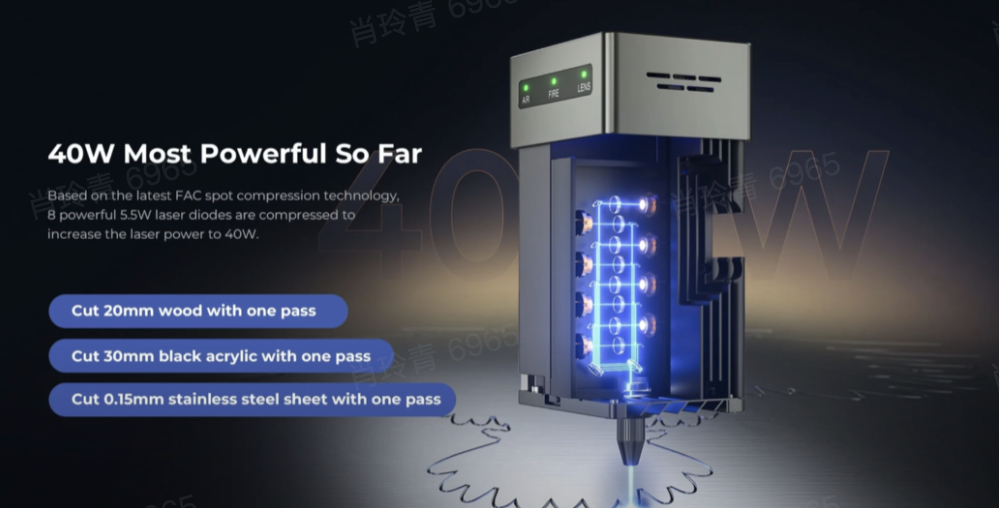
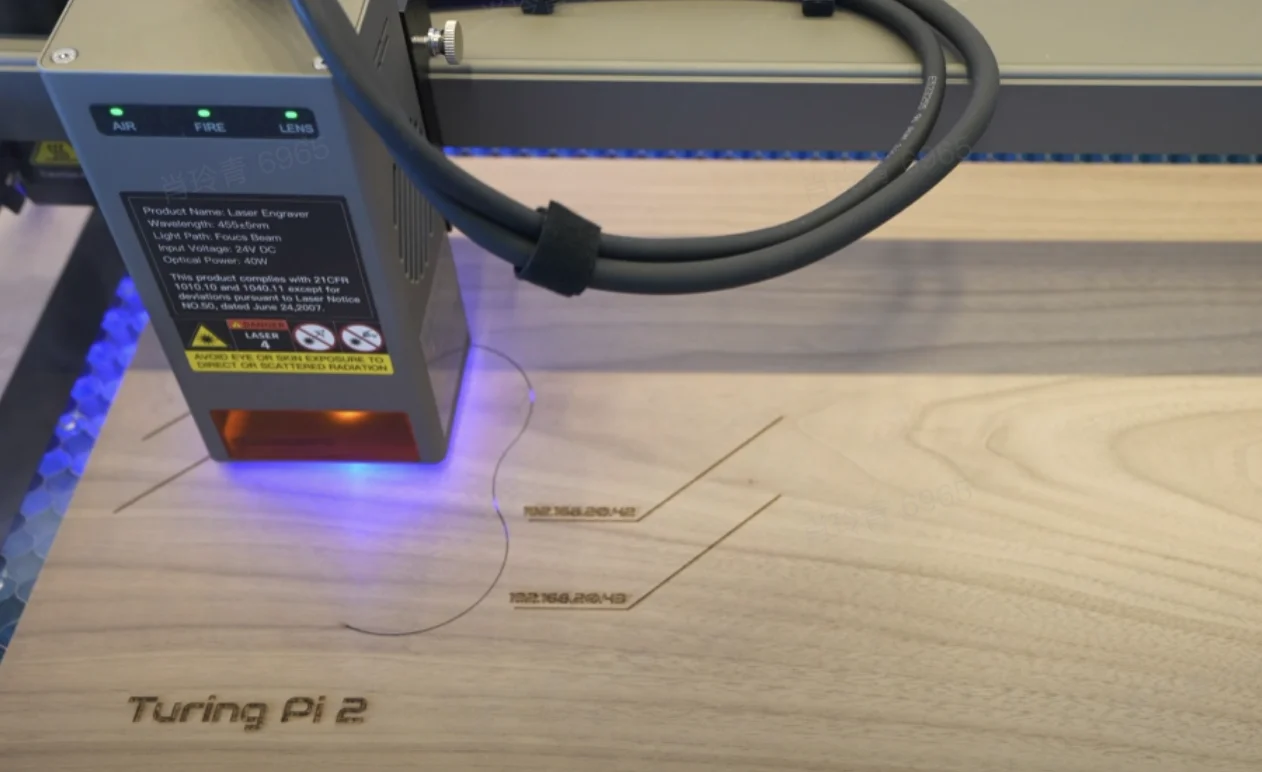
2. The Creality Falcon2 is an open Gantry style laser from Creality, with a new powerful 40W diode laser module.
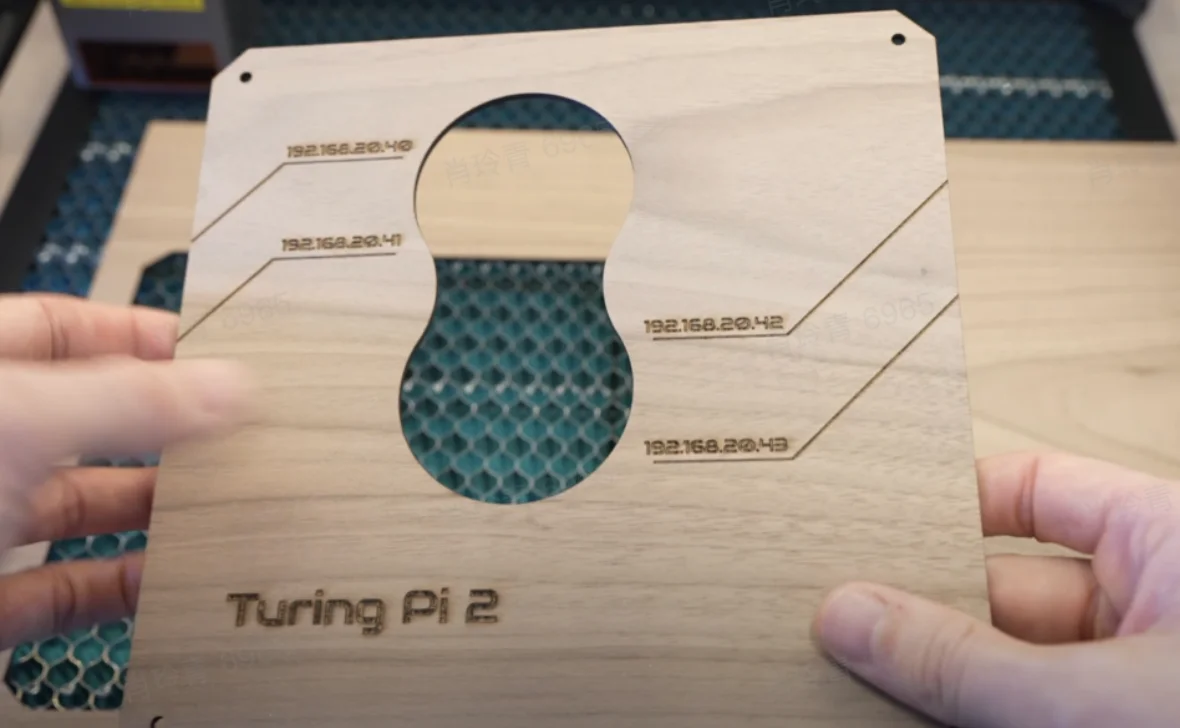
3. The Falcon2 40W accounts for this by allowing two modes a normal mode which is a more powerful mode with a larger spot size, and then a precise mode which has less power but also a smaller spot size, the smaller spot size means you're cutting less material away so your cuts are more dimensionally accurate, in this design we're going to do some engraving on the large main panel to make use of both of these modes.
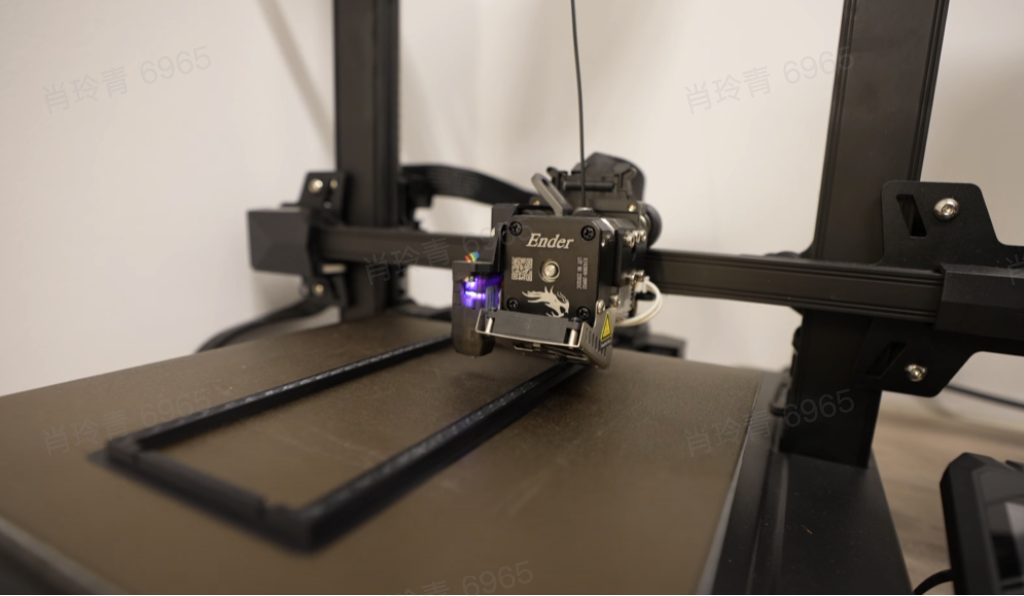
4. Started by 3D printing the frame components on Macreality inner 3s1 Pro.
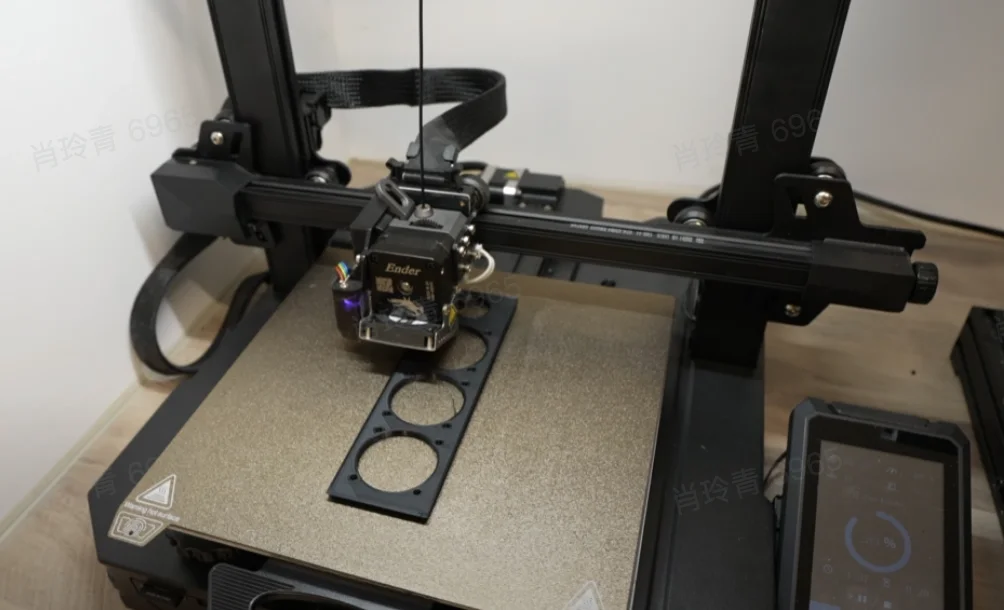
5. We'll also need to print a fan holder while those are printing. Let's get the plywood panels made up on the Falcon2.
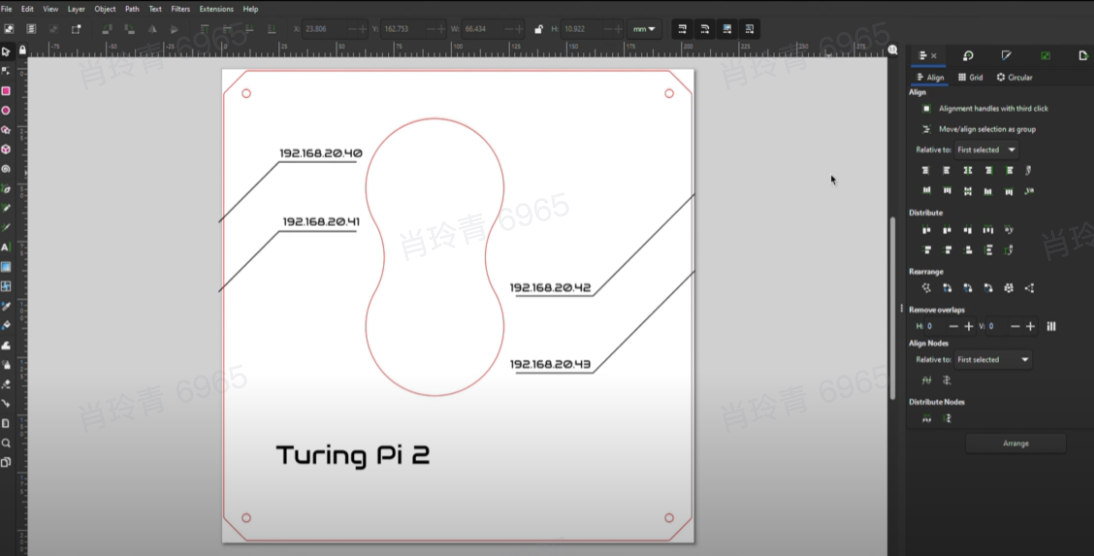
6. We opened the main site panel up in Inkscape to add some details to engrave.
7. Next, we can turn the air assist back on and set the laser back to normal to cut.
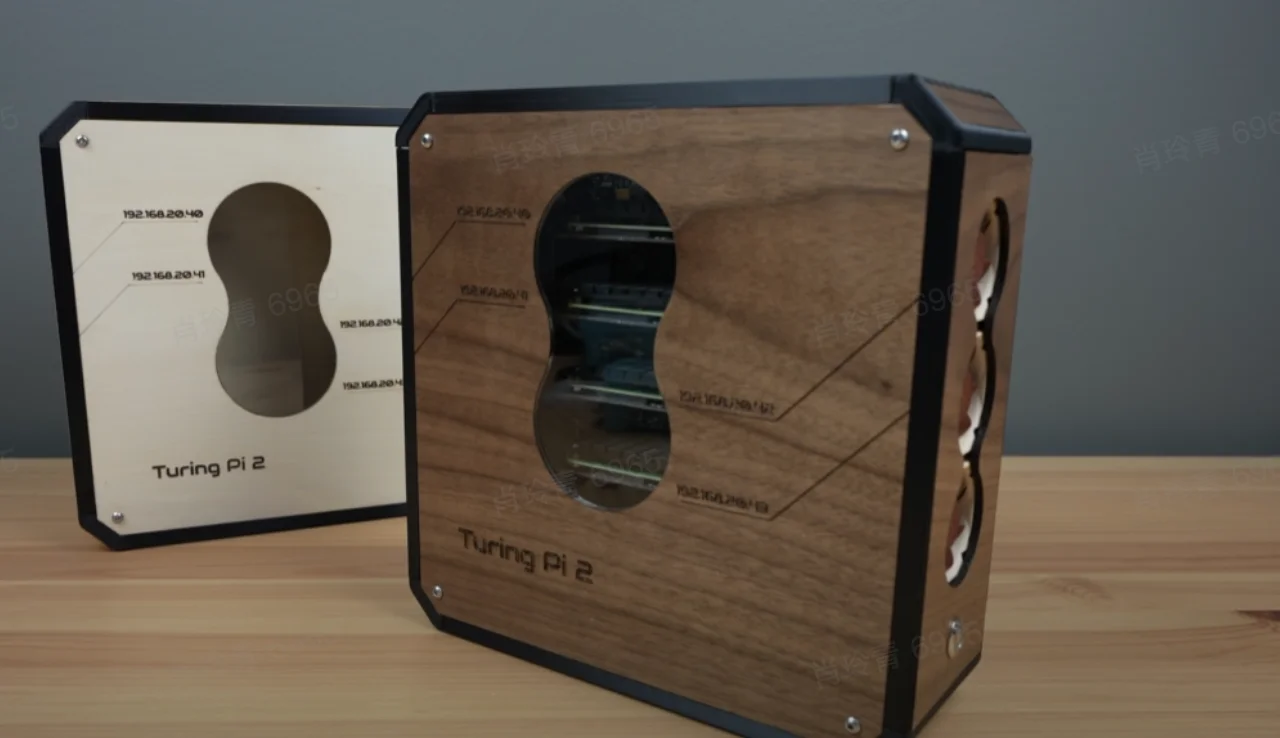
8. Fit into the 3D printed parts and come together to form the complete case.
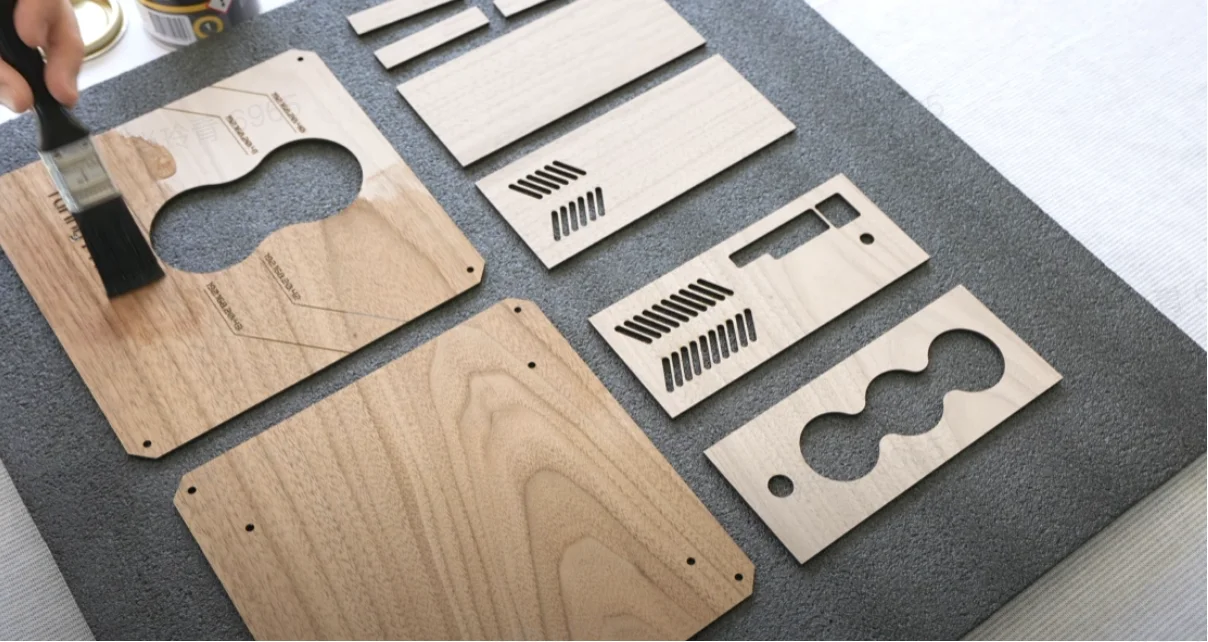
9. Finish them off with a coat of satin varnish.
10. Finish the work.
Do you wanna give it a try?
Note:The Mini ITX Computer Case Made by Youtuber Michael Klements,thanks for supporting and sharing: https://www.youtube.com/watch?v=Naja57pjy5g&t=622s