Introduction
1. How Does a 3D Printer Work?
Additive Manufacturing
3d Printing Procedure
Create or Find a Design
Slice the Design
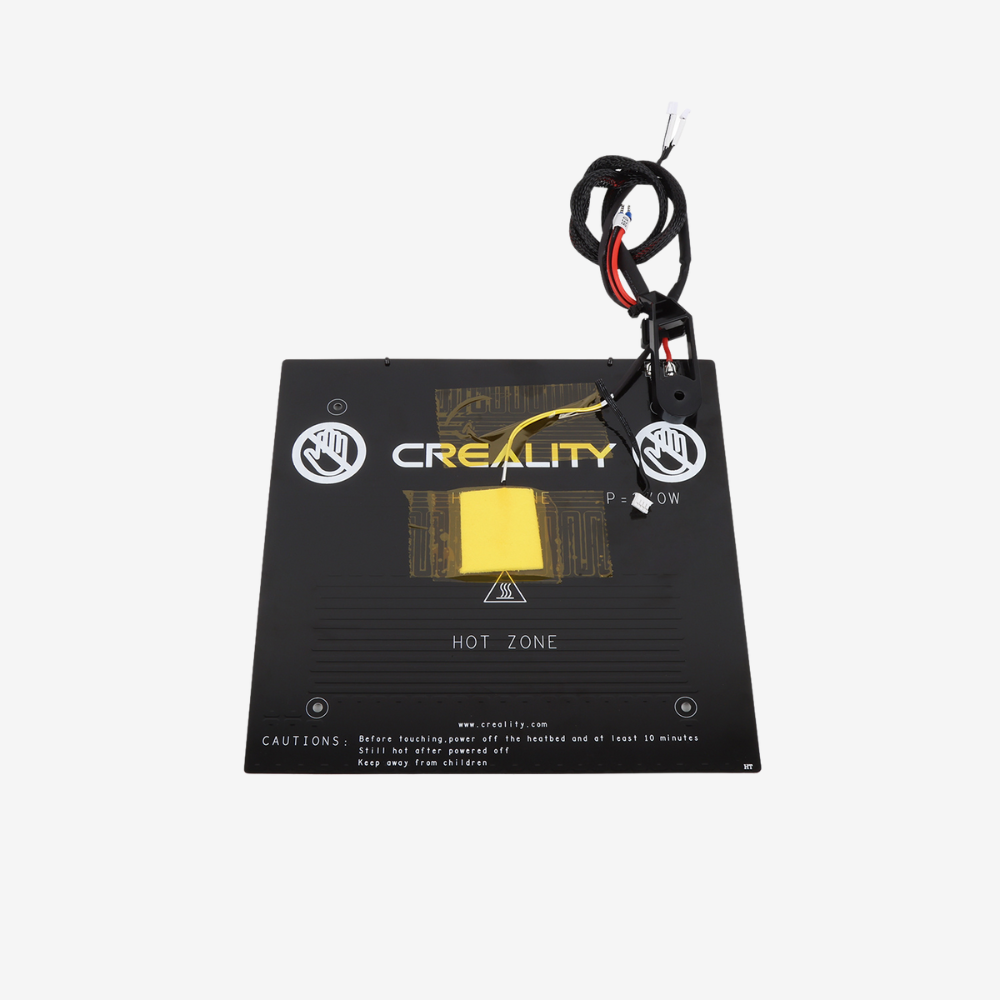
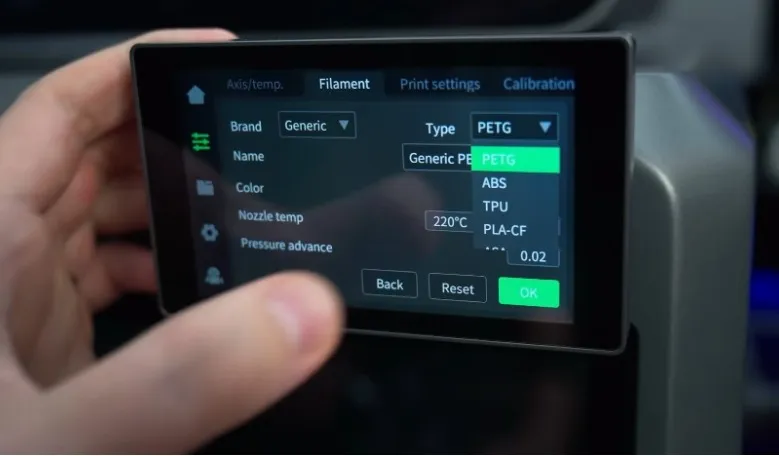
Prepare the Creality 3D printer and filament
Monitor the 3d printing procedure
Post-Process the Final Piece
After printing, remove the object, clean it, and complete necessary post-processing, such as removing supports or assembling components, to finish your creation.
2. Choose the Right 3D Printer and Printing Materials
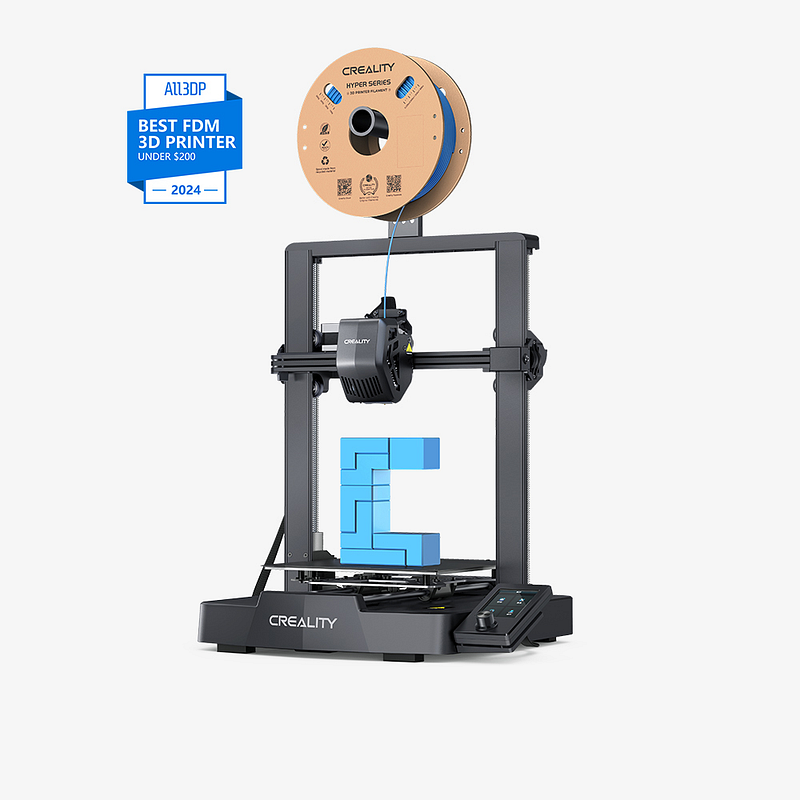
Best Creality 3D Printers for Beginners
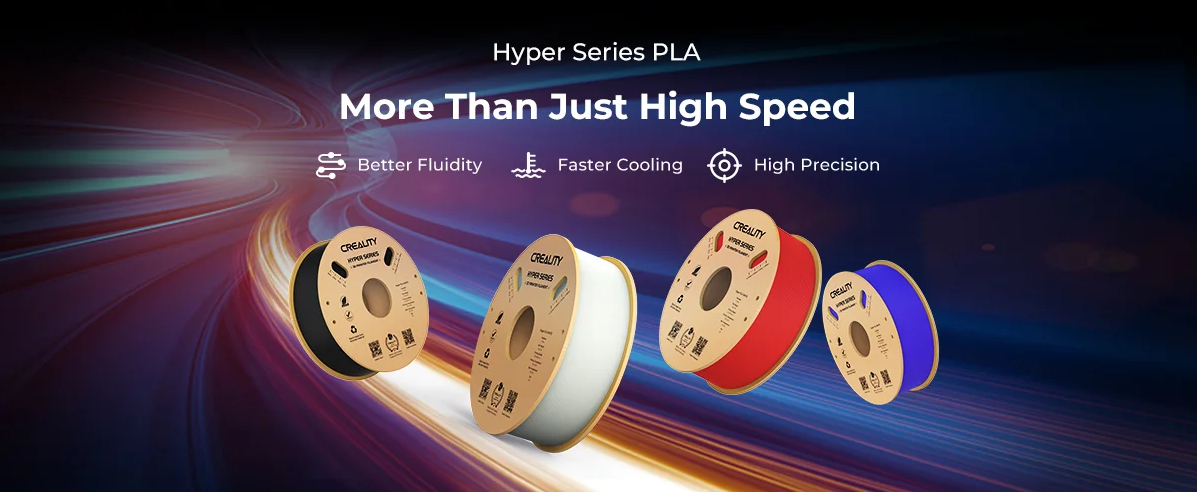
3D Printing Filament
|
Categories
|
Features
|
UV Resistance
|
Temperature Resistance
|
Suitable Applications
|
Recommended Settings
|
|
PLA
|
Easy to print, ideal for beginners
|
Low
|
Low (deforms below 40°C)
|
Toys, short-term outdoor projects
|
Extruder Temp: 180-220°C; Bed Temp: 50-60°C
|
|
PETG
|
High impact resistance, flexible, durable
|
Moderate |
Moderate (withstands certain temperature variations)
|
Outdoor equipment, stress-bearing parts
|
Extruder Temp: 245±10°C; Bed Temp: 60±10°C
|
|
ABS
|
High strength, durable, but prone to warping
|
Low
|
High (poor heat resistance)
|
Outdoor equipment, automotive parts (minimal UV exposure)
|
Extruder Temp: 220-250°C; Bed Temp: 90-110°C
|
|
ASA
|
High UV resistance, temperature and moisture resistant, durable
|
High
|
High (withstands extreme temperature changes)
|
Outdoor furniture, equipment, mechanical parts
|
Extruder Temp: 240±10°C; Bed Temp: 95±10°C
|
|
TPU
|
Flexible, impact-resistant, chemically resistant
|
Low
|
Moderate (less suited to high temperatures)
|
Flexible parts (e.g., seals, gaskets)
|
Extruder Temp: 250±10°C; Bed Temp: 50±10°C
|
3. 3D Printer Set Up
How to Set Up Your 3D Printer:
How to connect a 3D printer to a computer:
Auto Leveling 3D printer:
Multi-Material Printing Feature:

4. Prepare for Your First 3D Print
Creality Slicer
Adjusting 3D Printing Speed Settings for Optimal Performance
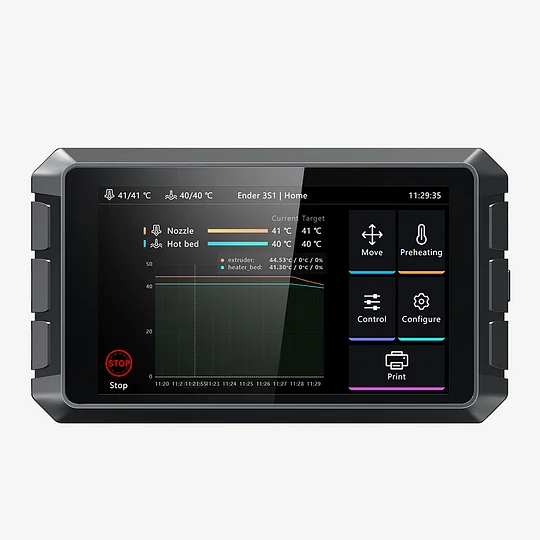
5. Start Printing and Monitor the Process
Ensuring a Perfect First Layer when starting 3D Printing
Top 9 3D Printing Troubleshooting Guide: Our Verdict and Solutions
|
Top
|
Descriptions
|
Our Verdict
|
| 1 |
Under Extrusion
|
Addressing Under-Extrusion in 3D Printing
Under-extrusion occurs when the filament is too cool to bond properly, causing weak, fragile prints. To resolve this, check the nozzle for clogs and gradually increase the hotend temperature in 5°C increments until achieving optimal flow and part strength.
|
| 2 |
Incorrectly Leveled Bed
|
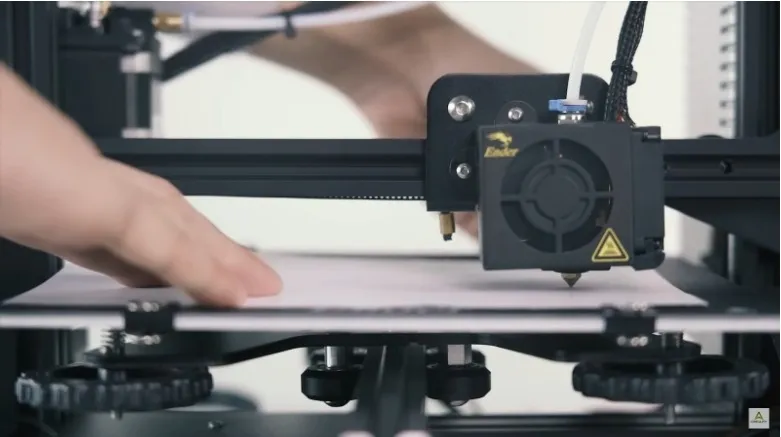
Quick Guide to Leveling Your 3D Printer Bed
Place folded paper under the nozzle and home the hotend. If the paper slides too freely, the nozzle is too high;
if it resists heavily, the nozzle is too low. Adjust bed height using an Allen key: loosen screws to raise, tighten to lower.
Repeat for all four corners to ensure consistent leveling for better print quality.
|
| 3 |
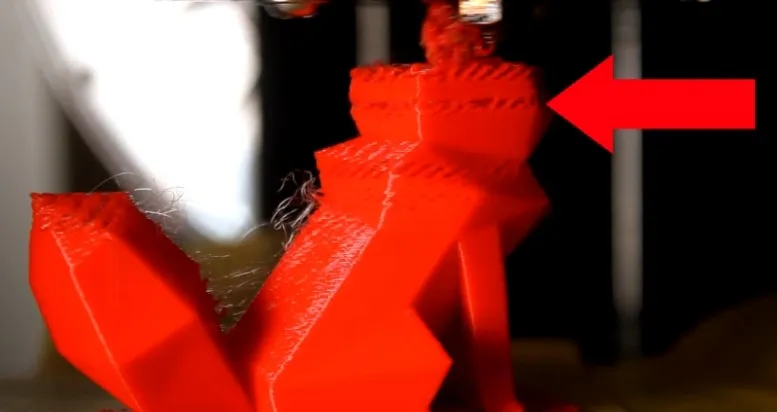
Stringing or Oozing
|
Fixing Stringing or Oozing
Stringing happens when plastic leaks during travel moves. Solutions include:
Enable Retraction: Activate retraction to pull filament back. Adjust distance (e.g., 0.5–2mm for direct-drive, up to 15mm for Bowden) and speed (1200–6000 mm/min).
Lower Temperature: Reduce nozzle temperature by 5–10°C to prevent excessive oozing.
Optimize Travel: Use "Avoid crossing outline for travel" to shorten travel paths and boost X/Y axis speed to minimize leakage time.
|
| 4 |
Gaps Between Infill and Outline
|
Fixing Gaps Between Infill and Outline
Gaps between infill and outline occur due to insufficient bonding. Increase Outline Overlap (e.g., from 20% to 30%) to enhance adhesion. If gaps persist, reduce print speed (e.g., from 60 mm/s to 30 mm/s) to allow better bonding, then gradually raise it once resolved.
|
| 5 |
Bed Adhesion
|
Achieving Optimal Bed Adhesion for Different Materials
For strong PLA adhesion, apply dollar-store hair gel on heated glass or use a 0–50°C bed with PET tape, uncovered glass, or Elmer's Glue. For ABS, print at 220°C with a 110°C heated bed to ensure reliable bonding.
|
| 6 |
Stops Extruding Mid Print
|
Fixing Mid-Print Extrusion Stops
If extrusion stops mid-print, check for these issues:
Out of Filament: Ensure the spool isn't empty; replace if necessary.
Stripped Filament: If the extruder motor spins but filament doesn’t move, reduce print speed or extrusion rate to prevent grinding.
Clogged Extruder: Inspect the nozzle for dust or debris on the filament; clean or unclog as needed.
Overheated Motor Driver: If the extruder motor halts while the toolhead moves, cool the electronics by turning off the printer or adding a fan to prevent thermal cutoffs.
|
| 7 |
Warping
|
Warping happens when parts shrink as they cool, causing them to curl and detach. This is common with materials like ABS. Solutions include:
Heated Bed: Set the bed to 100-120°C for ABS to reduce shrinkage.
Disable Cooling Fans: Turn off cooling fans to keep layers warm and minimize warping.
Heated Enclosure: Use an enclosure to regulate temperature and prevent warping in taller prints.
Brims and Rafts: Add a brim or raft to secure edges and reduce curling.
|
| 8 |
Vibrations and Ringing
|
Ringing, caused by vibrations during sudden direction changes, can be reduced by:
Lowering Print Speed: Reduce both "Default Printing Speed" and "X/Y Axis Movement Speed" in the "Speeds" tab.
Adjusting Firmware Acceleration: Set slower acceleration for smoother direction changes.
Fixing Mechanical Issues: Check for loose screws or damaged parts causing vibrations.
|
| 9 |
Inconsistent Extrusion
|
Inconsistent extrusion affects print quality. Common solutions include:
Filament Issues: Ensure the spool rotates freely and the Bowden tube is clear.
Clogged Extruder: Use Simplify3D’s manual extrusion to check and clean the nozzle.
Low Layer Height: Avoid extremely low layer heights like 0.01mm; adjust to a reasonable value.
Extrusion Width: Set extrusion width to 100-150% of the nozzle diameter.
Filament Quality: Use high-quality, moisture-free filament.
Mechanical Issues: Adjust the extruder’s drive gear tension if too loose.
|
Stringing or Oozing
Advanced Tips to Optimize 3D Printing Speed Without Sacrificing Quality
Use a Larger Nozzle: Switching to a larger nozzle can significantly speed up your prints while still achieving adequate detail for many applications.
Increase Layer Height: Adjust your layer height to up to 80% of your nozzle size for faster prints. For example, with a 0.4 mm nozzle, you can set the layer height to a maximum of 0.32 mm.
6. Post-Processing and Maintenance
Post-Processing in 3D Printing: Refining and Enhancing Prints:
Essential 3D Printer Maintenance Tips to Keep It in Top Condition
Clean the Nozzle and Hot End
Calibrate the Print Bed
Inspect and Adjust Moving Parts
Monitor Filament Quality
Keep the Printer Clean
Check Extruder and Bowden Tube
7. Do it yourself 3D Printer Kits and Upgrade
Pros: DIY kits come with all necessary components—electronics, structural parts, bolts, screws, and wiring—ensuring compatibility. They typically include manuals, community support, and sometimes technical assistance, simplifying assembly. Buying a kit can also be more cost-effective than purchasing parts separately.
Cons: However, many kits have limited customization options and can be difficult to upgrade due to hardware or software restrictions. These factors may limit the printer’s long-term adaptability.
Creality DIY 3D printer Kit Upgrades