


"How do I make my 3D prints smooth?" and "Why are my 3D prints not too smooth?" Are these problems bothering you? Learning how to smooth 3D prints can elevate your projects from mediocre to exceptional, regardless of your level of experience. Every method to smooth out 3D prints is covered in this guide, including resin coating, chemical techniques, and sanding. Just check them out!
Do You Really Need to Smooth a 3D Print?
Smoothing a 3D print may not be an easy task, so consider whether it is intended for display or for a functional use where smoothness is essential. If so, you can determine if smoothing is actually required for your particular model.
However, smoothing your 3D prints has the following benefits for your 3D printed models:
-
Improved appearance: Surface finish is improved and visible layer lines are eliminated.
-
Improved functionality: Reduce friction in moving parts.
-
Professional results: Get the surface ready for 3D models painting or showcasing.
-
Better prototyping: Stakeholders and clients demand well-designed models.
Best Smoothing Methods for Different Filaments
When it comes to smoothing 3D prints, one size does not fit all. Different filaments require unique approaches to achieve optimal results.
|
Material
|
Sanding
|
Chemical Smoothing
|
Heat Smoothing
|
Resin Coating
|
| PLA | Yes |
Limited (Ethyl Acetate)
|
Risky
|
Yes |
| ABS | Yes |
Excellent (Acetone)
|
Effective
|
Yes |
| PETG | Yes |
Moderate (Dichloromethane)
|
Risky
|
Yes |
| Resin | Yes |
Not needed (already smooth)
|
No
|
Yes |
Tips: Always remember to wear gloves and a mask when working with chemicals.
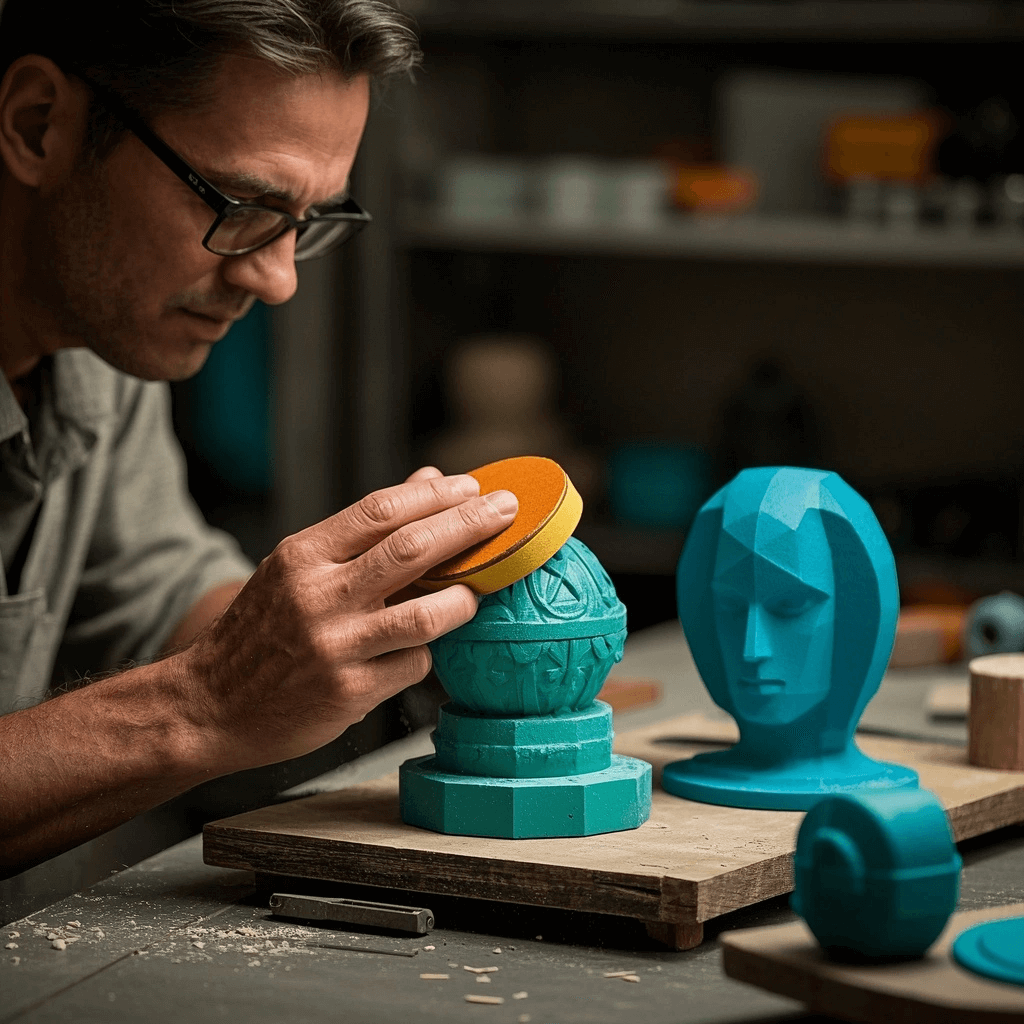
How to Sand 3D Prints (Classic Method)
Sanding is one of the most traditional and accessible methods for smoothing 3D prints, especially for PLA and other similar filaments.
Tools required:
-
Sandpaper (grit levels ranging from 100 to 2000)
-
Sanding block or sponge
-
Water (for wet sanding)
-
Rotary tool (optional)
Step 1: To get rid of big flaws and thick lines, start with coarse grit (100–200 grit).
Step 2: Use 400–600 grit and work your way up to finer grits to smooth the surface. You can polish using 1000–2000 grit if needed.
Step 3: Apply a filler primer after sanding to fill in any remaining gaps before a final sanding pass.
Note: To prevent linear scratches, sanding must be done in a circular motion. A rotary tool can save time and effort when working on complex parts.
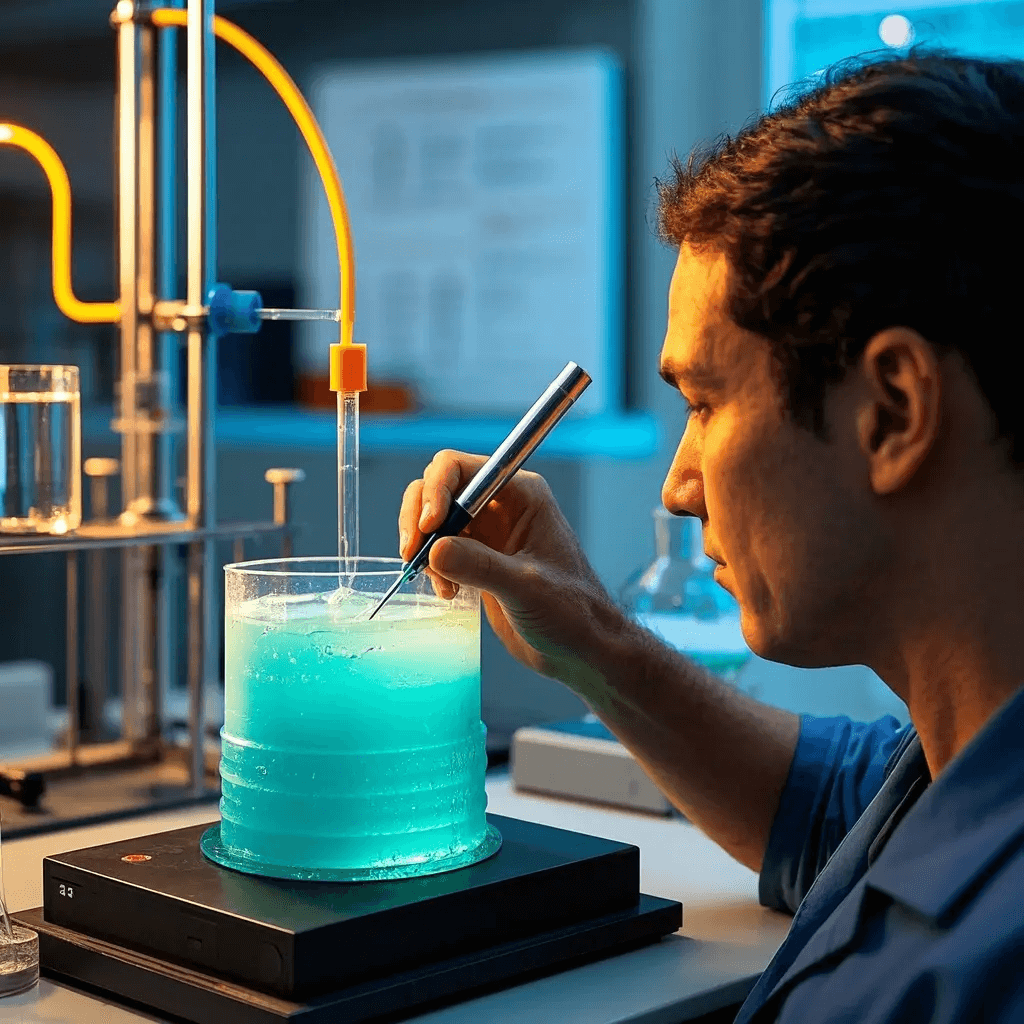
How to Smooth 3D Prints with Chemicals
One cutting-edge method that can greatly improve the surface of your 3D prints is chemical smoothing. Are you looking for a chemical that will smooth PLA or ABS? Continue reading!
For ABS
For ABS prints, acetone vapor treatment is highly effective.
Tools required:
-
Acetone
-
Sealed container
-
Metal stand
-
Paper towels
Step 1: Line the container with paper towels that have been soaked in acetone.
Step 2: Set the ABS print inside on a stand. For ten to thirty minutes, keep the container sealed.
Step 3: Take it off and let it air dry.
For PLA & PETG
Even though PLA is less common, there are some proprietary solvents that can have comparable results.
-
PLA: Use Ethyl Acetate (with caution).
-
PETG: Use Dichloromethane (with proper ventilation).
Acetone is flammable and dangerous if inhaled, so this method needs to be used carefully. Wear a respirator and gloves that can withstand chemicals, make sure you're working in an area with adequate ventilation, and avoid using open flames near flammable solvents.
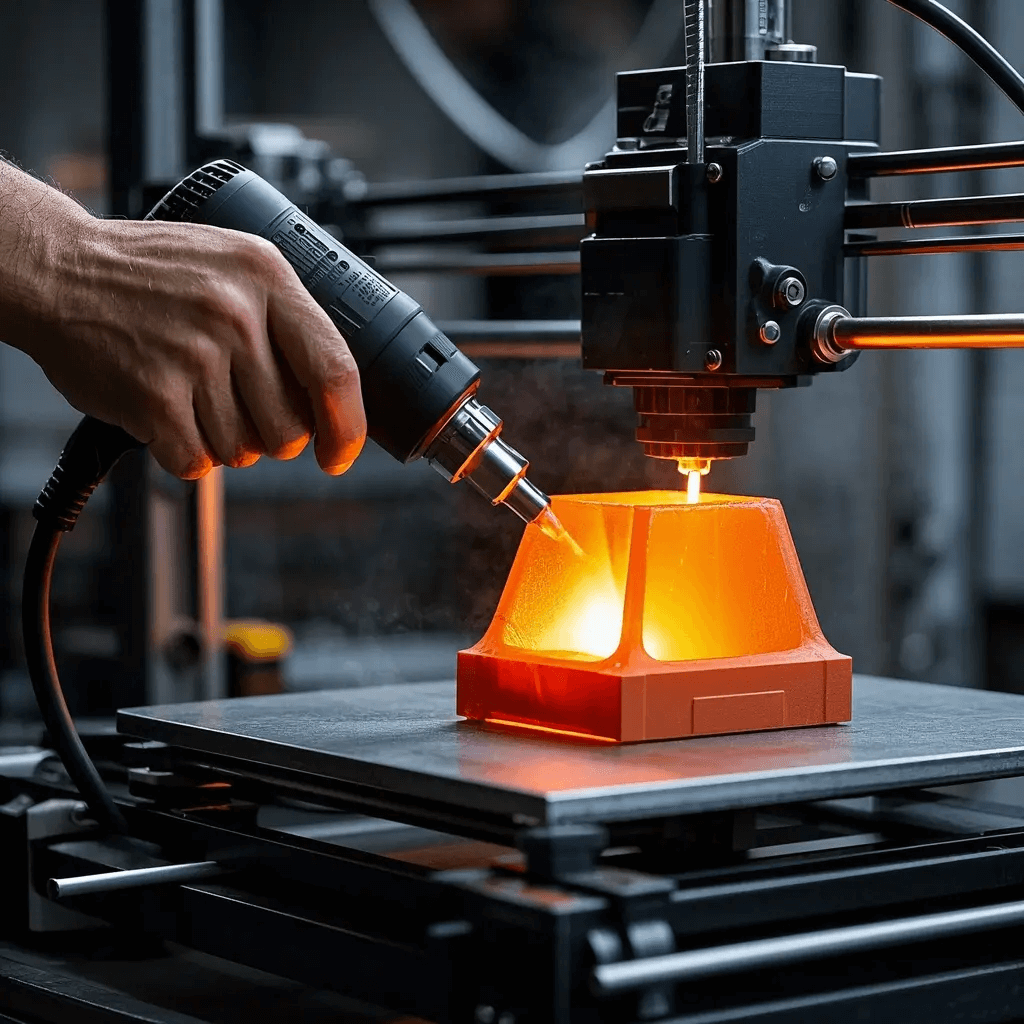
How to Smooth 3D Prints with Heat
Applying heat is a method that can work wonders on certain filaments, offering a smooth finish by gently melting the surface. A heat gun or specialized hot air station will suffice.
Step 1: Turn on the gun while holding it 5–10 cm away.
Step 2: Move evenly across the surface to quickly smooth out the 3D prints without letting it overheat. Otherwise, if heat smoothing is not done carefully, it can distort fine details.
What is torch smoothing in 3D printing?
Torch smoothing is a post-processing technique that involves gently passing a small open flame—such as a butane torch—over a 3D printed surface to melt the outer layers just a little. The plastic reflows as a result, lowering the visibility of layer lines and producing a glossier finish.
Employ Resin or Epoxy Coating to Smooth a 3D Print
This technique is particularly effective on prints made from PLA or resin, as it not only smooths the surface but also adds strength and durability. In particular, this method works especially well for display models, cosplay props, and working prototypes that require a long-lasting finish.
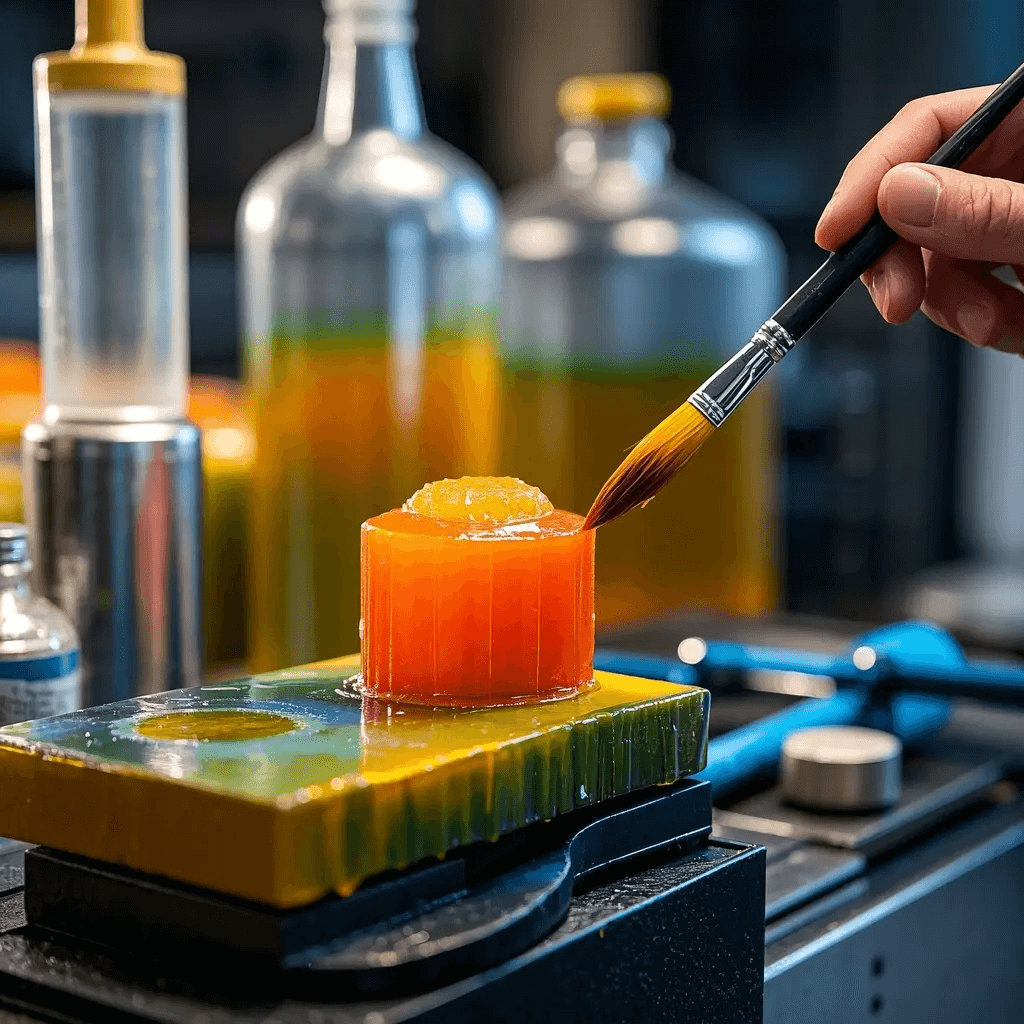
In this process, you need XTC-3D, a two-part epoxy that is self-leveling and sandable after curing and is intended for smoothing 3D prints.
Step 1: Mix the resin according to instructions.
Step 2: Evenly coat the print with a thin coating of epoxy or resin.
Step 3: After application, use UV light to cure it for a few hours or just let it solidify naturally. For a glass-like finish, lightly sand after that.
Use Spray Primers & Fillers to Smooth 3D Prints
When used properly, primers and fillers can readily cover minor flaws and layer lines. To smooth out a 3D model, follow these steps:
Step 1: Shake the primer well after cleaning your 3D print.
Step 2: Lightly coat the surface with spray primer.
Step 3: Give it time to fully dry before lightly sanding the surface. Continue until the desired level of smoothness is reached.
Tamiya Surface Primer and Rust-Oleum Filler Primer are two recommended spray primers.
Which Smoothing Method Suits You the Best?
Too many options above but still cannot make up your mind? Don't worry, here's a comparasion table for your reference.
|
Method
|
Difficulty
|
Cost
|
Time
|
Finish Quality
|
Best For
|
|
Sanding
|
Easy
|
Low
|
Medium
|
Matte to satin
|
All filaments
|
|
Chemical
|
Medium | Medium | Fast | Glossy | ABS |
|
Heat
|
High | Low | Fast | Glossy | ABS |
|
Resin
|
Medium | High | Slow | Glossy | PLA,Resin |
|
Primer
|
Easy | Low | Medium | Paint-ready | PLA,PEGT |
Conclusion
Smoothing your 3D prints isn't just about looks— it adds polish and professionalism to your creations. Whether you're working with PLA, ABS, or resin, there's a method that fits your skill level and needs. Take your time, stay safe, and transform those layered lines into works of art.
FAQs About Smoothing 3D Prints
Q: Why is my 3D print surface not smooth?
A: A high layer height, wet filament, an improper print temperature, or inadequate cooling could all contribute to a non-smooth surface. Rough surfaces can also be caused by dirty nozzles, mechanical problems, or incorrect slicer settings. Use high-quality filament, adjust your settings, and think about post-processing techniques like resin coating or sanding for optimal results.
Q: How can I make lines go away in 3D printing?
A: The layer-by-layer printing process is typically the source of those visible lines. Start by using high-quality filament and reducing the layer height to smooth them out. If you're using ABS, you can try acetone vapor smoothing or sanding the surface after printing. Even a layer of epoxy resin or filler primer can help your prints appear crisp and expert.
Q: How do I line up edges of 3D printed parts?
A: A good design is the first step in getting parts to line up precisely; include features like alignment pins or notches to aid in assembly guidance. When it's time to join them, use glue and clamps or clips to hold the pieces in place for a tight, clean fit. Print with precise settings to minimize warping. Here, accuracy and patience are crucial!
Q: How do I smooth the top layer of a 3D print?
A: To smooth the top layer, make sure your print settings are dialed in—try increasing the top layer count and slowing down print speed.
Q: Can you smooth PLA with isopropyl alcohol?
A: No, isopropyl alcohol doesn't work for smoothing PLA. Unlike ABS, PLA doesn’t react to it, so you won’t get any melting or smoothing effect.