 K2 Pro Combo
 Do you love baking? Or maybe you just want to make the cutest cookies for your children?
Then you need a cookie cutter.
But you can't buy every cool cookie cutter in the market that'll drain your bank. Don't worry, there's a solution for this.
It's making your custom cookie cutters.
You can add a personalized touch to your sweet treats and make people fall in love with your baking skills. If your cookie shape is good, it becomes 10X more appetizing.
So here's a beginner-friendly guide on how to make custom cookie cutters. From design to print, we'll share every step and additional tips so you don't face any confusion.
So let's get started and create an entire cookie cutters collection.
Are 3D Printed Cookie Cutters Safe to Use?
Often, people are highly concerned about DIY. When making something that'll directly contact with food, the concerns become even higher. People often ask:
- Is it food safe?
- Are 3D printed cookie cutters safe?
- Will cookies cutters impact the taste and nutrients of my cookies?
The answer is, It Depends.
If you're following precautions, then there won't be any issues. Let's understand it better.
Most cookie cutters use FDM 3D printers. It layers the melted plastic to form a shape.
But there's one issue.
Food particles can get stuck in tiny gaps between these layers, and the nozzle might have leftover residue from previous printing.
So, it's clear that FDM isn't an ideal material for making custom cookie cutters. This filament costs food safety.
Here's what you should do instead:
Use PLA filament because it's biodegradable, beginner-friendly. It's safer materials for cold food contact.
Use a specific nozzle for food-related prints only. Avoid using 3d-printed cutters on hot dough or in the oven. When handled properly, 3D cookie cutters made from PLA are ideal for dough-cutting.
Note: To learn more you should check this definitive guide to 3D Printer Nozzle Size including brass nozzle etc.
Step-by-Step: How to Make Your Own Cookie Cutter
Step 1: Choose or Create a Design
The first step in making your cookie cutter is finalizing a 3D design file. Here you've two options.
- Start from scratch
- Use a template
If you're artistic or cookie cutter enthusiast then draw your own design. Then, use tools like Inkscape or Adobe Illustrator to convert the design into an SVG file format.
But there's one mistake people make.
They ignore the design details. Ensure your design has bold outlines and no fragile edges. This will enhance the overall result.
Don't want to draw? Is there any shortcut?
Yes.
You can use websites like CookieCAD. Import image of your drawing or opt for freeform drawing. Now the tool will automatically generate a cutter design.

Pro Tip: Keep your design simple. Avoid small text or thin lines, as they can easily snap during use.
Step 2: Create the 3D Model
Now that your SVG model is ready, let's transform it into a 3D one.
But how will you do it?
If you're an advanced user, then utilize CAD tools like Fusion 360. It traces the shape with maximum accuracy and extrudes the wall.
But what if you're a beginner?
Then you should opt for this free, beginner friendly tool, TinkerCAD. You can access it via browser, and it's suitable for simple designs. Import your SVG, extrude the shape, and adjust the height.
Want an even easier way? That's suitable for even those with 0% design experience?
Then, use CookieCAD and similar auto-generator tools. Just upload the file and change the settings to your liking.
Step 3: Prepare the Model for Printing
Now you're at the most critical step of making a custom cookie cutter: 3d printing.
Often, people follow all the steps but fail to make detailed cutters. Their 3D print cookie cutters look like deformed cookie cutter.
Do you know why?
Because they don't prepare the model for printing. Here's a quick checklist for this purpose.
- Wall thickness should be at least 1.2mm for durability.
- Any text on the design should be mirrored and at least 1 mm high.
- The cutting edge must be positioned upwards for accurate slicing.
Now that you've finalized everything, export the STL file. Then, import it into slicer program (like Creality Print) for slicing.
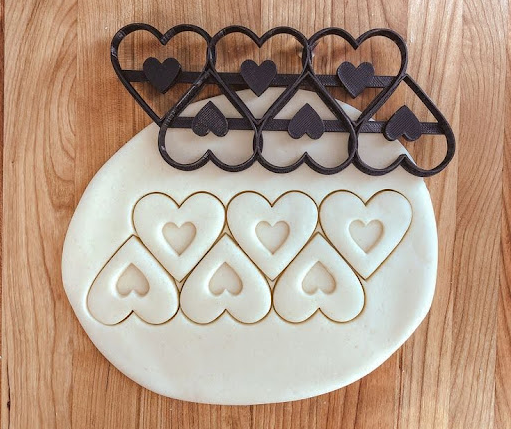
Now it's time to slice some sweetness.
Because YOUR CUSTOM COOKIE CUTTER IS READY.
Recommended Materials and Print Settings
You need to understand basic parameters before diving into printing. For cookie cutter materials, always use PLA. It's not only easy to handle but also clean and relatively food-safe.
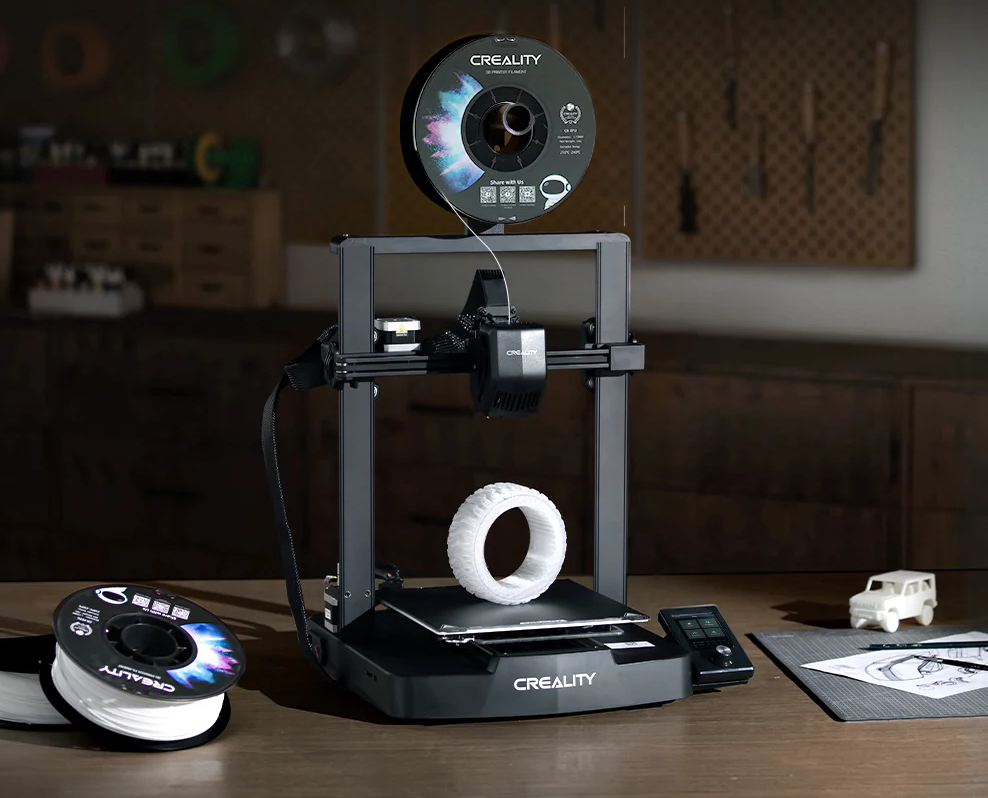
Have you never used a 3D printer?
Creality Ender-3 V3 SE is among the best 3d printer for cookie cutters. It's a top choice for beginners because of its user-friendly setup and precise detail.
|
Ender 3 v3 se Printer Settings Cheat Sheet |
||
|
Settings |
Recommended |
Why It Matters |
|
Layer Height |
0.2 mm |
Balances speed & detail |
|
Infill |
20% |
Lightweight but strong |
|
Wall Thickness |
≥ 1.2 |
Ensures cutter is strong enough to use |
|
Nozzle Temperature |
190–210°C |
Varies by filament types |
|
Filament |
PLA |
Biodegradable & food-safe for cold use |
|
Bed Temperature |
60°C |
Helps PLA stick well during printing |
|
Supports |
Not required |
Simplifies post-processing ensure to print on flat surface |
Where to Find Free or Paid Cookie Cutter Designs
Not everyone wants to design cookie cutters from scratch. If you're one of those people, you should opt for pre-made cookie cutter models.
But where can you find them?
There are several websites where you can find 3D printing cookie cutters models.
- Thingiverse: A huge library of free, community-created files.
- Cults3D: Offers themed and premium options.
- Treatstock: You can order the print directly if you don’t have a printer.
- TurboSquid: High-quality professional models.
If you've a quick project, these websites are ideal for inspiration. However, make sure to add proper cookie cutter size, specify cookie-cutter image and type of filament to avoid any unnecessary surprises.
Don’t Have a 3D Printer? Order Custom Cookie Cutters Online
If you don't want to invest in printers but still want custom cookie cutters, there's an alternative. You can use 3D printing services to print your custom designs.
Here are the reliable websites you can use for this purpose:
- Treatstock: Order custom cutters online.
- Shapeways: Quality 3D prints, fast.
- Etsy: Handmade, custom cutters.
Here's how the process goes on these websites:
Upload your design → Choose material → Place order → Get your cookie cutter shipped to your door.
Pro Tip: If you want more creative freedom and experimentation, then it's worth getting a 3d printer to make cookie cutters. The Creality Ender series is a budget-friendly option and top choice to create your own cookie cutter. The Creality K1 offers automatic levelling, fast printing, and incredible precision.
Bonus Tips for Better Results
Knowing all the steps to create your own cookie cutter isn't enough. Here are a few bonus tips to make cookie cutter without flaws.
- Clean Sharp Edges: Light standing and fine-grit sandpaper make cutters easy to use while ensuring a clean finish.
- Hygiene: Make sure to wash cutters with cold or lukewarm water. Remember, PLA isn't dishwasher-safe.
- Print in Different Sizes: For themed cookies, you may need mini versions or extra-large cutters. Scale up or down according to your liking before printing.
- Handle Addition: Add a flat cookie cutter handle or grip on for better usability.
To Sum Up
With 3D printing, you can make unique cookie cutters and open a world of creativity.
We understand that for most people, baking cookies isn't less than therapy. That's why we are here to help you level up your cookies through cookie cutter building process.
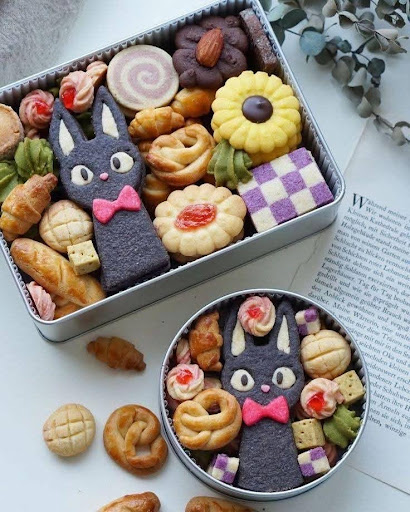
So, whether you're baking cookies for a birthday, Christmas, branding your bakery, or simply having fun with your kids, 3D printed cookie cutters are a delightful way to express yourself.
With Creality, you can bring your cookie dreams to life. Ready to start printing?
Visit Creality’s official website and explore the best 3D printers for cookie cutters and much more.