


Wondering does 3D printing cause a smell? The answer is a resounding yes. No matter it's for filament or resin printing, it does. And the fumes aren't merely unpleasant, but poisonous. The fumes are chock full of VOCs that can cause headaches or breathing issues in small, enclosed areas. That's why you need ventilation for 3D resin printers, no matter where you are.
This guide covers safe, effective, and even DIY ways to ventilate a room for resin printers, so you can enjoy resin printing without risking your health.
Do Resin Printers Need Ventilation?
Yes. Ventilation for resin printers isn’t optional — it’s essential. The liquid resin used in these printers releases fumes that contain volatile organic compounds (VOCs) and other harmful chemicals during printing, cleaning, and curing.
The biggest problem is that not all poisonous fumes are smelly. So even if you don't smell anything, you may still be inhaling dangerous air. And that's why you can't rely solely on your nose — you need ventilation.
Not only are these fumes smelly — they can also cause headaches, dizziness, rashes, and even long-term illnesses such as allergies or respiratory issues through repeated breathing.
Are water-washable resins safe to use?
Some people think "water-washable" or "bio-based" resins are safer but still contain chemicals that can harm your health and the planet. Regardless of what you are using, treat them all as a hazard until they are cured.
Factors to Consider Before Setting Up Ventilation
Prior to establishing an effective ventilation system for resin 3D printing, there are several crucial factors to consider:
|
Factor
|
Impact on Ventilation Needs
|
Key Consideration
|
|
Room Size (Volume)
|
Larger rooms offer more air for dilution, but direct capture is more effective.
|
How much air needs to be moved for effective dilution and capture.
|
|
Air Exchange Rate (ACH)
|
Higher ACH signifies better air replacement and quality.
|
Ensuring sufficient air changes per hour for the space.
|
|
Number of Printers
|
More printers lead to higher emission rates, requiring greater ventilation capacity.
|
Scaling ventilation capacity to accommodate multiple machines.
|
|
Printing Frequency/Duration
|
Frequent or long prints result in cumulative exposure, demanding continuous ventilation.
|
Duration for which the ventilation system needs to operate.
|
|
Resin Type
|
Different resins emit varying VOCs, influencing filter types and ventilation intensity.
|
Understanding specific chemical emissions from chosen resins.
|
|
Printer Location
|
Dedicated spaces allow for isolated, robust ventilation; living spaces pose higher risks.
|
Isolating the printing area from frequently occupied zones.
|
|
Temperature Stability
|
Critical for print quality; can be impacted by ventilation, requiring supplementary climate control.
|
Balancing air extraction with temperature maintenance.
|
|
Humidity Control
|
Affects resin and print quality; may require dehumidification alongside ventilation.
|
Managing moisture levels in the printing environment.
|
Best Resin Printer Ventilation Setup Options
Choosing the right resin printer ventilation setup is essential for safety. Here are the most common options — from basic to most effective:
Inline Fan + Ducting System (Highly Recommended)
A heavy-duty inline fan (such as a 480 CFM) suffices toxic air from an isolated chamber and expels it straight outside. This is the professional-grade choice for serious resin enthusiasts.
Sealed Enclosure with Activated Carbon Filter
If modification of windows or walls is not feasible, a sealed enclosure with an activated carbon filter can possibly reduce VOCs before releasing the air back to the room.
Air Purifiers with HEPA + Carbon Filters (Most Effective)
Lightweight and easy to use, these filters catch ultrafine particles and odors. However, they should be viewed as supplementary protection, not the primary one.
How to DIY Ventilation for Resin Printers
For most hobbyists who do resin 3D printing, a DIY ventilation system offers a budget-friendly and versatile means of attaining a safe printing setup.
DIY Garage Ventilation System
A garage generally offers the optimum location for a do-it-yourself ventilation system. The spacious room, ventilation potential (e.g., large doors), soundproofing from domestic areas, and a more accessible work area to serve equipment and material, all these factors into being the primary preference.
Setting Up a Grow Tent Enclosure
A grow tent is an ideal homemade enclosure. It's inexpensive, easy to assemble, and very good at holding toxic gases in. The majority of hobbyists will use a 30 x 18 x 36-inch tent, which can fit a small to mid-sized resin printer and a wash and cure area.
Inline Fan Integration and Exhaust Setup
To vent those trapped fumes outdoors, install an inline fan (ideally 480 CFM) connected to a 4-inch duct. This system pulls air from the grow tent and pushes it outside — through a window adapter, dryer vent, or wall duct.
Temperature Control Tips for Garage Users
Resin printing demands consistent temperatures. Here's what to do with extremes:
-
Cold weather: Use a small heater inside the tent to keep at about 30°C. Leave the fan in low while printing and switch it to high afterwards.
-
Hot weather: Print with an open enclosure and use powerful fans or a portable AC unit to cool the garage.
How to Ventilate a Room for Resin Printing
Ventilating a resin 3D printer in an indoor room (e.g., hobby room or spare bedroom) requires utmost care in order not to expose your home to toxic fumes.
1. Build a Fully Sealed Enclosure
Use a commercial enclosure, a hacked cabinet, or a DIY build (PVC frame + plastic sheeting) to contain fumes at the source. It should be large enough to contain your printer and post-processing gear.
2. Install an Inline Fan with Ducting
Connect a high-CFM inline fan to the enclosure and duct out through a side window or a drilled vent in the wall. Fit a plywood or window adapter to seal the duct securely around it.
3. Maintain Negative Pressure
The fan will create negative pressure in the enclosure. This is to say that air always enters, never leaves, and does not allow fumes to escape into the room.
4. Optional: Use an Air Purifier
A HEPA + carbon air purifier will catch any still-present VOCs when you open the enclosure. Place it inside or outside the enclosure—but remember, it's a supplement, not a substitute for actual ventilation.
Tip: Seal all the seams of the ducting, use a high-powered fan (like a 480 CFM model), and replace carbon filters on a regular basis.
Recommended Products for Resin Printer Ventilation
Outfitting a resin 3D printing station with proper ventilation pieces is crucial to safety and productivity. This section outlines recommended products in various categories. Let's start!
Enclosure
Grow Tents (e.g., 30×18×36″): Affordable DIY option that fits a printer plus wash/cure station.
Commercial Units (Makacces Resin Enclosure, Alveo3D Printbox): Built‑in fans, filters, and fire‑resistant materials for plug‑and‑play ease.
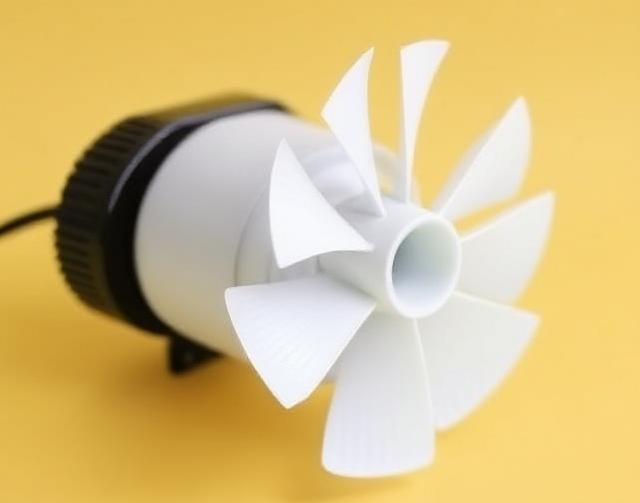
Inline Fans
-
Look for 75–200 CFM models with speed control and low noise.
-
Examples: AC Infinity CLOUDLINE S4 (106 CFM); Makacces 3″ Inline Duct Fan (118 CFM, 30 dB)
Ducting & Window Kits
-
4″ flexible vinyl duct (steel‑core) in 2–8 ft lengths.
-
Window adapters: Commercial fabric kits or DIY plywood inserts to seal around duct exits.
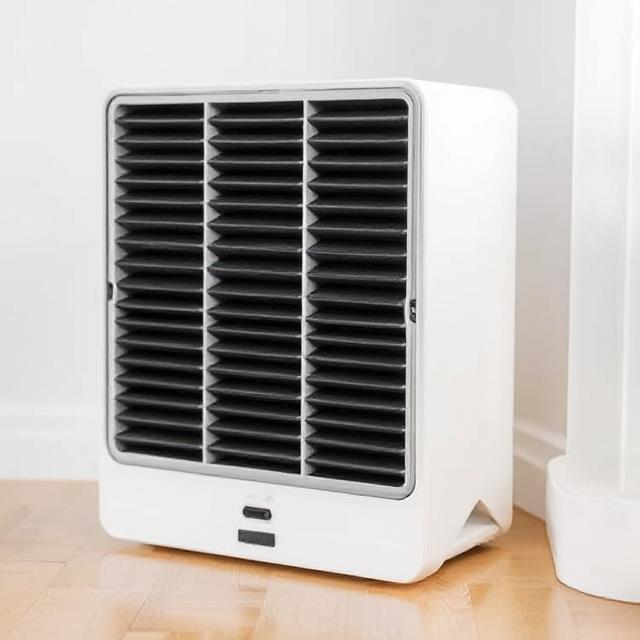
Air Purifiers (Supplemental)
-
Must combine HEPA + activated carbon filters.
Personal Protective Equipment
-
Nitrile gloves (powder‑free exam grade)
-
ANSI Z87.1 goggles
-
Half‑mask respirator (e.g., 3M 6502QL) + P100/organic‑vapor cartridges (3M 60921 or 60926)
Final Words
DIY ventilation for resin printer setups is not just a cost-saving approach—it’s a critical safety step. Whether you need to print indoors or in your garage, a well-planned DIY ventilation system lets you print safely without risking your health or indoor air quality.