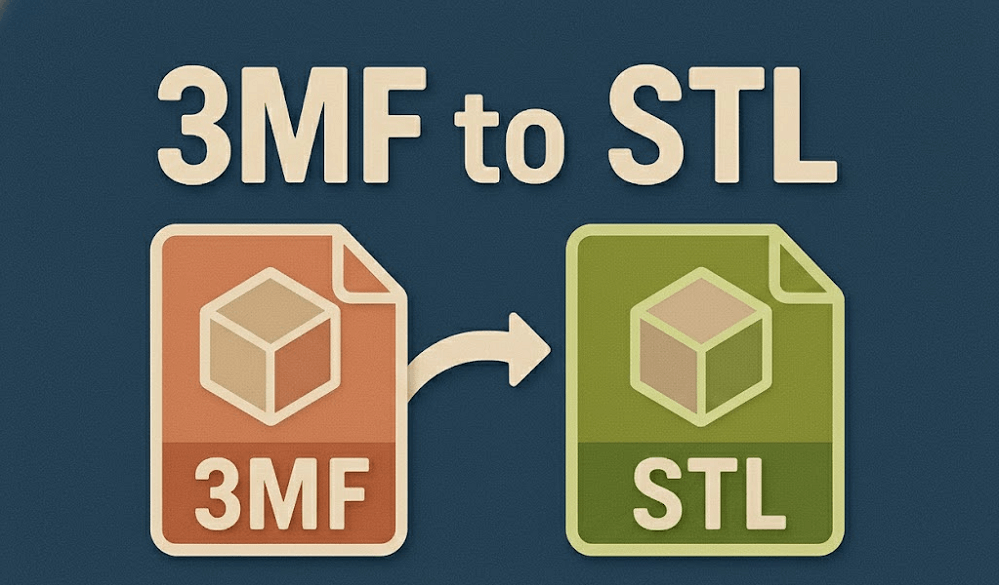
The two most common file types used in 3D printing are STL (Stereolithography) and 3MF (3D Manufacturing Format). STL or (“stereolithography”) files are a preferred file format for 3D printing. Several creators download models in 3MF format and later realize their printer or slicer only supports STL. That moment pauses a project before it begins. Today’s guide describes how to change 3MF to STL through reliable methods that protect model shape and size. So each user can proceed with printing without delays. Let’s get started. This article helps anyone easily convert their file formats.
The STL files, on the other hand, standard 3D file type that stores just the outer form of the model. It includes no material rules, no color, and no printer settings. Almost all slicers, 3D printers, firmware tools, and editing programs support these files.
Typical situations push users to convert 3MF to STL:
-
A CAD editor imports just STL geometry.
-
A slicer only loads STL files.
-
Someone uses former print software.
-
A machine profile does not understand 3MF
3MF vs STL: What is the Difference?
Here are the key differences between 3MF and STL:
|
Feature
|
3MF File
|
STL File
|
|
Primary purpose
|
Full print project container
|
Geometry-only model file
|
|
Geometry data
|
Yes
|
Yes
|
|
Color data
|
Yes (color layers + references)
|
No
|
|
Texture data
|
Yes (texture references)
|
No
|
|
Material assignments
|
Yes (multi-material rules)
|
No
|
|
Printer and slicer settings
|
Can store per-part settings
|
No
|
|
Print orientation
|
Can store orientation
|
No
|
|
File Size
|
Smaller
|
Larger
|
|
Best use case
|
Multi-color, multi-part, project sharing
|
Simple sharing and wide compatibility
|
Quick Checks Before You Convert Anything
The conversion of 3MF to STL eliminates part of the data. A brief review prevents information loss.
Begin with file inspection. Open the 3MF file in the slicer. Examine color areas and part groups. Check material assignments. Then verify scale and units. Estimate one specified dimension.
Compare the size with the illustration provided in the source. Correct unit defect before export. Lastly, make a backup. Save the original 3MF file in a secure folder. Mark the copy with the date and version.
All these steps safeguard precision after users convert 3MF to STL. Missed checks mostly lead to size errors and missing features.
All the Practical Ways to Convert 3MF to STL
Here are the three most credible processes to convert 3MF to STL. Every option suits a different workflow. Pick depending on file size, editing requirements, and model complexity.
Using 3D Modeling Software
Regarding software choices, a 3D design program is probably already installed that can convert 3MF to STL. Whatever the slicer or modelling program you are using, the method is easy: just load one format and save it in another.
Just remember, the navigation and other vocabulary might be somewhat different based on the program you use. Design equipment tackle complicated components with more control. Meshmixer, Paint 3D, and 3D Builder are free 3D design programs that can unlock the 3MF format without any issues.

3D builder is an excellent choice as it auto-control focus frame while loading the article. Also, if you have Windows, it might be preinstalled.
Procedure:
-
Bring in the 3MF file into the modeling program.
-
Divide grouped parts.
-
Fix surface errors if there are.
-
Export every part as STL.
This process protects geometry during conversion. It assists big assemblies where the slicer export might merge parts. Typically, designers choose this approach when they convert 3MF to STL for reuse or editing.
Using Online Converters
The second quick way to transform a 3MF file to an STL file is through online services. When you have a strong internet connection and a small file, convert 3MF to STL online simply and quickly.
Although online transition might be very easy, the method has a few limitations. Even so, if you want to try, multiple platforms like AnyConv, ASPOSE, and 3D-Convert can handle this.
Procedure:
-
Upload your 3MF file in the browser.
-
Choose STL as the target format.
-
Download the converted file.
The process can be a bit different across diverse websites; however, the central idea is always the same.
Using a Slicing Program
Slicers like Creality Print and Cura open 3MF files directly. Additionally, you can import 3MF files and export STL in PrusaSlicer, MatterControl, and Slic3r.
Procedure:
-
Load the 3MF file into the slicer.
-
Inspect model orientation and scale.
-
Utilize the save or export option.
-
Choose STL as the output format.
This process is ideal for print-ready models requiring no additional edits. This slicer holds geometry undamaged during conversion.
Fixing Common Issues After Conversion
After you convert a 3MF file to an STL file, typical errors that appear include missing geometry or broken surfaces. Surface gaps emerge when the source file carries grouped modifiers or meshes.
Flipped orientation or incorrect scale is another error. A few tools alter unit values during conversion. Additionally, while converting 3MF to STL, modern attributes such as color zones or textures might not survive, because STL files just store geometry.
Furthermore, file sizes matter too. At times, STL files can be bigger than their 3MF equivalents because of the reduction of data, particularly with intricate models.
3MF vs STL: Which Format Should You Use Long Term?
Each file type serves different workflows.
When 3MF Makes More Sense
-
Models involve material data and part groups.
-
Jobs use multi-color slicing.
-
Teams share print profiles among slicers.
When STL Remains the Safer Choice
-
3D printers load STL from just SD cards.
-
CAD equipment supports STL only.
-
Projects need easy geometry exchange.
STL performs in nearly every tool chain.
How to Decide?
For inner print preparation, use 3MF. STL is best for editing designs or sharing geometry.
Conclusion
The conversion of 3MF files to STL files is key since both 3D printing technology and file formats evolve. The procedure is typically simple, either converting through software, a slicer, or online services. Following the defined steps, you can simplify your 3D printing approach and secure successful prints.