Step 1: Download the Software
You can download the latest version of Creality Print by clicking this link:Download
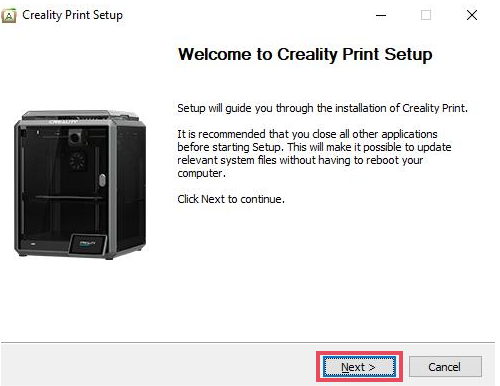
Step 2: Install the Software
Once the download is complete, follow the installation guide to install the software.
Step 3 : First Time Opening the Software
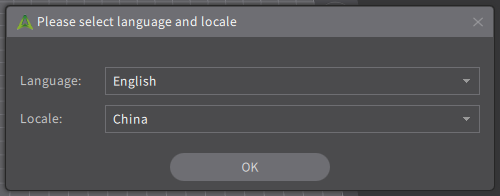
Select Language and Locale
Select your preferred language and locale.
Select Printer
In the software, select your printer model and nozzle diameter. For K2Plus, the default nozzle diameter is 0.4mm.

Step 4: First Print
Open the .3MF File
Click on the File dropdown menu and select "Open Project" to open a .3MF project file with color information.
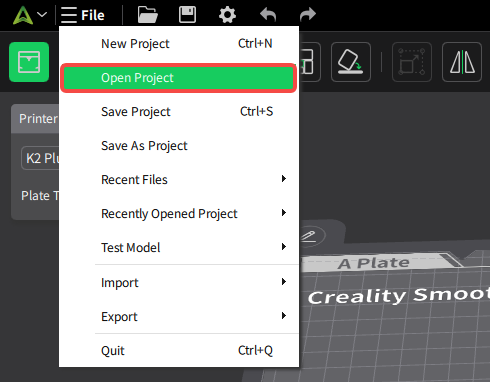
You can obtain the .3MF file from here:Creality Multi-color Models
Print Settings
After opening the file, you can adjust the print settings as needed.
The .3MF file usually contains printer, material, and process parameters, but these may not be fully compatible with your printer or materials, so appropriate adjustments are necessary.
Printer Settings
If the printer in the project file is different from the one you are using, you can change it via the dropdown menu.
Filament Settings
Select the filament used by your current printer from the dropdown list.
Process Settings
In most cases, the process parameters in the .3MF file can be used directly. If adjustments are needed, you can modify them in the "Process Parameters" section on the right side. You can adjust five sections: "Quality," "Strength," "Speed," "Support," and "Other."
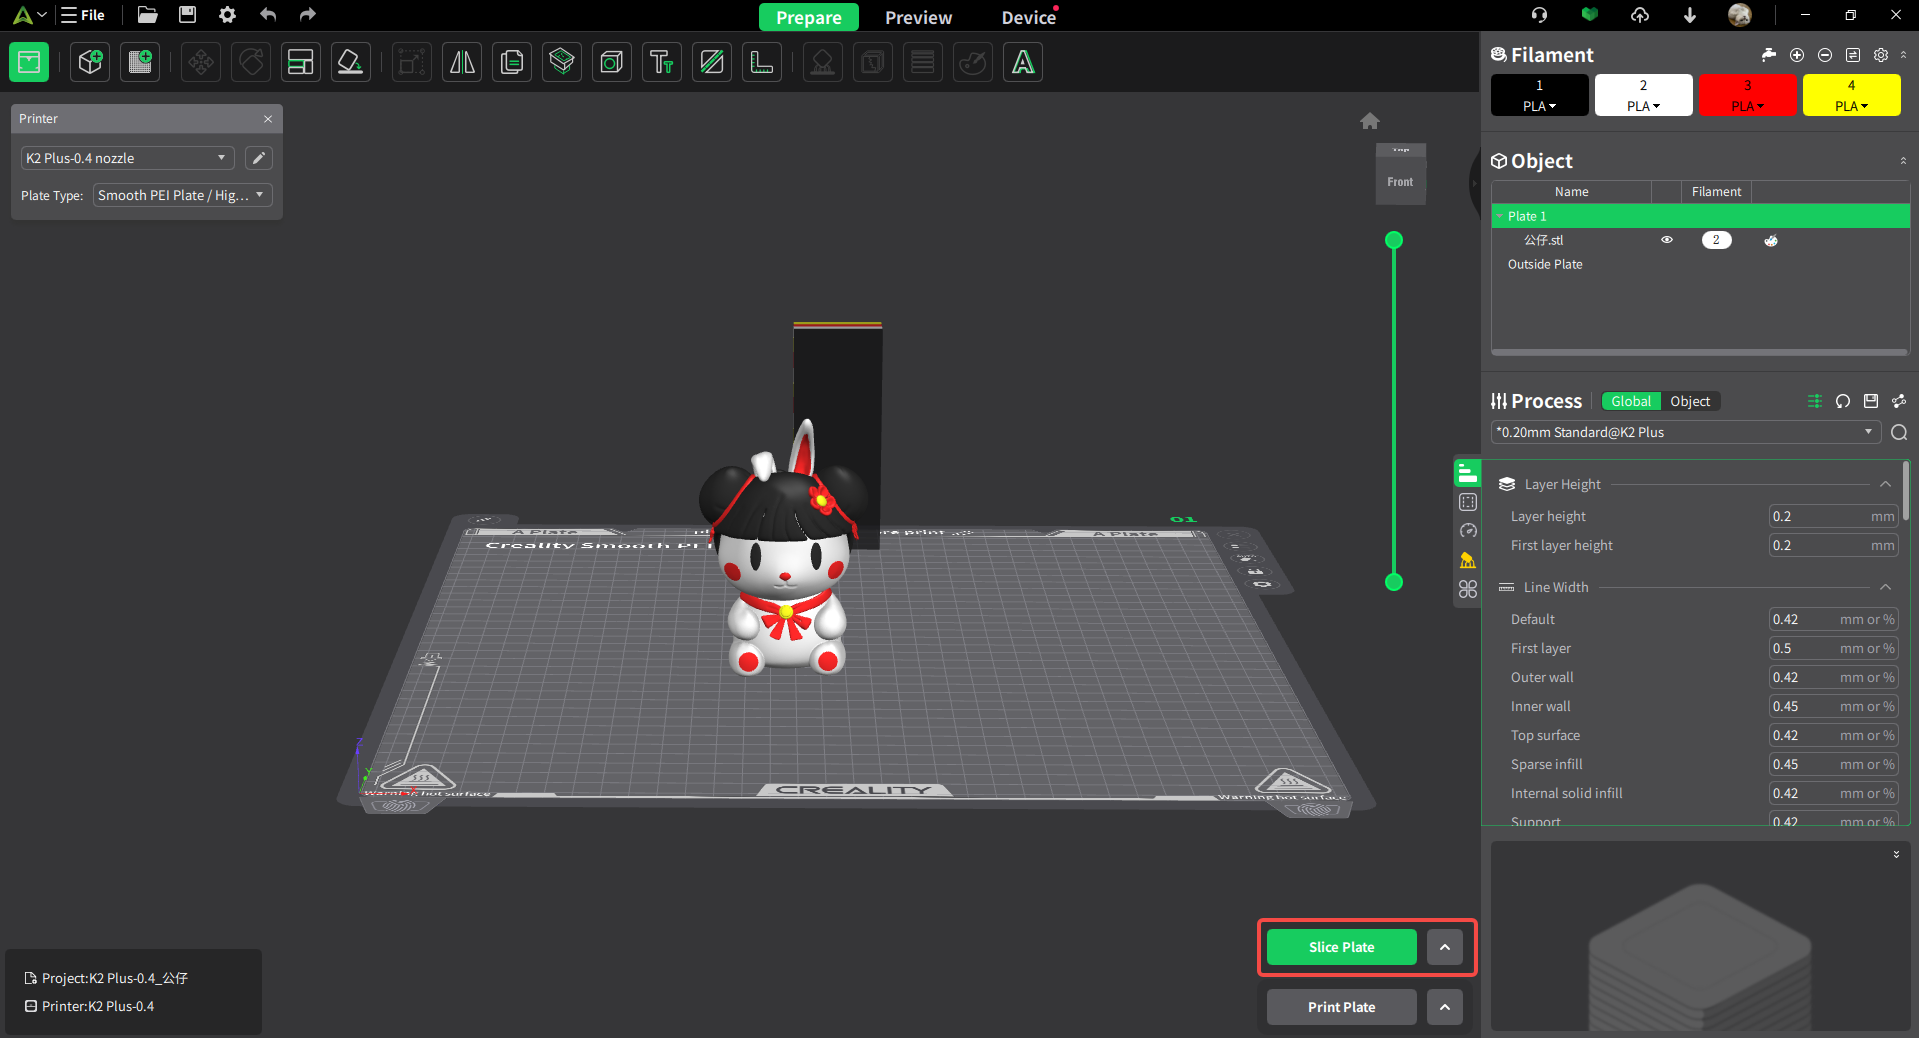
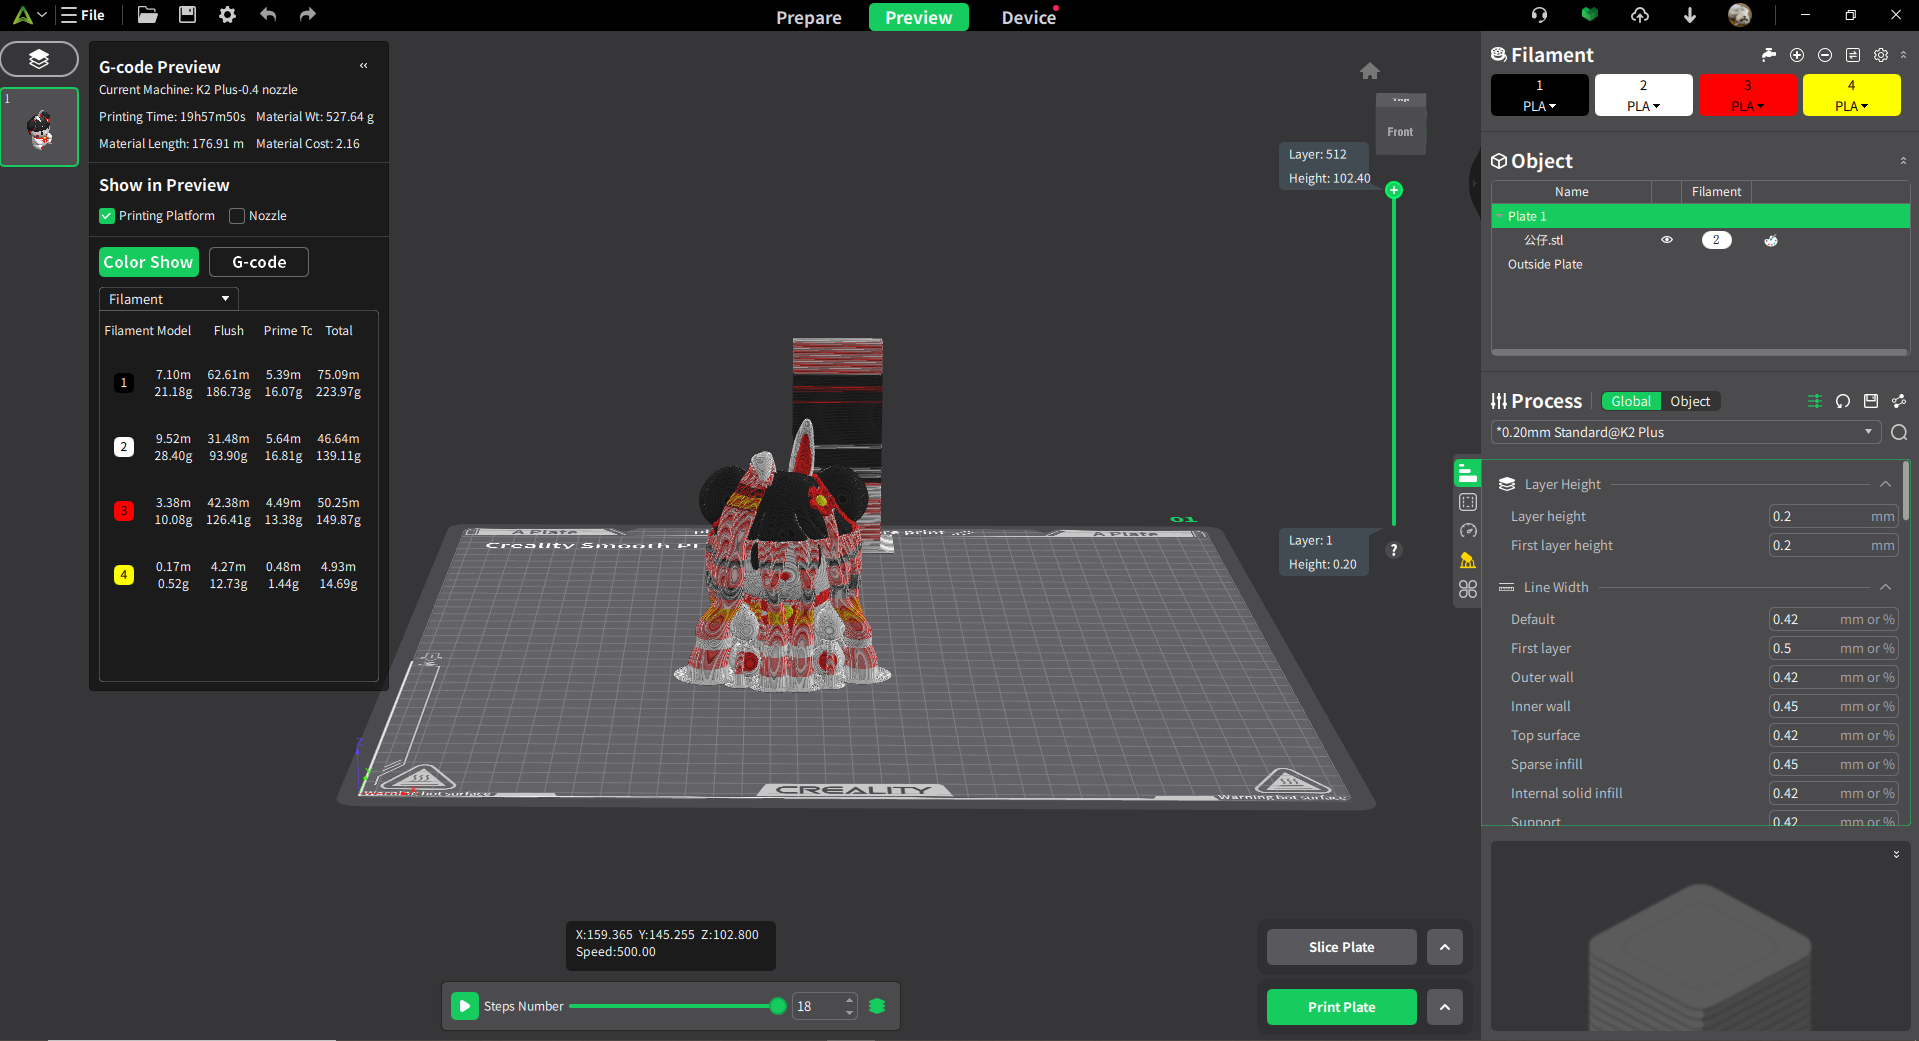
Slicing
Click the "Slice Plate" button in the bottom right corner of Creality Print to generate the .gcode file required for your printer.
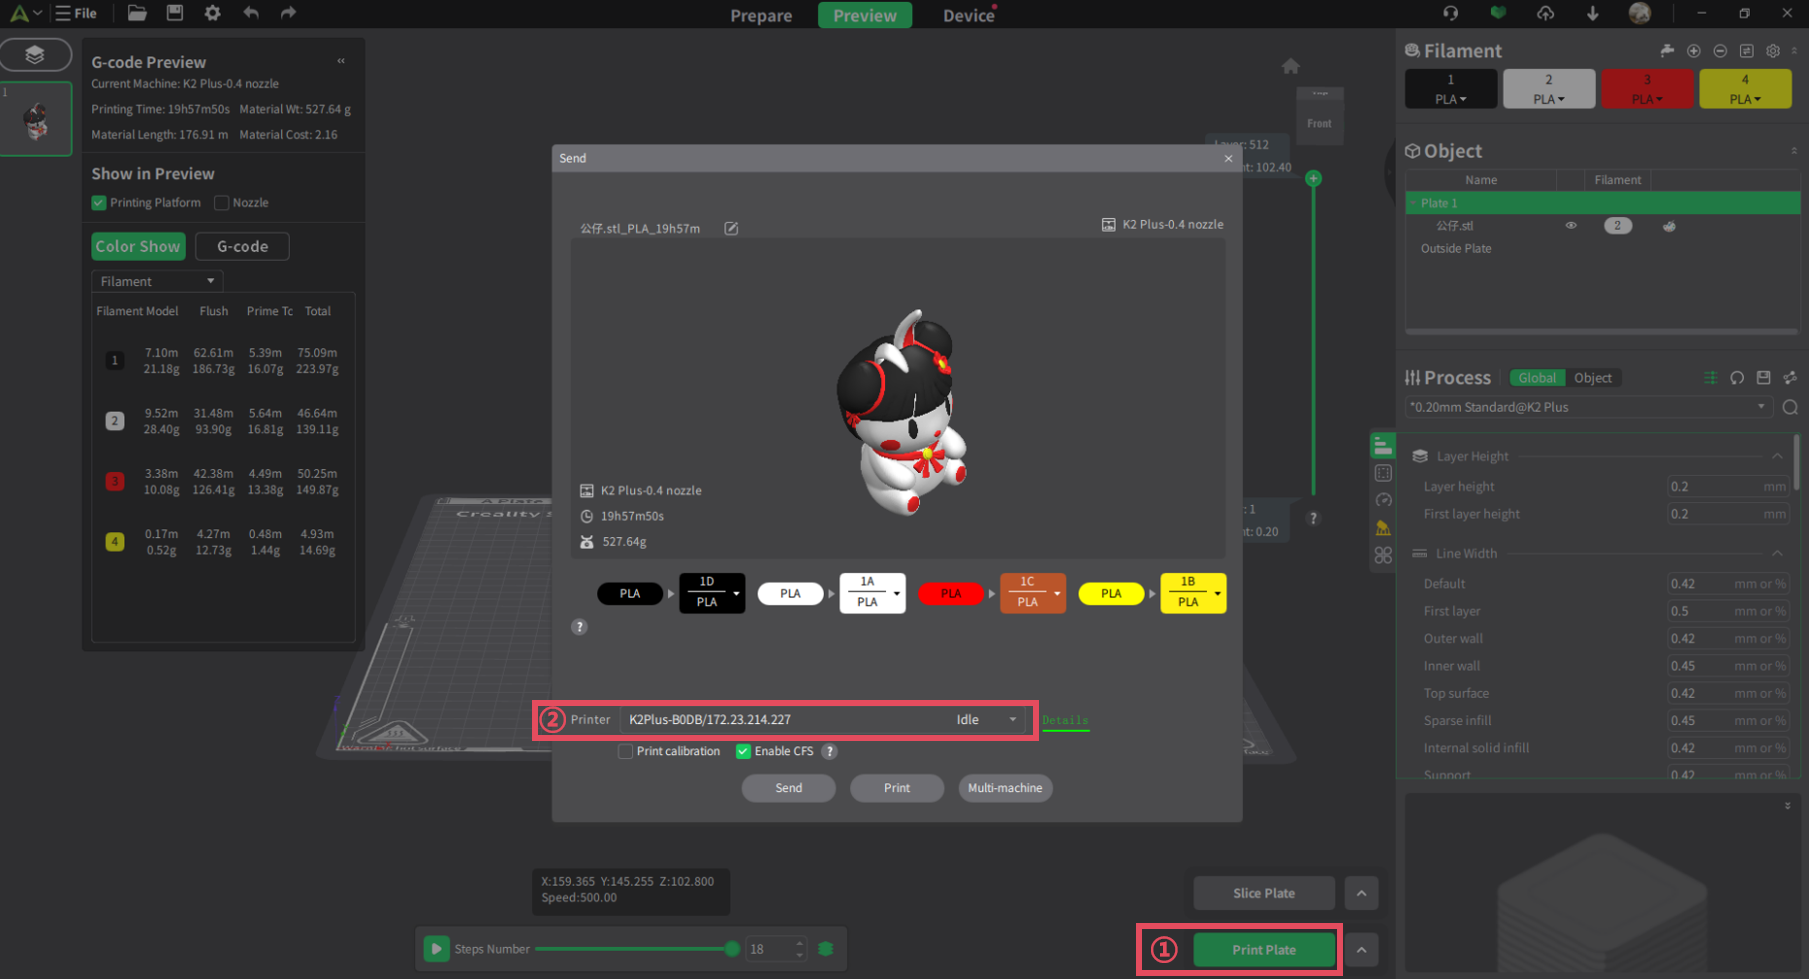
Printing
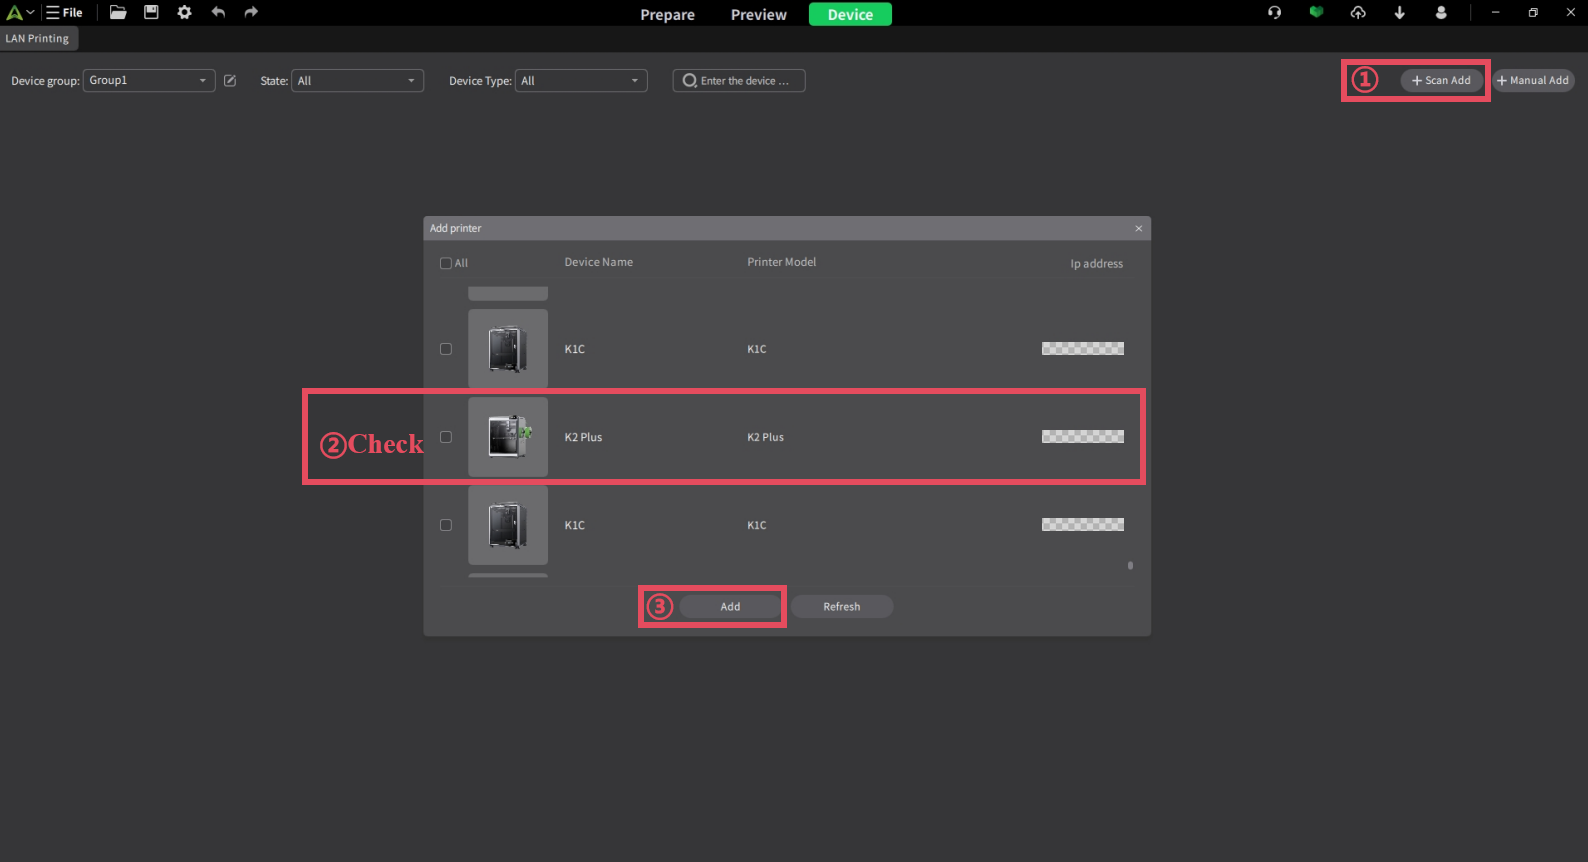
① Scan to Add
When your printer and computer are on the same local network, you can use the scan-to-add function. The steps are as follows:
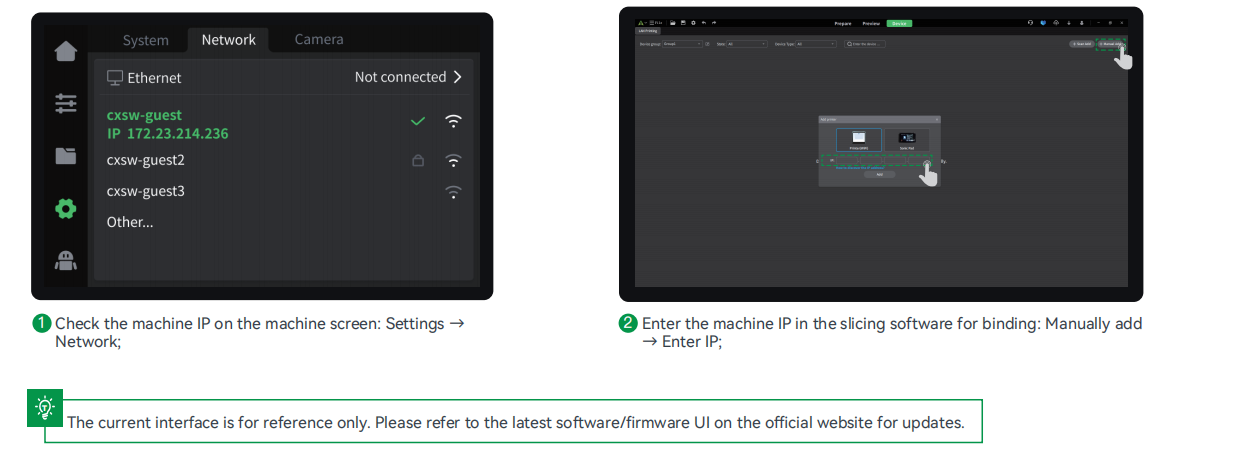
② Manual Add
You can also manually add the printer by entering its IP address. The steps are as follows:
Filament Mapping
When printing with CFS, the filament used in the project file may not exactly match the filament available on your printer. When sending a print job, the system will automatically match the colors and filament types (such as PLA, ABS, PC, etc.) from the project file with the filament in CFS.
In most cases, no manual adjustment is necessary. However, if you need to manually modify the filament mapping, you can follow the steps below: