


What Is Infill in 3D Printing?
Every printed structure has an infill. To put it simply, it’s the structure that fills up the volume of the inside of the print. The sections below the surface are not always solid, especially for larger models.
Instead, the 3D printer infill takes on a geometric structure. If you sliced the finished model open, you would see the pattern clearly.
What Does Infill Do in 3D Printing?
Infill gives support to the overall shape and enough weight and stability to make the print function as intended. The inner structure can, therefore, handle pressure, movement, twisting, and other external forces more easily. The last thing you want is a model that falls over or falls apart when in use. Of course, there are some prints like functional parts (gears, switches, etc.) that need a solid structure because they’re part of moving mechanisms.
While giving support, 3D infill design options also help you avoid wasting too much of your filament when printing something that does not need to be solid or heavy. There’s no reason to use more expensive materials when you can use less and still get great results. It also saves time. Consider density and pattern when designing and building each 3D printed object.
What is the Infill Percentage in 3D Printing?
How much material will you use to fill in the inside of your printed model? You make this determination in the slicing software when designing the object before printing. Completely hollow structures with no infill are 0%. This works well for mostly flat, very simple prints such as some décor items and prototypes.
Conversely, 100% is a solid printed object. These have the highest levels of strength but also weigh the most and use the most material and time to create. Reserve fully solid options for things like machine parts where durability matters more than anything else.
Decorative pieces are often designed with 15% infill, while functional items have 50% or more. If you sell the items you create, take some time to test different percentages and weigh the costs and time spent against your profit margins. The infill percentage in 3D printing you choose depends on how well you want the print to stand up to pressure, torque, and time.
Common 3D Print Infill Patterns
-
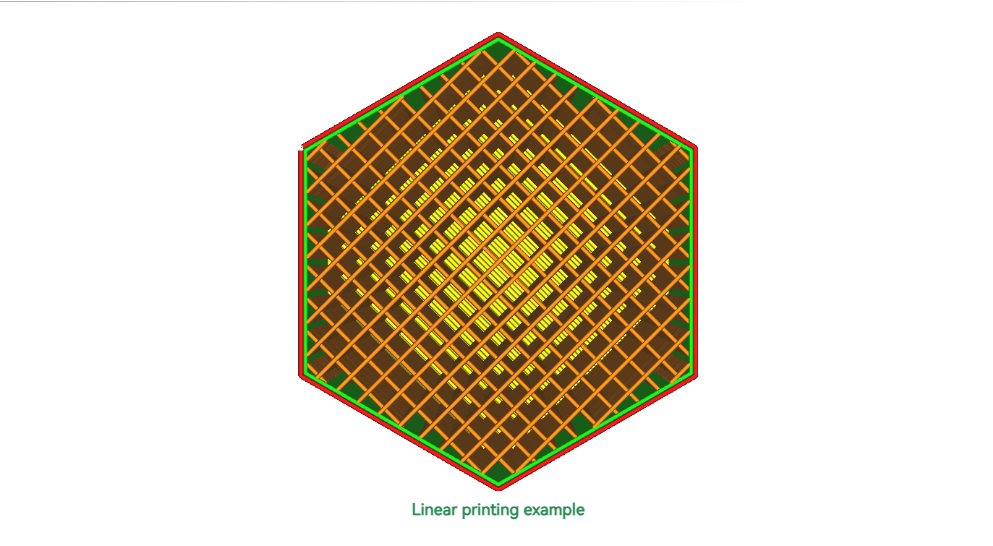
Lines printing Infill: Straight across the print in one direction are fast and budget-friendly but offer less strength than the other options.
-
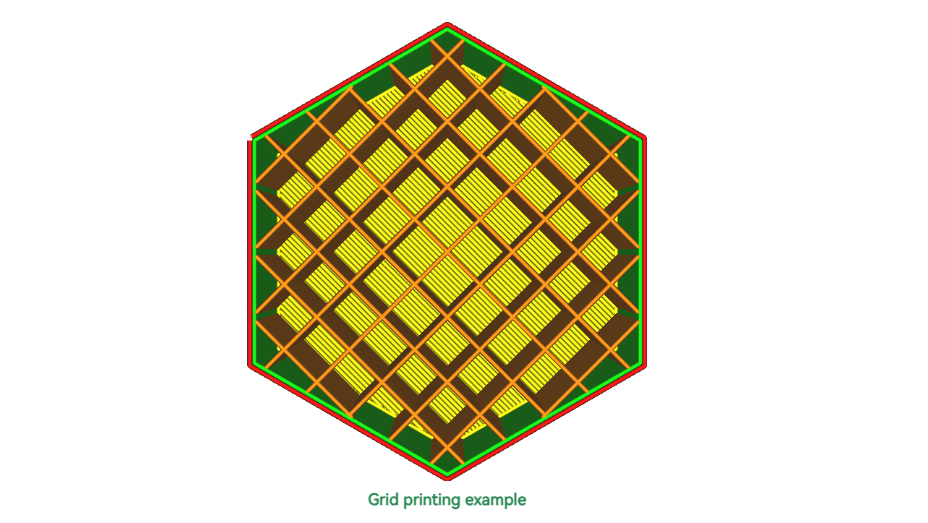
Grids printing Infill: Two-way lines crossing each other are the next step up in strength but will still print rather quickly and with less material.
-
Honeycomb -- Hex patterns for an even spread of strength in three directions. This provides stability without too much weight depending on the size of the hexagons.
-
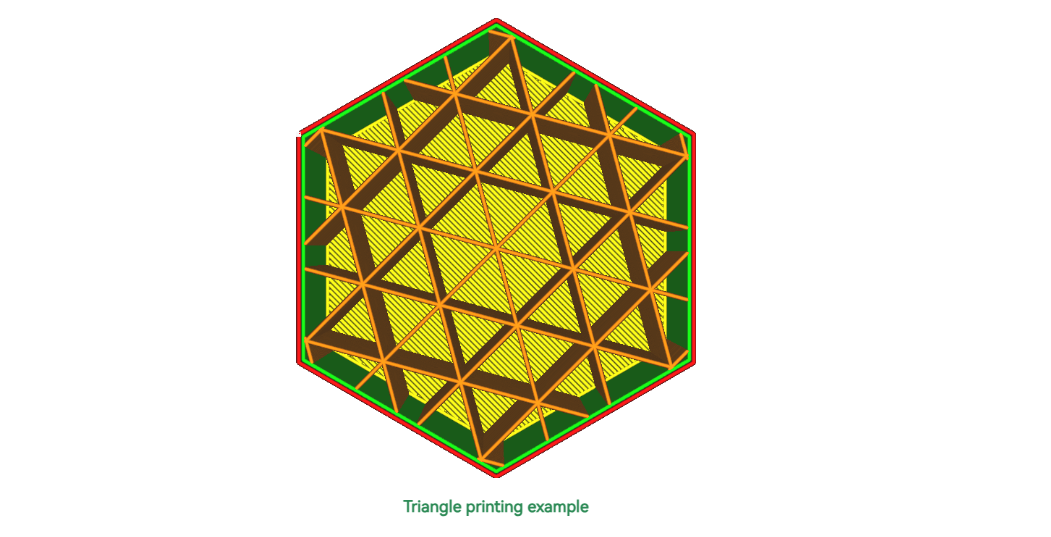
Triangles Printing Infill: Offer 2D structural integrity that balances print time, material use, and finished strength.
-
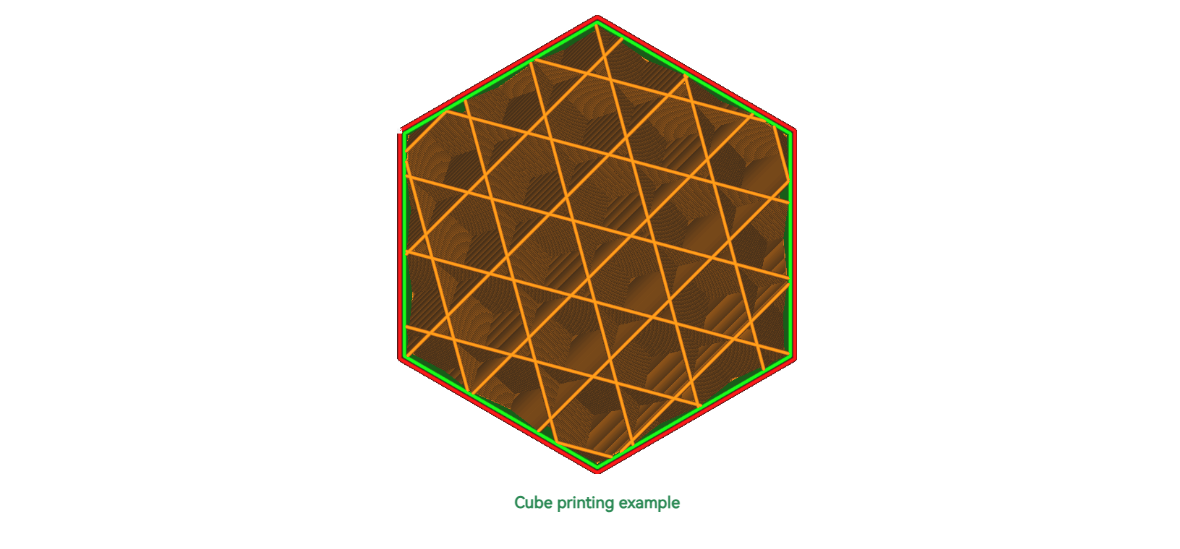
Cubic Printing Infill: The best infill design for 3D strength and stability used for high-stress parts where 100% solid infill isn’t needed.
How to Choose the Best Infill Settings for Your 3D Print
-
Use – What are you going to use the finished print for? If it’s just going to hang on your wall or sit on a table, you do not need a high infill percent. Simple lines at 15% would work well for decorative and light use pieces.
-
Strength Needs – How much physical strain and stress will you expect the print to handle? A phone stand does not have to be very strong at all, but a moving gear in a functional mechanism does.
-
Material Use – How much filament or other materials do you want to allot to this print? The denser the infill, the more you use. This affects cost, too. If you’re creating something for sale, take this into consideration.
-
Print Time – Do you need the item quickly or can you take your time? Things like prototypes for hungry customers can use lower infill percentages because they don’t need the strength, and you have to get them finished as soon as possible. Even a 20% difference in infill density can save you hours on larger, complex prints.
After you have designed the model in your chosen software program, you need to slice it into horizontal layers so the printer knows what to do every step of the way. The resultant code provides the instructions to the printer.
This is where choosing the 3D printing infill density and pattern becomes obvious. You can choose lines or grids, cubes or honeycombs, as well as the percentage of filling depending on the strength and other factors. Creality printers and software make this simple even for beginners.