


Hey everyone! I’m thrilled to share my exhilarating journey of designing and constructing a 3D printed RC plane. This isn’t your standard how to manual—it’s a build log packed with my triumphs, setbacks, and hard-earned lessons. This guide caters to both seasoned RC pilots and curious beginners.
I’m Prithul, an engineering student passionate about 3D printing, RC planes, and electronics. This airplane is a perfect way to fuse these three hobbies into one project.
Ready to soar? Let’s dive into building your own 3D printed RC plane!
What You’ll Discover
This tutorial will help you create a 3D printed RC plane. We will cover designing the fuselage, wings, V-tails, canopy, and motor cover. You will also learn how to print, assemble, and launch your plane into the sky.
I will share the highs, lows, and crashes. One early attempt to save money was with a foam wing. This led to a few tumbles. However, it taught me important lessons about durability and design.
Supplies for Your 3D Printed RC Plane
Before we start, gather these essential materials and tools:
Materials
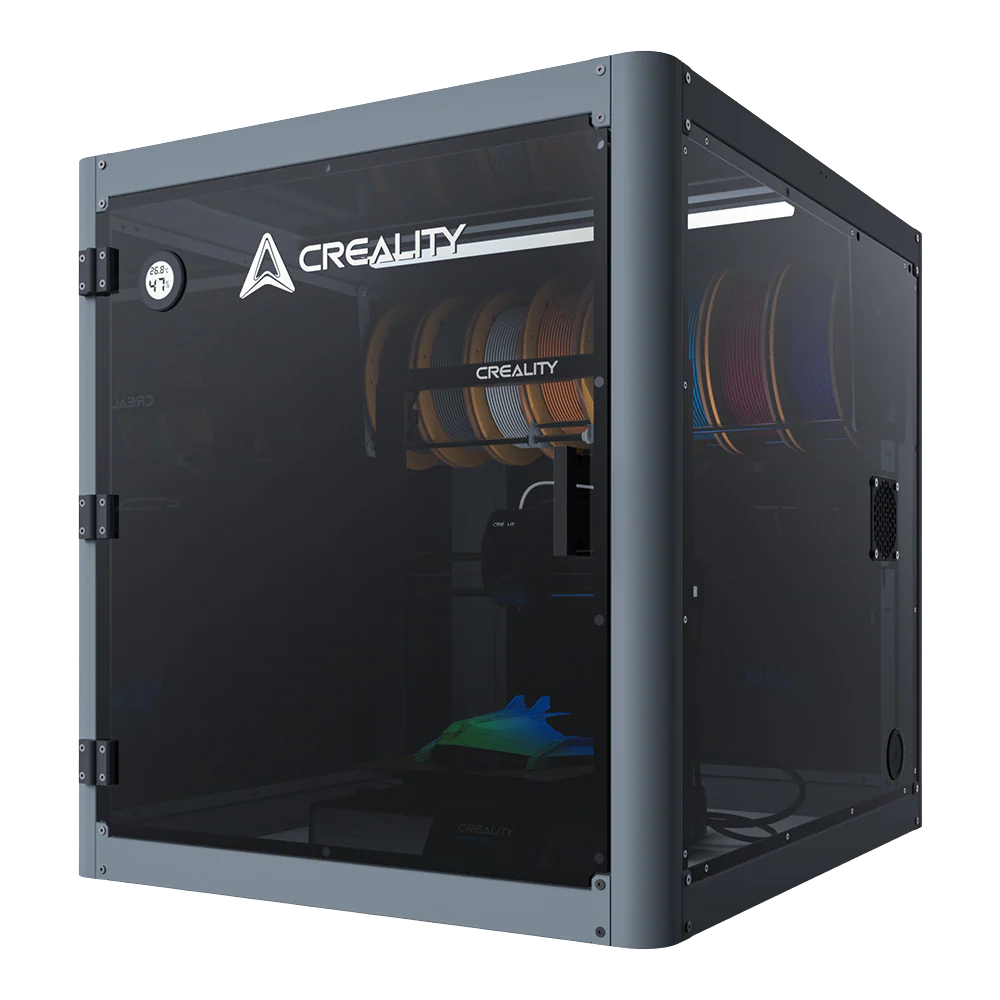
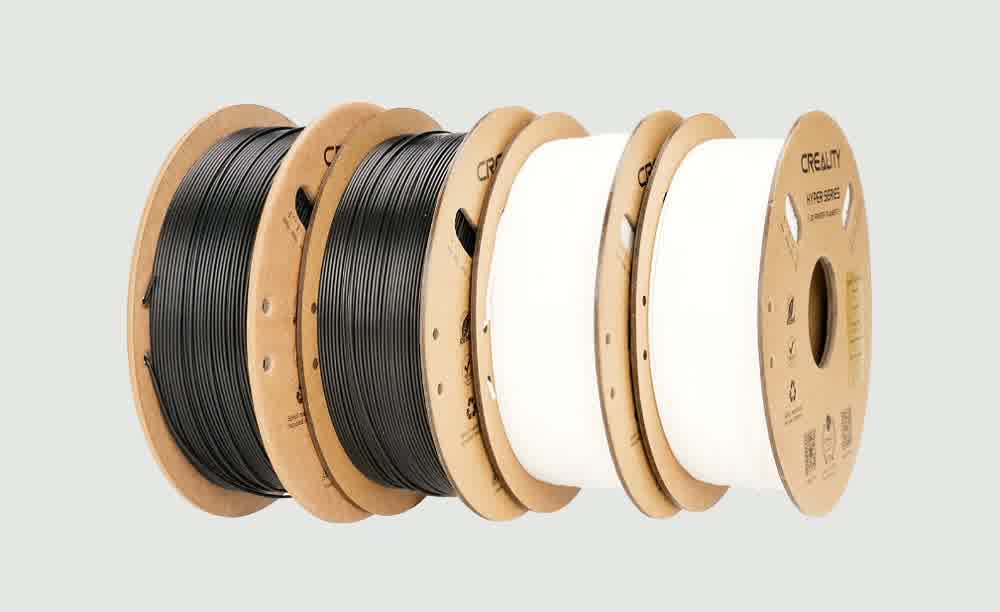
- PLA Filament: Opt for PLA for strength and affordability. My 3D printed RC plane used about 342 grams, so a 1KG of filament will suffice. I opted for Creality PLA 3D Printer Filaments.
- Electronics:
- 1200-2200kv Brushless Motor
- 40A Electronic Speed Controller (ESC)
- 3S 1500-2200mAh LiPo Battery
- Flysky FS-i6 Transmitter and Receiver
- 3x 9g Metal Gear Servos
- Screws and Fasteners: M3 screws and nuts for motor and carbon rod mounting.
- Carbon Rods: 600mm (16mm diameter) for the tail and 1200mm (3-4mm) for wing spars.
- Control Linkages: Thin wires or pushrods for servo connections.
- Super Glue and Activator: For joining 3D printed parts.
Tools
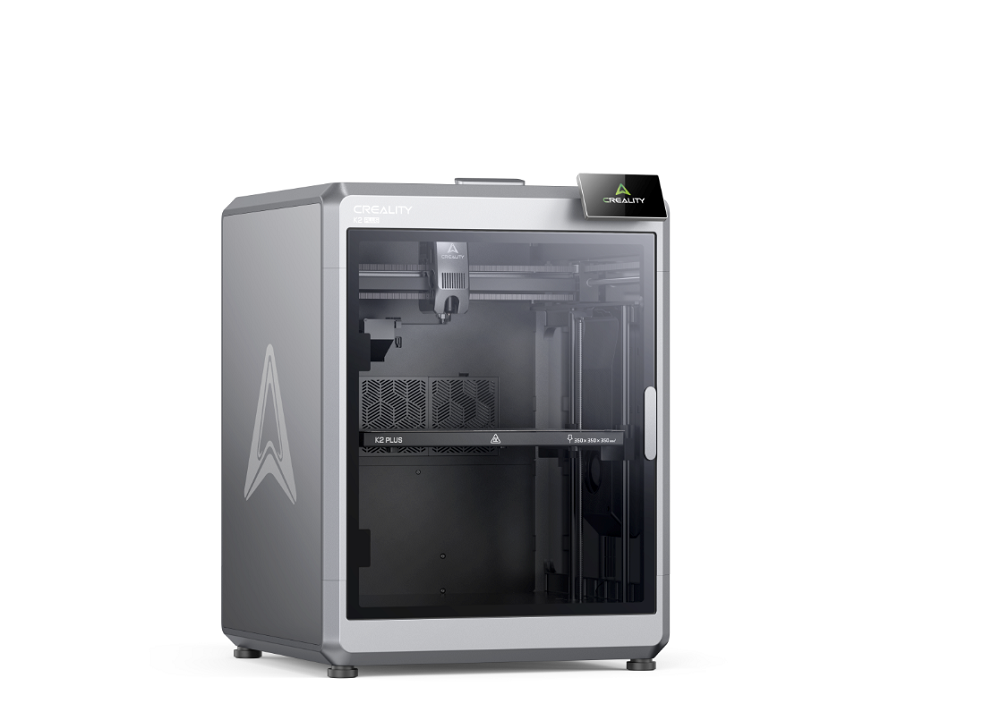
- 3D Printer: Minimum bed size of 200x200x200mm. I used Creality k2 plus 3d printer for this airplane print.
- Fusion 360: For designing your 3D printed RC plane.
- Digital Calipers: For precise measurements.
- Screwdrivers, Allen Keys, Soldering Iron
- Safety Gear: Glasses, gloves, and a ventilated workspace.
Step 1: Planning Your 3D Printed RC Plane
Planning is critical for a successful 3D printed RC plane. Decide on the plane type—trainer, aerobatic, or glider.
I chose a glider for its simplicity and low-speed stability. Select a wing shape (e.g., straight or tapered) and an airfoil suited for gliding. I used a classic airfoil with added thickness for lift.
Calculate the wingspan. I started with 1200mm and later increased it to 1400mm. The chord is 128mm.
This is typical for gliders with a high aspect ratio. Use the wingspan to determine fuselage and tail dimensions, ensuring proper balance. Research airfoils and wing shapes online for additional guidance.
Step 2: Designing the Fuselage
The fuselage houses electronics and shapes aerodynamics. In Fusion 360, import your airfoil and extrude a solid fuselage, ensuring space for the battery and electronics. I opted for a round shape to minimize drag.
Remove the wing airfoil slot. Hollow out the fuselage with a 0.84mm wall for strength. Design a canopy for easy access.
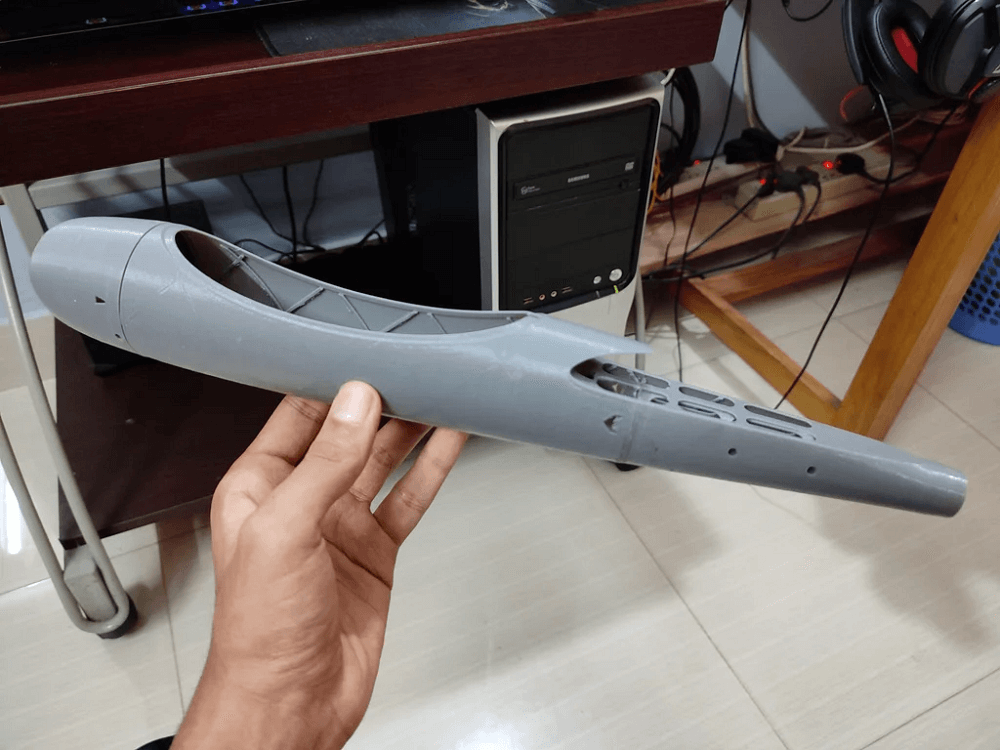
Add a cylinder for the 16mm carbon rod, screw holes for securing it, and a motor mount plate. Strengthen the structure with internal ridges and split the fuselage into two parts for printing. Pro tip: Make dummy models of electronics to check the fit. Avoid joints at weak points to stop breakage during landings.
Step 3: Designing the Wings
At first, I tested a foam wing with my 3D printed RC plane's body and V-tail. However, crashes showed weak points. This led me to create a fully 3D printed wing.
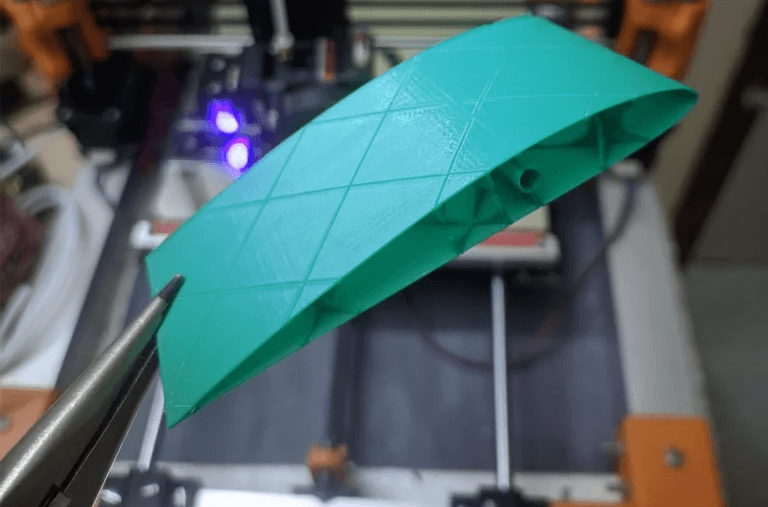
Start by extruding your airfoil into a solid wing, tapering it toward the tips. Add winglets for efficiency and style, and design a custom infill pattern for lightweight strength.
Incorporate holes for carbon wing spars at the thickest part and carve out servo and aileron slots. Split the wing into six printable pieces (three per side) to simplify printing. Add extra surface area at glue joints for strength and angle infill at 45 degrees for optimal printing.
Step 4: Designing the V-Tail
A balanced V-tail ensures stable flight. Sketch a 38-degree angled line for the tail, draw perpendicular planes, and import airfoils (shorter chord at the tip). Loft the airfoils to form one tail side, add rounded wingtips, and cut out elevator/rudder sections at 45 degrees for hinge movement.
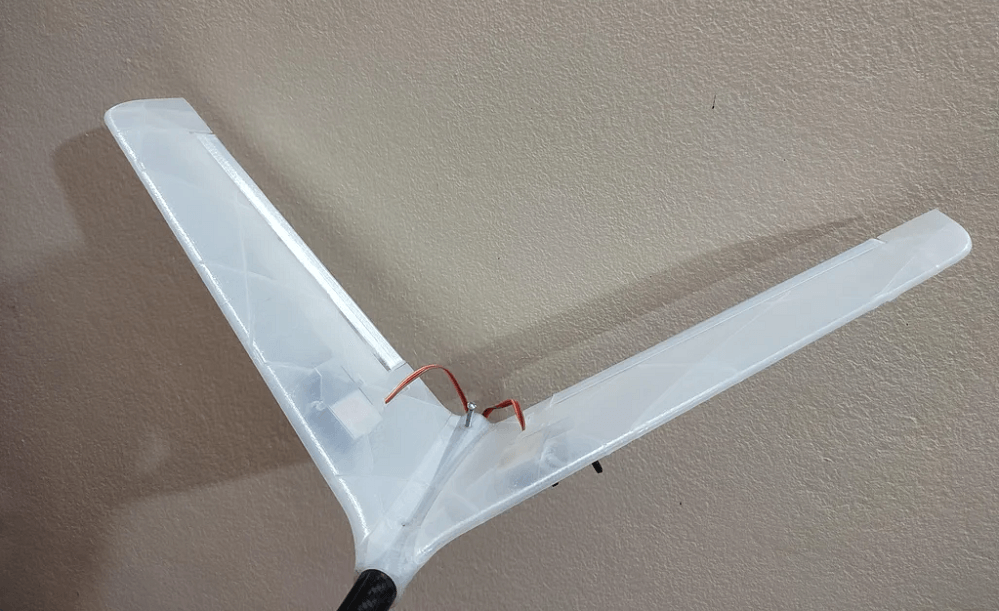
Create a custom infill, add a servo hole, and mirror the design for symmetry. Design a central rod mount with screw holes for the carbon rod and split the tail into three printable pieces. Precision is key to maintaining aerodynamic efficiency.
Step 5: Designing the Motor Cover
A motor cover enhances aerodynamics and protects the motor. Create a strong cover for the motor. Make it hollow to 0.84mm. Cut it from the fuselage with a little extra space for a tight fit.
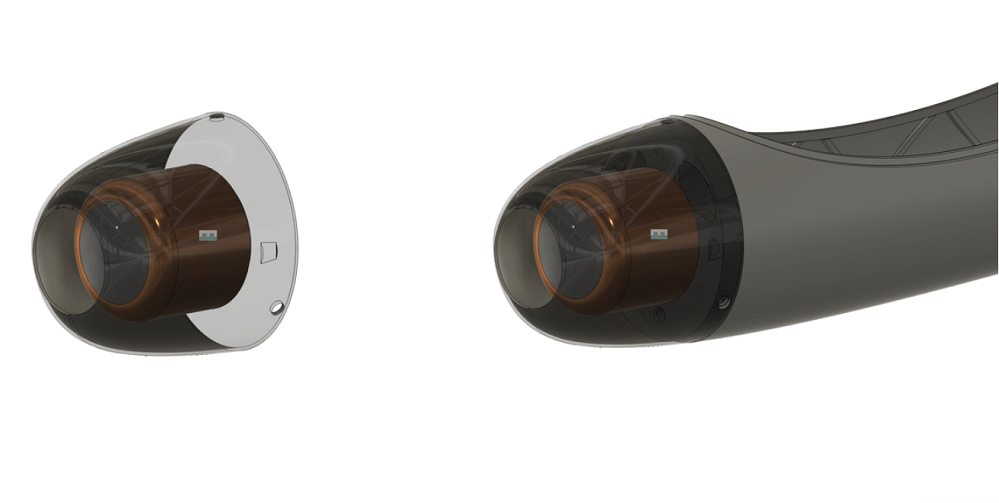
Add a front hole for the motor shaft and fillets for smooth transitions. Secure it with 3-4 screw holes for stability.
Step 6: Preparing for 3D Printing
Calibrate your 3D printer and use Creality print with a 0.44mm line width. Set the filament temperature according to your filament guidelines.
Turn off retraction for better strength. Adjust linear advance to prevent bumps in the infill. Conduct test prints to optimize layer adhesion and maintain your printer for continuous operation.
Step 7: Assembling the 3D Printed Parts
In a clean workspace, sand and glue fuselage parts, securing the carbon rod with screws. Attach V-tails with epoxy for strength, insert wings into the fuselage slot, and secure the motor cover. Connect servo linkages to control surfaces and sand rough spots for efficiency.
Step 8: Installing Electronics
Mount the brushless motor, ESC, receiver, and servos, ensuring proper airflow and secure connections. Place the LiPo battery for balance and organize wiring with cable ties. Perform safety checks without the propeller, calibrate the ESC, and verify control surface movements.
Step 9: Pre-flight Checks
Verify control surface movements, center of gravity (25-33% from the wing’s leading edge), battery charge, and transmitter range. Inspect for loose parts, secure the propeller, and check weather conditions for safe flying.
Step 10: Test Flight and Troubleshooting
For takeoff, gradually increase throttle and gently toss the 3D printed RC plane. Test stability with gentle maneuvers and land smoothly. If issues arise, check linkages, adjust the center of gravity, or recalibrate electronics. Inspect for damage post-flight and reprint parts as needed.
Step 11: Enjoy and Learn
Each flight teaches you more about your 3D printed RC plane. Start with simple maneuvers, progress to complex ones, and keep a flight log to track adjustments. Happy flying, and share your journey in the comments. I’d love to hear about your 3D printed RC plane!