
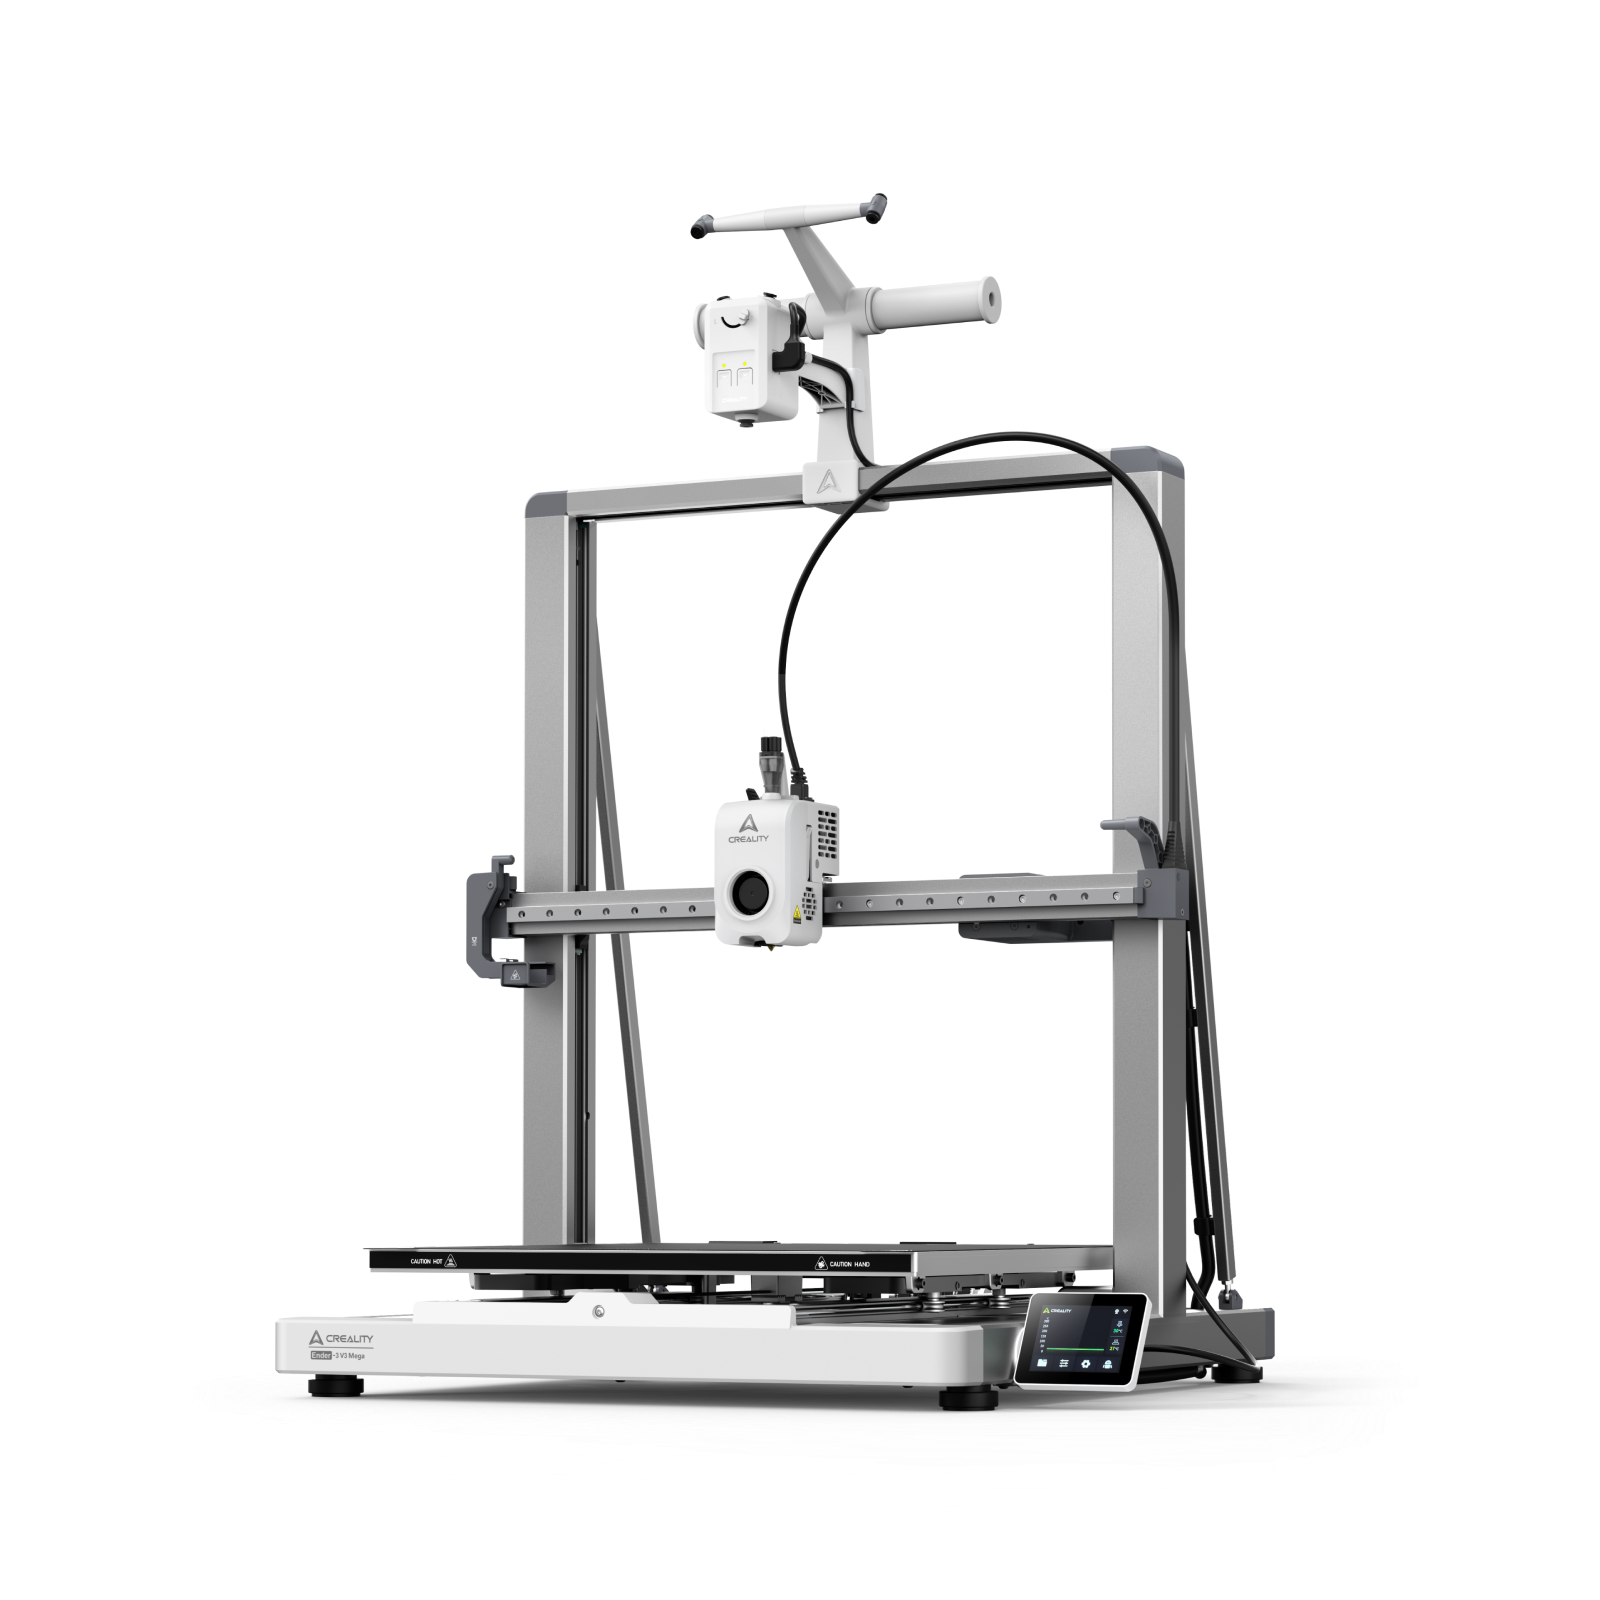
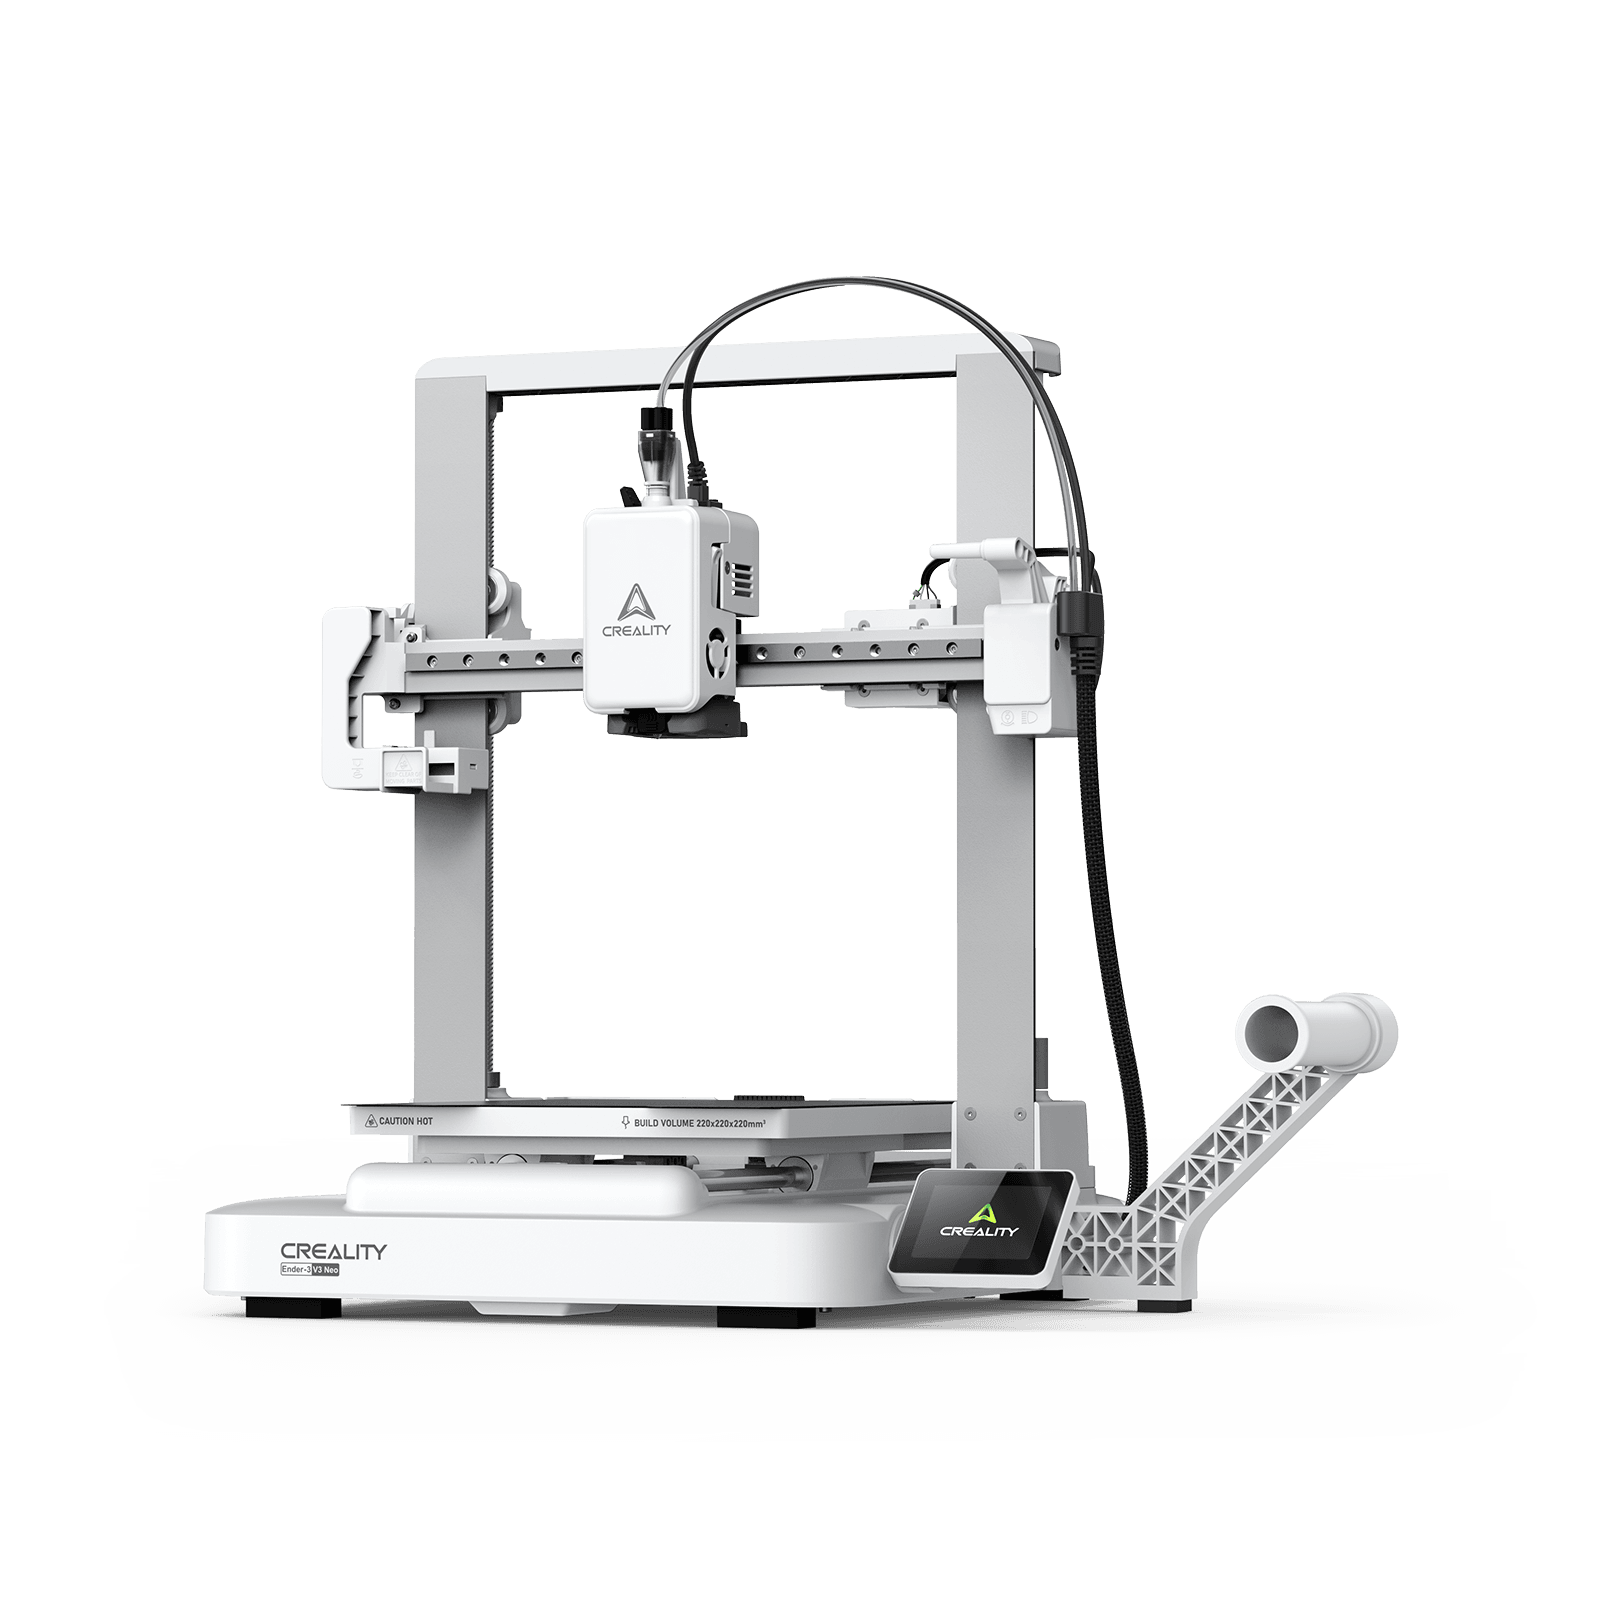
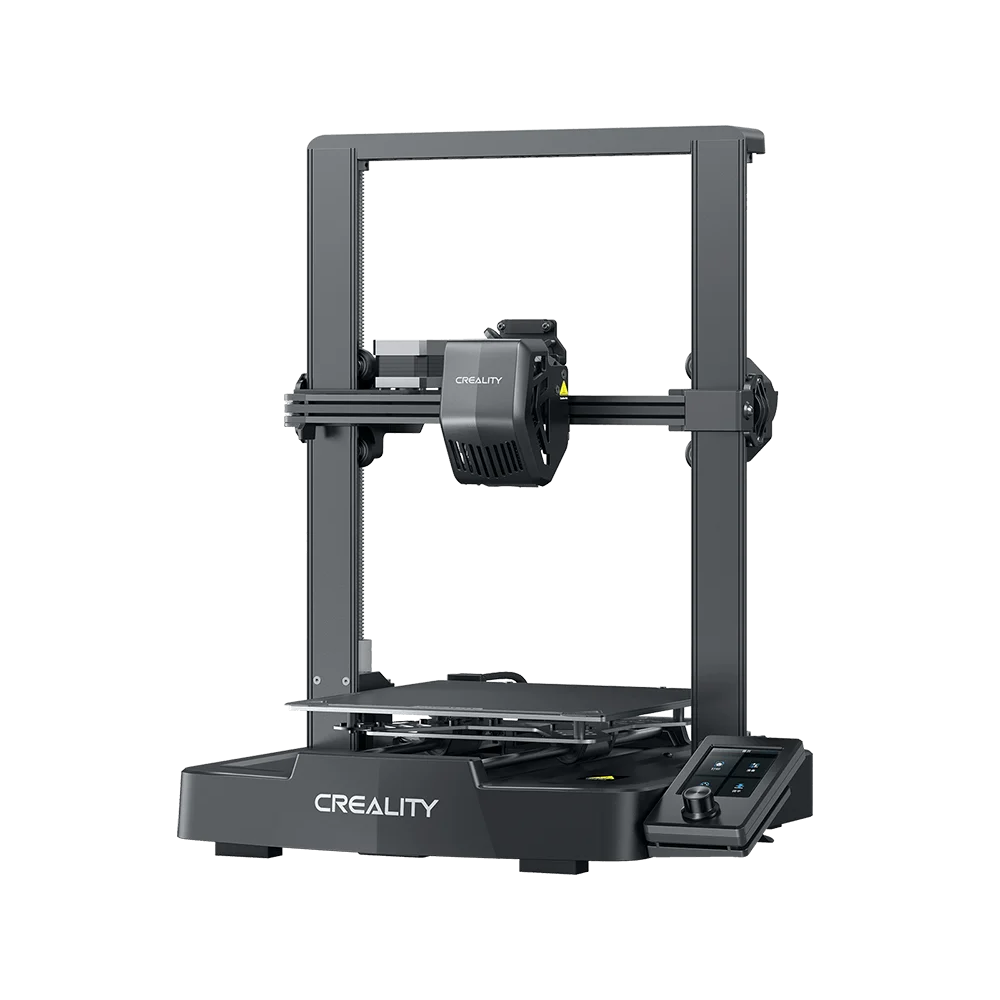
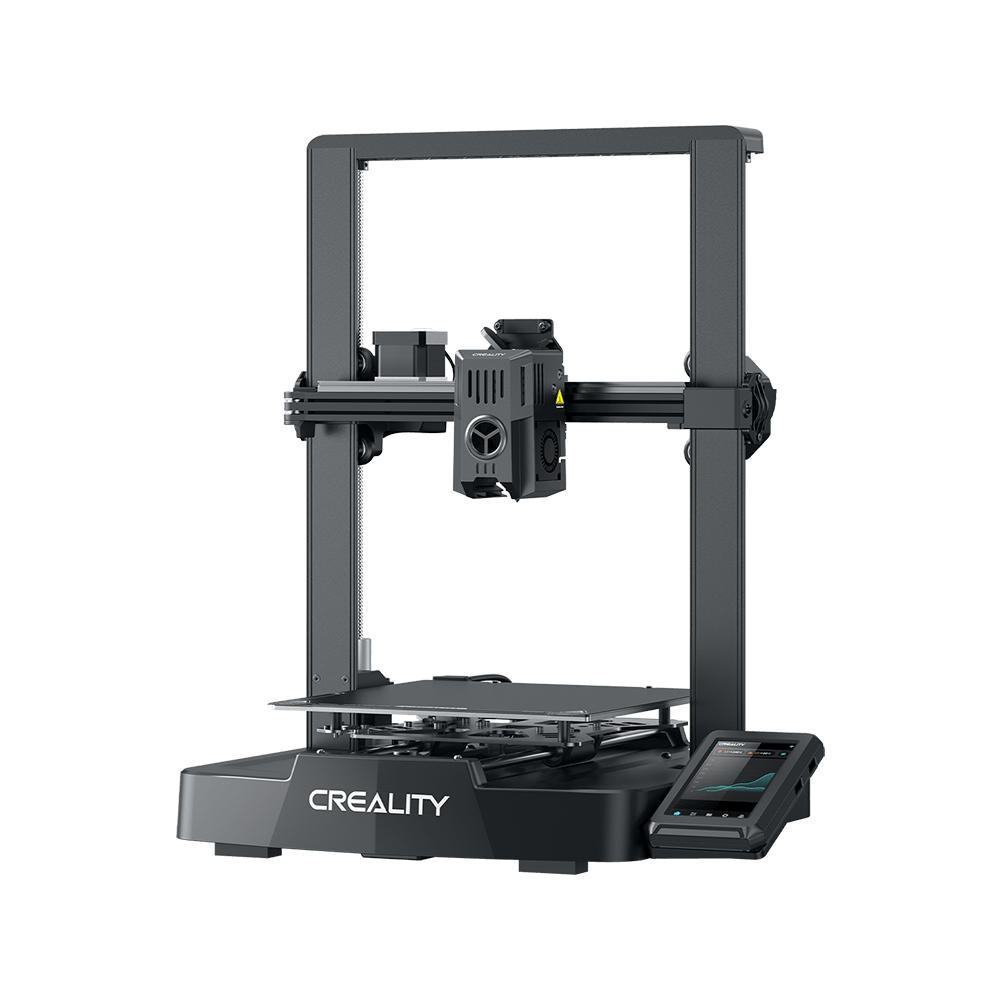
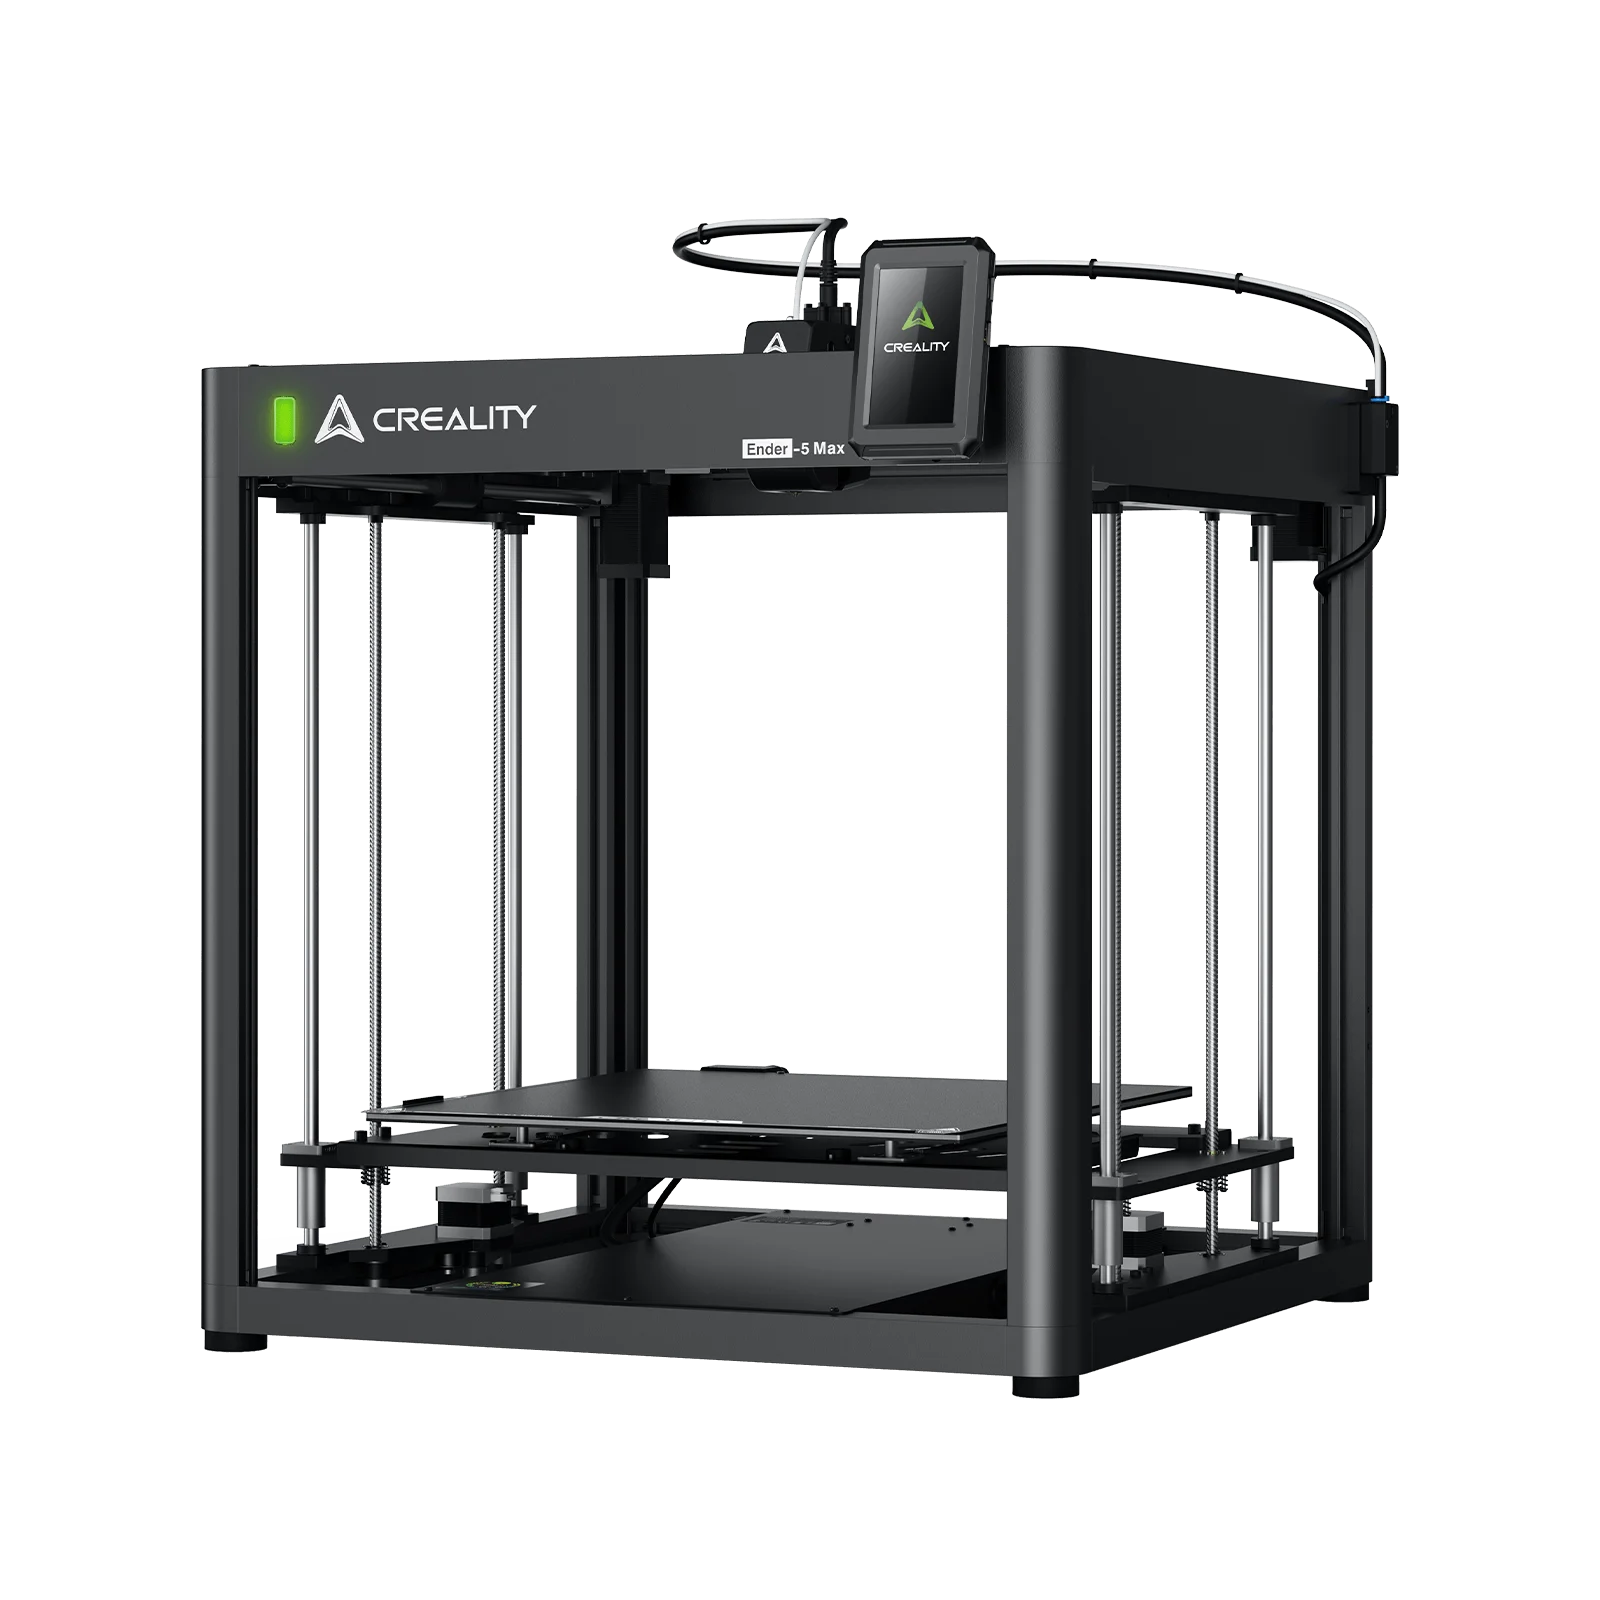
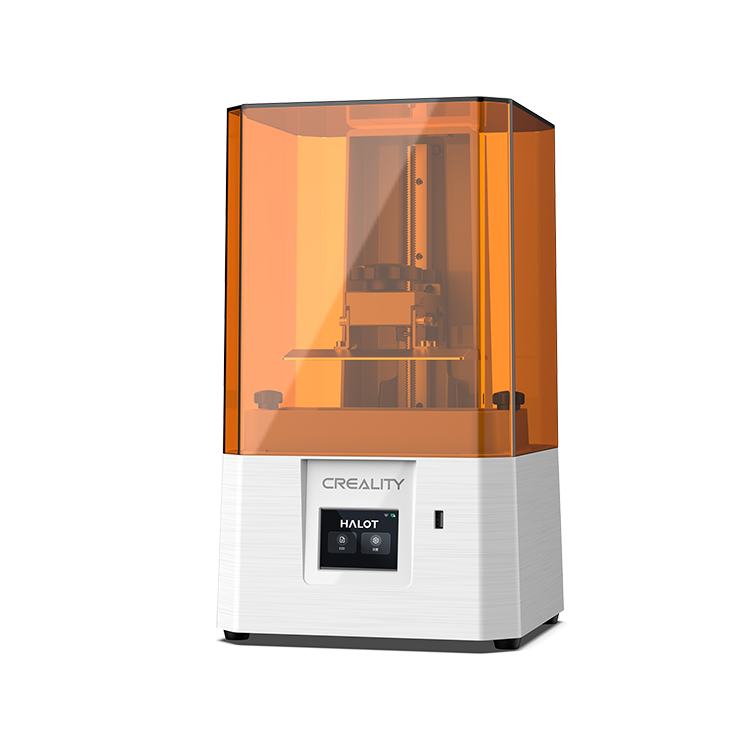
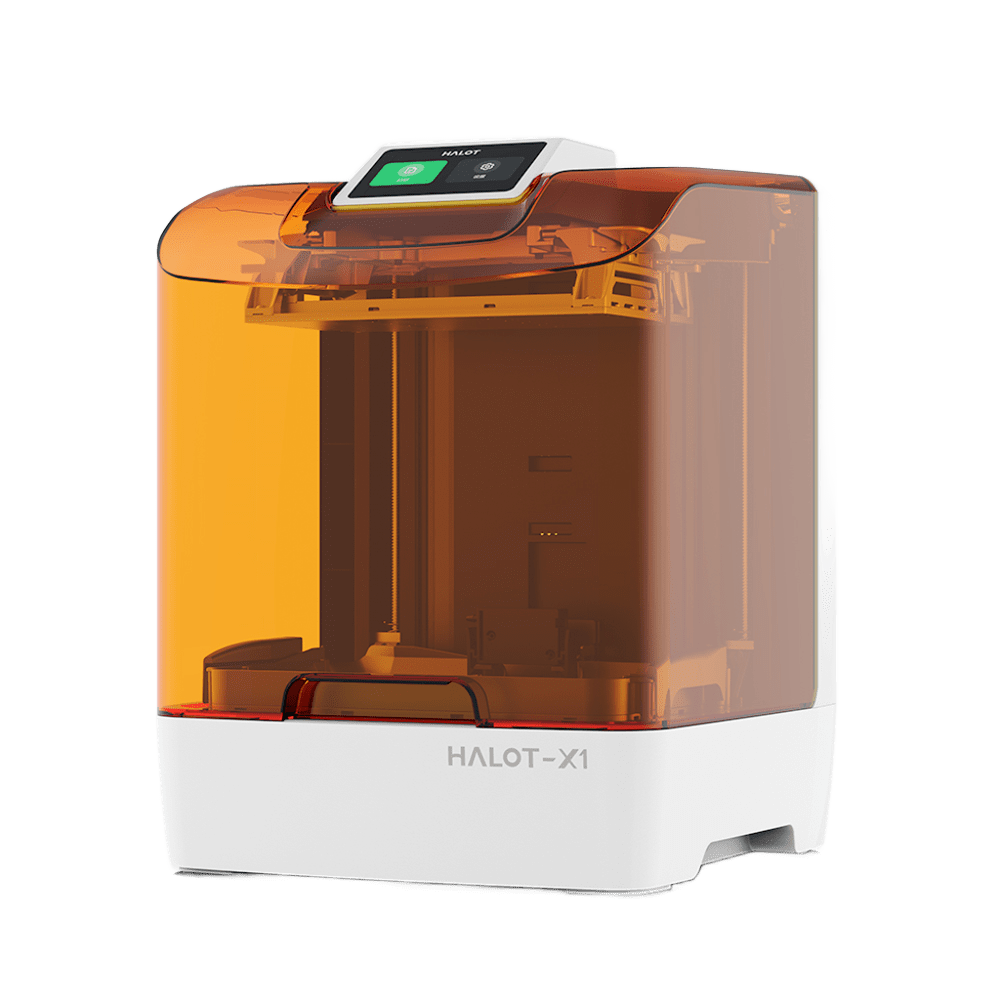
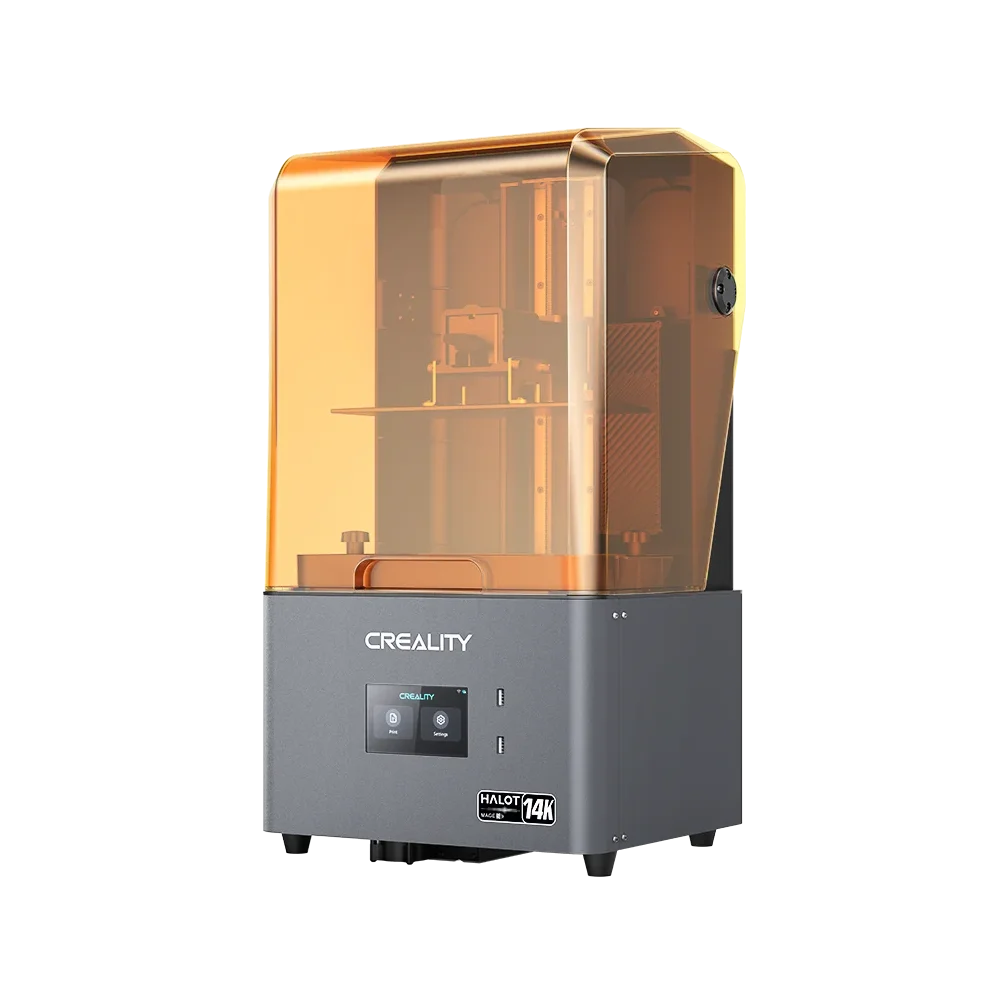
When you receive your own first 3d printer with full joy, you may be at a loss. Because you don’t know how to start printing while the printer is fully assembled. Therefore, now we will introduce some points about the 3D printer. Knowing the information will help you to print the model faster and more accurately. If you haven’t chosen a machine yet, start here: Find your first 3D printer.
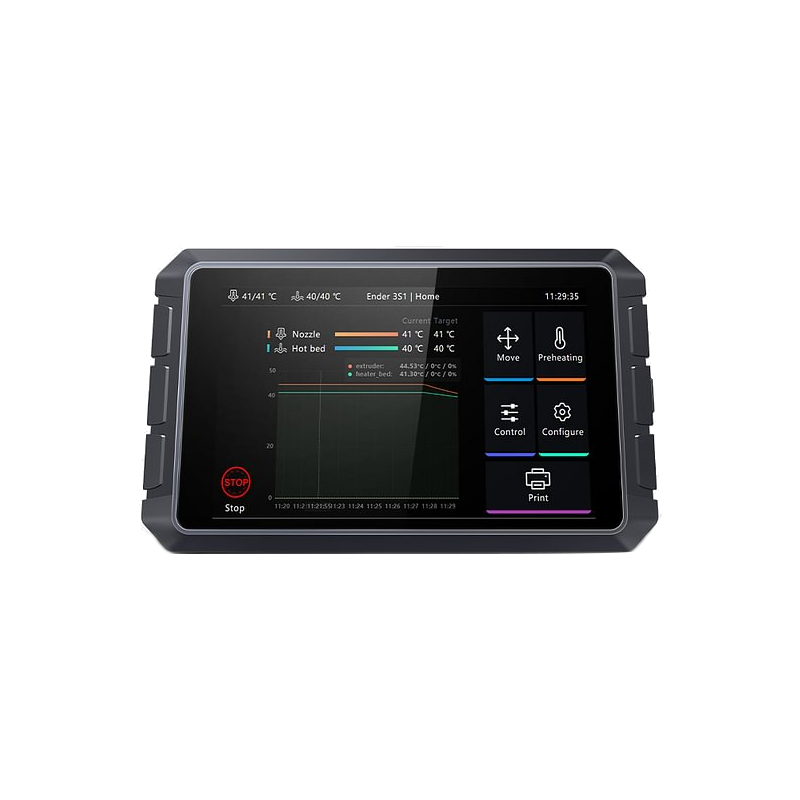
The LCD screen information---one of the important parts of the 3D printer. there are some specific explanations for the information displayed on the screen. (don’t be nervous, it just seems complex.)
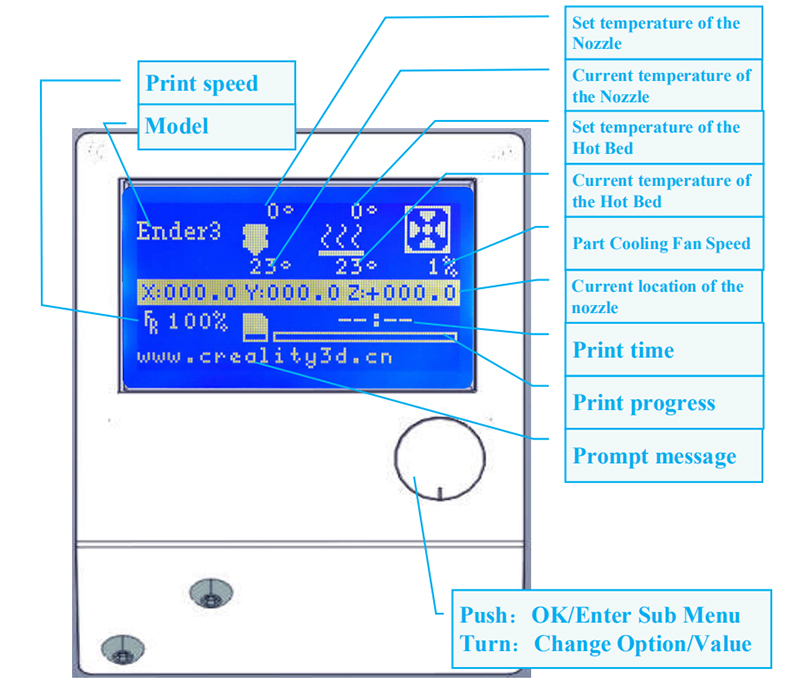
Model: the name of the printer
Print speed: the print speed will be well-set will you slicing the model, and it will be displayed as 100%, which means it is the print speed is 100%, if you want to lower the print speed, you can set it on the interference, basically no need to set it again.
Set temperature of the nozzle: click “control” and set the temperature you need(The maximum temperature of the nozzle is 250℃, generally set at 210℃.), pls noted that the E extruder will work only when the nozzle temperature reaches up to 185 degrees.
The current temperature of the nozzle: The nozzle temperature is displayed each time you look at the printer
Set temperature of the hotbed: Click “control” and set the temperature you need(the maximum temperature of the hotbed is 110℃, generally set at 50℃-60℃.).
The current temperature of the hotbed: The hotbed temperature is displayed each time you look at the printer.
Part cooling fan speed: You can set the fan speed parameter you need by turning the knob-select Fan Speed-change fan speed by given value, basically no need to set it again.
Current location of the nozzle: Three-dimensional coordinates of X, y, z axes
Print time: You can know how long it takes you to print
Print process: You can know how your printing is progressing
Prompt message: Creality official Website
Push: OK/enter the submenu
Turn: Change option/value
Tip: If you need to restore factory settings in case of some problems in your documents or printing, you can click “Control” and choose “Restore Failsafe.”
The First Step:
Loading filament---when you have assembled the printer, you can load filament. (It will be printed soon, just be easy.) At first, you need to preheat to make sure the nozzle temperature reaches the melting temperature of PLA. There are two ways you can choose:
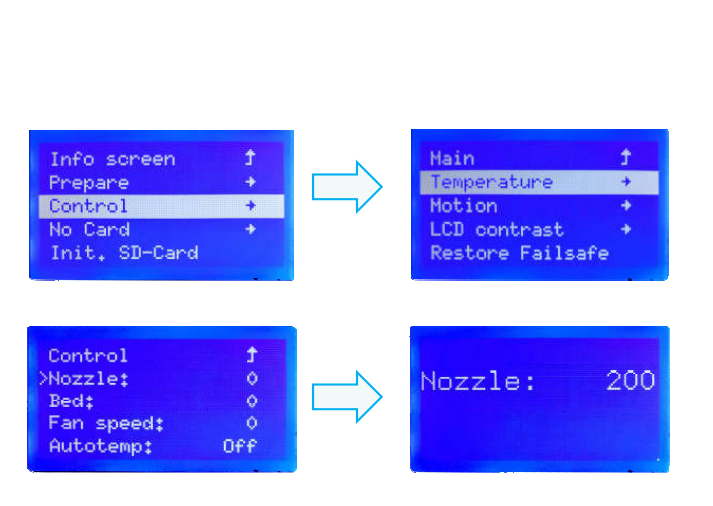
Method 1. Click “Prepare” and choose “Preheat PLA”.
Method 2. Click “Control”→ “Temperature” → “Nozzle” (You can set the nozzle and hotbed temperature yourself, normally nozzle temperature: 220℃, hotbed temperature: 50℃ ).
The Second Step:
You can insert 3d printer filament into the material Teflon tube. You need press and hold the extruder lever, then manually insert 1.75mm filament through the small hole of the extruder. Finally, continue feeding until you see filament come out the nozzle.
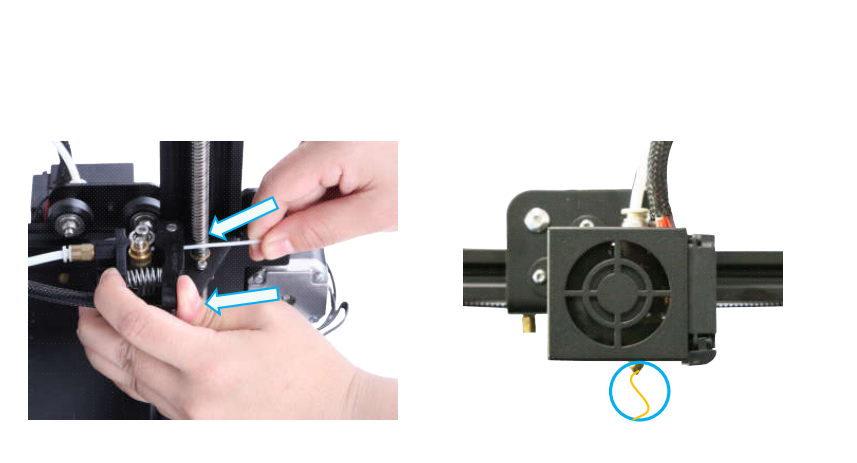
Tip: If you need to replace the Filament: Preheat the nozzle first then pull out the existing filament. Next, insert the new filament.
The Third Step:
You can level the bed now. (It's a step closer to printing. Don't be too excited.)
1. Click “Prepare” → “Auto-home” and wait for the nozzle to move to the left/front of the platform.
2. Click “Prepare” →“Disable Steppers”
3. Move the nozzle to the front/left leveling screw and adjust the platform height by turning the knob underneath. Use a piece of A4 paper (standard printer paper) to assist with the adjustment, making sure that the nozzle lightly scratches the paper.
Tip: If you still can not level the bed very well, check this youtube channel to better level the bed: https://www.youtube.com/watch?v=_EfWVUJjBdA
The Fourth Step:
this is the software installation. (fighting! It’s much closer to print.)
1. Double click the Cura icon to install the Cura Slicing Software.
2. Start Cura from the Start Menu.
3. Select Other→Creality CR-10→Printer Name: Ender 3→Add Printer.
4. Setting→Printer→Manage Printers...
5. Change Printer Settings to (220,220,250)
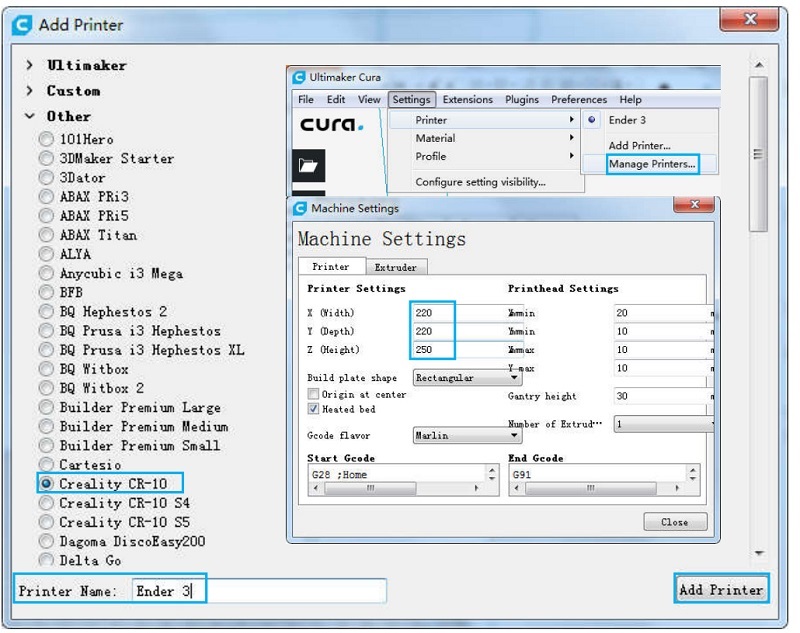
Tips: If there’s no printer you own listed on the menu, you can select cr-10 or ender 3, then modify the printing size will be good to go.
The Final Step:
You can prepare to print. (perfect, you can print your own 3d model.)
Pls noted that there’s a test model in the sd card, you can insert the sd card into the printer, then you can start to print.
If you want to print the model you like, you can find the models you like on the internet, I prefer finding the model from Thingiverse, and then slicing the model in the Cura software, pls remember that the file must be saved as g-code and can not be named longer than 8 characters or English alphabet, it would be better named as numbers, Otherwise, it can not be read.
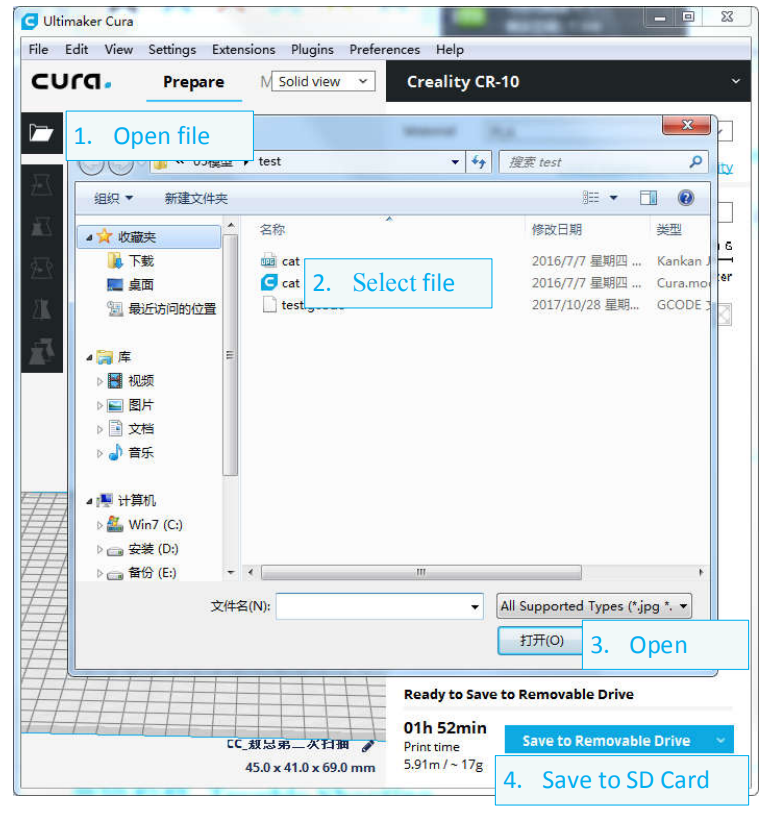
1. Insert the SD card into a computer with Reader.
2. Click “prepare” and open the file, choose the file you need and open it to save to SD card.
And then, you can start to print the test model on the sd card.
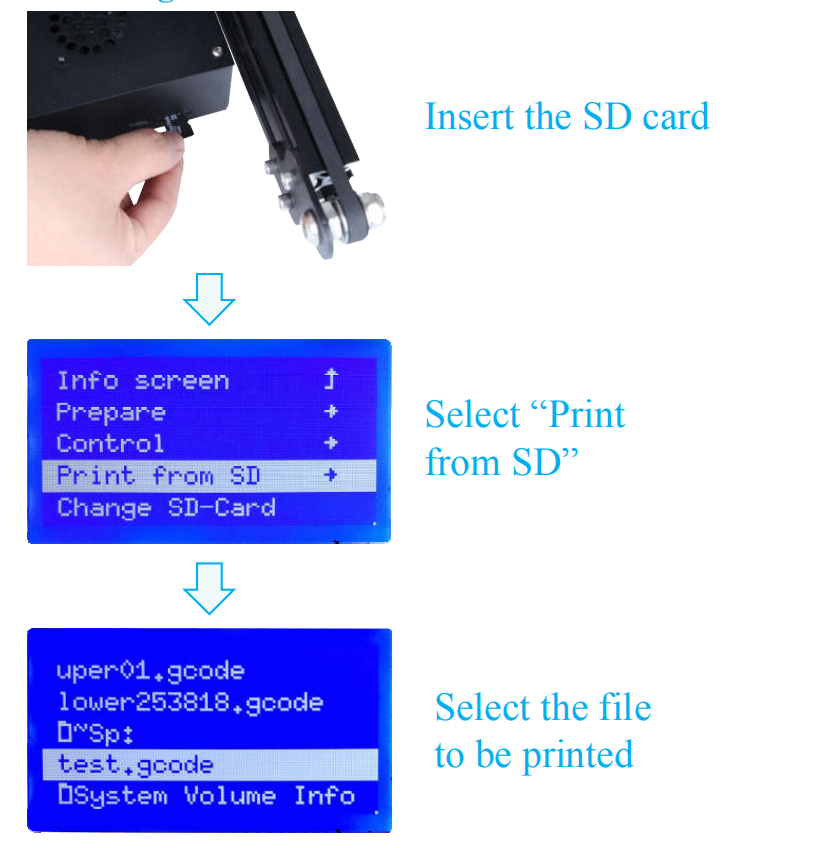
1. Insert the SD card into the slot.
2. Select" Print from SD"
3. Select the file to be printed
Finished, now your model is under printing.
If you encounter any other 3d printing troubles, you can write to cs@creality.com, our technical support will answer you very soon.