


Introduction
Why is My 3D Print Stuck to the Bed?
Common Causes:
Best Methods to Remove a 3D Print from the Bed
1. Let the Bed Cool Down
If your resin print is stuck to the build plate, wait for it to cool down. This will help you remove the 3D print safely and reduce the risk of damage. This works because the materials of the printer bed and the resin cool down and contract at different rates.
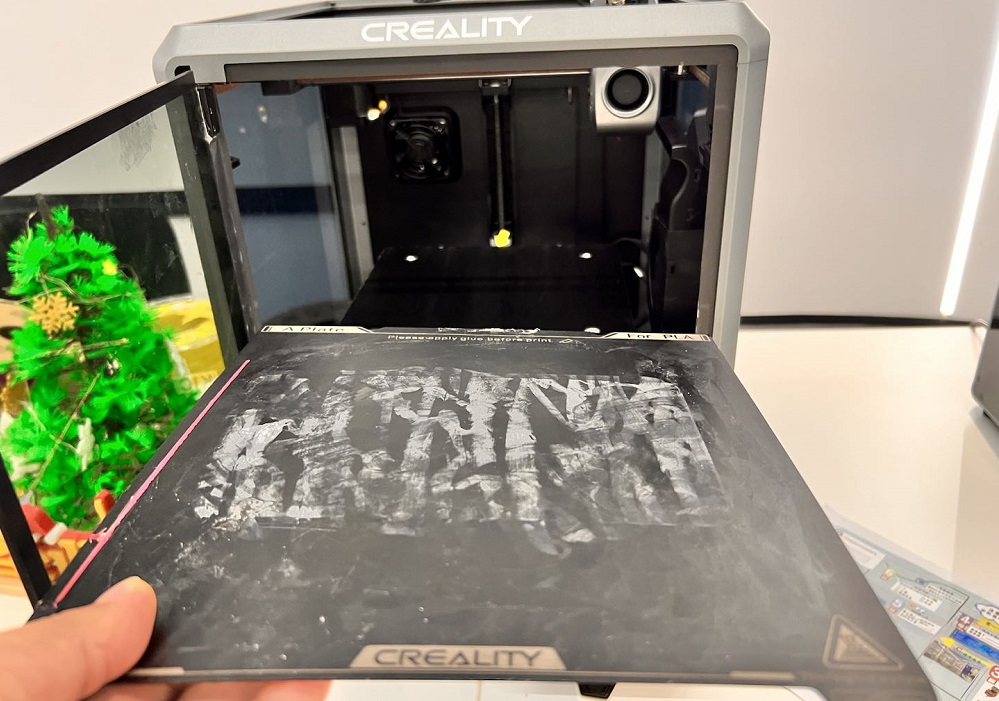
2. Use a Flexible Build Plate
Replacing your build platform with a flexible type makes stuck models a thing of the past. You simply have to remove the whole plate and bend it to pop the 3D print off.
This is one of the clear 3D print tricks that takes foresight. Not every project may work with this type of accessory or method. Most of Creality's 3d printers have these types of features
3. Use a Scraper or Spatula Properly
A simple plastic knife or scraper is a must-have tool for creative people who want to remove 3D prints from bed easily. Do not jab the tool into the lower level of the model.
Instead, gently push it under and use leverage to pop it off the surface. Also, be very careful not to scrape it across the printer parts. You don’t want to damage your machine.
4. Apply Isopropyl Alcohol or Water
5. Heat the Bed Slightly
6. Use Dental Floss or Fishing Line
If you don't have a spatula. A strong piece of floss or fishing line can work like a tool. It helps separate things, just like a sculptor removes clay from a potter’s wheel. Use a piece long enough to reach all the way around the model and still have plenty of line to hold onto.
How to Remove 3D Print Supports Safely
Let the model cool down all the way before you proceed. This helps prevent damaging the print itself. Then, cut them off with a sharp, clean craft knife, a wire cutter, or use a file or grinding tool like a Dremel to get a smooth surface.
Your tool collection for removing supports needs needle-nosed pliers. They help you grip even the most delicate prints.
In most cases, you don’t use a different technique for PLA, ABS, or resin. Some people may need more force than others, and you can remove PLA more easily with heat. You can use a hot tool to melt the supports instead of cutting them off. Soluble supports make removal easier, as you can soak them away in water or a gentle solution.
How to Prevent 3D Prints from Sticking Too Hard
Proper Bed Preparation
Correct Leveling and Z-offset
Avoid pressing the nozzle too hard. You want the filament to flow out smoothly. It should not press hard against the print bed or the lower parts of the model.
When it comes to preventing stuck prints, having the nozzle at the right height helps a lot. In most cases, it should be about .15 mm or the thickness of a piece of paper.
Optimal Bed Temperature Settings
Different materials require different temperatures. PLA works best at lower temps between 50 and 60 Celsius, while ABS needs almost twice as much if you want to prevent warping.
The right levels affect how likely it is for the material to stick to the printer bed, too. This also helps you determine whether it makes sense to cool down or heat up the surface if your 3D print is stuck to the bed.
Use Creality Accessories
Creality offers flexible plates and magnetic beds to help you take a proactive stance to 3D print sticking problems. These allow you to safely and easily pop the finished model off the bed when it’s cool. These offer an affordable solution that makes your whole printing projects easier.
Final Tips & Clear 3D Print Trick Tips
Do : Use the right method for the filament type you choose.
Do : Try non-destructive methods like temperature changes first before using force.
Do : Plan supports wisely before you start the 3D printing project.
Don’t : Use metal tools that can scrape or scratch the model of printer bed.
Don’t : Use harsh or toxic solvents not intended for use with filament.
Bonus : For quick temperature changes to help remove stuck prints, use ice packs or air dusters on the bottom of the plate. These will cool things down quickly and with precision.
Conclusion
After all the designing and printing, the last thing you want is print stuck to the bed of your 3D printer. Instead of throwing everything away or using bad methods, follow the tips above to avoid this frustration.
With the right tools and techniques, you will increase your chances of getting a perfect, undamaged model every time. Creality can help you achieve these goals. Explore our full range of printers, upgrades, and accessories.