


Ever looked at a cool 3D printed dragon model or gadget and thought, “I wish I could easily create 3D models for printing”? You're not alone. Whether it's a custom phone stand or a mini Iron Man helmet, the hardest part is often figuring out how to make the 3D print model itself.
The good news? It's way easier than it looks in 2025, especially with the right 3D model software and a little guidance. In this guide, we’ll show you how to make 3D models for printing from scratch, even if you’re a total beginner.
What Are 3D Models for Printing?
3D models for printing are digital, three-dimensional blueprints that guide a 3D printer to build physical objects layer by layer. These models are created using 3D modeling software and saved in printable file formats — the most common being STL, though OBJ and 3MF are also widely used.
Whether you’re designing a toy, tool, or prototype, your model needs to be print-ready — meaning it should be watertight (no holes or gaps), properly scaled, and structurally sound to ensure a smooth 3D printing process.
Types of 3D Models for Printing
There are several types of 3D models used in printing, each suited for different design goals:
-
Polygonal Models: Built using polygons (like triangles or quads), these are popular in gaming and animation but need careful mesh cleanup for 3D printing.
-
NURBS Models (Non-Uniform Rational B-Splines): Great for smooth and intricate curves, often used in automotive and product design.
-
Parametric Models: Ideal for engineering and architecture, these models allow easy adjustments and precise dimensions through defined parameters.
Choosing the right model type depends on your printing purpose — from artistic designs to technical parts, each format brings different strengths.
How to Make a 3D Model for 3D Printing
Now we have made clear the basic definition of 3D printer models. It's time to know how to create or customize 3D models for printing. Creating your own model might sound intimidating, but with the right approach and tools, anyone can do it. Here’s how to bring your idea to life—step by step.
Choose your design idea
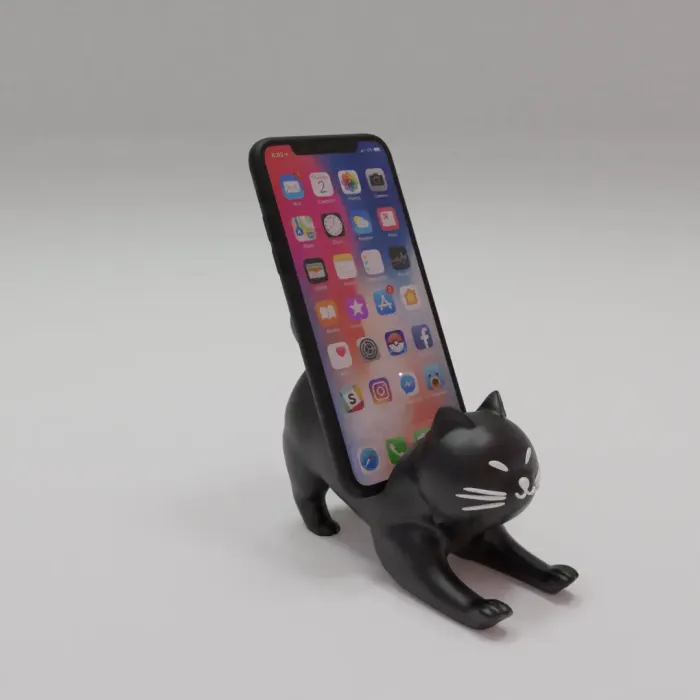
Before opening any software, think about what you want to make. Let's start simple. Great beginner projects include:
-
Phone stands or holders
-
Custom keychains
-
Mini figurines or toys
-
Replacement parts or household tools
You have two options to start with: draft outlines and specifications; and download existing 3D models.
Need inspiration? Check platforms like Thingiverse, MyMiniFactory, and CrealityCloud. These sites are full of downloadable models and creative ideas to help you get started.
Pick your 3D model software
Many ask:" What is the best software program to create 3D models? Honestly, the best 3D model software for printing depends on your experience level. Here’s a breakdown of popular options:
|
Software
|
Skill Level
|
Type
|
Best For
|
Price
|
|
Tinkercad
|
Beginner
|
Web-based
|
Simple shapes, education
|
Free
|
|
SketchUp
|
Beginner–Intermediate
|
Desktop/Web
|
Architecture, basic models
|
Free/Paid
|
|
FreeCAD
|
Intermediate | Desktop |
Parametric designs, engineering
|
Free
|
|
Blender
|
Intermediate | Desktop |
Artistic models, sculpting
|
Free
|
|
Fusion 360
|
Intermediate–Advanced
|
Desktop |
Engineering, precision parts
|
Free/Paid
|
Get started with 3D modelling
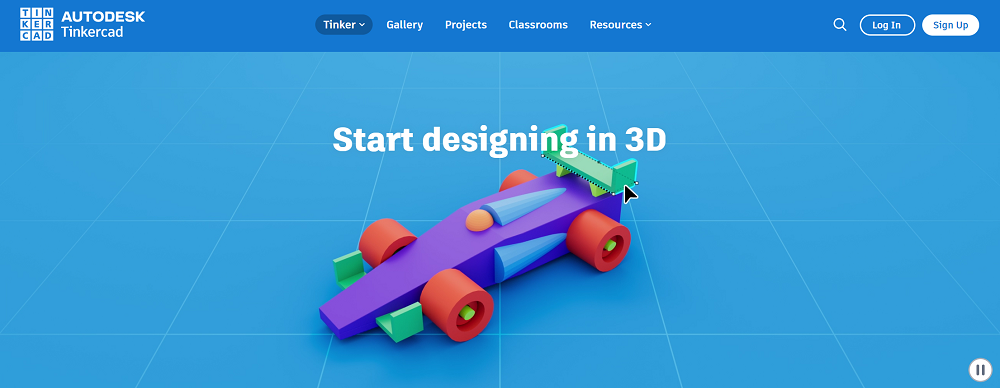
Tinkercad is one of the easiest tools to start designing 3D models, especially if you’re a beginner with no design experience. Let’s walk through how to create your own printable model step by step:
Step 1: Sign up & get prepared
Head over to Tinkercad and sign up for a free account. Once you’re in, click “Create New Design” to open the editor. You’ll see a blue grid called the workplane—this represents the surface of your 3D printer.
Use your mouse or trackpad to zoom in and out, move around, and rotate the view to get a better look at your model as you work.
Step 2: Customize your 3D models for printing
Tinkercad gives you a set of basic tools to build with—here’s how to use them:
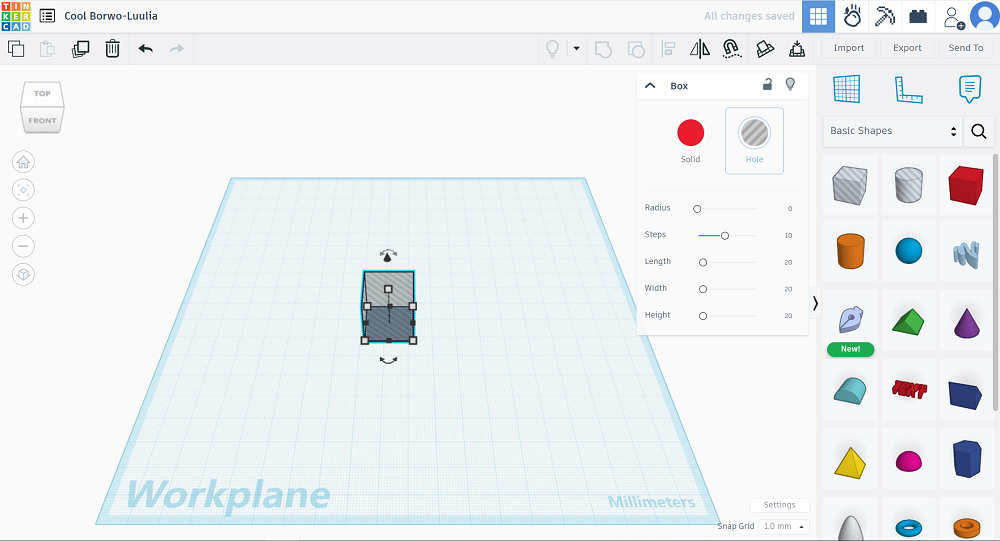
Drag & drop basic shapes
On the right-hand side, you’ll see shapes like boxes, cylinders, and spheres. Just drag one onto the workplane to get started.
Resize & position shapes
Click on any shape to adjust its size, height, and position. You can stack shapes, rotate them, or combine them into more complex forms.
Group & hole tools
Select two or more shapes and hit “Group” to combine them into one solid piece. Want to cut out a hole? Choose a shape, mark it as a “Hole,” then group it with another shape to remove that part.
Step 3: Check measurements
Click on the Ruler tool to check the exact size of your shapes. Tinkercad uses millimeters by default, which works perfectly with most 3D printers.
Step 4: Export as STL files
Once your model is ready, click “Export” and choose the .STL file format. This is the file you’ll load into your slicing software (like Cura or PrusaSlicer) to prepare it for 3D printing.
Export and check your model
Once your model looks good:
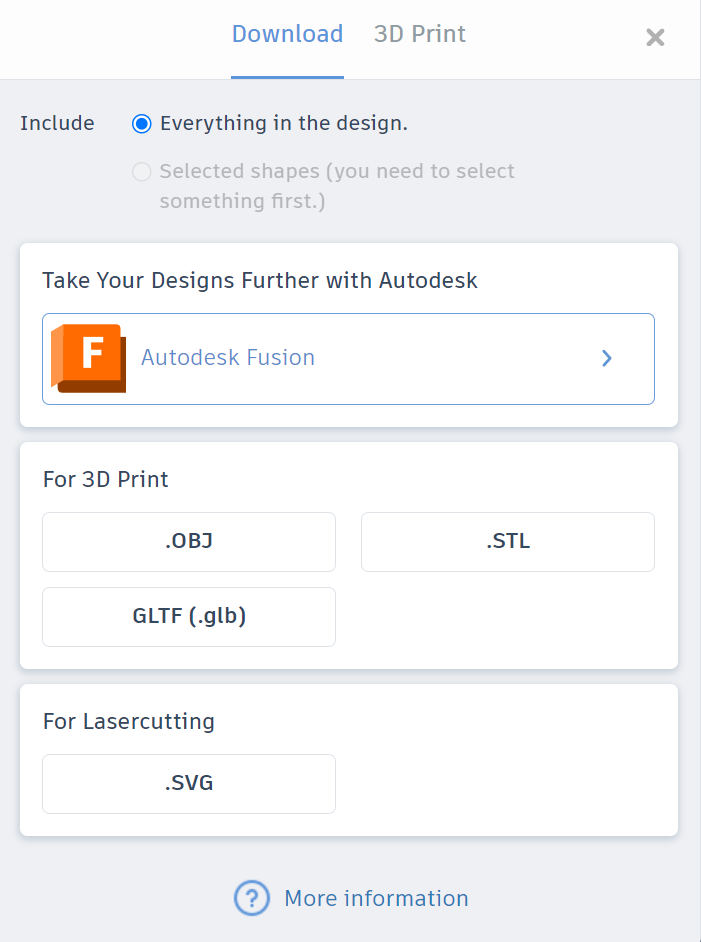
-
Export it in STL or OBJ format—these are the most widely supported by slicing software and 3D printers.
-
Open the file in a slicer like Creality Print, Cura or PrusaSlicer to preview the print, adjust settings, and generate G-code.
-
Conduct a trial print task. Even if your 3D model looks perfect on screen, real-world factors like overhangs, wall thickness, or printer calibration may affect the outcome.
-
If there's anything you need to make further adjustments to your models, check your file using mesh repair tools like Netfabb, Meshmixer, or Microsoft 3D Builder to fix holes, flipped normals, or non-manifold edges.
3D Modeling Tips: Mistakes to Avoid & Pro Advice
Regardless of your level of experience, these typical mistakes could prevent you from creating the ideal 3D model before you hit "print":
-
Non-manifold geometry: Your model might have holes, disconnected edges, or overlapping faces. These will confuse the printer and lead to failed prints.
-
Too-thin walls: Walls that are too thin may collapse or break. Always check your printer’s minimum wall thickness recommendation.
-
Unscaled models: Designing in the wrong unit (like inches vs. millimeters) can result in a model that’s way too small or too big to print.
-
Floating or unsupported parts: Pieces of your model that aren't connected to anything will print poorly or not at all.
-
Ignoring overhangs and supports: Models with extreme angles may need supports. Failing to plan for them can lead to sagging or messy prints.
Want to avoid wasted time and filament? Spot these issues before they cause real problems. Once you’ve avoided the basics, here are some pro suggestions to make your models truly print-ready:
-
Use mesh repair tools: Most modeling software like Blender or Fusion 360 have built-in mesh analysis tools. Use them to fix geometry problems early.
-
Test print a small section: Instead of printing the whole model, try a scaled-down version to test structure and detail.
-
Design with printability in mind: Avoid overhangs >45°, and keep wall thickness consistent to balance strength and material usage.
-
Hollow out large models: Reduce print time and material cost by hollowing out models and adding escape holes for resin or support removal.
-
Label and organize files clearly: As your modeling skills grow, so will your collection. Keeping everything labeled and versioned will save headaches later.
Wrapping Up
Creating 3D models for printing doesn’t have to be hard. With beginner tools like Tinkercad and the right tips, you can design models that are accurate, printable, and fun to build. Follow these tips to avoid mistakes and bring your ideas to life—one layer at a time. If you still find it hard to design your own 3D printing models, just go to the Creality Cloud to see what's best for you.
FAQs about How to Create 3D Models for Printing
Q1: Is it hard to make 3d models for printing?
A1: Not always! Although seemingly daunting, it is now simpler than ever thanks to user-friendly software and detailed instructions. Anyone may begin making printable 3D models using the tools and a little practice described in this article; no prior knowledge of design is necessary.
Q2: Can I create 3D models from photos or images?
A2: Yes! To make 3D models from photos or images, you can utilize photogrammetry or 3D scanning from images. Some open-source photogrammetry programs and software, for example, are quite helpful for taking rapid 3D pictures with automatic processing.
Q3: What is the easiest method for creating 3D models?
A3: the easiest way to create 3D models is to use AI tools like Spline, Vectary, or AI-driven generators in 2025. These tools, though early in the game, can automatically generate simple 3D models from text or other simple inputs.