


3D printing opens doors to a wealth of new ideas, products, and mockups. It lets even new designers change the world from their home office or garage. The struggle now is understanding each new technology's unique ins and outs to ensure a functional design outcome.
Have you ever wondered how a resin printer transforms liquid into precise, detailed objects? One of the more engaging forms is the resin printer. This type of 3D printer uses light, chemistry, and precise mechanics. It has many advantages.
At Creality, we want to give you the best information. We can help you understand how 3D printers work. We can also help you find the right printer for your needs.
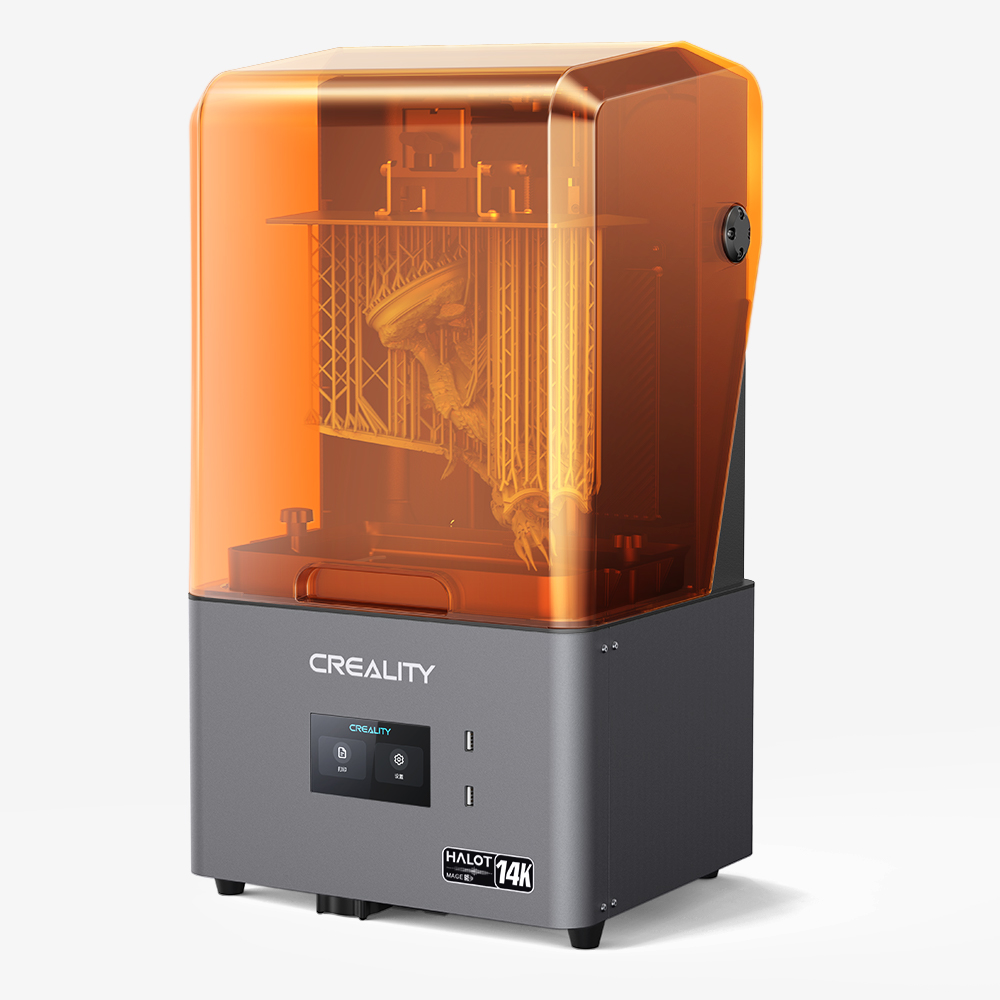
Check out our top model, the HALOT-MAGE S Resin 3D Printer. Let's look at the process. We will compare it to other technologies. Are you ready to bring your ideas to life with resin printing?
What is a Resin 3D Printer?
The best resin 3D printer uses photopolymer resin, which is a light-sensitive liquid. When you expose that liquid to different levels of UV light or other light, it hardens into the shapes of a design.
Unlike traditional FDM (Fused Deposition Modeling) printers, like our K2 Plus Combo, resin printers use a different method. They create models using a process called “light-curing.” We call the process of layering light-curing resin photopolymerization. This method allows you to create objects with fine details and smooth finishes.
Any of our HALOT series resin printers ensure sharp edges, intricate detail, and smooth textures for use as:
- Miniature model making
- Jewelry and fashion creation
- Dental and medical prototyping
- Product design and functional ideation
Photopolymer resin makes it easy and affordable for a wide range of applications across many industries.
How Does a Resin Printer Work?
The way a resin 3D printer works depends on the specific model and technology provided by the manufacturer. While there are differences that help both hobbyists and professional designers, most follow the same basic steps.
Step 1: Design and Slicing
Everything about using resin for 3D printing must begin with a 3D model. You can use software with CAD features, like Blender, Tinkercad, or Fusion 360. These tools let you change digital models into the structure you want to print using photopolymerization.
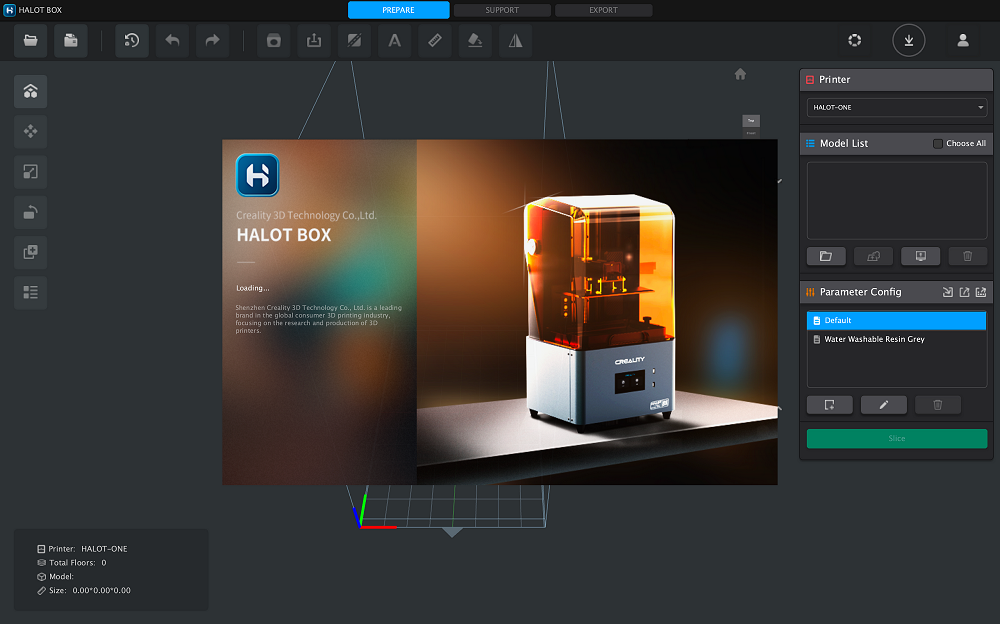
Creality’s 3d printing slicing tools break your 3D model into thin layers. The printer creates these layers one by one when it starts printing. That is what the printer receives as instructions.
Step 2: Resin and Light Source
A resin printer lowers a flat platform into a vat filled with your unique photopolymer resin. This is where certain light wavelengths are turned on. This can be done with a laser, projector, or other light source. The method used depends on the type of printer.
Once the light hits the resin, the resulting chemical reaction solidifies the object. The definition is so fine that it can be as thin as 0.01mm.
Step 3: Layer-by-Layer Curing
Are you ready for the real magic of resin 3D printer service? As each layer of resin is cured, the build platform lifts. That lets uncured resin drip back down, creating highly accurate models with smooth and defined surface textures.
That definition is why this technology is known as the best resin 3D printer for miniatures used in board games, modeling, and popular RPGs like Dungeons and Dragons.
Step 4: Post-Processing
Now that you have a working model, it’s time for post-processing. That involves gently cleaning the uncured resin away with something like isopropyl alcohol or a dedicated washing station. Some also use UV curing stations to ensure the model is fully hardened before carefully removing any debris or extra pieces.
Types of Resin Printing Technologies
-
SLA (Stereolithography): Uses a precision laser to cure resin models “point-by-point.” The result is exceptionally well-defined but tends to take longer than other resin printing technology. SLA is best for dental molds, jewelry, or engineering premium-grade objects because it prints isotropic parts with extremely smooth surfaces.
-
DLP (Digital Light Processing): DLP relies on a digital projector instead of a laser. That “flashes” an entire layer of resin at a time, resulting in a faster turnaround of object creation, although there is some minor distortion at the edges due to pixelization. You’d use this for small production runs, miniatures, or if you need a part immediately. DLP is a “bottom-up” curing process because the projection is below the vat of resin. The more DMD mirrors you have, the better the results.
-
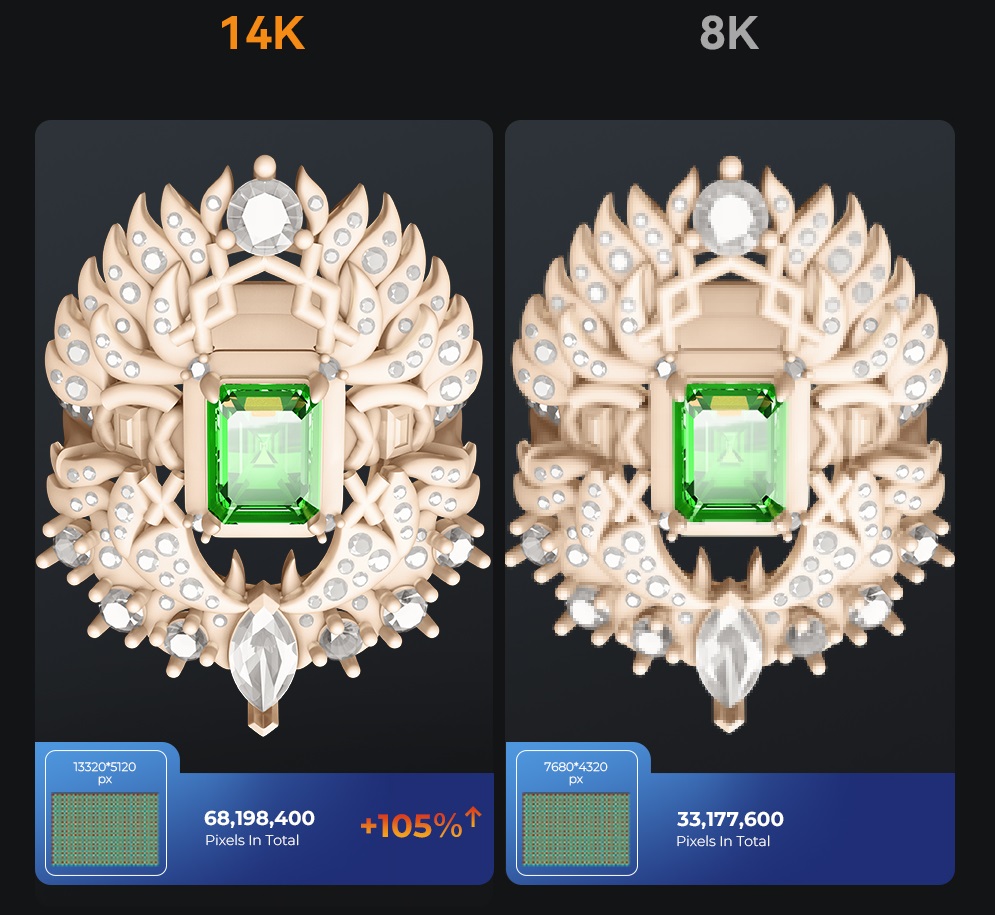
LCD (Liquid Crystal Display): LCD printing is used in Creality’s HALOT series. It is the most cost-effective and user-friendly way to create resin objects. It works by using an LCD screen with a UV backlight that results in a slightly lower resolution compared to SLA or DLP, but more than enough for professionals. LCD resin printing is great for beginners, hobbyists, and creators of all levels. Similar to DLP, you want a lot of pixels to ensure a high-resolution outcome.
Advantages and Disadvantages of Resin Printing
Resin 3d Print Advantages:
-
Resin printing ensures high detail and precision outcomes with intricate and sharp details.
-
There are little to no texture/layer lines in the final object outcome due to the smooth finish.
-
3D resin printers are the best option for small-scale, high-detail items like jewelry or miniatures.
-
Most resin printers are fast, especially with LCD and DLP models like the HALOT-MAGE S.
Resin 3d Print Disadvantages:
-
You may have a messy post-processing experience as cleaning, and extra curing requires additional steps.
-
The material cost of resin for use in 3D printing can be higher than standard FDM filament.
-
If you’re wondering is 3D printer resin toxic, the answer is it can be, so you’ll want to handle it with gloves in a well-ventilated space.
-
Not all resin materials are as durable or flexible as some FDM alternatives.
Applications for Resin Printing