

Simple Creality Ender 3 S1 Review – Worth Buying or Not?
Creality is a well-respected manufacturer of 3D printers, having a reputation behind them of creating high quality 3D printers that users around the world love. I’m pretty sure they are the biggest manufacturer out there, and I have the Ender 3 & Ender 3 V2 to vouch for the quality.
Users have been asking for a Creality machine that has certain features and parts all put into one machine, and with the release of the Creality Ender S1, they may just have delivered that.
This article is going to be a fairly simple review of the Ender 3 S1, going over aspects such as the features of the machine, specifications, benefits, downsides, the assembly process, as well as the unboxing and leveling process.
MY LATEST VIDEOS
Disclosure: I received a free Ender 3 S1 by Creality for review purposes, but opinions in this review will be my own and not bias or influenced.
Stay tuned for this review and I hope you find it useful.
Features of the Ender 3 S1
Dual Gear Direct Drive Extruder
CR-Touch Automatic Bed Leveling
High Precision Dual Z-Axis
32-Bit Silent Mainboard
Quick 6-Step Assembling – 96% Pre-Installed
PC Spring Steel Print Sheet
4.3-Inch LCD Screen
Filament Runout Sensor
Power Loss Print Recovery
XY Knob Belt Tensioners
International Certification & Quality Assurance
Dual Gear Direct Drive Extruder
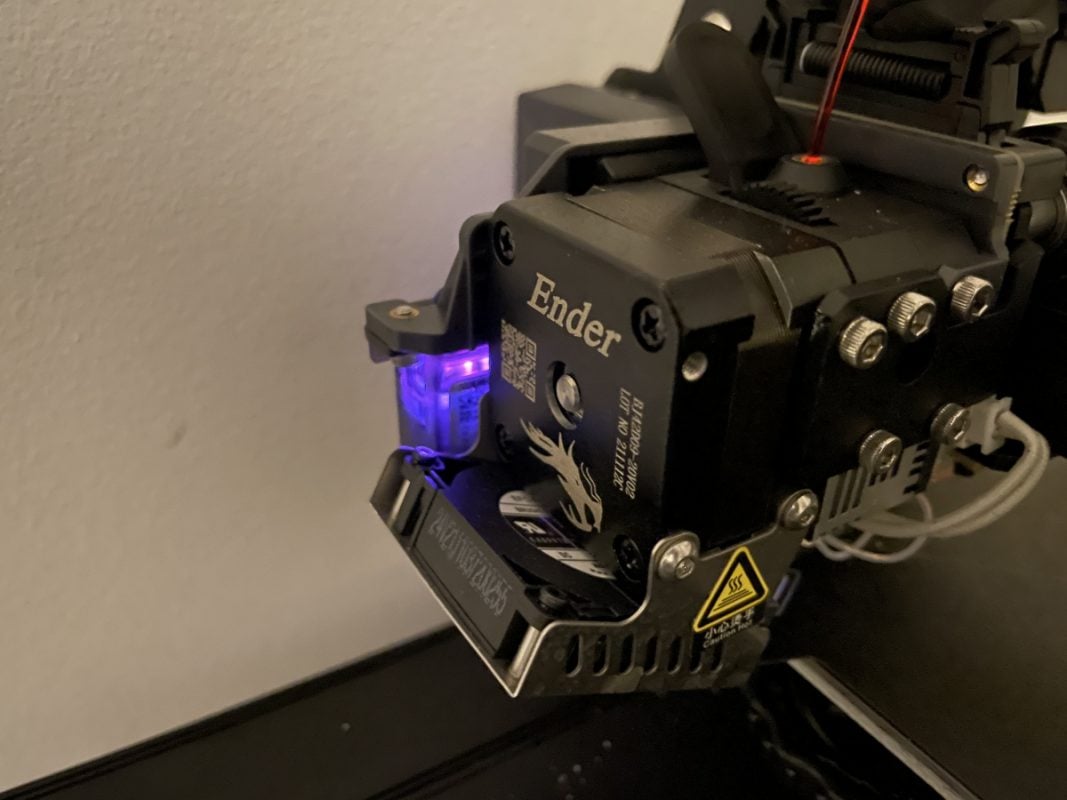
Nicknamed, the “Sprite” extruder, this direct drive, dual gear extruder is very light compared to most other models, giving users less vibrations and jerky movements, along with more precise positioning. It supports a wide range of filaments including PLA, ABS, PETG, TPU & more.
Loading filament into this extruder is so much easier than with a Bowden extruder, and it feels very sturdy & well-made. Once your hotend is heated up, you can easily load filament through the extruder by hand, and even use the control screen to move the extruder to extrude filament.
It has two chrome steel gears engaged at a 1:3:5 gear ratio, along with a pushing force of up to 80N. This produces smooth feeding and extrusion without slipping, even with flexible filaments like TPU.
The main upside to this extruder is the lightweight design, weighing only 210g (ordinary extruders weigh about 300g).
CR-Touch Automatic Bed Leveling
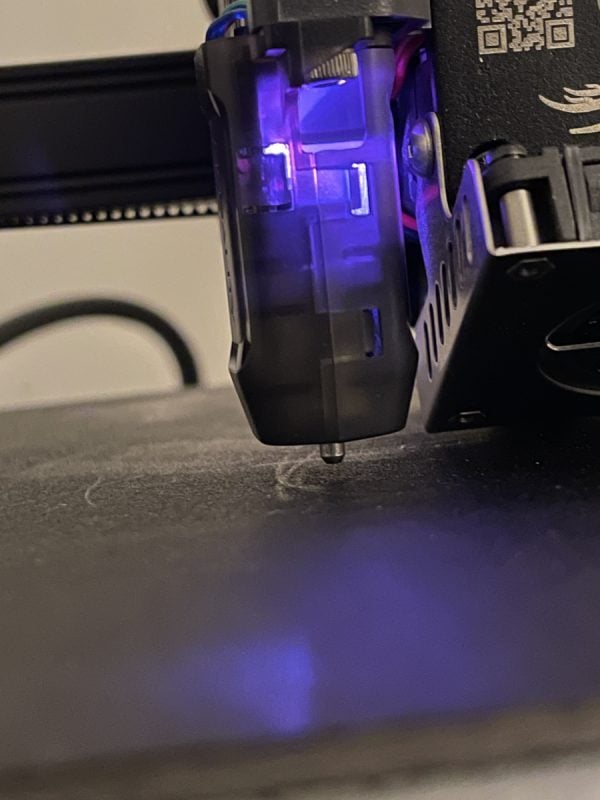
One of the main features that users will love with the Ender 3 S1 is the automatic bed leveling feature, brought to you by the CR-Touch. This is a 16-point automatic bed leveling technology that takes a lot of the manual work out of operating this 3D printer.
Rather than use the paper method and manually move the extruder to each corner, the CR-Touch will automatically calculate the bed level and calibrate the measurements for you. It basically modifies the G-Code to account for an uneven or warped bed.
It will only require you to manually input the center calibration to ensure it’s working properly, though that is also assisted.
High Precision Dual Z-Axis
A feature that has been missing from the Ender series is the dual Z-axis, so finally seeing this high precision dual Z-axis on the Ender 3 S1 is very exciting to see. From the quality I have been seeing on this machine, and comparing it to my Ender 3, I can definitely see a difference.
Sometimes you’d get layer skips and other imperfections, but that is practically eliminated with the features brought to you by this machine.
This combination of the Z-axis dual screw along with the Z-axis dual motor design brings you a much smoother and more synchronized movement, resulting in a much higher instance of clean 3D prints, without those uneven layer lines and ridges on the side of your print.
I’m sure it’s one of the biggest factors to improving the print quality.
32-Bit Silent Mainboard
3D printing used to be a very loud activity, but manufacturers have solved that problem by bringing in the 32-bit silent mainboard. It significantly reduces the noise levels, which I can definitely appreciate, having the original Ender 3.
The motor sounds aren’t heard at all. You do still get the fairly loud fans active (under 50 dB), but they aren’t too bad and you can still do your usual activities without being disturbed much depending on your personal tolerance and distance from the machine.
Quick 6-Step Assembling – 96% Pre-Installed
We all love a quickly assembled 3D printer.
I’d recommend watching the video below before you assemble your machine so you can make sure you get it right. I managed to put my vertical frame on backwards which confused me, before noticing my mistake and correcting it!
Assembly for me was really easy, having much appreciation for having things like the extruder, tensioners, bed, and even the dual Z-axis pretty much done for me. This design also makes maintenance of your 3D printer simpler and easier in the future.
You also have an instruction manual that gives you the simple steps to assemble your printer.

PC Magnetic Spring Steel Sheet (Flexible)

The PC spring steel sheet is a lovely addition that gives users the ability to “flex” the build plate and have 3D prints pop off nicely. The adhesion is really good as well, with models sticking nicely without any extra adhesive product.
It’s basically a combination of a PC coating at the top, a spring steel sheet in the middle, with a magnetic sticker at the bottom attached to the bed.
You no longer need to dig away at the build plate like a caveman as we all did previously, just a simple removal of the magnetic printing platform, bend it, and the print comes off smoothly.
There are so many features on this machine that makes our 3D printing lives so much easier, so we can focus on finding new awesome things to 3D print!
Do watch out for PETG since that can stick a little too well. You can apply a 0.1-0.2mm Z-offset in your slicer specifically for PETG prints.
4.3-Inch LCD Screen

The 4.3-inch LCD screen is a pretty nice touch, especially with the way it is assembled. Rather than require you to put screws into the back panel, it has a nice “slip-in” design where a metal pin fits inside the screen and slides in smoothly, then clips into place.
The actual operation of the touchscreen and the user interface has a mixture of a traditional and modern design. Everything that you need is easy to find, having the standard “Print”, “Control”, “Prepare” & “Level” options.
It shows you the temperatures of the nozzle and bed, along with the fan speed, Z-offset, flow rate, print speed percentage, and X, Y, Z co-ordinates. The lights automatically dim after 5 minutes of inactivity, saving some energy.
The only issue is, it doesn’t allow you to turn off the beeping sounds for each click which is slightly loud.
Filament Runout Sensor

If you’ve never run out of filament without having a filament runout sensor, then you might not appreciate this as much as some users out there. Having this feature is a big deal that all 3D printers should have.
When a 15-hour print is on the 13th hour going strong and your filament starts running out, the filament runout sensor can be a lifesaver. It is a small device placed before your extruder so that when filament stops passing through it, your 3D printer will pause and prompt you to change the filament.
After you change the filament over and select continue, it will go to the last location and continue printing as normal rather than continue printing with no filament. It’s a great feature, but do beware, you may get a layer line depending on how well the layer adheres to the previous layer.
Power Loss Print Recovery
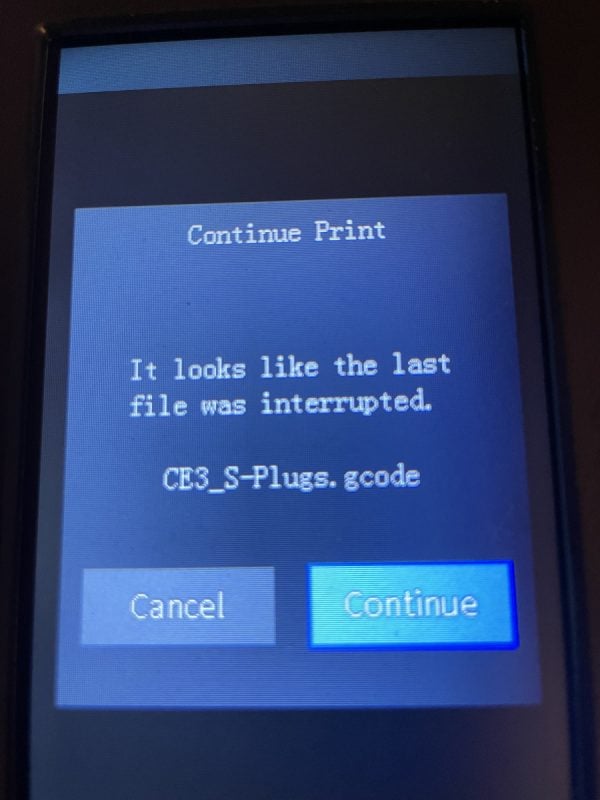
I actually have a power loss print recovery save one of my 3D prints, since the plug had come out accidentally. I switched it back on and was prompted to continue my print, selected continue, and it started printing like nothing had happened.
This is another lifesaver feature that users will appreciate. Whether you have a blackout, or an accidental plug removal, you can save those really long prints and not have to worry about these issues.
XY Knob Belt Tensioners

The XY knob belt tensioners are a neat feature that makes operation easier. You used to have to undo the screws that held the belt in place, apply some pressure to the belt at a weird angle, and try tighten the screw at the same time, which was quite annoying to do.
Now, we can simply twist the knob on the X & Y axis to tighten or loosen the belts to our liking. This enables you to make sure you are getting the best quality with the optimal belt tension.
International Certification & Quality Assurance
Creality made sure to connect some quality assurances and international certification to the Ender 3 S1. It has passed certification from various professional testing organizations, having safety certificates like the CE, FCC, UKCA, PSE, RCM & more.
Specifications of the Ender 3 S1
Modeling Technology: FDM
Build Size: 220 x 220 x 270mm
Printer Size: 287 x 453 x 622mm
Supported Filament: PLA/ABS/PETG/TPU
Max. Printing Speed: 150mm/s
Printing Precision +-0.1mm
Filament Diameter: 1.75mm
Net Weight: 9.1KG
Extruder Type: “Sprite” Direct Extruder
Display Screen: 4.3-Inch Color Screen
Rated Power: 350W
Layer Resolution: 0.05 – 0.35mm
Nozzle Diameter: 0.4mm
Max. Nozzle Temperature: 260°C
Max. Heatbed Temperature: 100°C
Printing Platform: PC Spring Steel Sheet
Connection Types: Type-C USB/SD Card
Supported File Format: STL/OBJ/AMF
Slicing Software: Cura/Creality Slicer/Repetier-Host/Simplify3D
Benefits of the Ender 3 S1
Print quality is fantastic for FDM printing from the first print without tuning, with a 0.05mm maximum resolution.
Assembly is very quick compared to most 3D printers, only requiring 6 steps
Leveling is automatic which makes operation a lot easier to handle
Has compatibility with many filaments including flexibles due to the direct drive extruder
Belt tensioning is made easier with the tensioner knobs for the X & Y axis
The integrated toolbox clears up space by allowing you to keep your tools within the 3D printer
Dual Z-axis with the connected belt increases stability for better print quality
Cable management is really clean and not in the way like some other 3D printers
I love the use of the larger SD card rather than the MicroSD since it’s nice to use and harder to lose
The rubber feet at the bottom help reduce vibrations and improve print quality
Has the tough yellow bed springs that are firmer so the bed stays level for longer
When the hotend reaches below 50°C it automatically turns off the hotend fan
Downsides of the Ender 3 S1
Doesn’t have a touchscreen display, but it’s still really easy to operate
The fan duct blocks the front view of the printing process, so you’ll have to look at the nozzle from the sides.
The cable at the back of the bed has a long rubber guard which gives it less space for bed clearance
Doesn’t let you mute the beeping sound for the display screen
When you select a print it starts off heating just the bed, but not both the bed and the nozzle. It does heat both at the same time when you select “Preheat PLA”.
No option I could see to change the color of the CR-Touch sensor from the pink/purple color
Unboxing & Assembly of the Ender 3 S1
Here’s the initial package of the Ender-3 S1, a decent sized box that weighs around 10KG.

This is the top of the box after opening it, with a useful tip on the retraction settings for the direct drive extruder with PLA & TPU.

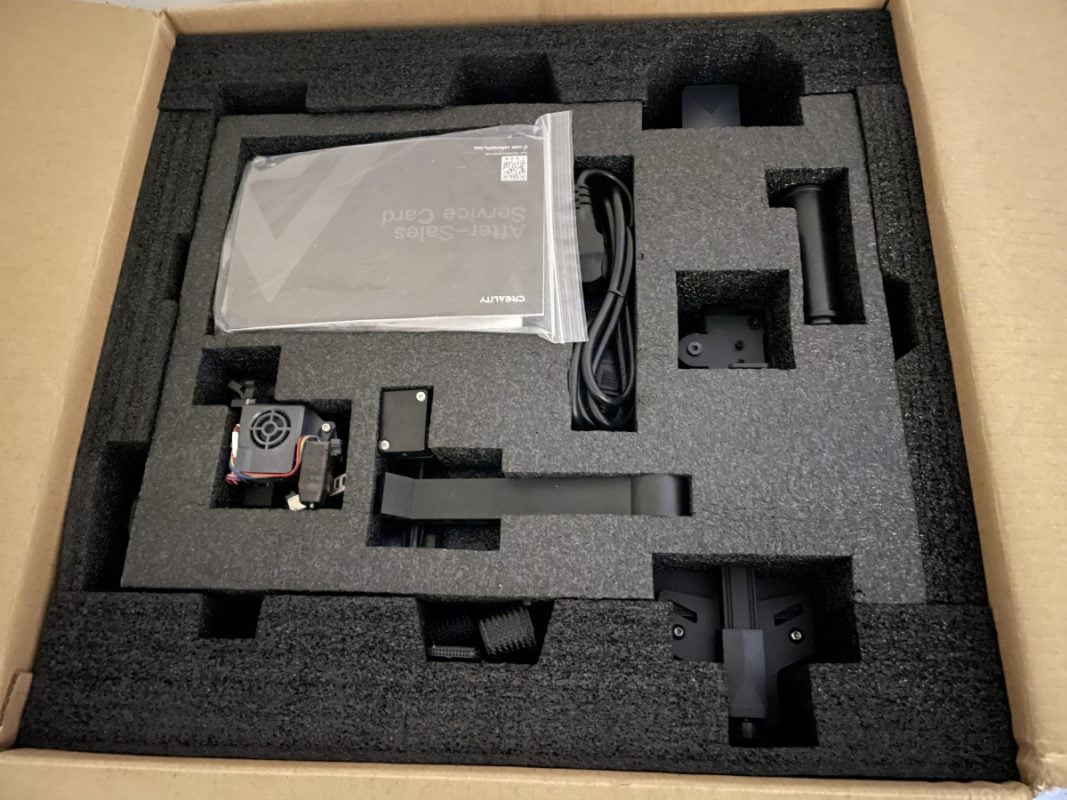
The packaging is top-tier, ensuring that everything fits nice and snug with the custom foam inserts. It has the extruder/hotend, spool holder, a wire clamp, the power cable, and an after sales card.
The next layer of the Ender 3 S1 gives us the main part of the machine, the pre-assembled frame with the bed and other attached parts.

I laid out everything from the box out on a table so you can see exactly what you’ll receive. The pre-assembled frame makes a massive difference in putting the machine together.
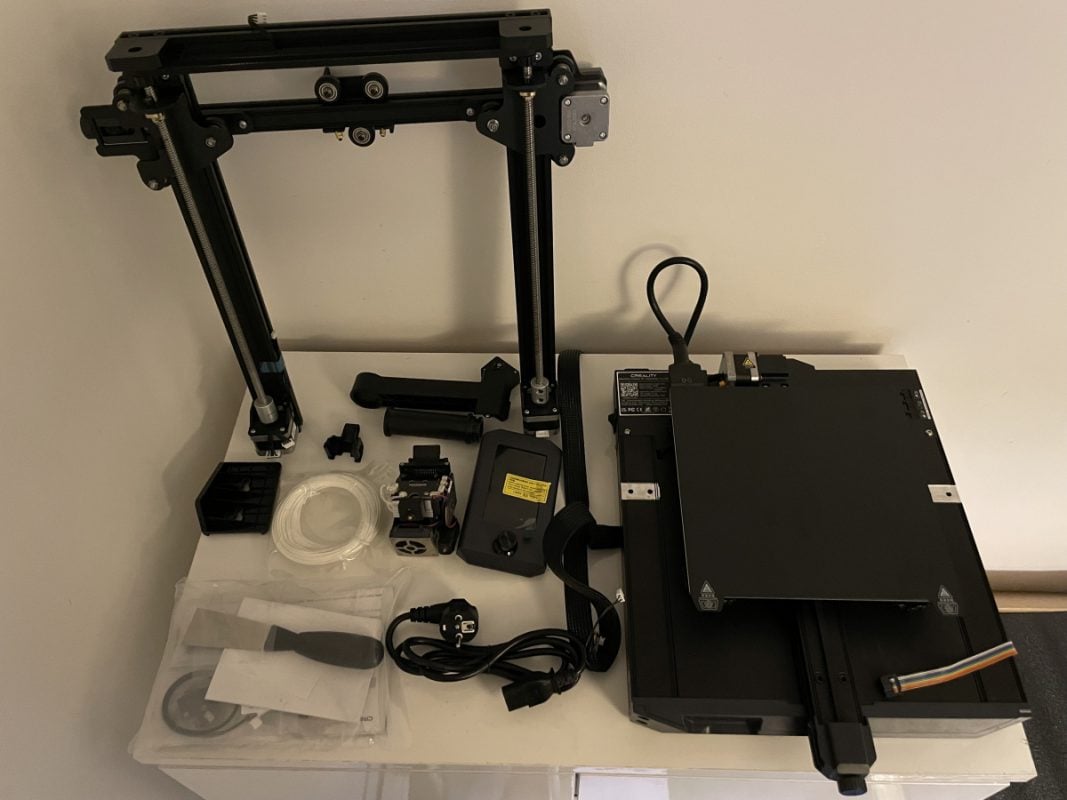
Here are the tools & accessories unpacked, that you can see at the bottom left of the picture above, containing all the screws, nuts, USB, SD card, spare nozzle, spare parts, and even some stickers. You also have a warranty after-sales card and the installation guide.

The extruder is one of the coolest features on this 3D printer, giving you a real unique and modern design that is created for high quality prints. It includes the CR-Touch for automatic bed leveling, already installed.

The display screen contains these metal pins that fit inside the display screen bracket, making assembly slightly easier.

The assembly process should take you around 10 minutes or even less if you have experience putting 3D printers together.
Step 1: Attach the nozzle assembly to the mounting back panel with four M3 x 6 hexagon socket head cap screws.
Step 2: Clip the wire clamp to the back panel of the X-axis motor
Step 3: Place the main frame on the base and attach two M5 x 45 hexagon socket head screws on each side
Step 4: Place the display bracket on the side of the right profile, then tighten with three M4 x 18 hexagon flat round head screws
Step 5: Align the pins on the back of the display with the large holes on the display bracket and slide them down to clip it in place
Step 6: Attach the spool holder pipe to the right end of the material rack, then attach it onto the front slot of the profile. Press down to clamp into place
This is the main assembly complete, then you want to attach the relevant wires and ensure the voltage level is set correctly based on your local voltage (115V or 230V). After this is complete, we can plug in the power cable and get to leveling the printer.
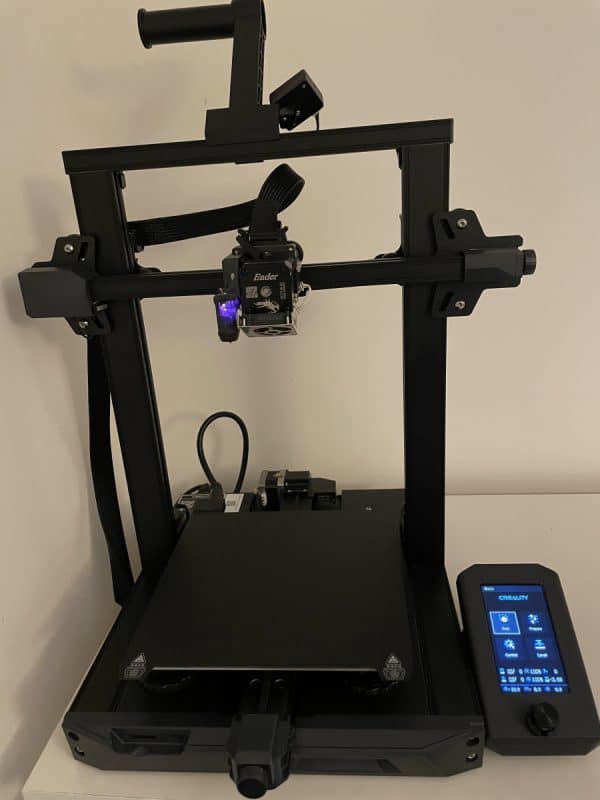
Here’s a front view of the assembled Ender 3 S1.
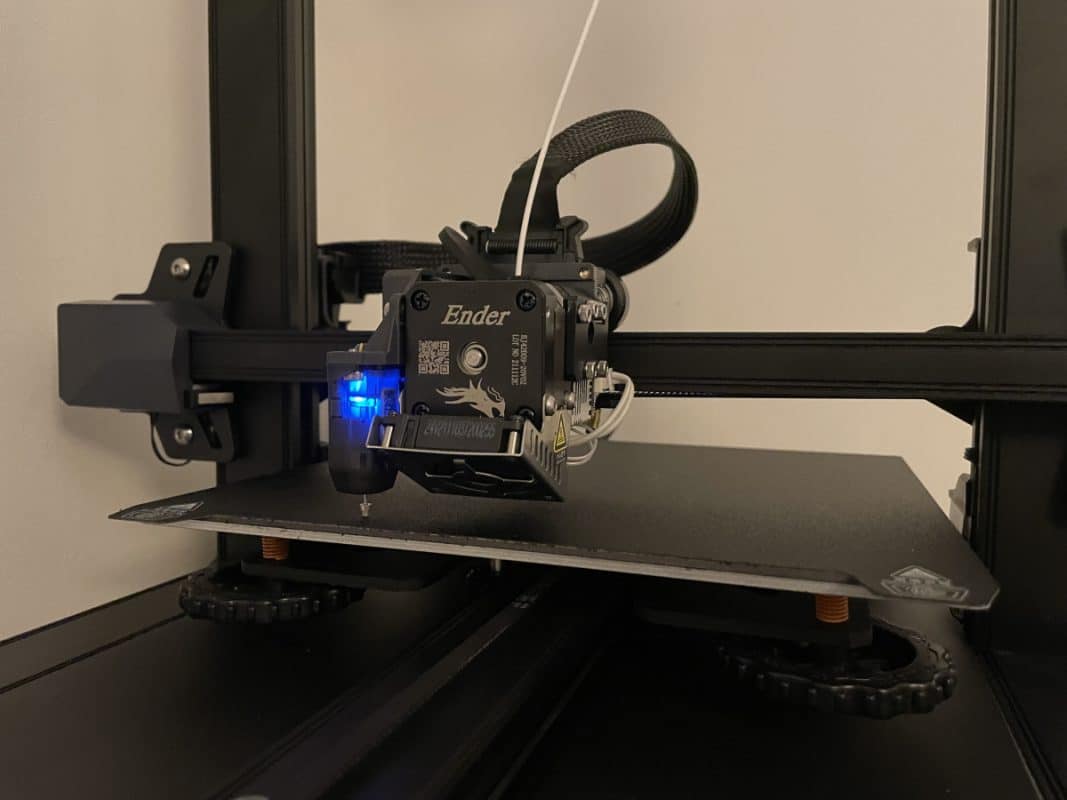
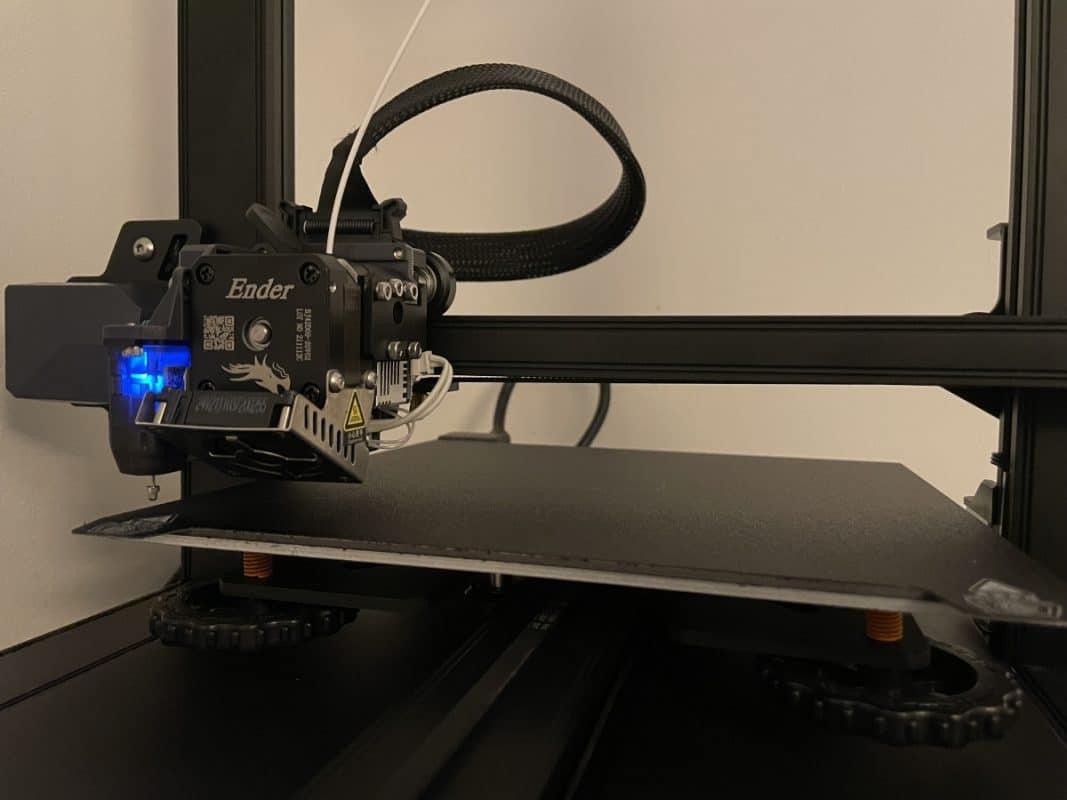
Here’s a side view.

Leveling of the Ender 3 S1
The leveling process is fairly simple. You want to ensure the four knobs are screwed in a decent amount so they aren’t loose, then you simply select “Level” from the main display screen.
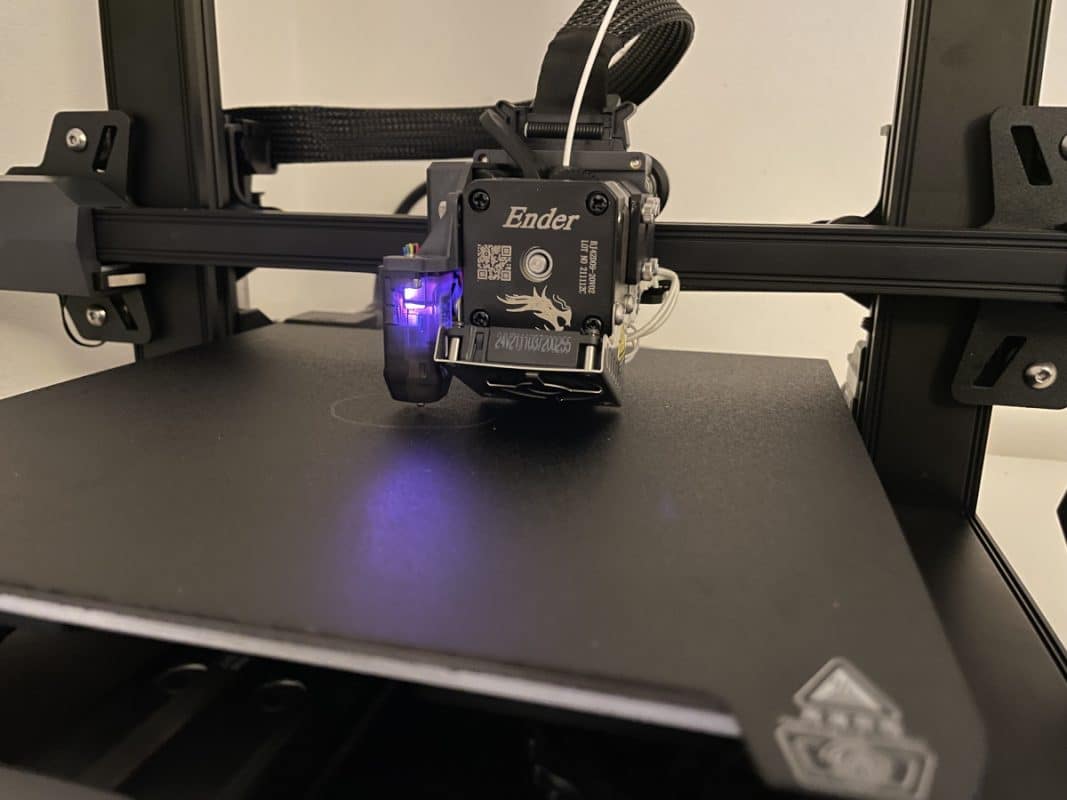
This will get straight into the automatic 16-point leveling process where the CR-Touch will operate across the bed to measure and compensate the bed distances.

Here is the automatic leveling in action.

It measures 16 points in a 4 x 4 fashion, starting from the bottom right.

It then finishes a measurement in the middle and prompts you to manually level the middle to enable an accurate Z-offset. This can easily be changed afterwards through the control screen.
If you didn’t get a prompt for the Z-offset, it’s advised to manually configure your Z-offset by homing your printer, then moving your Z axis to 0. This is telling your printer, the nozzle should be touching the bed, but it may not be.
You then want to take a piece of A4 paper, and do the manual leveling method just for the middle of the bed, but moving the Z-axis through the control knob with the Z-offset. Once you can slightly wiggle the paper, the Z-axis has been properly configured and leveled.
Check out the video below by Pergear showing this process.
Print Results – Ender 3 S1
Alright, now let’s finally get into the actual 3D prints! Here is an initial collection of the 3D prints, then I’ll show some closeups further down.

The 4.3-inch LCD screen is a pretty nice touch, especially with the way it is assembled. Rather than require you to put screws into the back panel, it has a nice “slip-in” design where a metal pin fits inside the screen and slides in smoothly, then clips into place.
The actual operation of the touchscreen and the user interface has a mixture of a traditional and modern design. Everything that you need is easy to find, having the standard “Print”, “Control”, “Prepare” & “Level” options.
It shows you the temperatures of the nozzle and bed, along with the fan speed, Z-offset, flow rate, print speed percentage, and X, Y, Z co-ordinates. The lights automatically dim after 5 minutes of inactivity, saving some energy.
The only issue is, it doesn’t allow you to turn off the beeping sounds for each click which is slightly loud.
Filament Runout Sensor
If you’ve never run out of filament without having a filament runout sensor, then you might not appreciate this as much as some users out there. Having this feature is a big deal that all 3D printers should have.
When a 15-hour print is on the 13th hour going strong and your filament starts running out, the filament runout sensor can be a lifesaver. It is a small device placed before your extruder so that when filament stops passing through it, your 3D printer will pause and prompt you to change the filament.
After you change the filament over and select continue, it will go to the last location and continue printing as normal rather than continue printing with no filament. It’s a great feature, but do beware, you may get a layer line depending on how well the layer adheres to the previous layer.