


——ALL3DP
Klipper is a superb firmware choice that enables faster printing and other benefits. Learn how you can set this firmware up on the Ender S1!

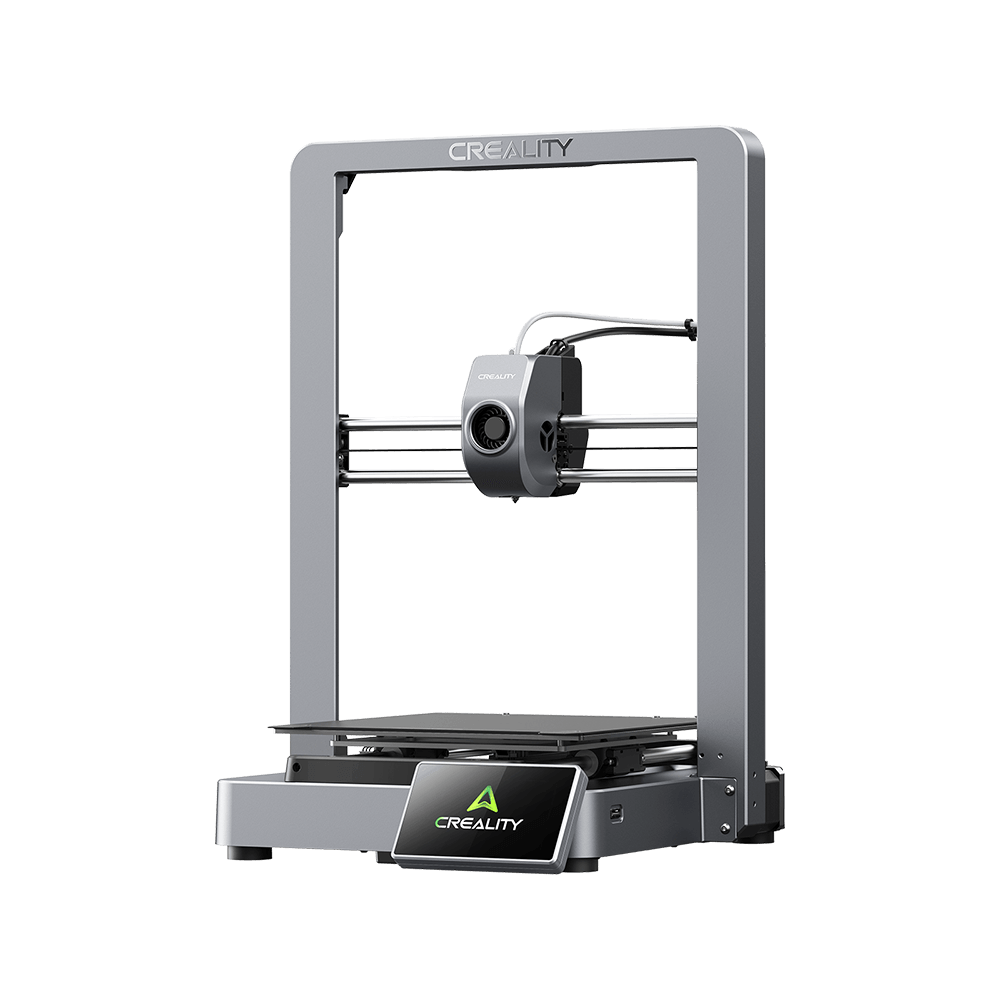
The Ender 3 S1 is Creality’s latest and greatest version of their original Ender 3 printer. The machine boasts a lot of new features and improvements, such as a direct drive extruder, CR-Touch automatic bed leveling sensor, and a powerful 32-bit motherboard.
The new motherboard on the Ender 3 S1 differs from the V4.2.2 or V4.2.7 boards found on the Ender 3 V2, and some of these changes make it more difficult to install new firmware programs. That’s because, in order for a firmware package to run on a mainboard, certain specifications about the board have to be known and integrated into the code of the firmware. For this reason, it often takes at least a few months for third-party firmware programs such as Marlin to offer support for a new motherboard.
Klipper is an increasingly popular firmware program that enables faster print speeds by using an external computer (like a Raspberry Pi board). This external computer handles all of the G-code processing so that the printer’s own controller board can focus solely on controlling the movement of components. Additionally, Klipper offers some other benefits, such as a linear advance feature and remote control your printer.
While it’s fairly easy to install Klipper on the Ender 3 V2, setting up this firmware package on the Ender 3 S1 is a slightly more complex process. In the following sections, we’ll go over what makes the installation process more difficult, what you need for the firmware upgrade, and the steps to do so. It’s also worth pointing out that the firmware installation we’ll go over includes adding support for some of the S1’s new hardware, such as its automatic bed leveling sensor and filament runout sensor. Enjoy!
Complications
As we hinted, the reason installing Klipper on the Ender 3 S1 is more difficult than on other versions of the Ender 3 is due to the new motherboard on the printer. First off, Creality is being tight-lipped about the specifications of the new motherboard, which has no official name at the moment. Moreover, the stepper motor drivers integrated on the S1’s board aren’t known, and the hardware ports differ a lot from those on the older Creality Ender 3 boards.
Although Creality hasn’t publicly talked about it, it’s also known that the processor on the S1’s board differs from other Creality boards. Based on the transcription on the board’s central chip, the S1 uses an ARM Cortex M4 chip while the V4.2.X boards use an M3 chip. There isn’t much of a difference between the two, but the M4 is capable of faster data transmission.
The reason these differences are significant in the firmware installation process is that each firmware package has to be compatible with the board that it’s being installed on. When new printers with new motherboards come out it usually takes at least a few months for a compatible firmware configuration to be built, tested, and released. Currently, there isn’t an official Klipper firmware configuration for the Ender 3 S1 on the GitHub repository.
According to TH3D, Creality has also modified the bootloader on the board so that third-party (non-Creality) firmware programs can’t be installed through the SD card slot. While this is true for some people, some users were still able to install third-party firmware packages, so it’s a toss-up. Firmware changes are still possible, though, as long as you use an external flashing device and program such as STLink.
And now that we’ve gone over the challenges that we’ll have to overcome later let’s get into the process!
What You'll Need
Unlike the installation process for other firmware programs, Klipper requires a decent amount of hardware and software to be loaded onto your Ender 3 S1.
HARDWARE
1. USB Type-C cable
2. Raspberry Pi or other compatible board
3. MicroSD card for the Pi board
4. Power supply for the Pi board (make sure it meets the suggested power requirements for the board)
5. Laptop or PC with a screen and keyboard
SOFTWARE
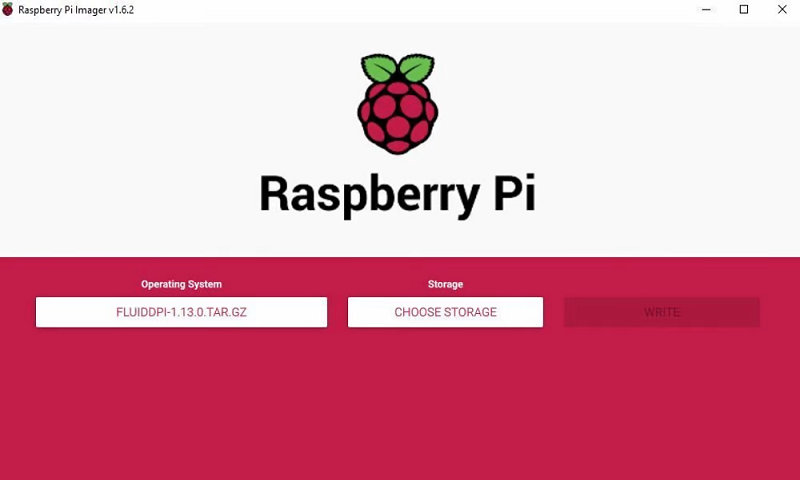
1. Raspberry Pi Imager
2. Putty
3. WinSCP (Windows Secure Copy)
4. Notepad (pre-installed on most Windows devices) or a similar text editor
It’s important to note that while you can use SBCs other than Raspberry Pis, that’s what we’ll be using. The process for different boards shouldn’t be too different as long as you can install FluiddPi.
Once you have all the necessary supplies, we can get started installing Klipper on the Ender 3 S1!
(Credit by ALL3DP)
Step 1: Set Up FluiddPi
Step 2: Download & Configure Klipper
Step 3: Upload New Firmware
Step 4: Update Klipper for Fluidd
(Optional) Step 5: Set Up Klipper for Fluidd
Tips & Tricks
Lastly, we’ll go over some tips and tricks that might help you during and after the Klipper installation process. It’s important to mention that because this upgrade is very community-driven and not officially supported by either Creality or Klipper developers at the moment, there are many small flaws. We can’t go over every issue, but below are some of the main ones:
1. Firmware installation not working: As we mentioned, there’s a chance that Creality’s new board on the S1 prevents third-party firmware installations. If this is the case, you’ll have to use an external device (e.g. an Arduino Uno) with a bootloader loaded onto it or an ISP-USB cable to install the new firmware. The process is somewhat complex, and we’ve gone over it in our guide to installing Marlin on the original Ender 3 and Ender 3 Pro.
2. Prints not centered: If your prints aren’t centered, it may be due to incorrect offsets in your printer configuration file. The most direct fix is to edit the printer configuration file and adjust, in small increments, the X- and Y-axis offsets or bounds. However, you could also try using a different printer configuration file, since each uses slightly different offsets.
3. No IP address: If your Pi isn’t showing up on your Wi-Fi IP address scan, then it’s most likely not connected to your network. Make sure to follow the OctoPi Wi-Fi connection guide and the included troubleshooting information because FluiddPi is very similar in its construction to OctoPi.
4. Raspberry Pi reporting undervoltage errors: This is usually caused by using a power supply that doesn’t meet the demand of your Pi board. You can check out Raspberry Pi’s page on the power requirements for each board to see what you need. If your power supply barely meets the requirements, the issue may persist, so try to go above the minimum.
5. Issues connecting Pi to printer: First, make sure that the USB connection is secure on both ends (Pi and the mainboard). Then, enter the ls /dev/serial/by-id/* command phrase into Putty. If the response is a phrase like /dev/serial/by-id/usb-1a86_USB2.0-Serial-if00-port0, then the two devices are properly connected.
6. The “cd ~/klipper/” command doesn’t work: If you entered this command through a direct interface with your Raspberry Pi (e.g. connected screen and keyboard), try using Putty from another device.
As with any major change to your 3D printer or its environment, it’s also a good idea to print a few test models before moving on to regular use. This will allow you to check that the components on the printer are working properly. You can check out our test prints article to find a few designs to choose from. Happy printing!
Source by: https://all3dp.com/2/ender-3-s1-klipper/